

When setting up a Linux server, you have to configure the system for your needs. You can use the server for web development, system administration, data science, and more. Each use case has different configuration requirements, and manually configuring these servers can be tedious.
With Octopus Runbooks you can create a repeatable, automatic process to configure your Linux servers, and it can be adapted to suit different configuration needs.
In this post, I configure a Linux server using a runbook to specify all the dependencies required for a specific task. This runbook can be saved and exported for future servers with the same requirements.
Prerequisites
To follow along, you need:
- An Azure account (if you don’t already have one, sign up for a free trial)
- A Linux server (I show you how to create one in Azure)
- An Octopus instance (if you don’t already have one, create a free trial to get started)
Creating a Linux server in Azure
Microsoft Azure is a cloud computing platform for creating virtual machines, web applications, and other cloud-based resources. We use Azure to create a Linux server for our runbook example.
On the Azure home page, navigate to Create a resource, then Ubuntu Server 20.04 LTS, then Create.
Choose the linked subscription and create a new resource group. Give the server a name. Under Administrator account, generate an SSH public key or password, which you use later. Select Review + Create to accept the default settings.
When finished, select Go to resource. Connect to the server by clicking Connect, Bastion. You need to enter either your SSH key or password from earlier. If this is your first time setting up Bastion, click Deploy Bastion, and wait for it to complete the set up.
Installing an Octopus Tentacle on the Linux server
After Bastion has connected to the Linux server, you see a Bash shell. You set up an Octopus Tentacle to communicate with the Octopus instance running your runbook.
Run the following commands to install the Tentacle:
sudo apt-key adv --fetch-keys https://apt.octopus.com/public.key

sudo add-apt-repository "deb https://apt.octopus.com/ stretch main"

# for Raspbian use

# sh -c "echo 'deb https://apt.octopus.com/ buster main' >> /etc/apt/sources.list"

sudo apt-get update

sudo apt-get install tentacle
The Tentacle needs to communicate with your Octopus instance, so you need to provide a key to the Tentacle for authentication.
In your Octopus instance, click Your Profile, then Profile, then My API Keys, and New API Key. Give the key a name and make sure to save it, as it’s only visible once.
Configure the Tentacle on the Linux server by running the following command:
/opt/octopus/tentacle/configure-tentacle.sh
The setup script asks you a series of questions. Make sure to specify the following parameters:
- Name of Tentacle instance (default Tentacle): press Enter to accept defaults
- What kind of Tentacle would you like to configure: 1) Listening or 2) Polling (default 1):
2 - Where would you like Tentacle to store log files? (/etc/octopus): press Enter to accept defaults
- Where would you like Tentacle to install applications to? (/home/Octopus/Applications): press Enter to accept defaults
- Octopus Server URL (eg. https://octopus-server): the URL of your Octopus instance
- Select auth method: 1) API-Key or 2) Username and Password (default 1): 1
- API-Key: enter the API key configured earlier
- Select type of Tentacle do you want to setup: 1) Deployment Target or 2) Worker (default 1): 1
- What Space would you like to register this Tentacle in? (Default): press Enter to accept defaults
- What name would you like to register this Tentacle with? press Enter to accept defaults
- Enter the environments for this Tentacle (comma separated): specify the environment/s of the Octopus instance
- Enter the roles for this Tentacle (comma separated): specify a role for the tentacle, for example, Linux (you use this later in the runbook)
- Press Enter to continue
Confirming the Tentacle connection
You confirm your Tentacle is connected in Octopus by navigating to Infrastructure, then Deployment Targets. Here you see your connected deployment target.

Setting up the runbook in Octopus
After you create the Linux server, and install and connect the Tentacle, you can create the runbook. The runbook establishes a development environment for a web development use case. Other use cases require a different configuration setup. Operations can run the runbook when a web developer needs a server set up.
Create the runbook
- Create a project to host the runbook by going to Projects, then Add Project.
- In your project, go to Runbooks, then Add Runbook, then Process, then Add Step, then Script, then Run a Script, and finally, Add.
- Under On Targets in Roles, add the role you specified in the Tentacle setup script.
- Specify a Bash script and add the following code:
apt update

apt upgrade

apt install -y build-essential

apt install -y curl

apt-get install -y git-core

apt-get install -y nodejs

apt-get install -y npm
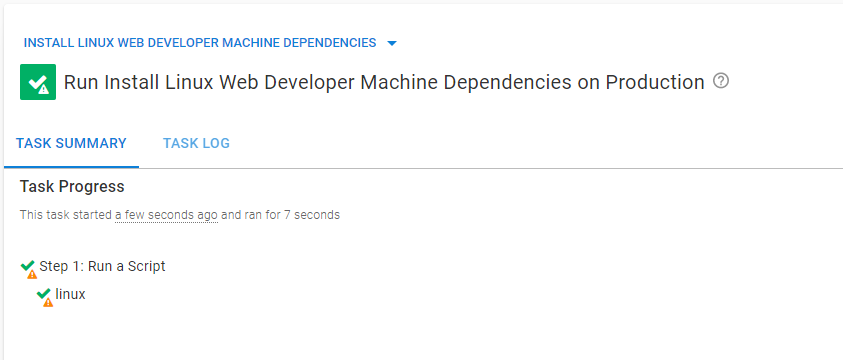
- Click SAVE and Run.
You then see a successful result.
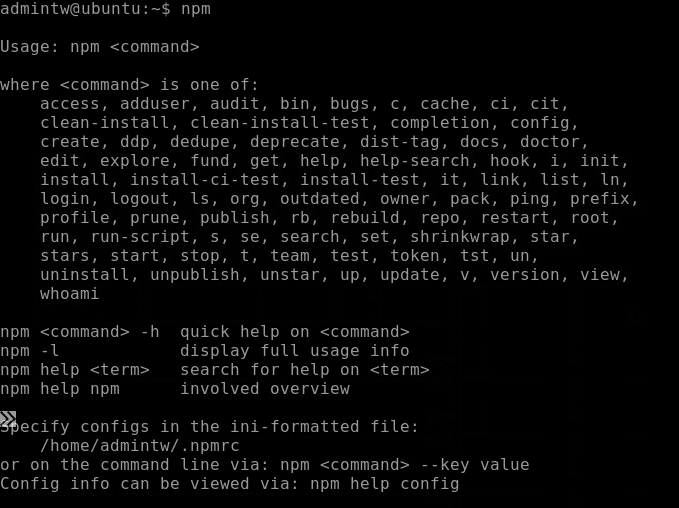
Go to the Linux server and run the npm command to confirm the installation.
Creating a different configuration
Let’s create a different kind of configuration, using a simple .NET configuration.
Create another Linux server and follow the steps above to create another runbook with an Octopus Tentacle.
This time, in step 4, add the following code:
wget https://packages.microsoft.com/config/ubuntu/21.04/packages-microsoft-prod.deb -O packages-microsoft-prod.deb

sudo dpkg -i packages-microsoft-prod.deb

rm packages-microsoft-prod.deb

sudo apt-get update; \

sudo apt-get install -y apt-transport-https && \

sudo apt-get update && \

sudo apt-get install -y dotnet-sdk-6.0
Run the runbook to configure the server
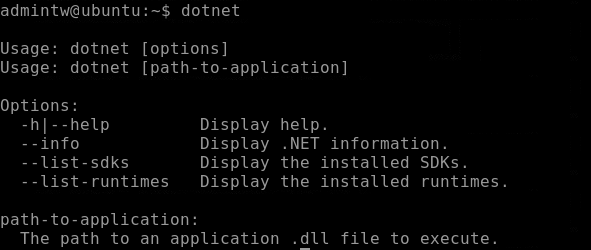
Go to the Linux server and run the dotnet command to confirm the installation.
This workflow demonstrates that runbooks can configure Linux servers. You created two runbooks, one that applied a web development configuration to the server and a second runbook that configured the server with a .NET configuration.
You can create runbooks for as many configurations as you need, ensuring each configuration is consistent and automatic each time it’s created.
Conclusion
Configuring servers can be a tedious, manual process. Often, there are multiple configuration requirements for a server. To help with this, Octopus Runbooks provides a repeatable, automated way to configure servers.
Runbooks can cater to specific configuration needs and be triggered when required. The repeatable nature of runbooks introduces consistency in your organizational infrastructure. Runbooks also reduce the workload for system administrators so they can focus on other tasks.
To learn more about how Octopus Runbooks can help with your deployment needs, contact our Customer Success team.
Read the rest of our Runbooks series.
Happy deployments!


