EKS is a managed Kubernetes service provided by AWS. At a high-level, EKS is comprised of two components: the managed EKS control plane and the worker nodes. The EKS control plane is a dedicated resource in AWS, having the CloudFormation type AWS::EKS::Cluster. The worker nodes, on the other hand, are simply EC2 instances that are configured during deployment to join the Kubernetes cluster.
Previously it was your responsibility to create all these resources yourself, and it was not a trivial task. You were responsible for creating VPCs, subnets, internet gateways, auto-scaling groups, IAM roles, EC2 instances, and more.
Fortunately today we have eksctl, which is a command-line tool exposing a familiar verb/noun argument structure for creating and managing EKS clusters.
In this blog post we’ll look at how to get a simple EKS cluster deployed and integrated into Octopus using eksctl.
Preparing the Octopus server
Using Kubernetes clusters and EKS specifically with Octopus means having the kubectl and aws-iam-authenticator binaries available on the Octopus server.
Information on installing kubectl can be found in the Kubernetes documentation, and you can find more information on aws-iam-authenticator from the AWS documentation.
Preparing the Octopus library
For this example, we will use eksctl directly from Octopus. To make eksctl available in our scripts, we first need to download the binary from the eksctl GitHub releases page.
The file you download will be called something like eksctl_Windows_amd64.zip. Rename this to eksctl.0.4.3.zip (replacing 0.4.3 with the version of eksctl you downloaded). The new file name embeds the version, and this format is required by Octopus. Once renamed, the file can be uploaded to the Octopus built-in feed.

The eksctl package uploaded to the built-in feed.
We are also going to need to inspect YAML files to extract their values. PowerShell does not natively support YAML parsing, which means we will need to use a third-party library.
An easy way to consume PowerShell modules is to add the PowerShell Gallery Nuget feed to Octopus. The URL of the feed is https://www.powershellgallery.com/api/v2/.
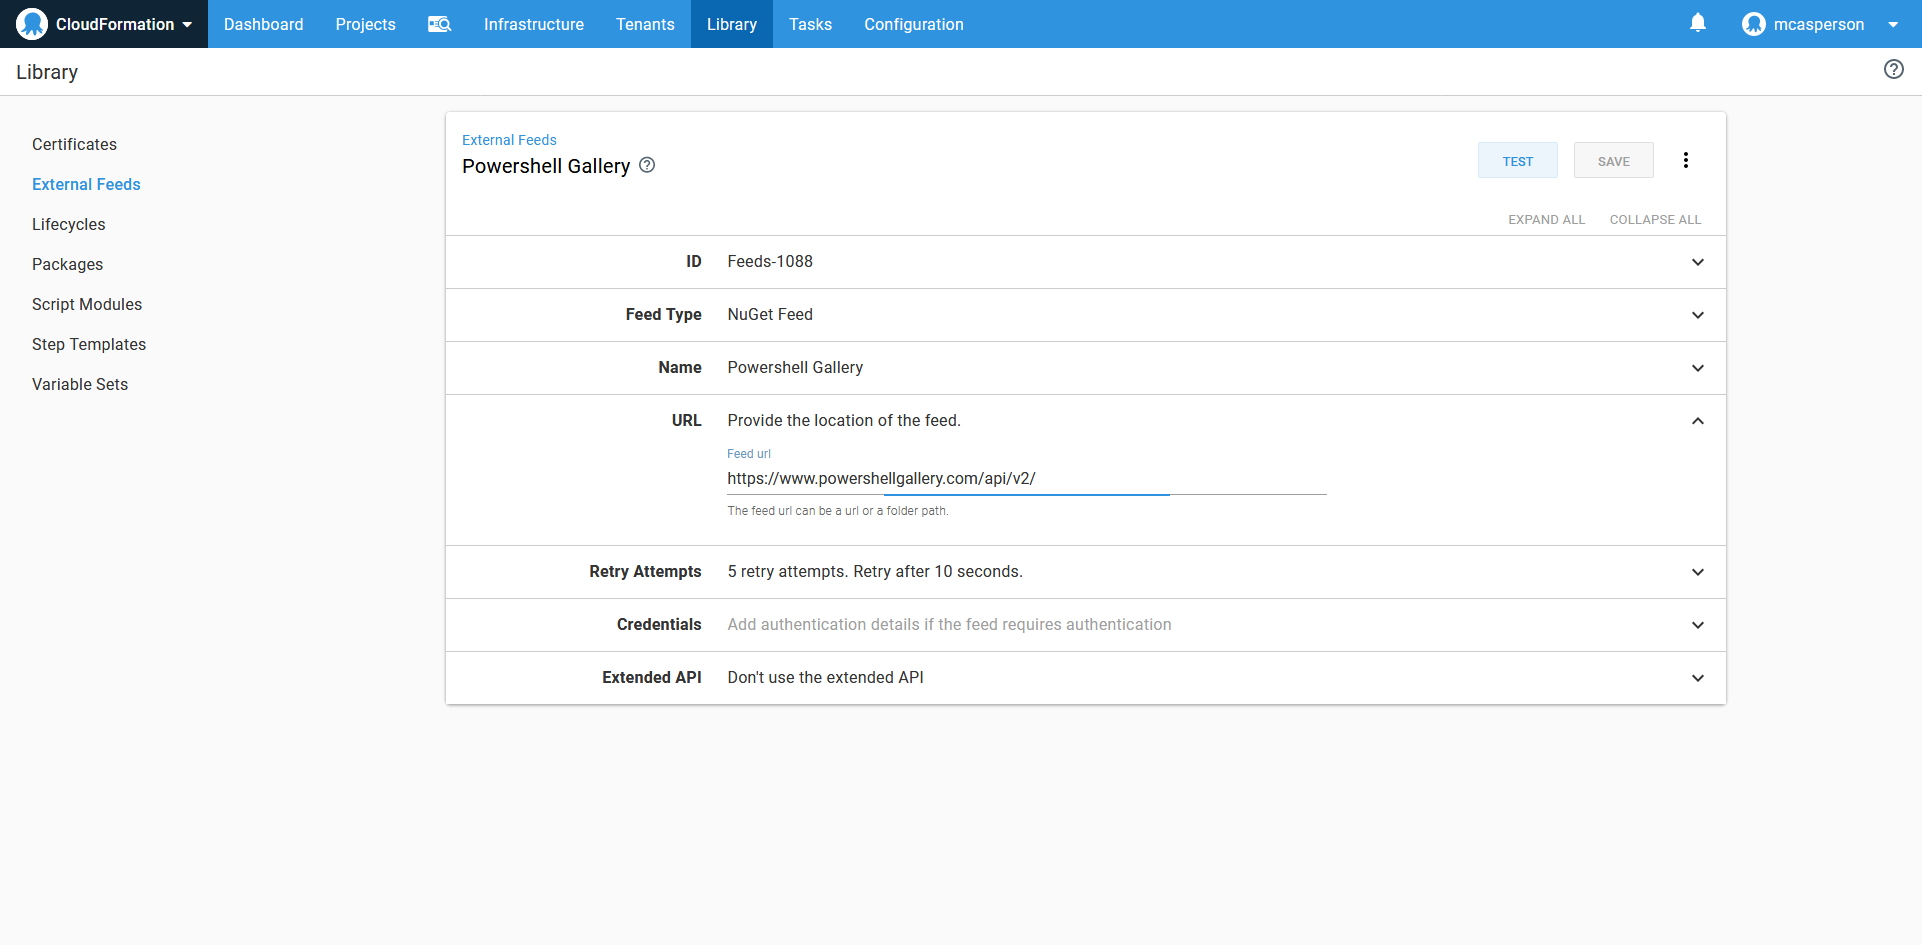
The PowerShell Gallery Nuget feed.
Preparing the credentials
EKS clusters use AWS credentials for authentication. AWS accounts are exposed in Octopus as a dedicated account type. You can find more information on generating AWS access keys in their documentation.
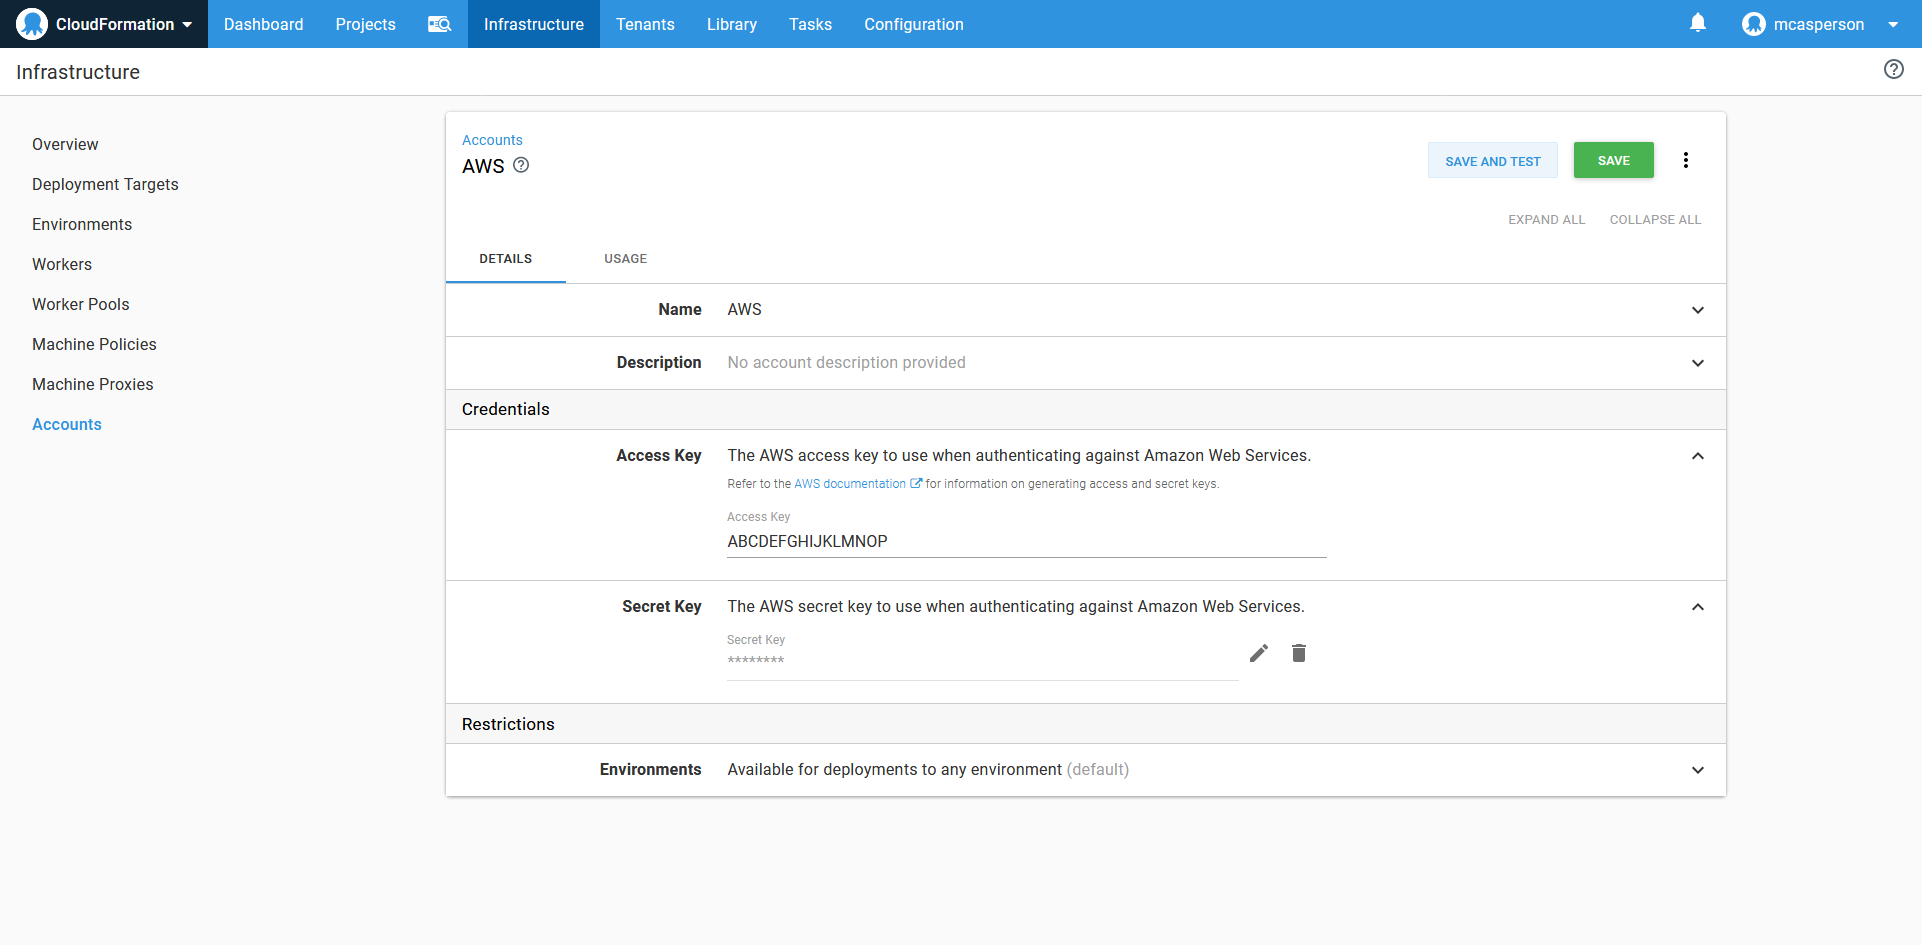
The AWS account.
Preparing the environment
We are going to take advantage of dynamically created infrastructure to create new Kubernetes targets pointing to the new EKS cluster.
To enable dynamic infrastructure to be created as part of a deployment, the environments need to enable the Dynamic Infrastructure option.
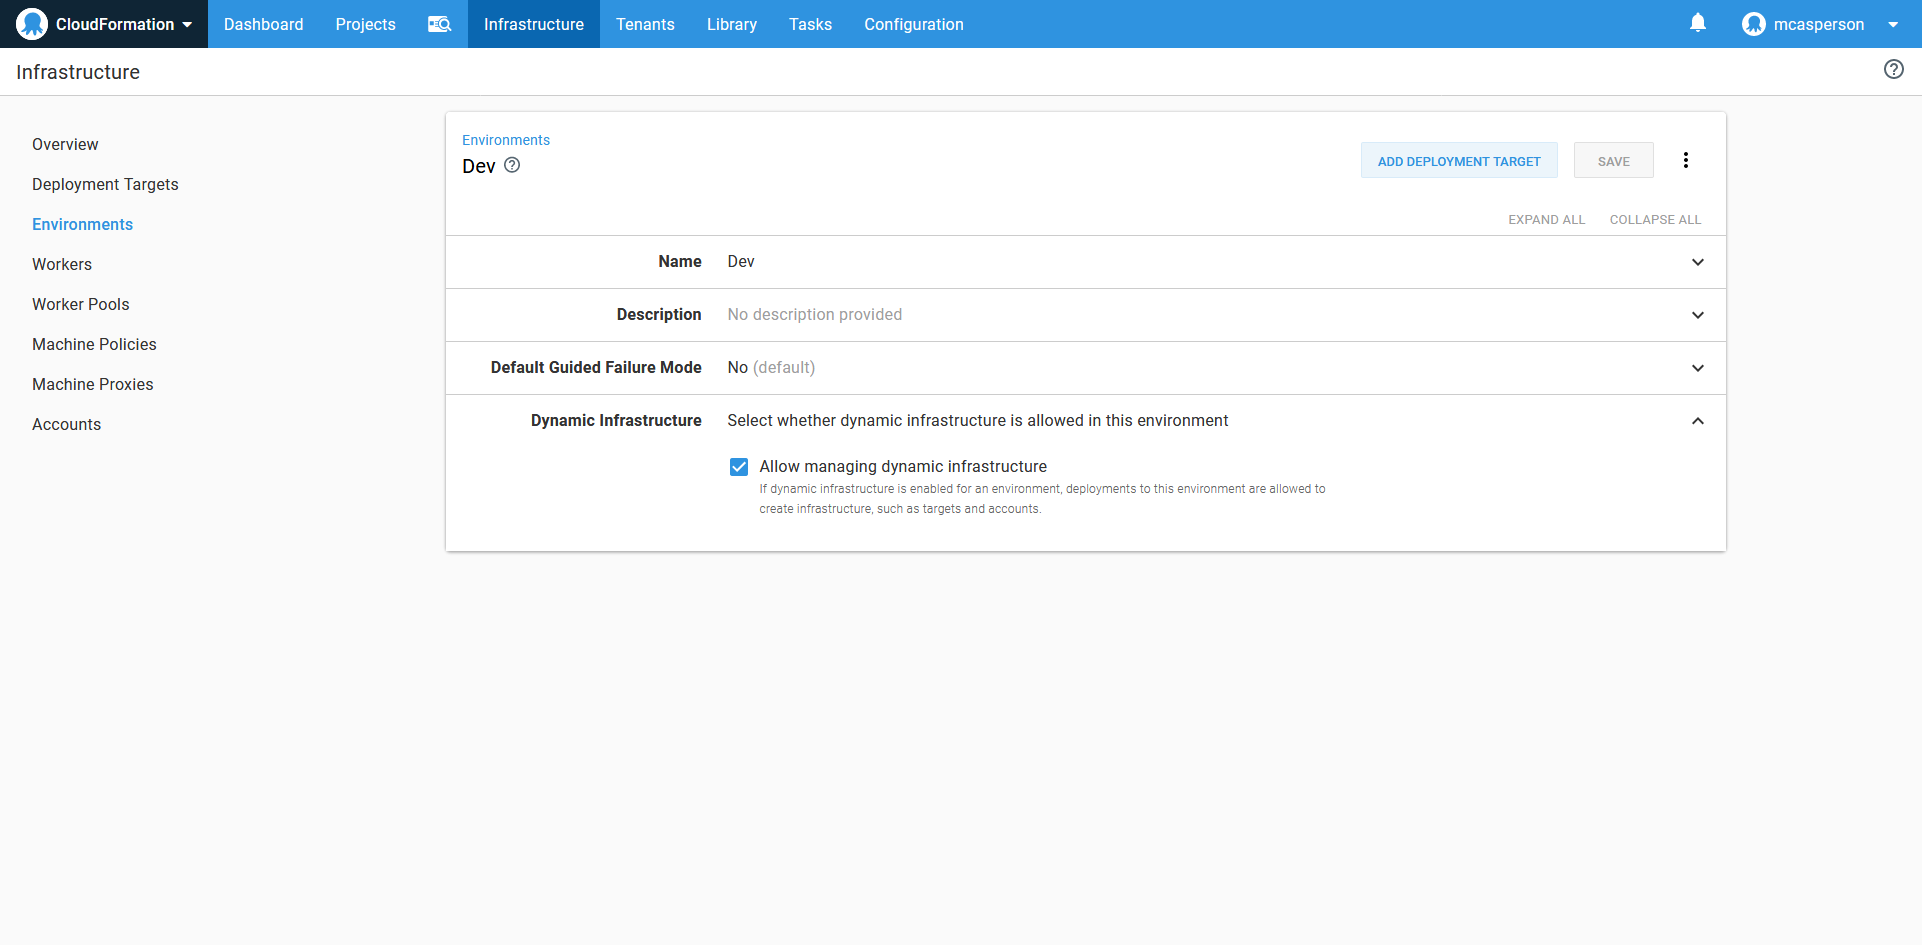
An environment that allows dynamic infrastructure to be created.
The Octopus project
The first thing we need to set up in our Octopus project is the variables. The AWS account we created earlier is referenced by an AWS Account variable type in the project.
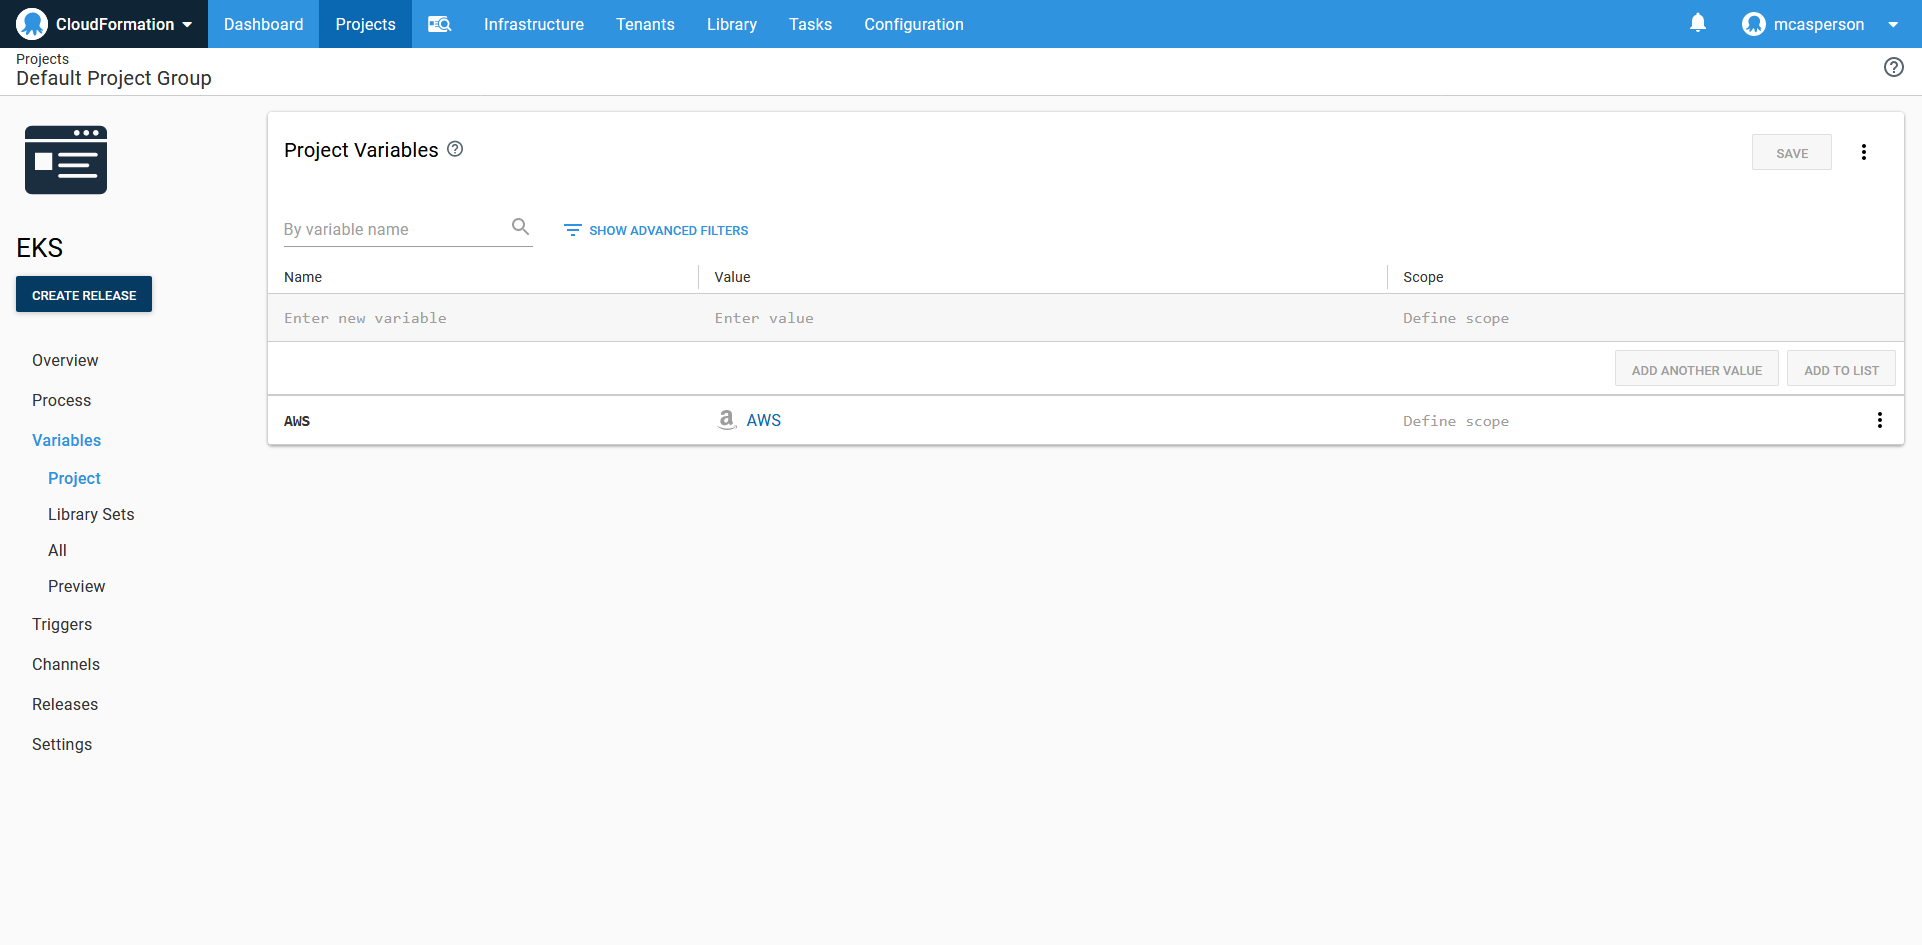
The project variables, defining a single variable pointing to an AWS account.
Now we can add a Run an AWS CLI Script step to call eksctl to create the EKS cluster, and then create the Octopus Kubernetes target.
The step references the AWS account variable we set up earlier to perform the login. The step also defines an AWS region in which the deployment will take place.

The credentials and region used by the AWS CLI script step.
Our script will reference two additional packages: the package containing the eksctl executable, and the powershell-yaml module from the PowerShell Gallery feed. Both additional packages are set to be extracted.
Here we’ve taken advantage of referenced packages to enrich the deployment in two different ways.
The eksctl package is an example of using reference packages to provide additional binary tools to our script. The AWS ecosystem in particular has an abundance of first and third-party CLI tools (e.g. SAM CLI, S3cmd, eksctl, Beanstalk CLI, and ECS CLI) that can be bundled up in this way.
The powershell-yaml package is an example of using the PowerShell Gallery to expose modules to our PowerShell script. This avoids the need to make these modules globally available or bundle them up alongside the custom script.

The referenced packages, which will be downloaded and extracted during deployment.
Finally, we have the script itself. Here is the complete code:
Import-Module -Name .\powershell-yaml

$clusterName = "mycluster"

# Check to see if the cluster exists
eksctl\eksctl get cluster --name $clusterName 2>&1

# If the cluster does not exist, create it. Otherwise get the kubeconfig file
if ($LASTEXITCODE -ne 0) {
    eksctl\eksctl create cluster --name $clusterName --kubeconfig eks.yaml
} else {
    eksctl\eksctl utils write-kubeconfig --name $clusterName --kubeconfig eks.yaml
}

# Convert the kubeconfig from YAML
$kubeConfig = Get-Content -Path eks.yaml -Raw
$kubeConfigObject = ConvertFrom-Yaml $kubeConfig
# Extract the cluster URL
$clusterUrl = $kubeConfigObject.clusters[0].cluster.server

# Create an Octopus target
New-OctopusKubernetesTarget `
    -name $clusterName `
    -octopusRoles "EKS" `
    -clusterUrl $clusterUrl `
    -octopusAccountIdOrName $AWS `
    -clusterName $clusterName `
    -namespace "default" `
    -updateIfExisting `
    -skipTlsVerification True
Let’s break this code down.
We start by importing the powershell-yaml module, which was sourced from the PowerShell Gallery Nuget feed. This will give us access to functions like ConvertFrom-Yaml later on:
Import-Module -Name .\powershell-yamlThe name of the EKS cluster is defined in a variable, as it will be used a number of times in the script:
$clusterName = "mycluster"We then check to see if the EKS cluster already exists by calling eksctl.
Octopus steps should be designed to be idempotent, which means they can be run multiple times regardless of the state of any external system. Unfortunately, eksctl doesn’t expose idempotent commands, which means if you try to create a cluster that already exists, you will receive an error. By checking to see if the cluster already exists, we can implement our own create or update logic.
Note that the eksctl executable has been extracted to the eksctl directory, hence our call to eksctl\eksctl:
# Check to see if the cluster exists
eksctl\eksctl get cluster --name $clusterName 2>&1
If the cluster doesn’t exist (which we determine from the return code of the call to eksctl get cluster), we create it. The --name parameter defines the name of the EKS cluster, and the --kubeconfig parameter defines the filename that will hold the details clients needs to connect to the cluster:
# If the cluster does not exist, create it. Otherwise get the kubeconfig file
if ($LASTEXITCODE -ne 0) {
    eksctl\eksctl create cluster --name $clusterName --kubeconfig eks.yaml
}
In the event that the cluster already exists, we save the kubeconfig details:
else {
 eksctl\eksctl utils write-kubeconfig --name $clusterName --kubeconfig eks.yaml
}
At this point, regardless of whether the EKS cluster was newly created or already existed, we have a file called eks.yaml that contains the details that a client needs to connect to the cluster. Normally this config file would be used by the kubectl command-line tool directly, but in this example, we want to take the details of that file and use them to create an Octopus Kubernetes target.
To extract the details of the file, we convert it from raw YAML into a PowerShell object using the ConvertFrom-Yaml function that was imported as part of the powershell-yaml library:
# Convert the kubeconfig from YAML
$kubeConfig = Get-Content -Path eks.yaml -Raw
$kubeConfigObject = ConvertFrom-Yaml $kubeConfig
We then extract the URL of the EKS cluster:
# Extract the cluster URL
$clusterUrl = $kubeConfigObject.clusters[0].cluster.server
The final step is to use the New-OctopusKubernetesTarget function to create a new Kubernetes target in Octopus. This function is documented here.
Note that the $AWS variable is provided by Octopus, and it is set to the ID of the AWS account:
# Create an Octopus target
New-OctopusKubernetesTarget `
    -name $clusterName `
    -octopusRoles "EKS" `
    -clusterUrl $clusterUrl `
    -octopusAccountIdOrName $AWS `
    -clusterName $clusterName `
    -namespace "default" `
    -updateIfExisting `
    -skipTlsVerification True
Deploying this project will result in the EKS cluster being created if it does not already exist, the eks.yaml file being generated, and a newly created or updated Octopus Kubernetes target.
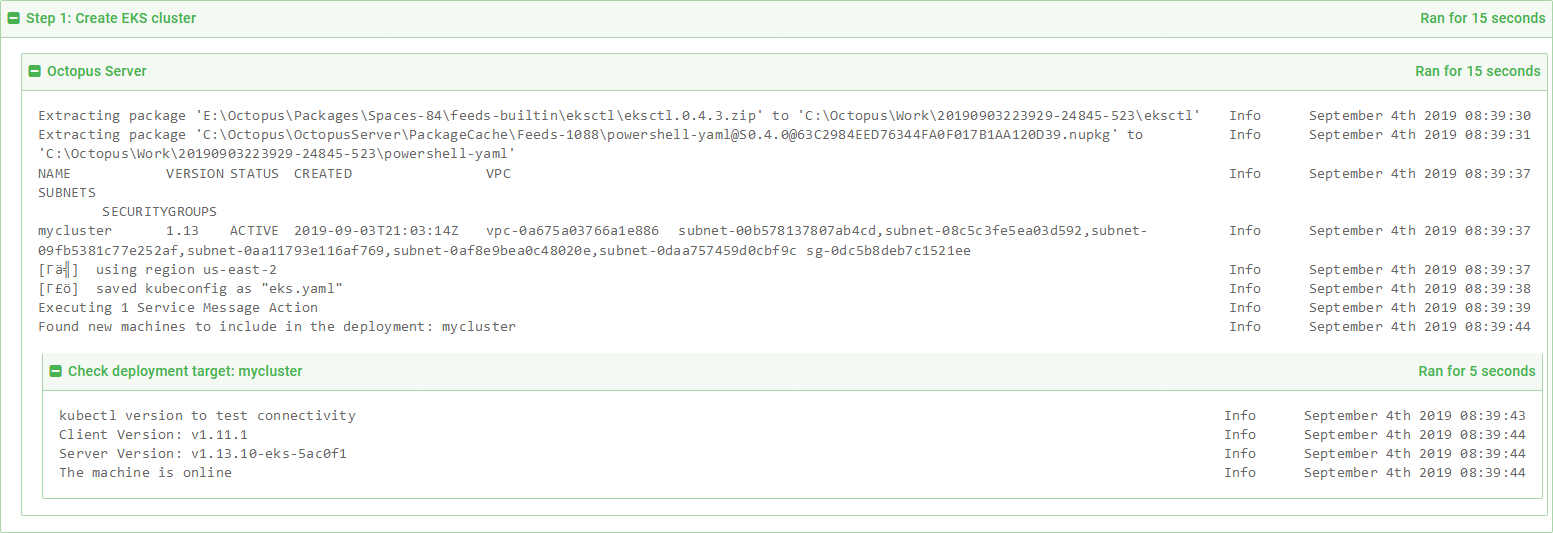
The deployment logs.
We can then see the new Kubernetes target on the Infrastructure page.
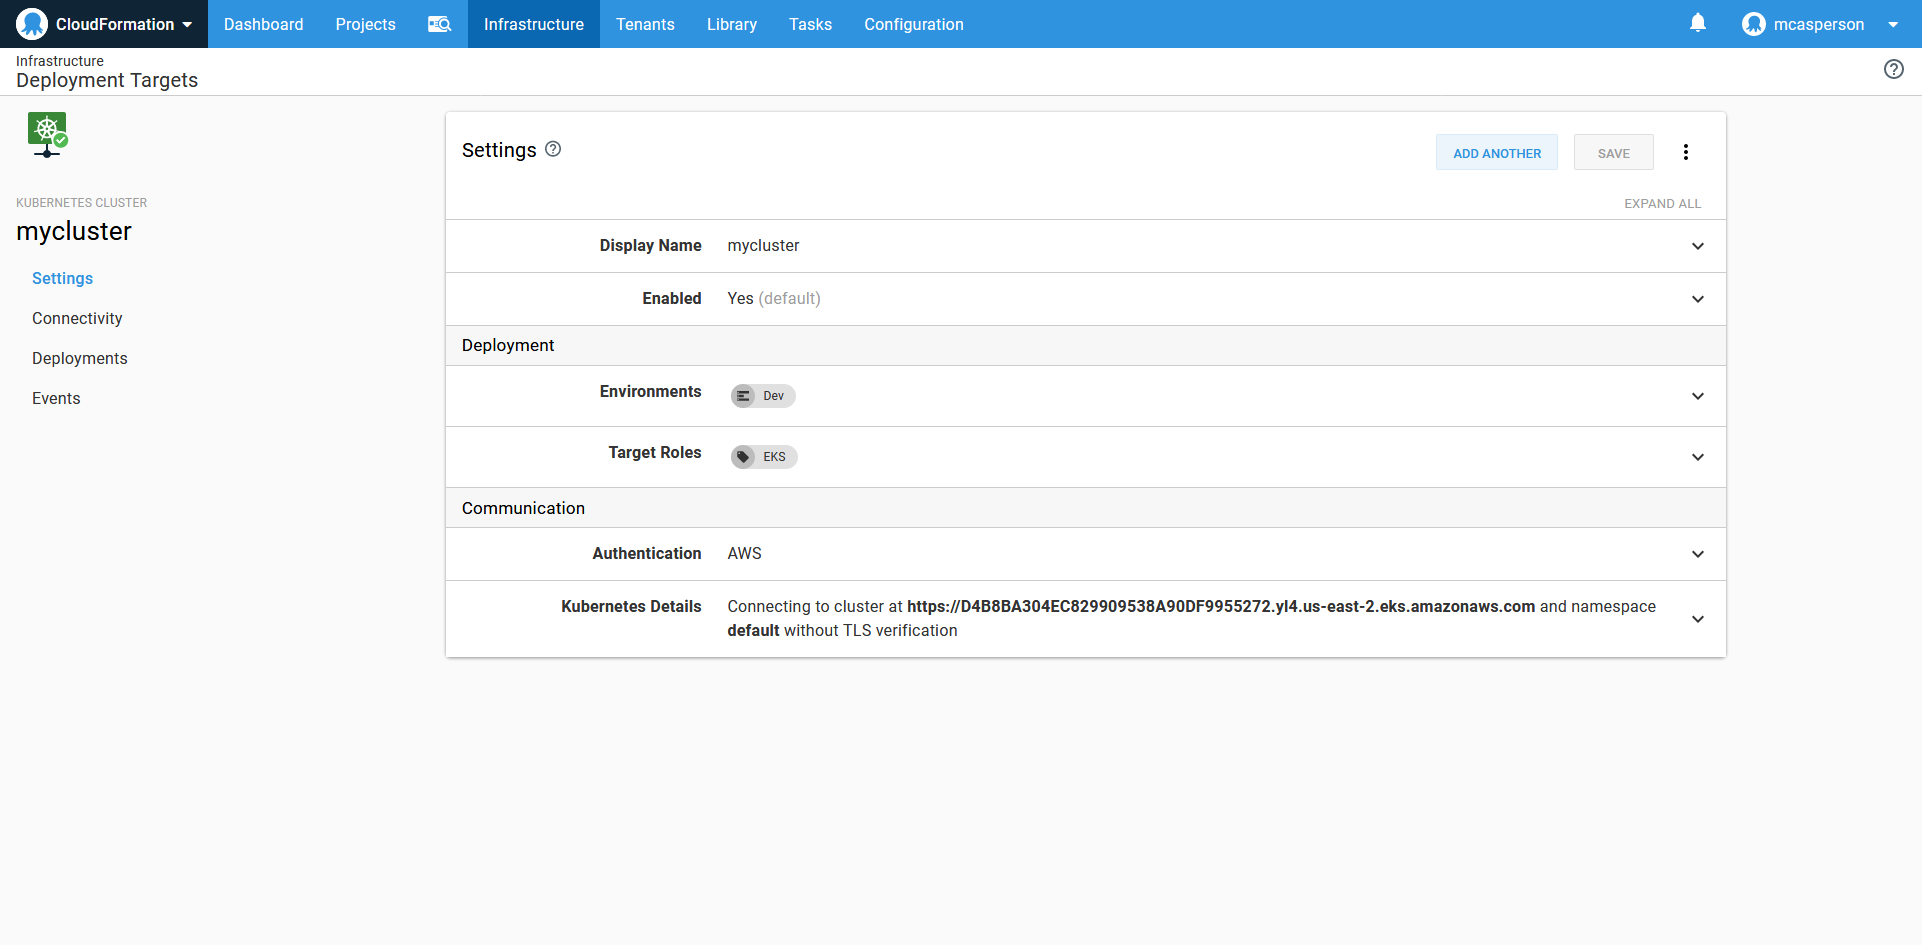
The Kubernetes target created by the call to New-OctopusKubernetesTarget.
Conclusion
Creating EKS clusters was previously a complex process that involved multiple steps to configure the control plane, the worker nodes, and all the associated networking and security.
Today, using the eksctl tool, creating a complete EKS cluster can be done with a single command. In this post, we saw how to script the execution of eksctl in Octopus to create both the EKS cluster and the Octopus Kubernetes target.


