
Connecting Docker Hub to Octopus Deploy is pretty straight forward, however, not everyone wants to use a publicly available Docker registry. In these cases, you can use repository software such as JFrog Artifactory or Sonatype Nexus. Both JFrog and Sonatype have Open-Source Software (OSS) versions, however, JFrog does not include the Docker registry repository type in their OSS flavor. In this post, I demonstrate how to create a Docker registry in Nexus and connect it to Octopus Deploy.
Nexus
The paid version includes features such as High Availability (HA), dynamic storage, and better authentication integration, but the overall operational features are all turned on in the OSS version.
Create a Docker registry
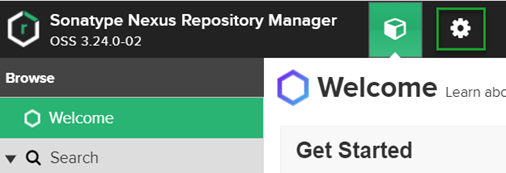
Creating a Docker registry repository in Nexus is pretty easy. Log in to Nexus and navigate to the Server Administration tab (gear icon):
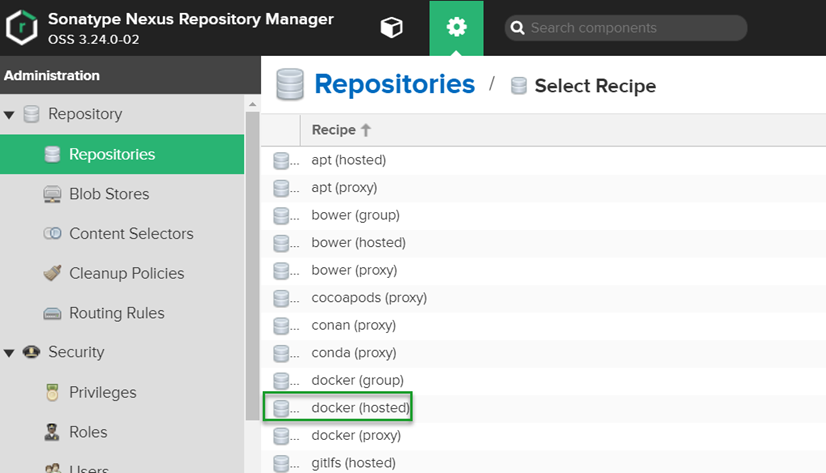
From here, click on the Repositories tab on the left, and click Create repository.
Choose the docker (hosted) repository type:
This part of the process is where it differs from other repository types such as NuGet and Maven 2. Whereas the other two use https://ServerUrl/repository/RepositoryName, Nexus Docker registries require a port assignment. In this example, I used port 8443, this will become important later when we tag our images.
You can accept the defaults for the rest of the options. Click the Create repository button at the bottom of the page when you’re done.
Tagging images
In order to upload a docker image to our Nexus Docker registry, we have to tag the image appropriately. This is accomplished with the following tag scheme: ServerUrl:Port/ImageName:Version. For example:
nexus.octopusdemos.app:8443/pitstop-auditlogservice:1.0.0.0Note the repository name nexus-docker is not present in the tag. This is where the port designation is important as it identifies which registry this will belong to when uploaded to Nexus.
Connect to Octopus Deploy
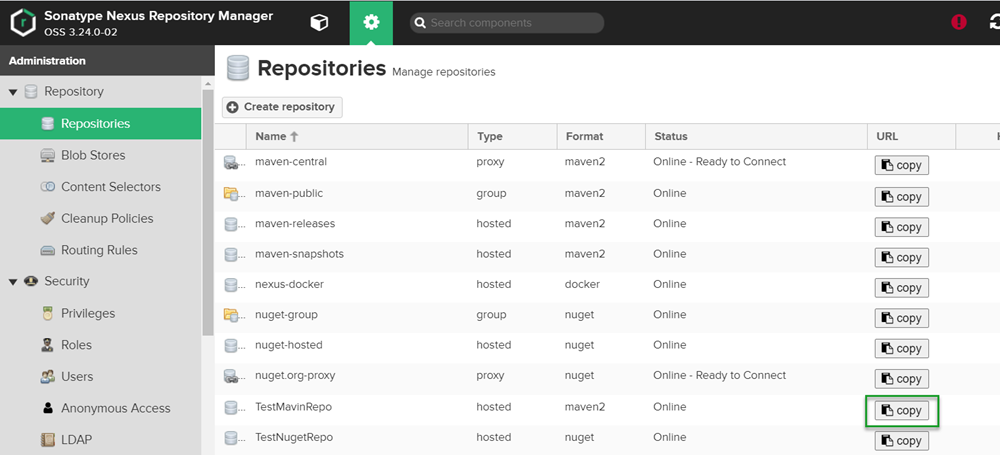
When connecting other repository types to Octopus Deploy, you simply provide the URL from the Copy URL button within Nexus:
While the button is present for our Docker registry, this is not how we connect to the repository with Octopus Deploy.
Using the URL from this page when creating an external feed within Octopus Deploy and testing it will produce a false positive. The endpoint will respond with a success message and even provide search results, but it will fail when you attempt to use it in a deployment process.
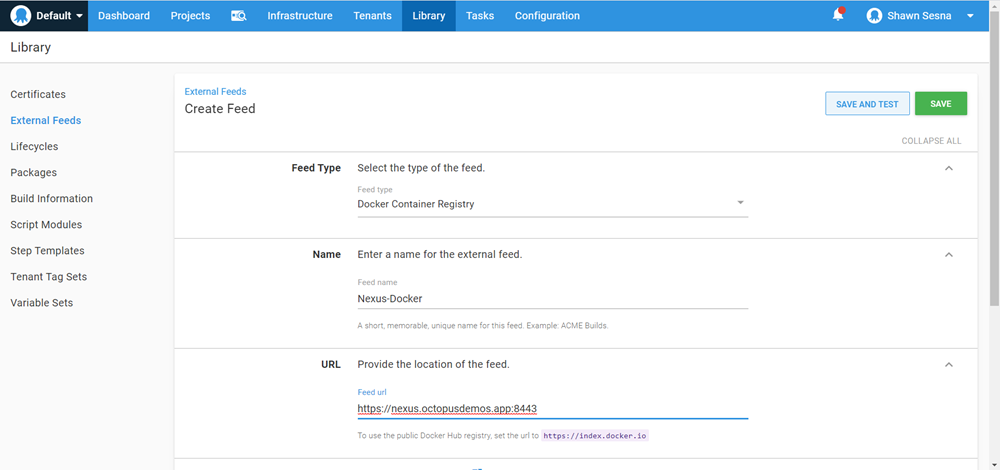
Create the external feed
To create an external feed in Octopus Deploy click on the Library tab, then External Feeds, and click the ADD FEED button.
Enter the following information for the external feed:
- Feed type: Docker Container Registry.
- Name: Give it a descriptive name.
- URL:
https://ServerUrl:Port(e.g.https://nexus.octopusdemos.app:8443). - Registry Path: leave blank.
- Credentials: Enter credentials if they are required:
Click SAVE AND TEST when done.
Enter an image name (partial names are supported) and click SEARCH to verify the connection is working properly.
Conclusion
Nexus has a unique way of handling Docker registries as repository types. In this post, I demonstrated what is necessary to create a registry and connect it to Octopus Deploy.