

This post is part of a series about creating a Selenium WebDriver test framework.
Now that we have the Maven project configured and imported in IntelliJ, we can start adding some tests.
The test classes will be created in the directory src/test/java/com/octopus. Maven has a standard directory structure that places test classes under the src/test/java directory, while the test classes themselves will be in the com.octopus package, which maps to the com/octopus directory structure.
To create the new directory, right click on the top level project folder, select {{New,Directory}}.
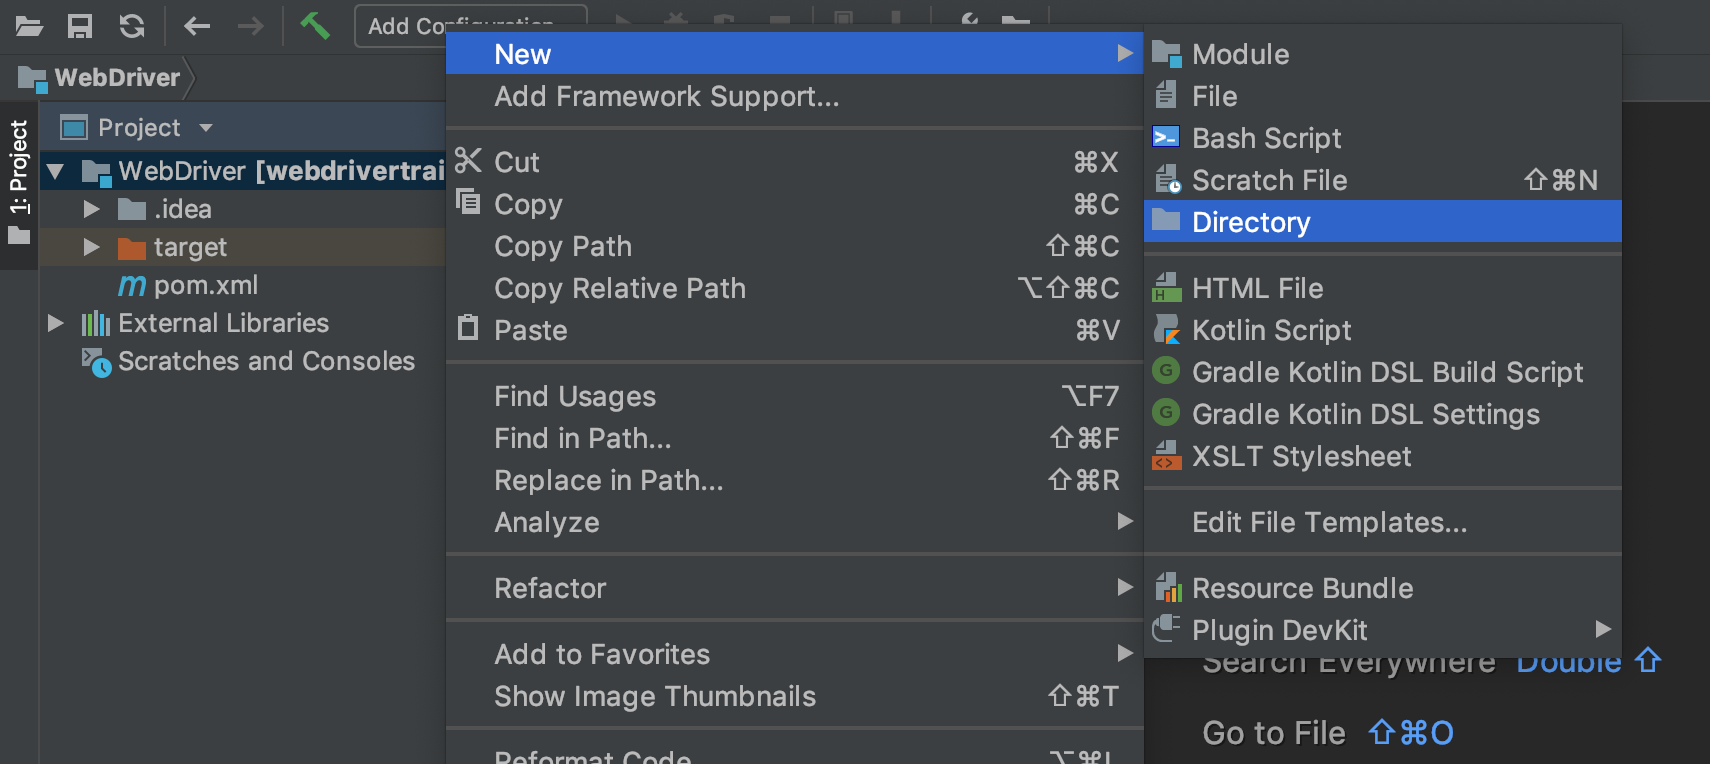
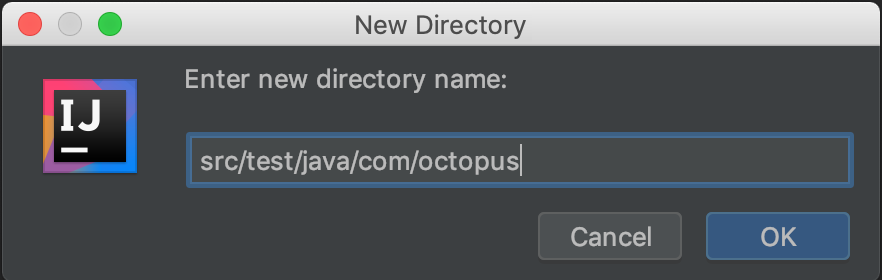
Enter src/test/java/com/octopus as the directory name and click the OK button.
The new directory structure will be created. However, IntelliJ does not yet recognize the new directories as locations where Java source files can be found. To refresh the IntelliJ project, which will result in these new directories being identified, click the Reimport All Maven Projects button in the Maven Projects tool window.
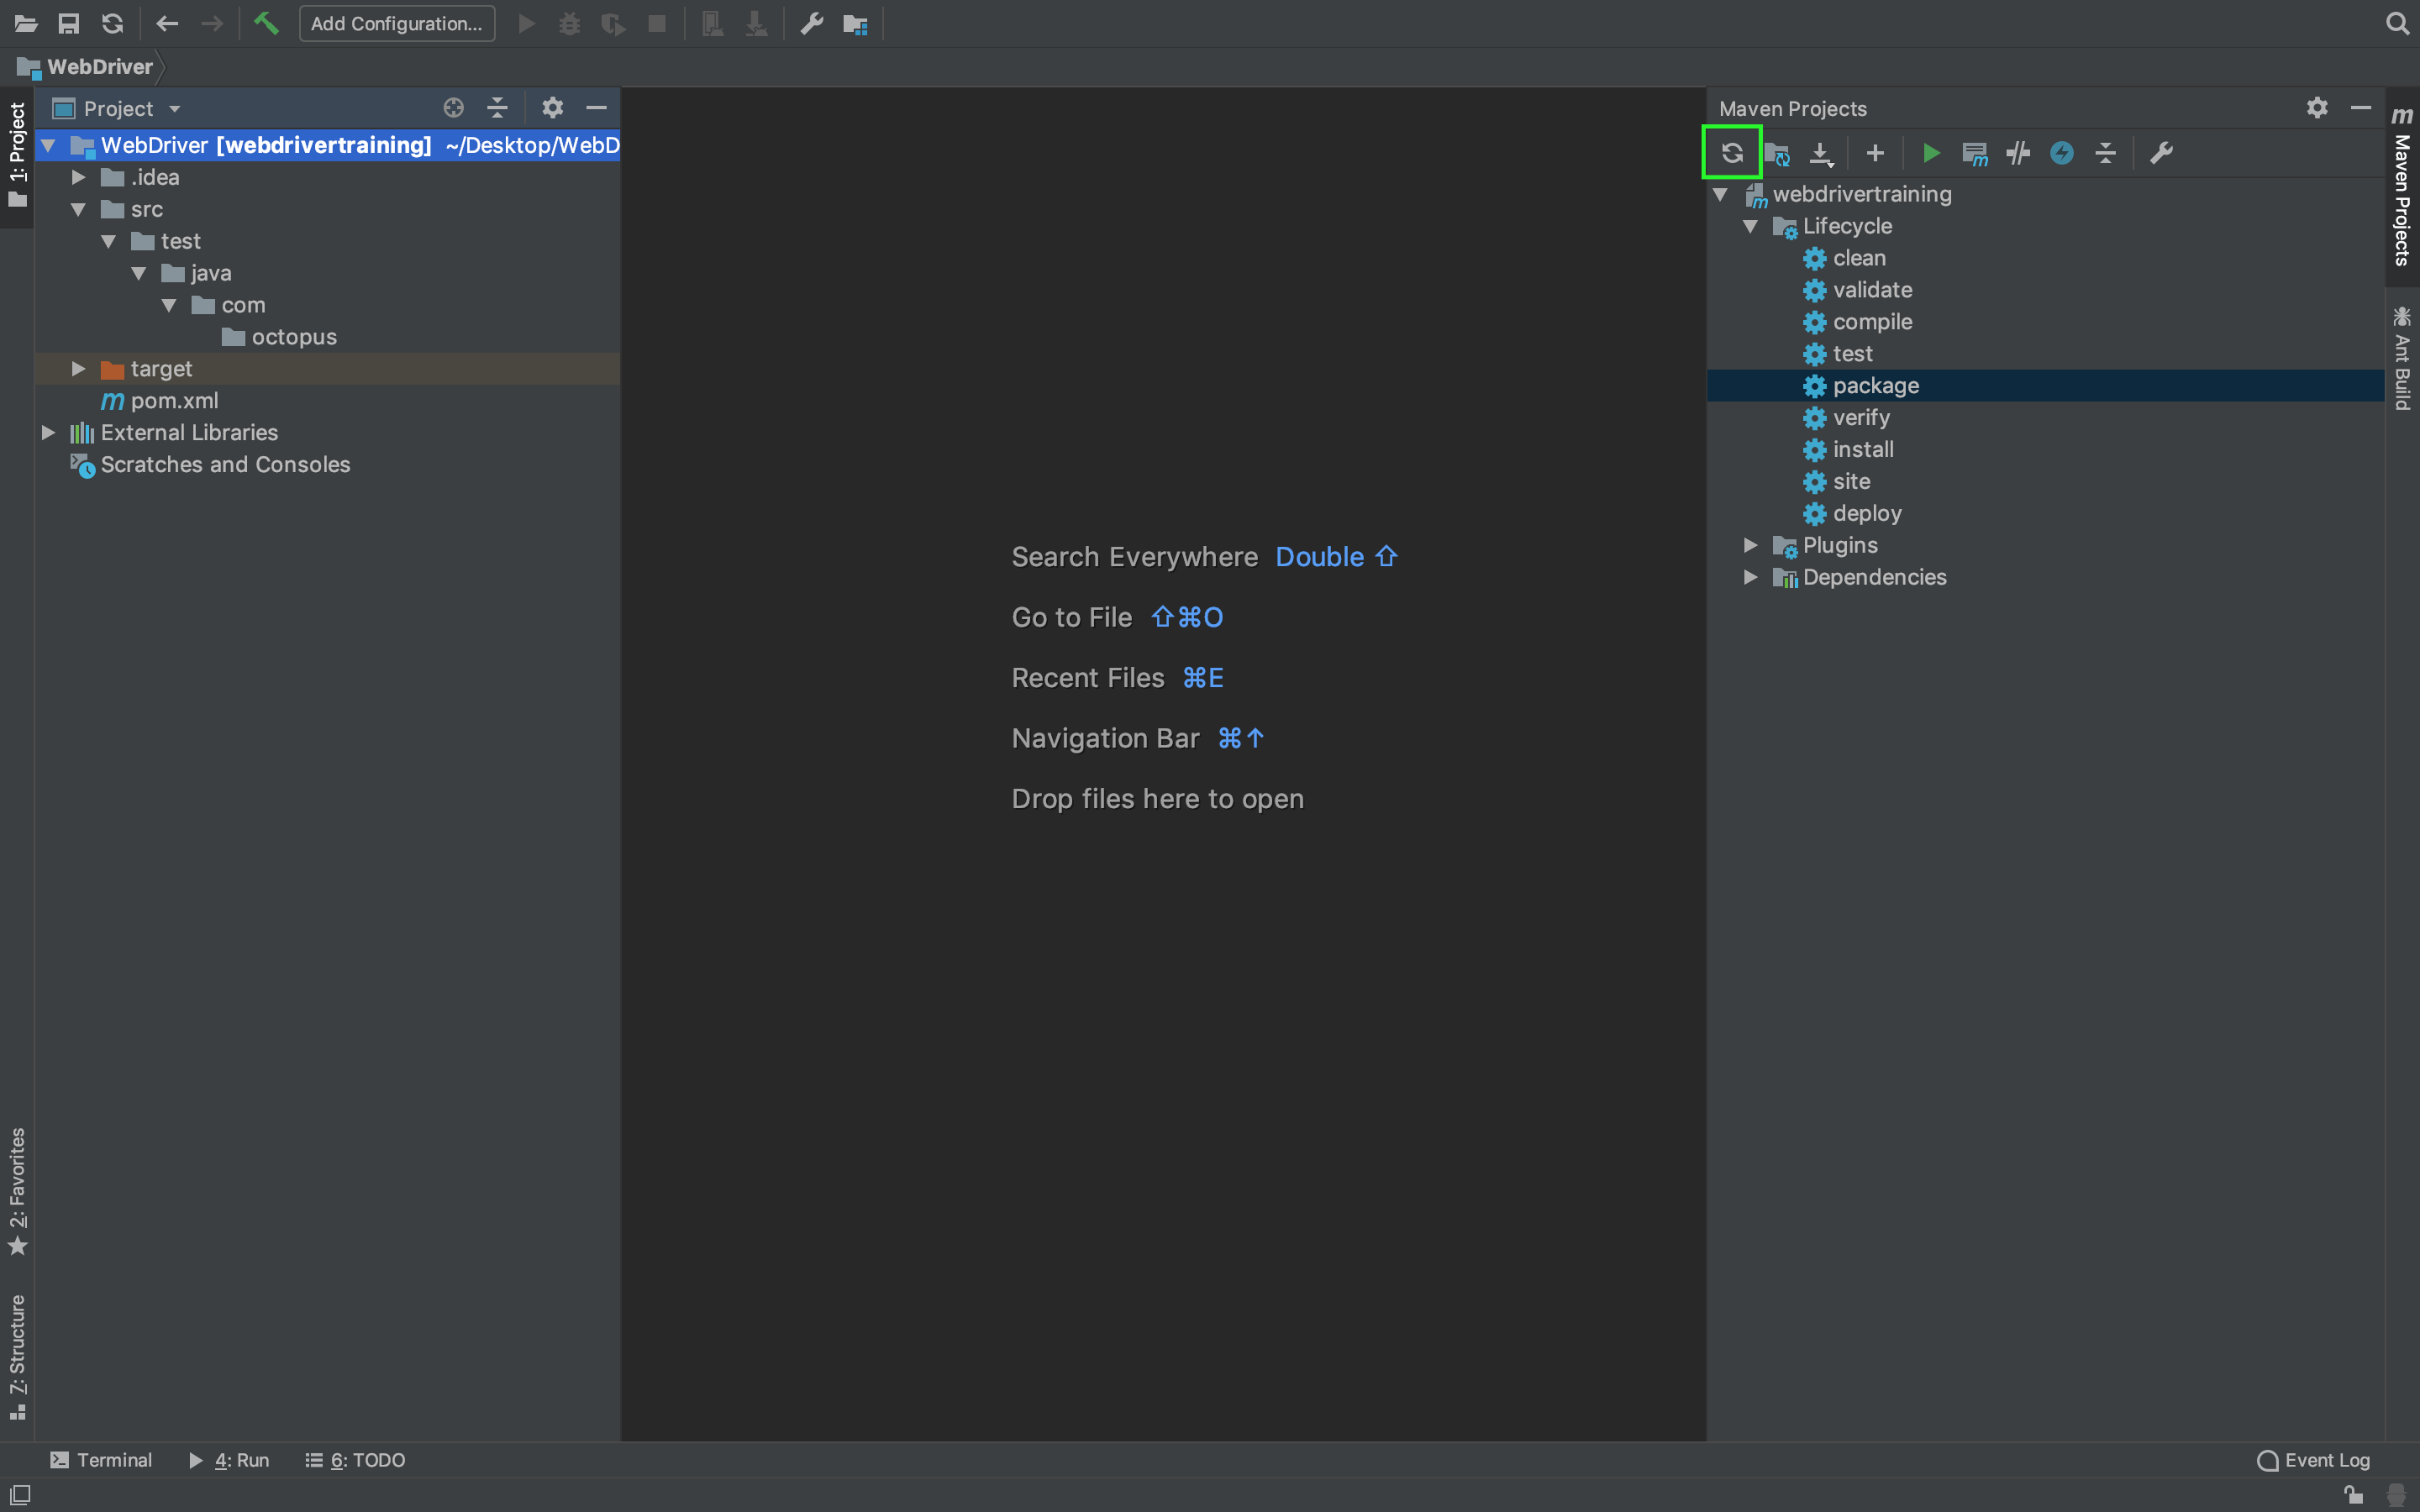
Notice now that the java folder has a green icon. This is an indication that IntelliJ recognizes this folder as one that contains Java source files.

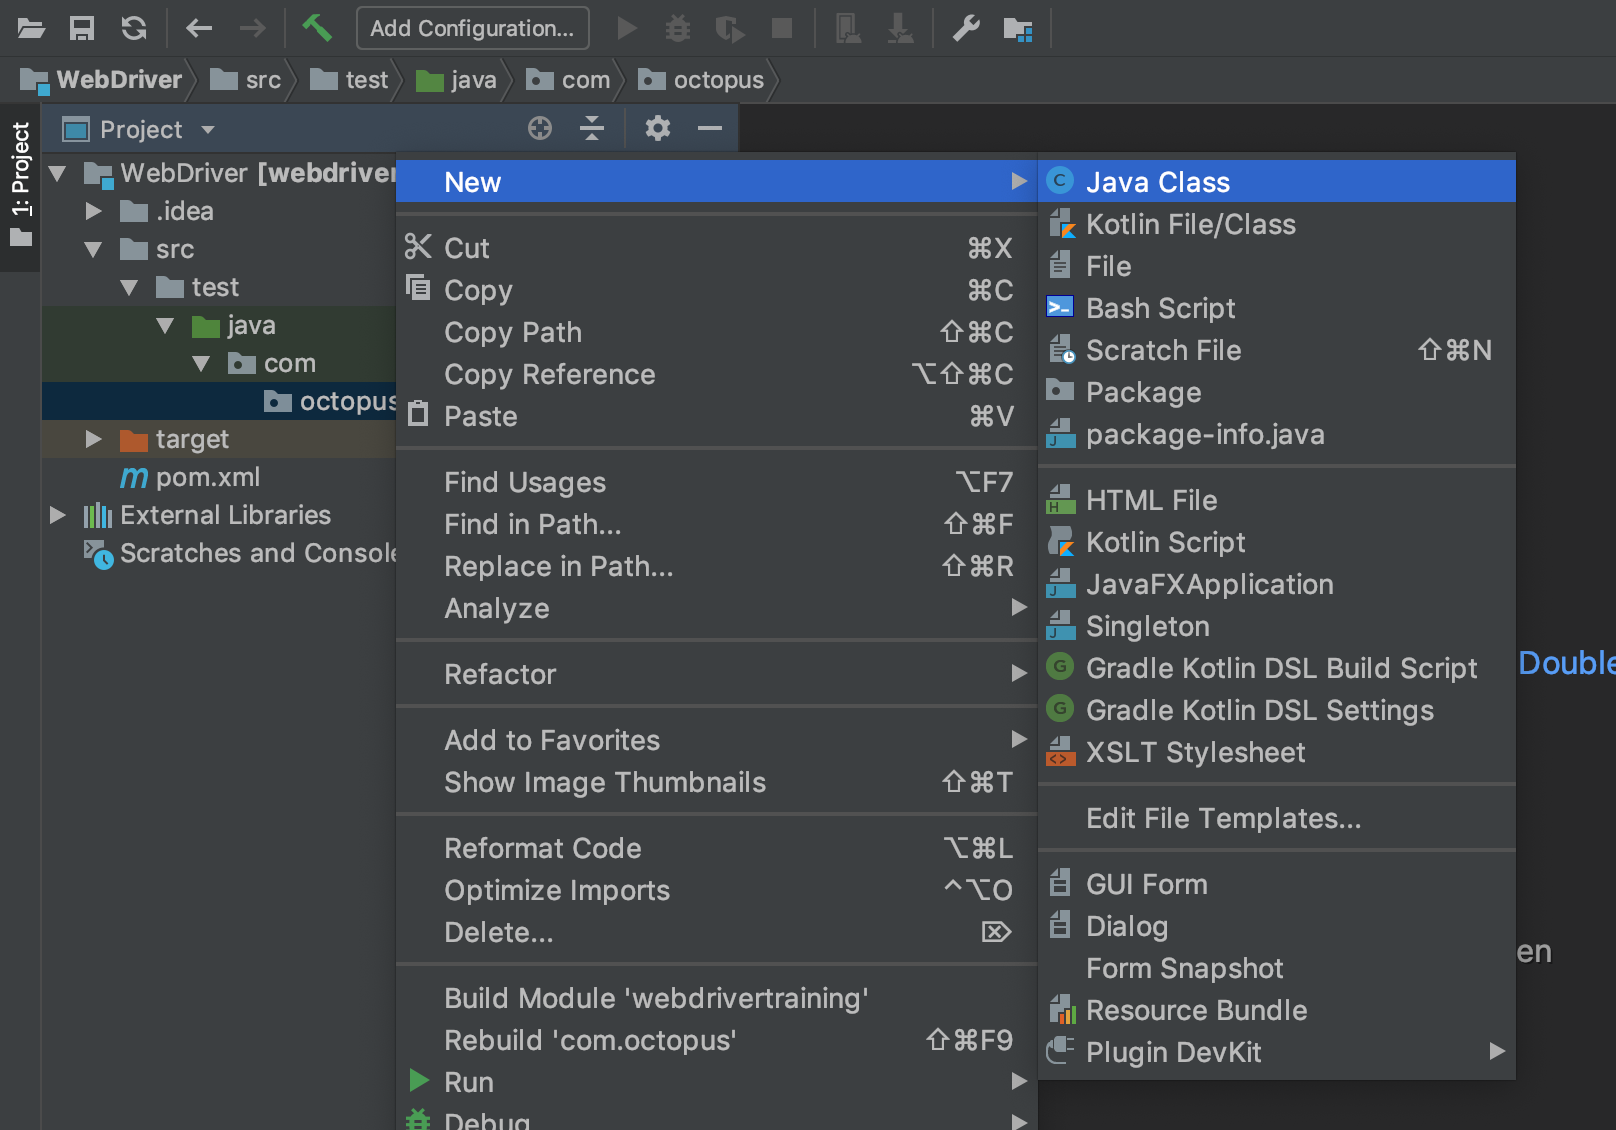
Inside the octopus directory we will create a class called InitialTest. To do this, right click on the octopus directory and select {{New,Java Class}}.
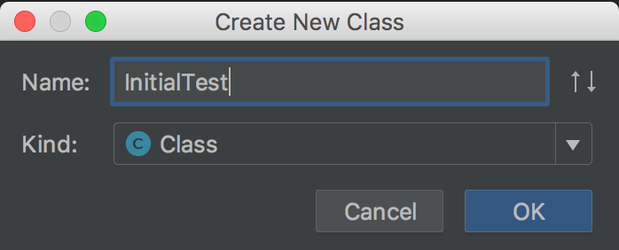
Enter InitialTest as the class name and click the OK button.
Replace the default class code with the following contents:
package com.octopus;

import org.junit.Test;

import org.openqa.selenium.chrome.ChromeDriver;

public class InitialTest {
  @Test
  public void openURL() {
    final ChromeDriver chromeDriver = new ChromeDriver();
    chromeDriver.get("https://octopus.com/");
    chromeDriver.quit();
  }
}
Let’s break down this code.
The first step is to get an instance of the driver class that matches the browser that will be under our control. In this case, the browser we want to control is Google Chrome, whose corresponding driver class is ChromeDriver. This class comes from the org.seleniumhq.selenium:selenium-java dependency we added in the last post:
final ChromeDriver chromeDriver = new ChromeDriver();Next, we use the get() method to open up a URL. This is equivalent to entering the URL into the address bar and hitting the enter key:
chromeDriver.get("https://octopus.com/");Finally, we call the quit() method to close the browser and shutdown the driver:
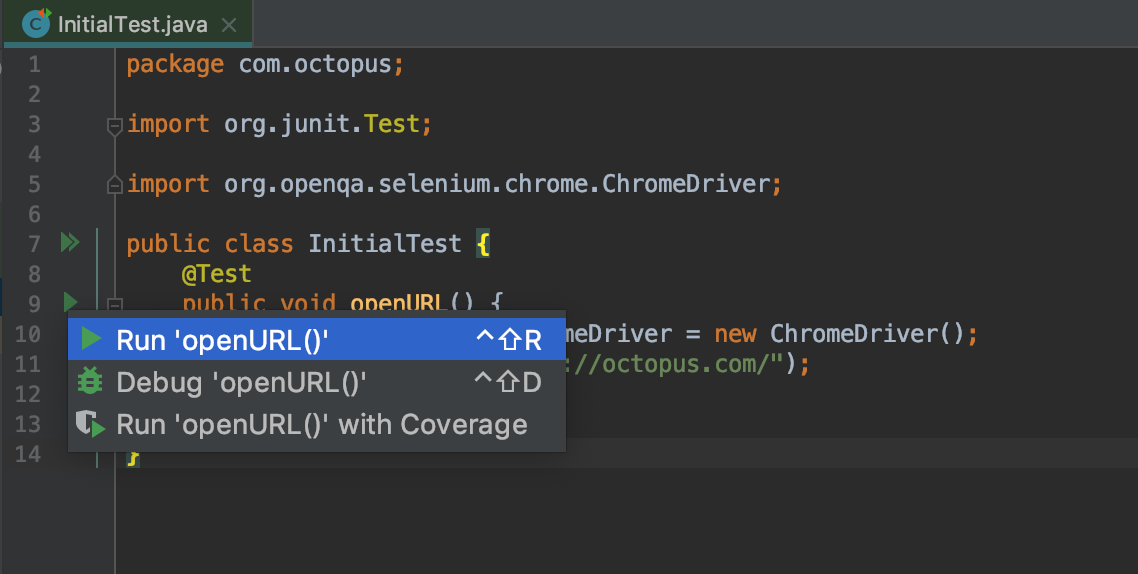
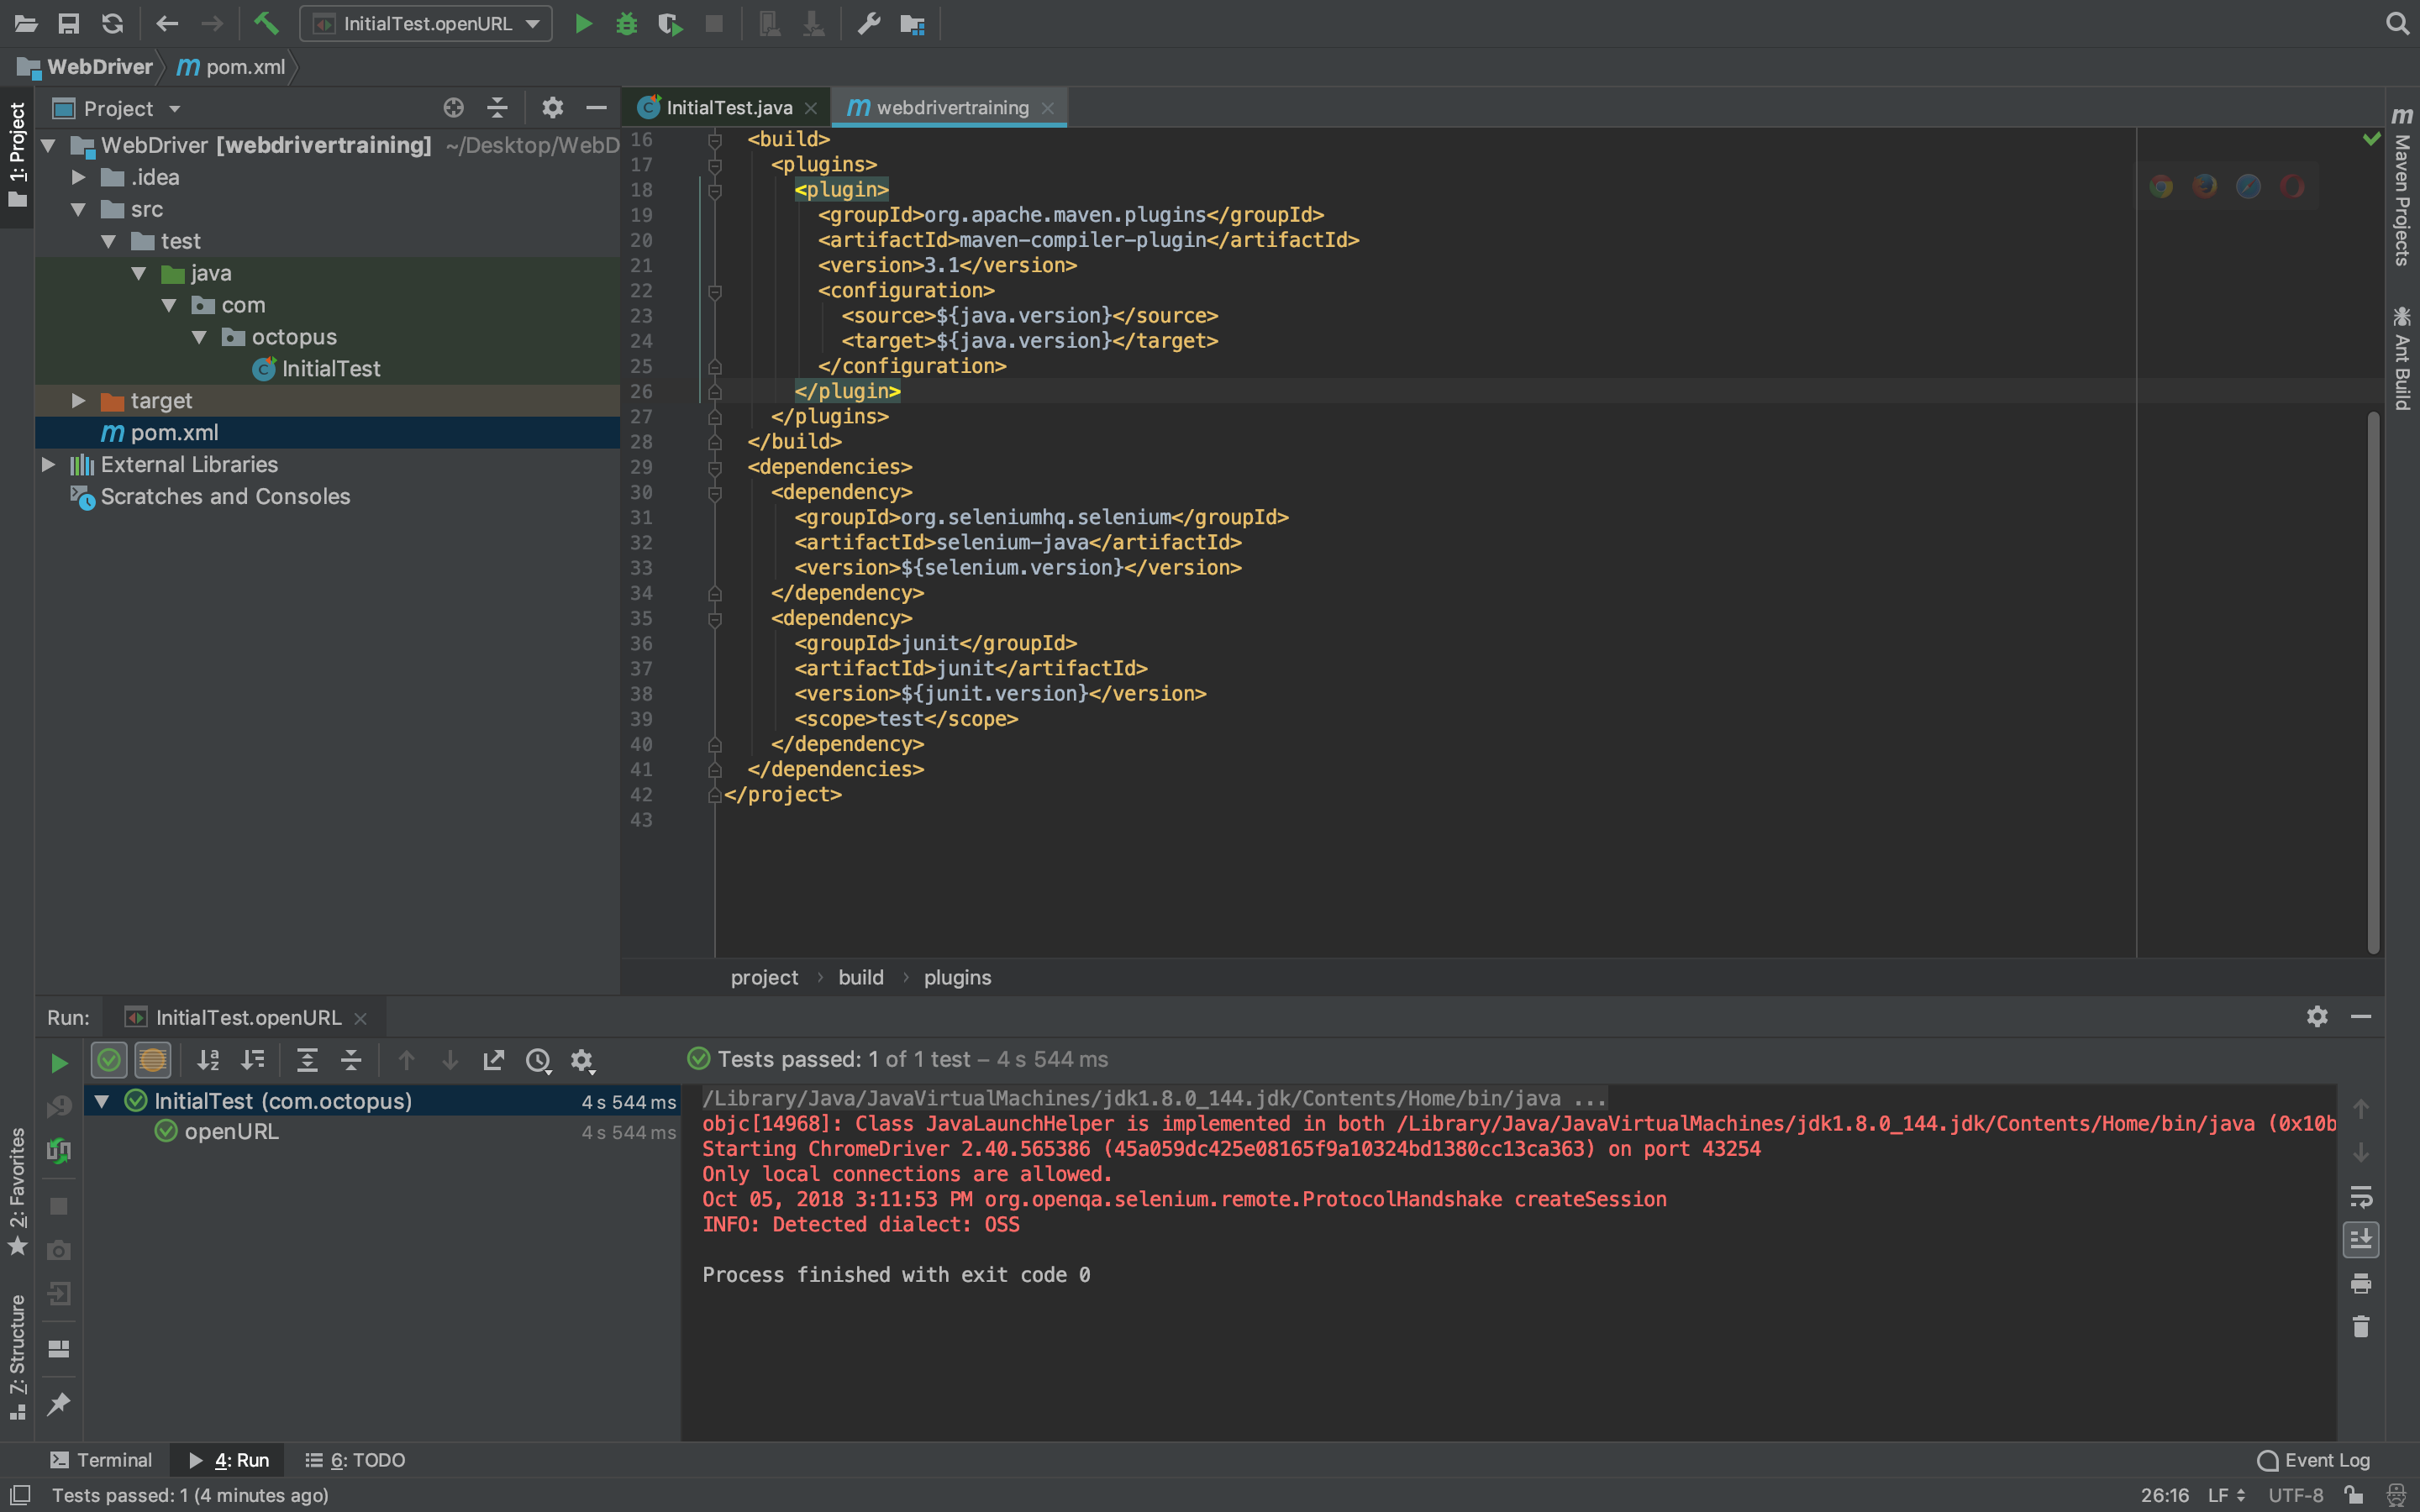
chromeDriver.quit();To run the test in IntelliJ, click the green icon next to the openURL method and click Run openURL().
Running this test gives us the following error:
java.lang.IllegalStateException: The path to the driver executable must be set by the webdriver.chrome.driver system property; for more information, see
https://github.com/SeleniumHQ/selenium/wiki/ChromeDriver. The latest version can be downloaded from
http://chromedriver.storage.googleapis.com/index.html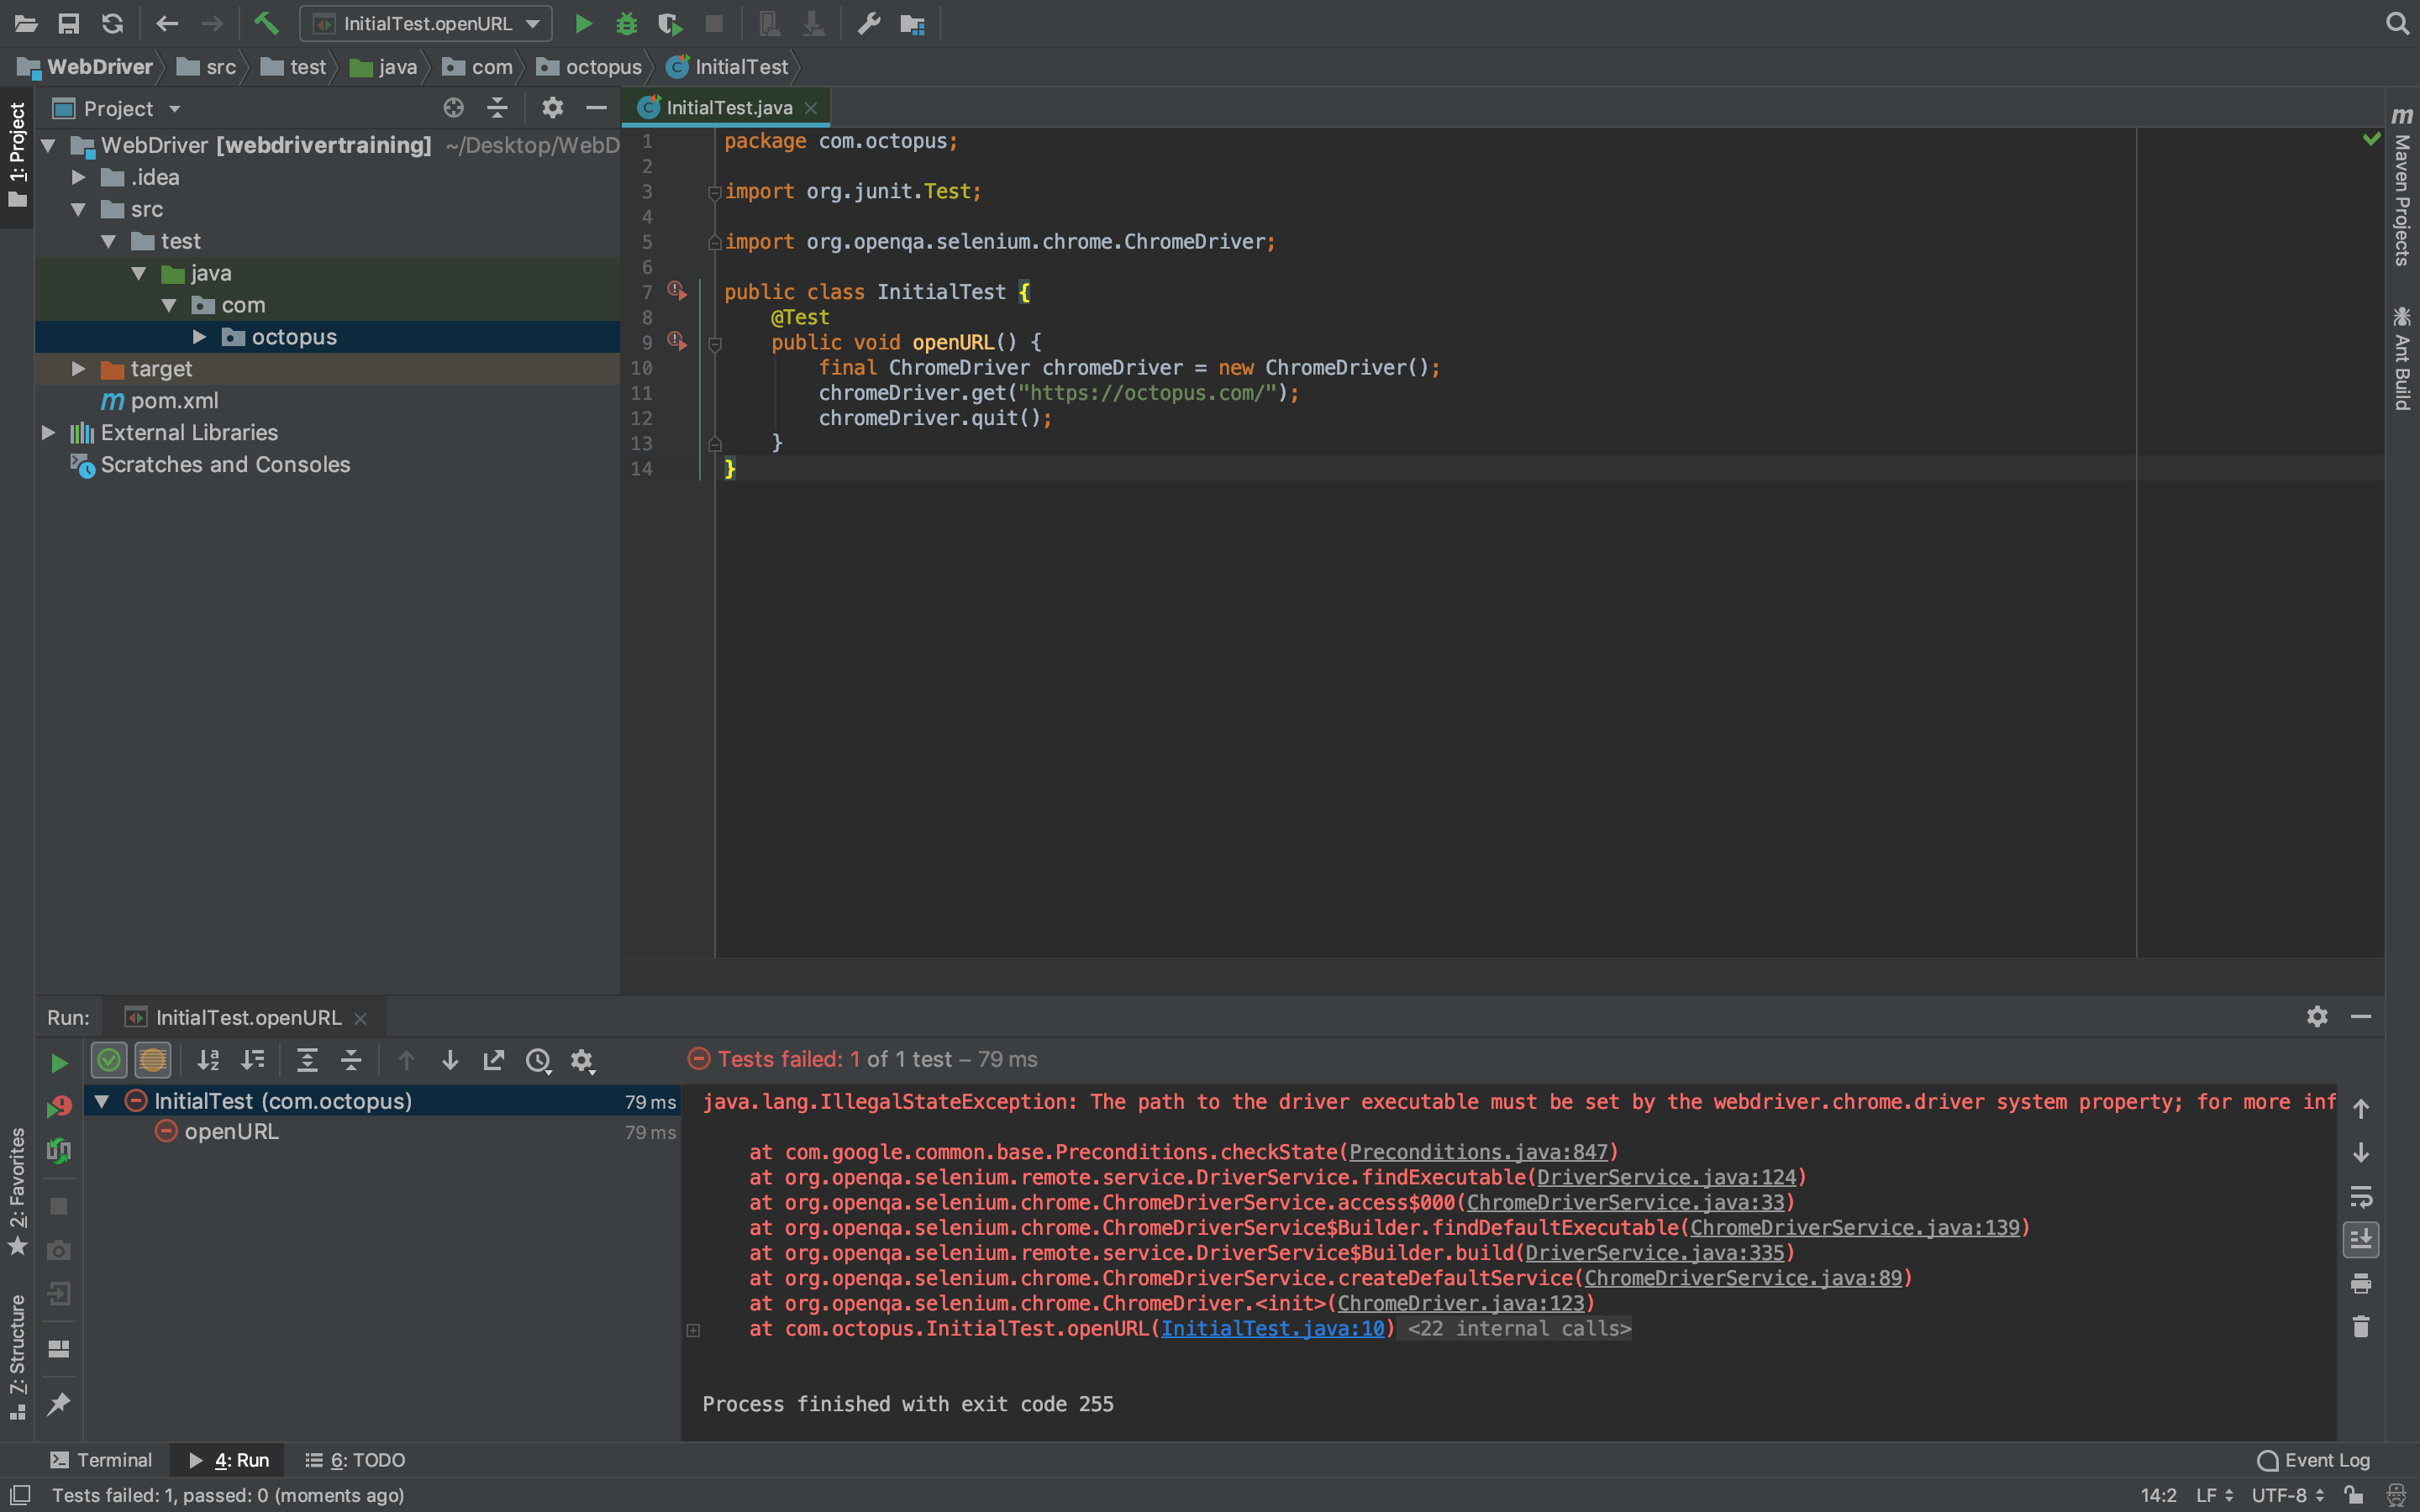
The IllegalStateException exception was thrown when we attempted to run the test because the driver executable could not be found. Helpfully the error points us to http://chromedriver.storage.googleapis.com/index.html, where the driver can be downloaded.
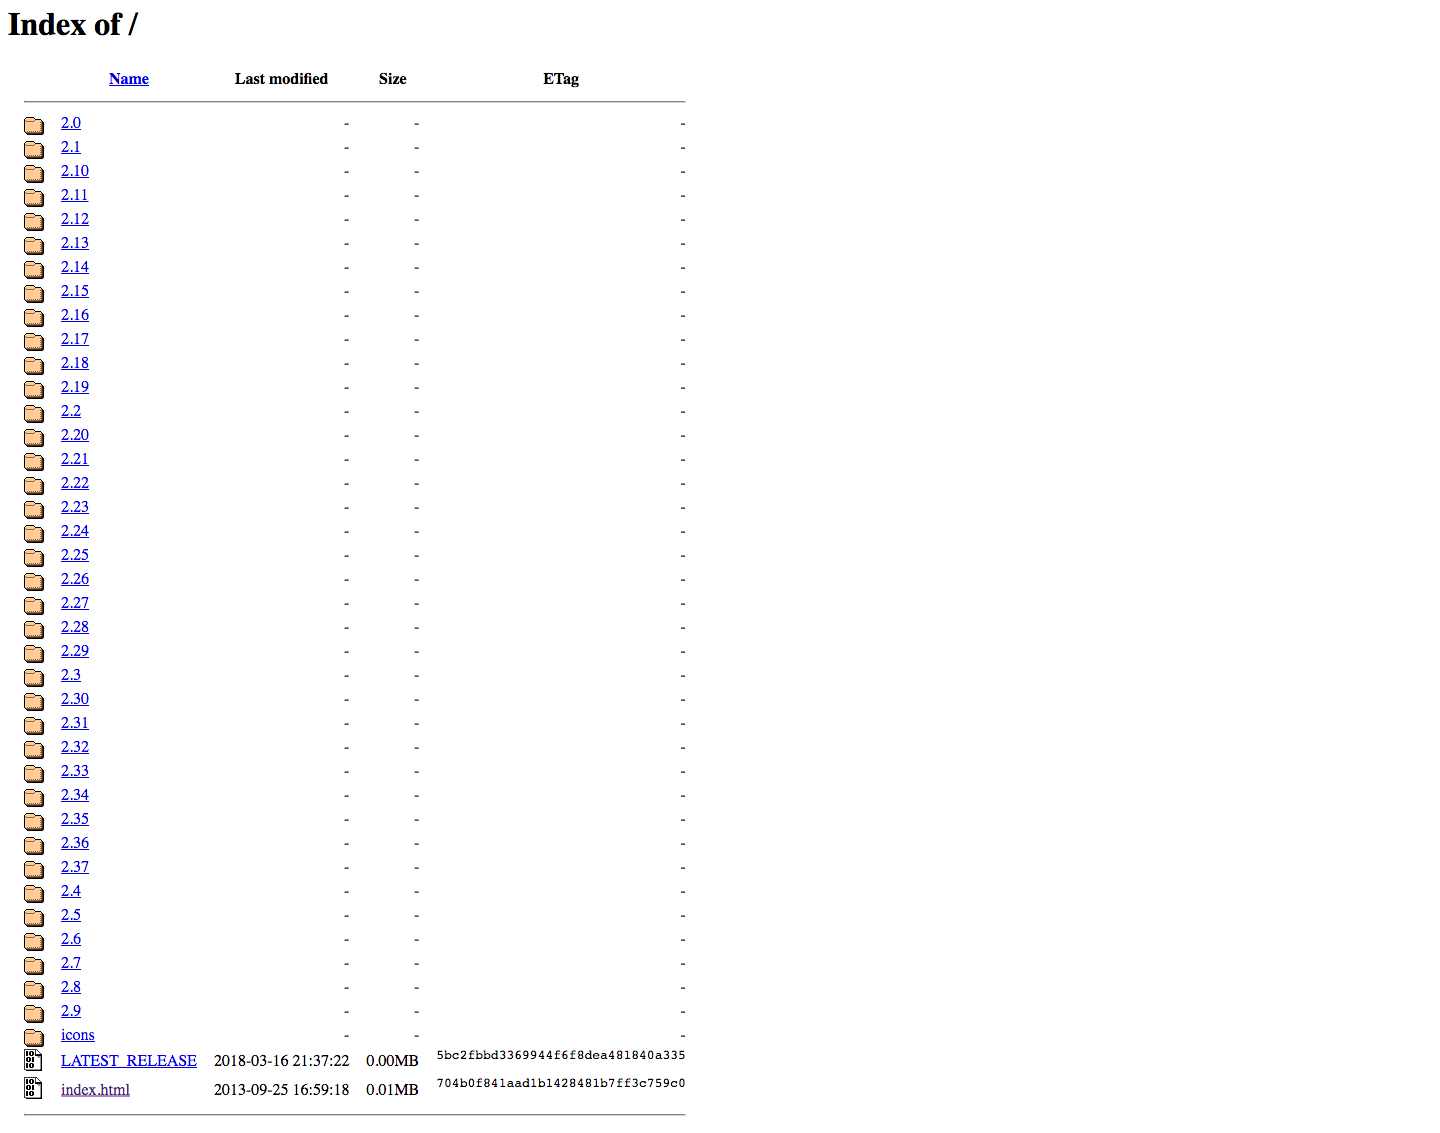
Opening this link reveals a number of directories that correspond to the version of the driver executable. You will almost always want to get the latest version, although the sorting applied to the list does not make the latest version apparent.
In the screenshot below, you can see that the directories are sorted using a string comparison, which results in version 2.4 appearing after version 2.37. However, from this list (and these versions will have changed by the time you read this) you actually want to download version 2.37 because this is the latest version available.
Alternatively, you can visit the website at https://sites.google.com/a/chromium.org/chromedriver/downloads, which provides a direct link to the latest version.
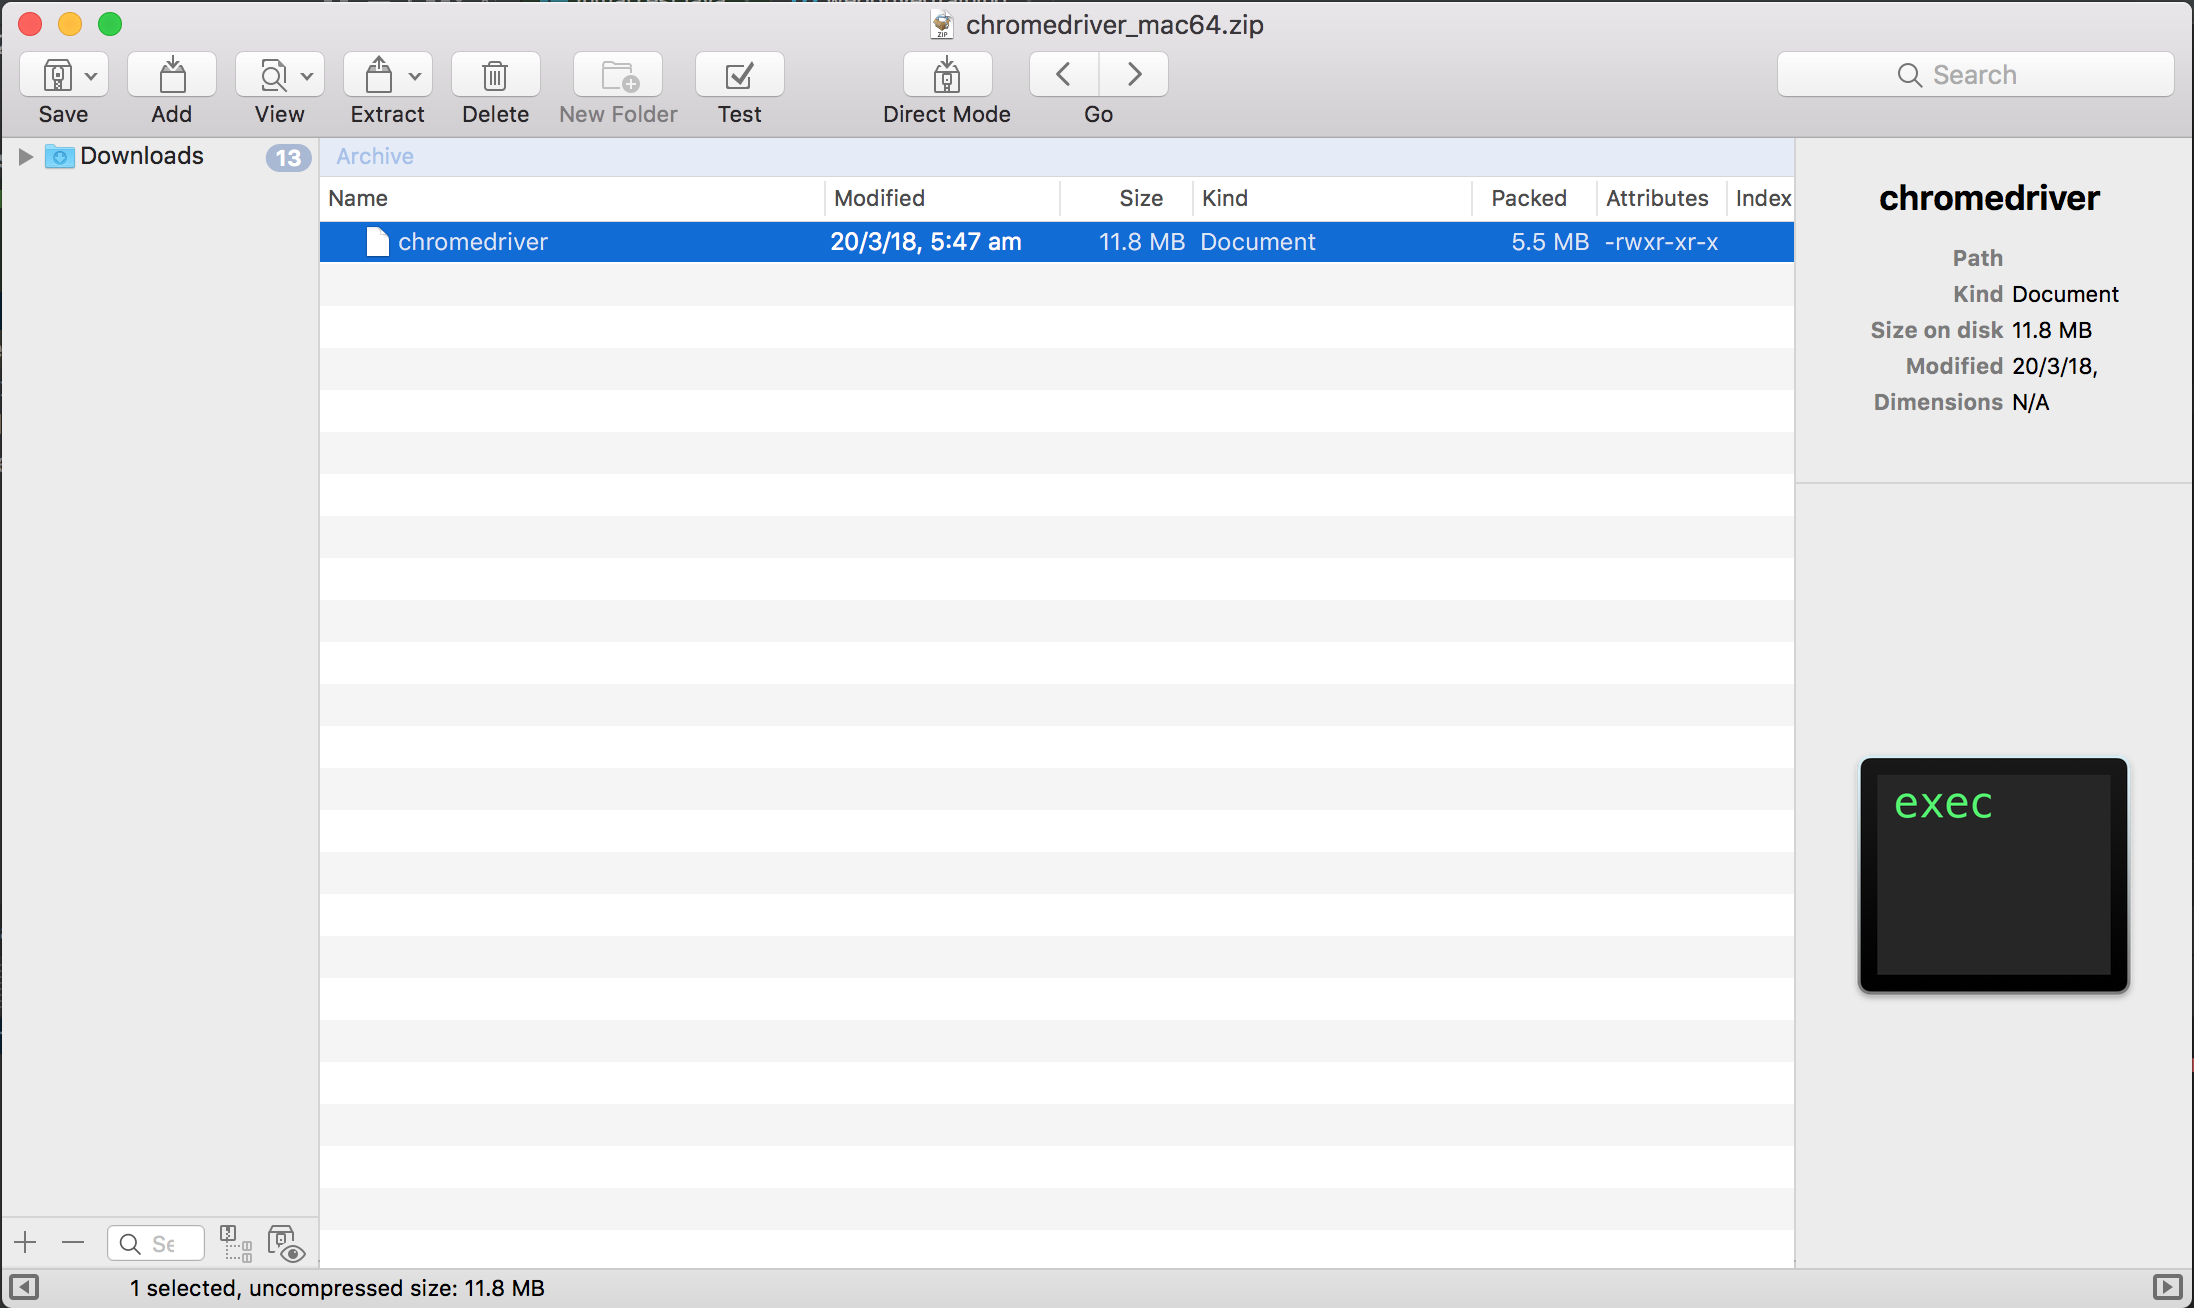
Inside the directory you will find a number of zip files corresponding to the platform you are running the test against.

Inside these zip files is the driver executable. For Linux and Mac users, the executable is called chromedriver, while for Windows users it is called chromedriver.exe.
The exception message tells us that we need to set the webdriver.chrome.driver system property to the location of the executable we extracted from the zip file.
This is done by configuring the maven-surefire-plugin in the pom.xml file. Below is a snippet showing the new plugin configuration:
<project xmlns="http://maven.apache.org/POM/4.0.0"
xmlns:xsi="http://www.w3.org/2001/XMLSchema-instance"
xsi:schemaLocation="http://maven.apache.org/POM/4.0.0
http://maven.apache.org/xsd/maven-4.0.0.xsd">

  <!-- ... -->

  <build>
    <plugins>

    <!-- ... -->

    <!--
    This is the configuration that has been added to define the webdriver.chrome.driver system property during a test.
    -->

      <plugin>
        <groupId>org.apache.maven.plugins</groupId>
        <artifactId>maven-surefire-plugin</artifactId>
        <version>2.21.0</version>
        <configuration>
          <systemPropertyVariables>
          <!--
          This element defines the webdriver.chrome.driver
          system property.
          -->
          <webdriver.chrome.driver>/Users/Shared/tools/chromedriver</webdriver.chrome.driver>
          </systemPropertyVariables>
        </configuration>
      </plugin>
    </plugins>
  </build>
</project>
In this example, I have extracted the driver executable to /Users/Shared/tools/chromedriver.
The alternative to defining the webdriver.chrome.driver system property is to place the driver executable in a directory found in the PATH environment variable. When the driver executable is found on the PATH, you do not need to configure the <systemPropertyVariables> element as we did above, as the file can be automatically found.
On a MacOS system, you can add new directories to the PATH environment variable by adding the directory to the file /etc/paths.
In the example below, you can see from the output of the cat command (which prints the contents of a file to the screen) that the directory /Users/Shared/tools has been added to the /etc/paths file:
$ cat /etc/paths

/usr/local/bin
/usr/bin
/bin
/usr/sbin
/sbin
/Users/Shared/tools
You many need to log out and back in again for this change to take effect, and once it has you can confirm that the new directory is in the PATH environment variable by running echo $PATH:
$ echo $PATH
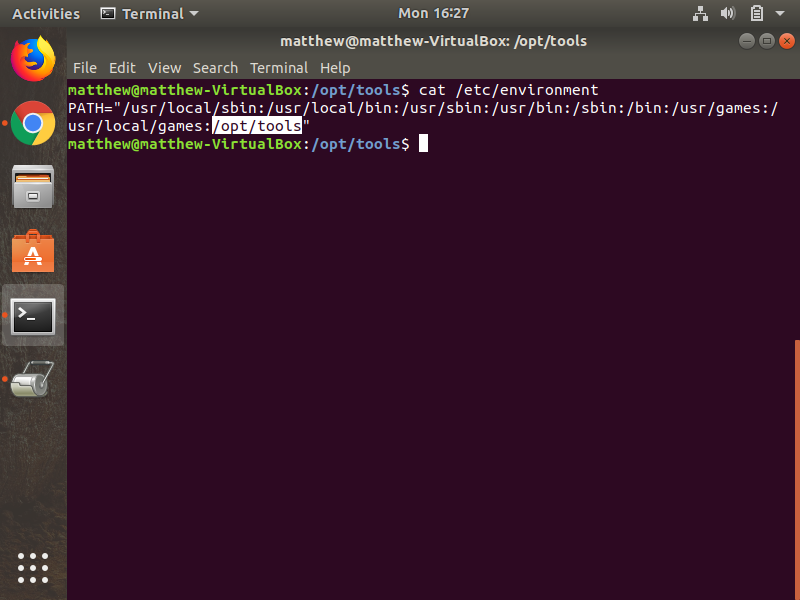
/opt/local/bin:/opt/local/sbin:/usr/local/bin:/usr/bin:/bin:/usr/sbin:/sbin:/Users/Shared/toolsIn Linux distributions like Ubuntu, additional custom software is typically installed into the /opt directory. For example, you may save the Chrome driver executable to /opt/tools/chromedriver.
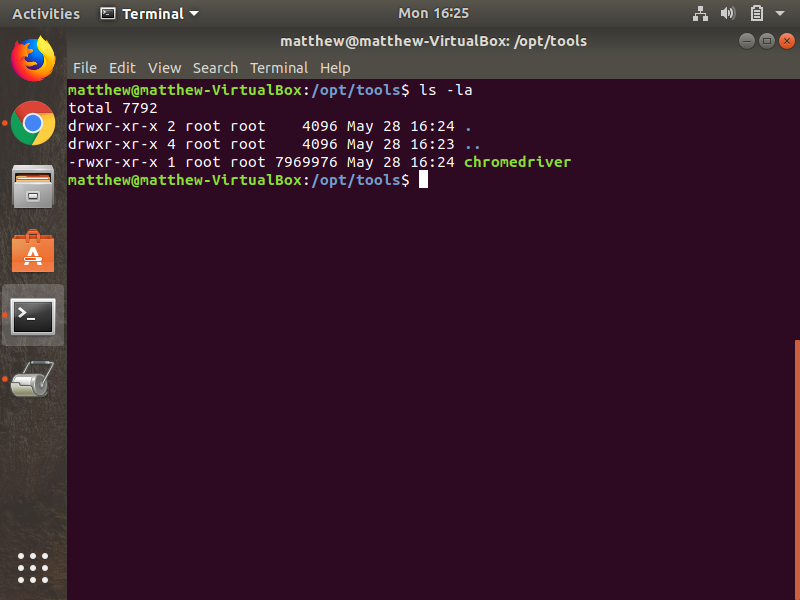
To add the /opt/tools directory to the PATH, add it to the PATH variable in /etc/environment. In the screenshot below you can see that /opt/tools has been added to the end of the list of directories already assigned to the PATH environment variable. You may need to log out and back in for the change to take effect after you edit the /etc/environment file.
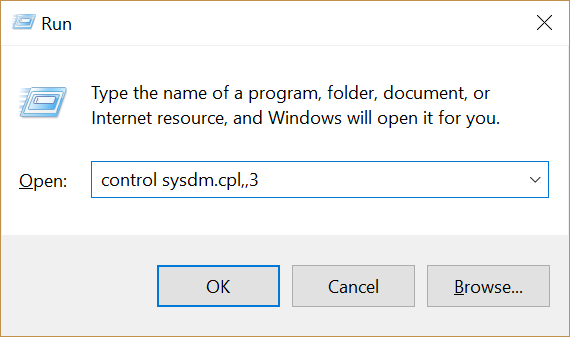
In Windows you may want to save the driver to a path like C:\tools\chromedriver.exe. To add this directory to the PATH, you need to edit the system properties.
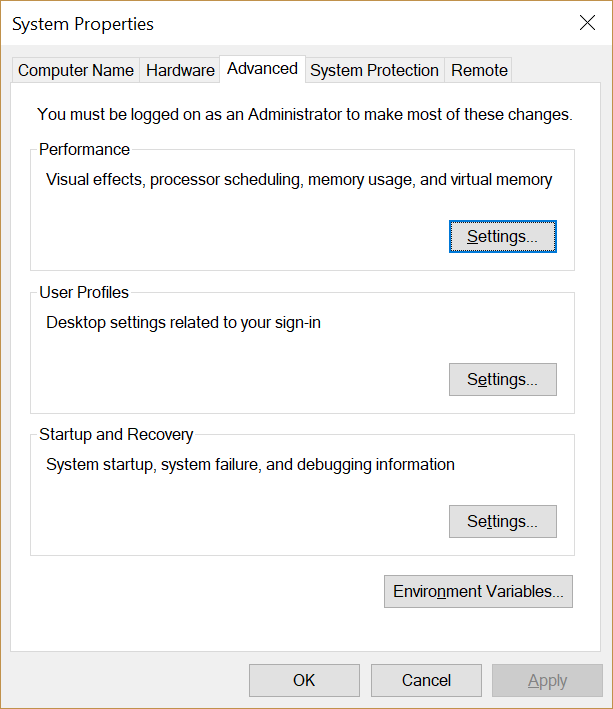
To see the system properties, click the Windows Key + R to open the Run dialog, and enter control sysdm.cpl,,3 as the command to run. Click the OK button.
This will open the System Properties dialog box. Click the Environment Variables button.
The environment variables are split between those at the top, which are specific to the current user, and those at the bottom, which are shared among all users. Both lists will have a Path variable. We’ll edit the System variables to ensure the driver executables are available for all users, so double click the Path item in the System variables list.
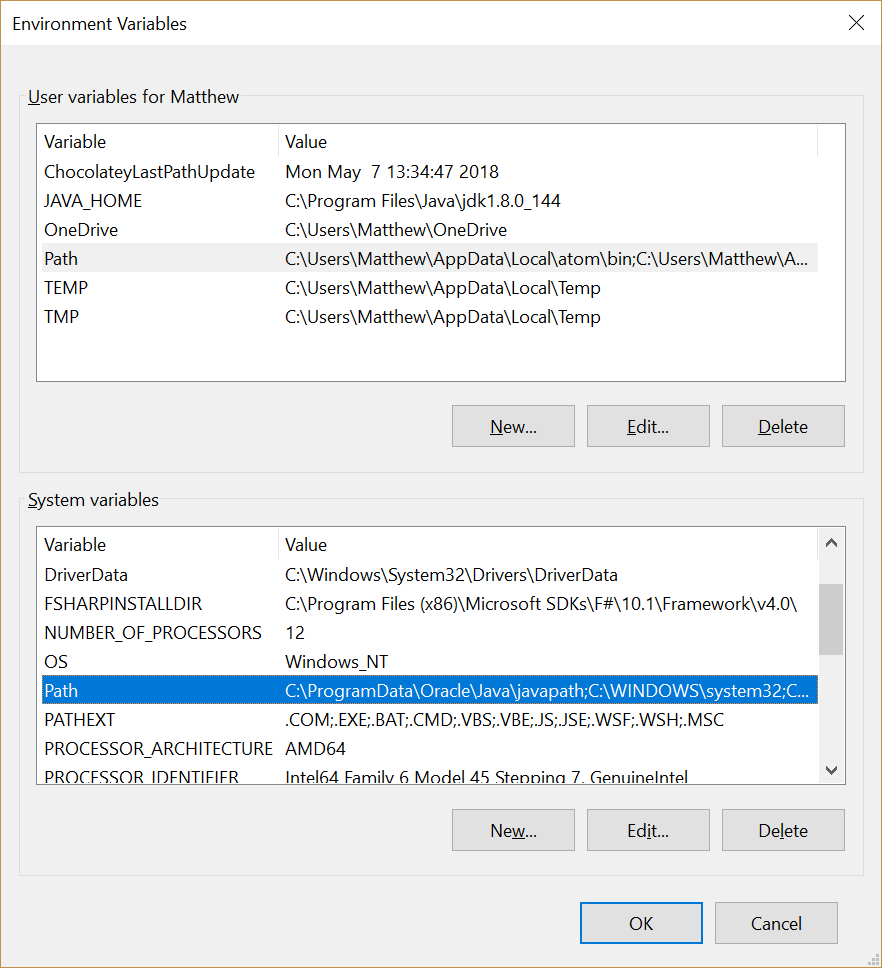
Click the New button to add a new path to the environment variable.
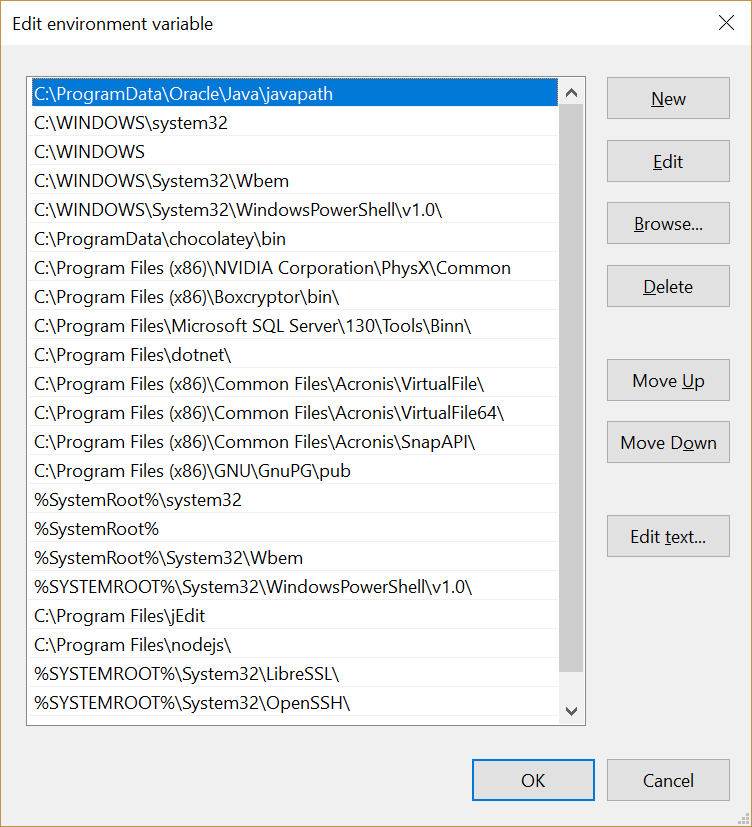
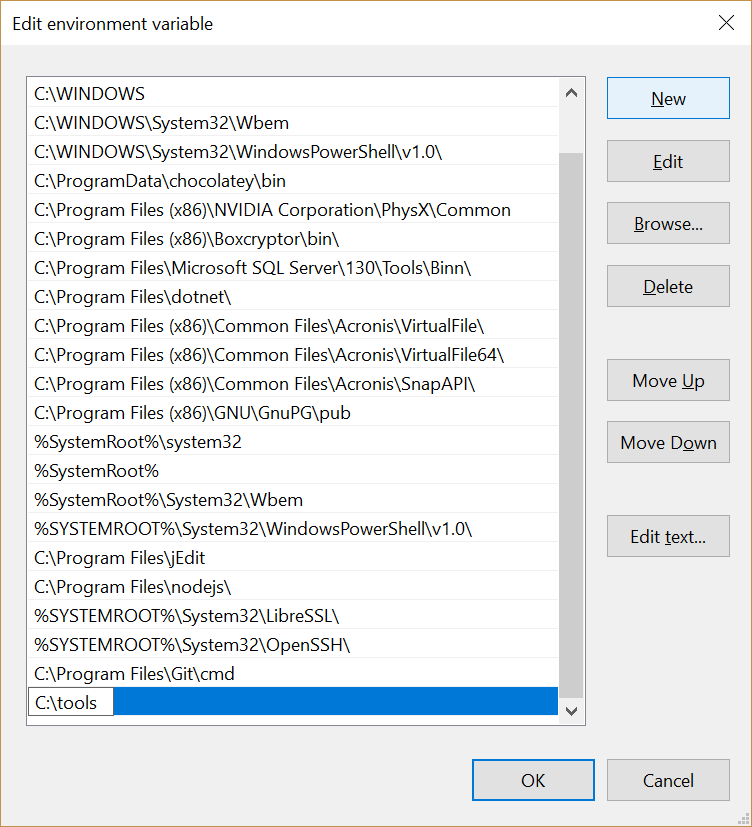
Add C:\tools to the list. Then click the OK button on all the open dialogs to save the changes.
Given the option of adding the driver executable to the path or setting the webdriver.chrome.driver system property, I usually prefer to extract the driver executables into a directory in the PATH environment variable. Having the driver executables for each browser saved in a common location makes it easier to switch between browsers without having to remember the specific system property to define for each, or juggle different file names depending on the operating system the test is running on.
So at this point, we can run the test without error. You will notice the Chrome browser launch, open up https://octopus.com/, and close again. We have now successfully run our first WebDriver test.
You will also notice though, the browser window opened and closed quite quickly. In fact, you may not have even seen the browser window at all.
Sometimes it is useful to leave the browser open after a test has run. Especially when debugging tests it is convenient to be able to interact with the browser directly after a test has failed in order to determine the reason for the failed test.
Leaving the browser open is as simple as not calling the quit() method on the driver object. Since it is the call to the quit() method that closes the browser and shuts down the driver, not making this call will leave the browser open after the test has finished.
In the code below I have commented out the call to chromeDriver.quit(), and when this test is run the Chrome browser it launches will remain open on the screen:
package com.octopus;
import org.junit.Test;
import org.openqa.selenium.chrome.ChromeDriver;
public class InitialTest {
@Test
public void openURL() {
final ChromeDriver chromeDriver = new ChromeDriver();
chromeDriver.get("https://octopus.com/");
//chromeDriver.quit();
}
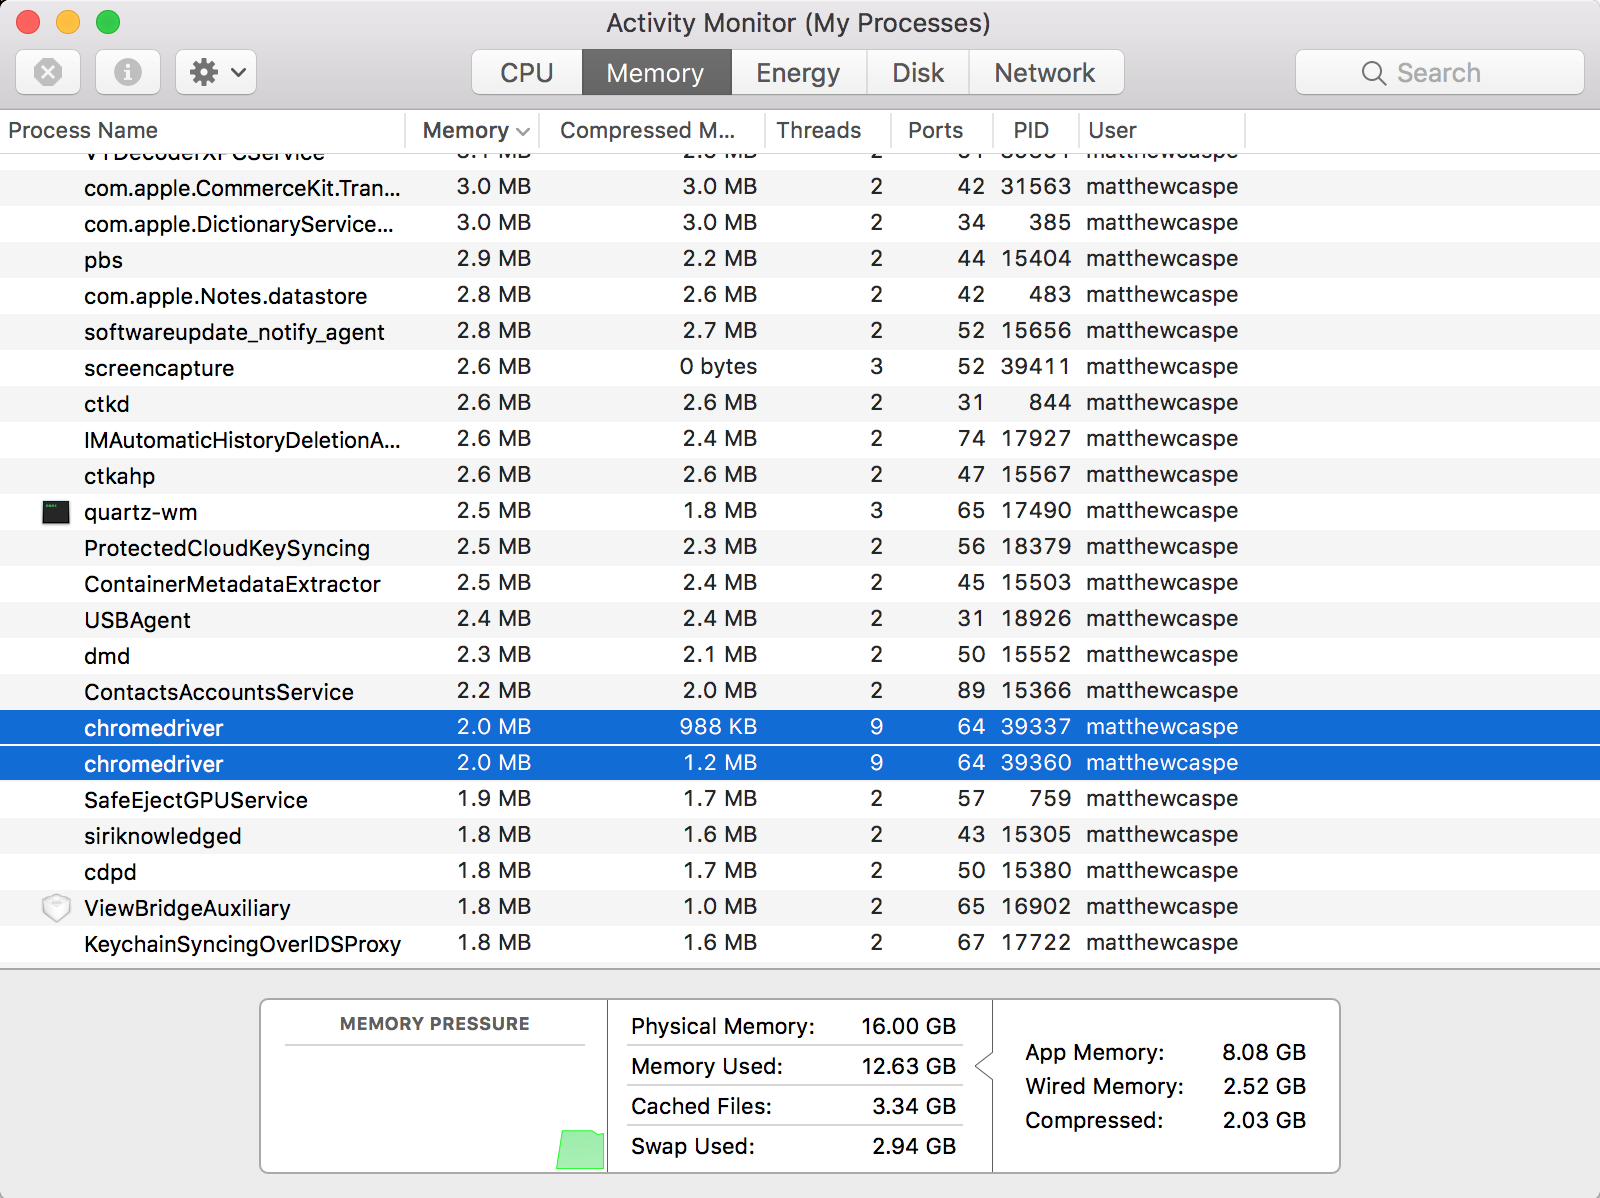
}A word of warning though. Not calling the quit() method will leave running instances of the driver executable, and it is up to you to manually end these processes.
In the screenshot below you can see a number of chromedriver instances that have been left running because the driver’s quit() method was not called. These instance have to be manually stopped, otherwise they will continue to accumulate with each test you run, with each instance consuming additional system memory.
This screenshot shows the MacOS Activity Monitor, and in it we see instances of chromedriver have been left running after the test completed. These need to be manually closed to reclaim the resources they consume.
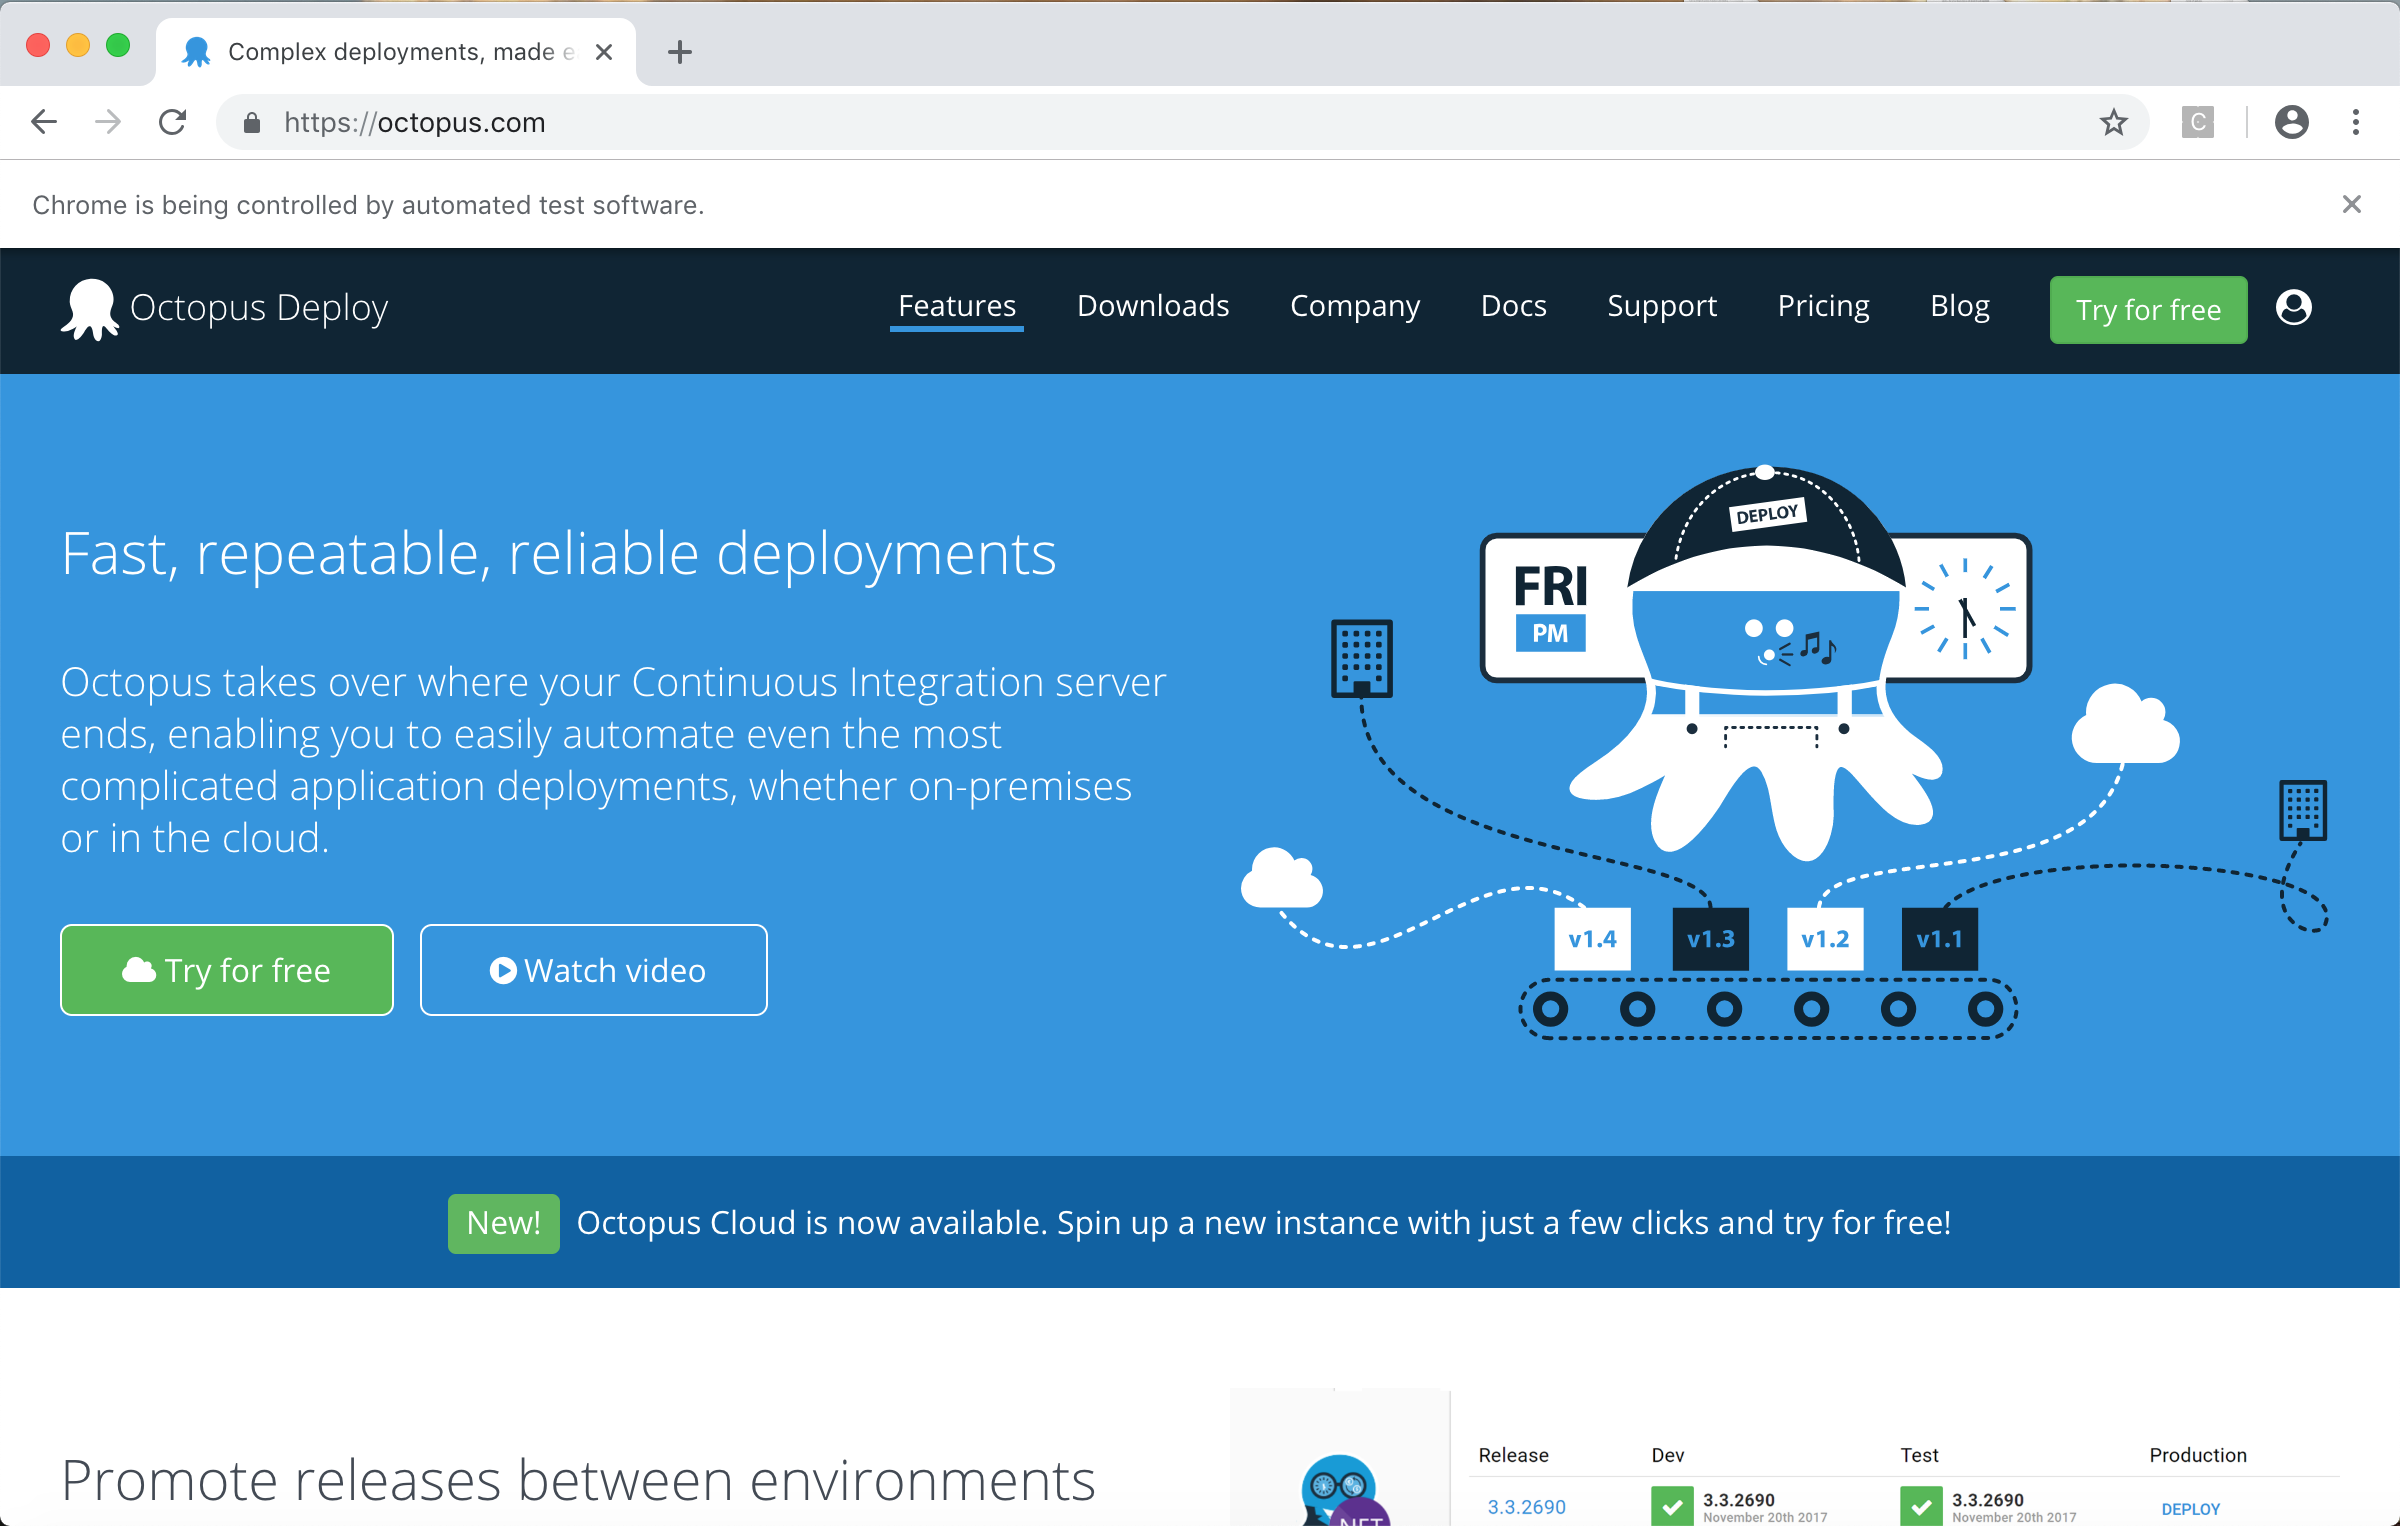
When Chrome is being controlled by WebDriver, it displays a warning message saying Chrome is being controlled by automated test software. This is a security feature in Chrome to let users know when their browser is being controlled by software written with the WebDriver API. This warning can not be closed or prevented using WebDriver, although it can be manually closed.
It was possible in previous versions of Chrome to disable this bar using the --disable-infobars argument, but this option was removed because it could be misused for malicious purposes. See https://chromium.googlesource.com/chromium/src/+/d869ab3350d8ebd95222b4a47adf87ce3d3214b1 for more details on why this option was removed.
And with that we have a simple but fully functional WebDriver test controlling the Chrome web browser, giving us a foundation on which to start building some more advanced tests.
Firefox tests
For our tests to launch Firefox, it needs to be installed. Firefox can be downloaded from https://firefox.com.
Then the geckodriver executable needs to be placed on the path from one of the platform specific downloads available from Geckodriver on GitHub.
The executable name for MacOS and Linux is geckodriver, and for Windows it is geckodriver.exe.
Finally, an instance of the FirefoxDriver class is created. This class has the same get() method as the ChromeDriver class, because they both inherit from RemoteWebDriver.
You can see the FirefoxDriver class being created in the new openURLFirefox() method shown below:
package com.octopus;

import org.junit.Test;
import org.openqa.selenium.chrome.ChromeDriver;
import org.openqa.selenium.firefox.FirefoxDriver;

public class InitialTest {
    @Test
    public void openURL() {
        final ChromeDriver chromeDriver = new ChromeDriver();
        chromeDriver.get("https://octopus.com/");
        chromeDriver.quit();
    }

    @Test
    public void openURLFirefox() {
        final FirefoxDriver firefoxDriver = new FirefoxDriver();
        firefoxDriver.get("https://octopus.com/");
        firefoxDriver.quit();
    }
}
Running the openURLFirefox() unit test will open the Firefox browser, open the page at https://octopus.com/, and then close the browser again.
This post is part of a series about creating a Selenium WebDriver test framework.
Tags:


