In the 2017 JetBrains developer ecosystem survey Jenkins topped the list of CI systems. With a wealth of plugins and a huge user base, Jenkins is a powerful solution for building your software projects, and in this blog post we’ll take a look at how to get a basic Jenkins instance up and running.
Installing Linux Tools
To start, I have a fresh install of Ubuntu 17.10.
We need to install a bunch of handy tools that don’t come with the standard Ubuntu installation. Only git and openjdk-8-jdk are required for Jenkins, but I use the other tools commonly enough to warrant installing them as a matter of course.
sudo apt-get install htop vim iftop git openssh-server openjdk-8-jdkInstalling Jenkins
To install Jenkins, we’ll use the custom repo documented here.
wget -q -O - https://pkg.jenkins.io/debian-stable/jenkins.io.key | sudo apt-key add -
deb https://pkg.jenkins.io/debian-stable binary/
sudo apt-get update
sudo apt-get install jenkins
Initial Jenkins Configuration
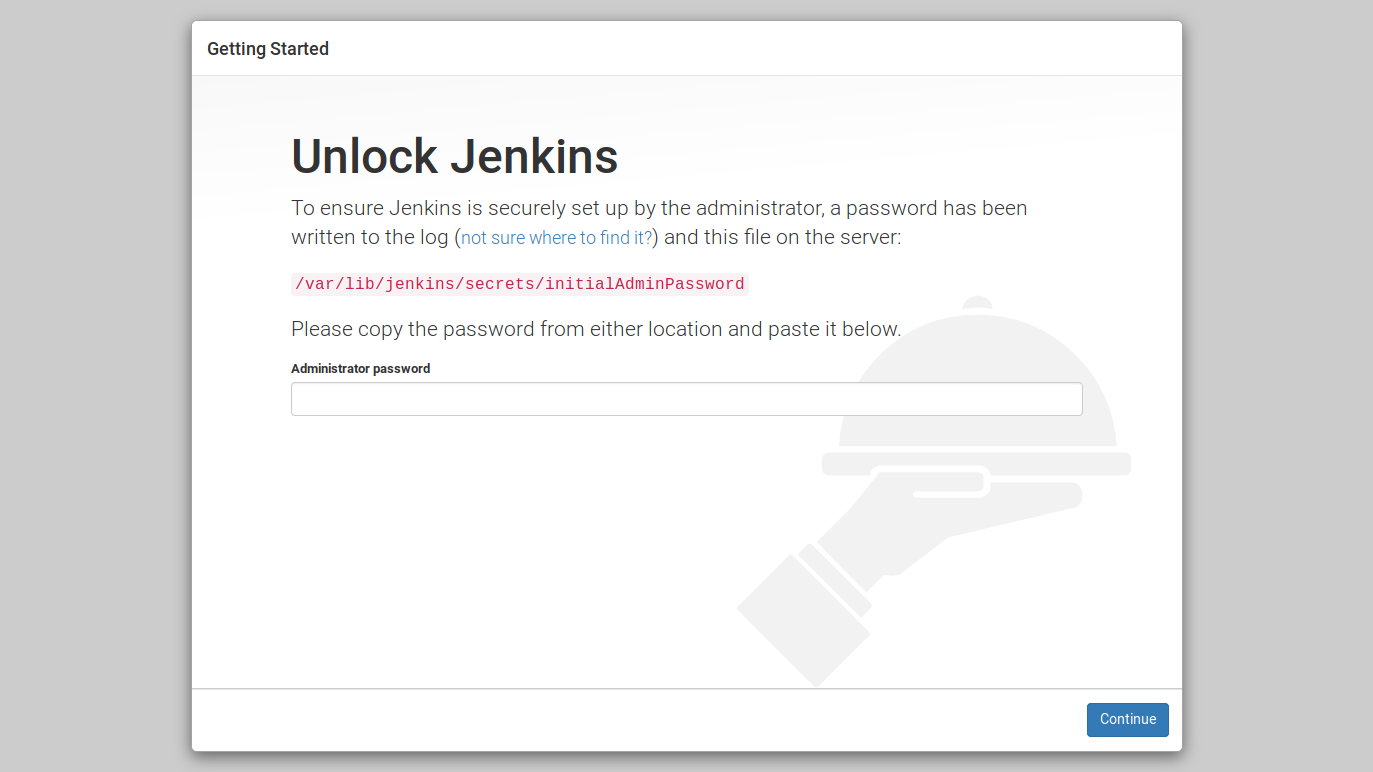
Open up http://localhost:8080 in your web browser. You’ll see a message from Jenkins asking you to enter a password found in the file /var/lib/jenkins/secrets/initialAdminPassword.
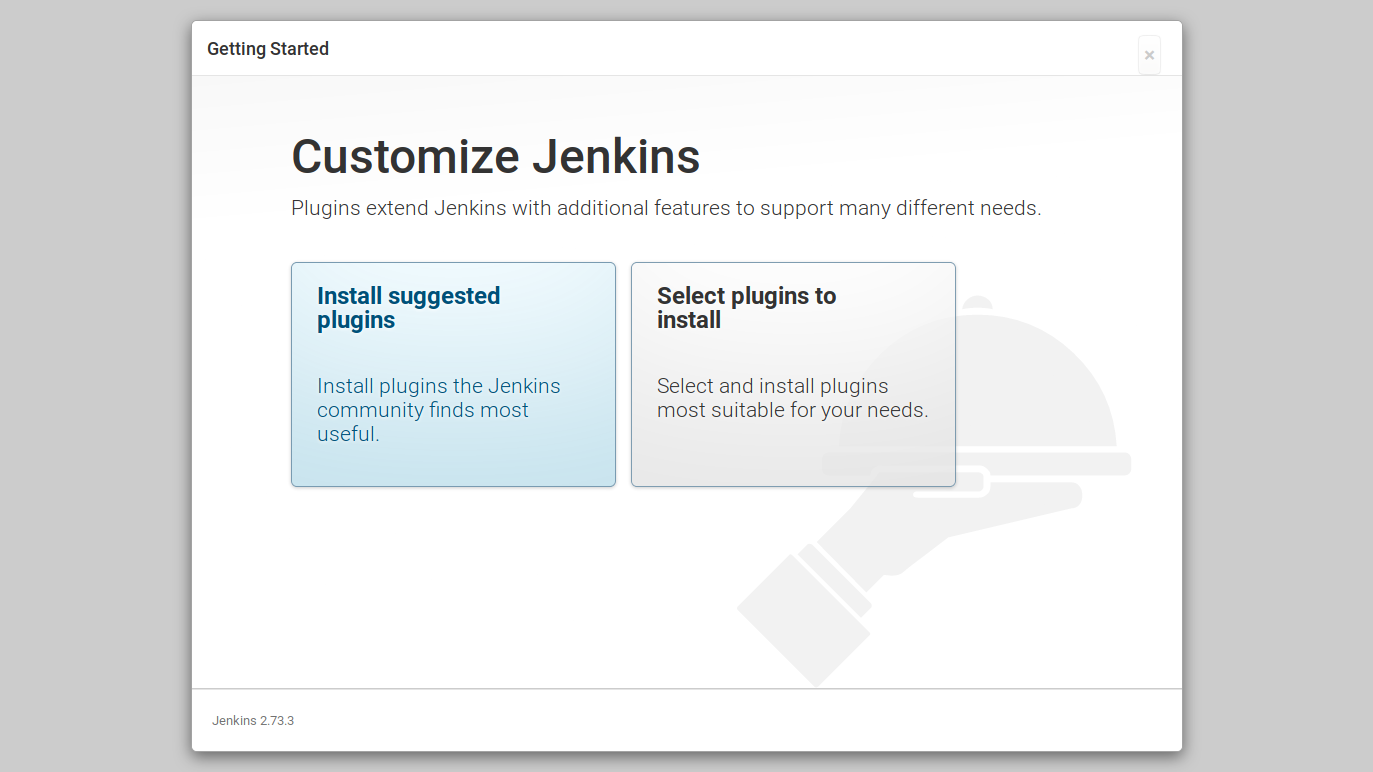
You’ll then be prompted for the plugins that you want to install. At this point, I install the suggested plugins. We’ll add some more later.
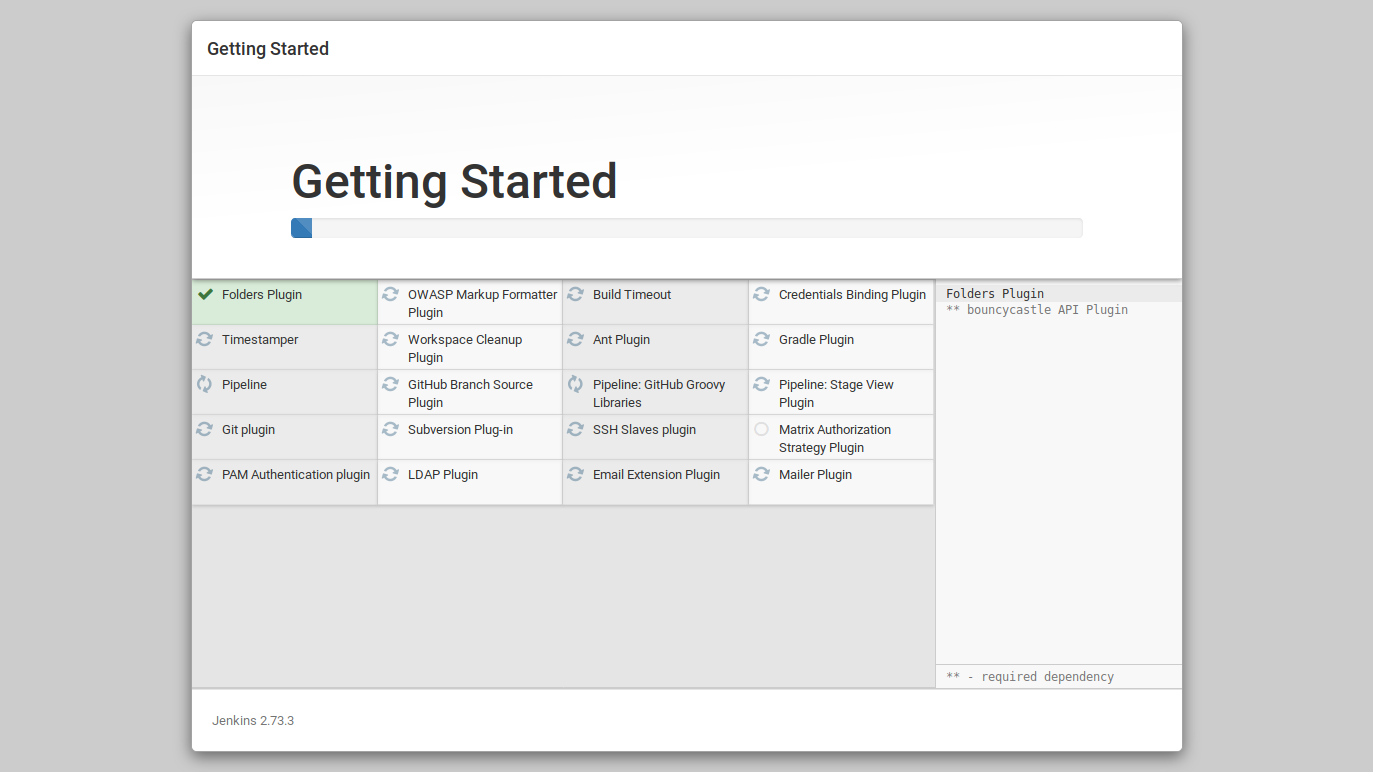
Give Jenkins a few minutes to install the suggested plugins.
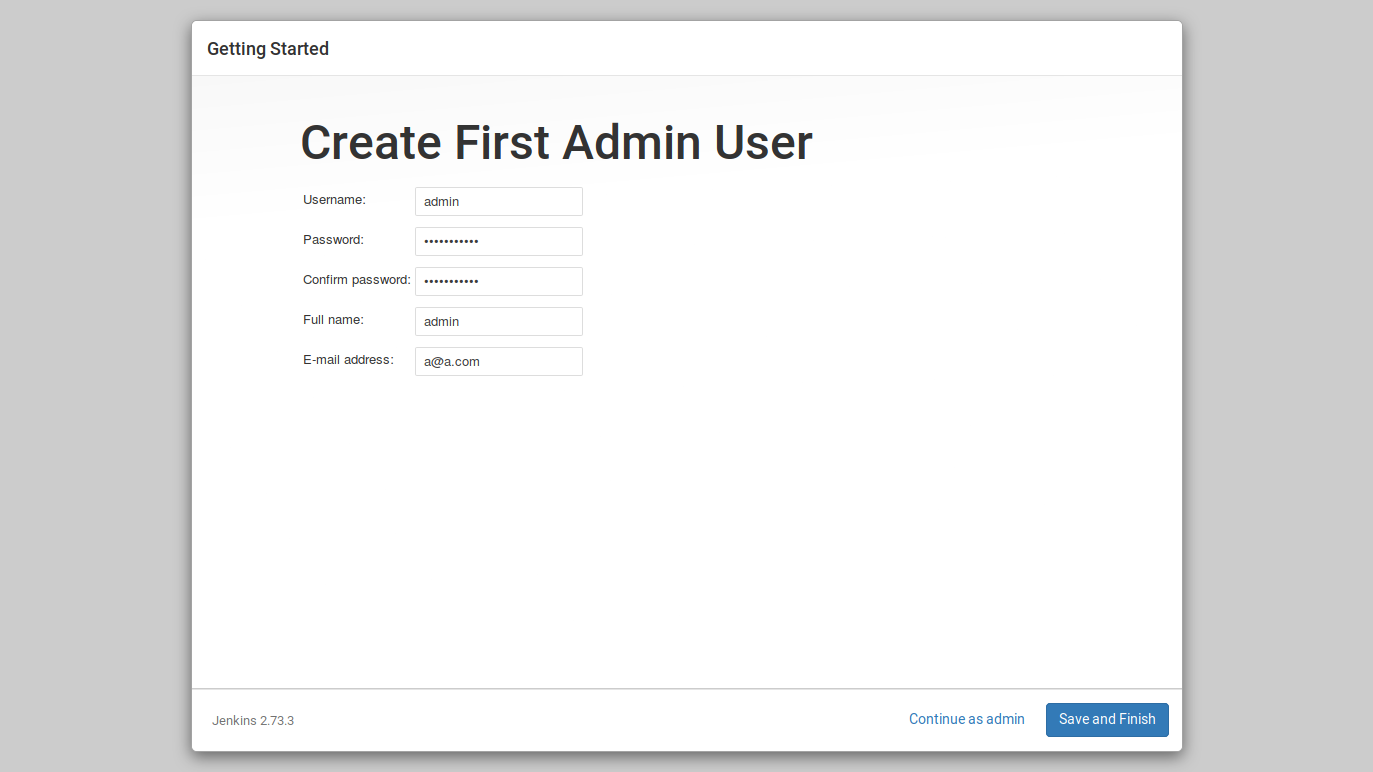
Create your first admin user.
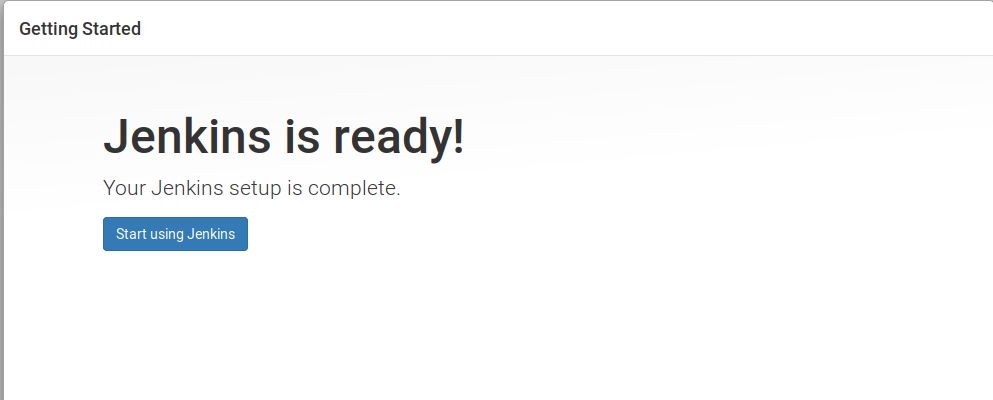
And you’re done!
Installing Additional Plugins
We’ll need some additional plugins to allow us to build a Maven project and deploy it with Octopus.
Click {{Manage Jenkins>Manage}} Plugins.
Click the Available tab.
Tick the following plugins:
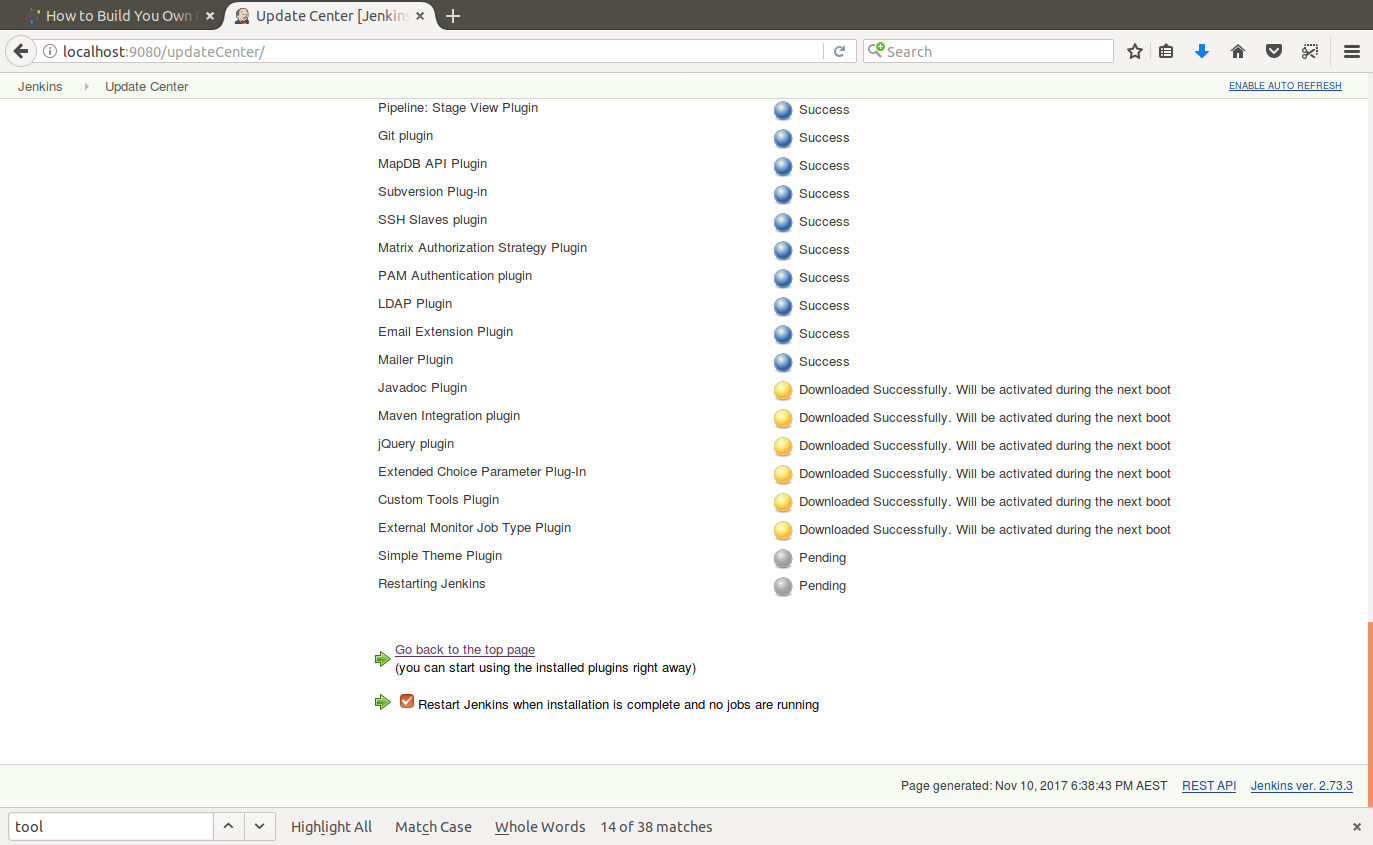
Click Download now and install after restart.
Tick the Restart Jenkins when installation is complete and no jobs are running option.
After Jenkins restarts, you’ll have all the plugins you’ll need.
Applying a Custom Jenkins Theme
The Simple Theme Plugin we installed earlier allows us to modernize the look of Jenkins with a single CSS file.
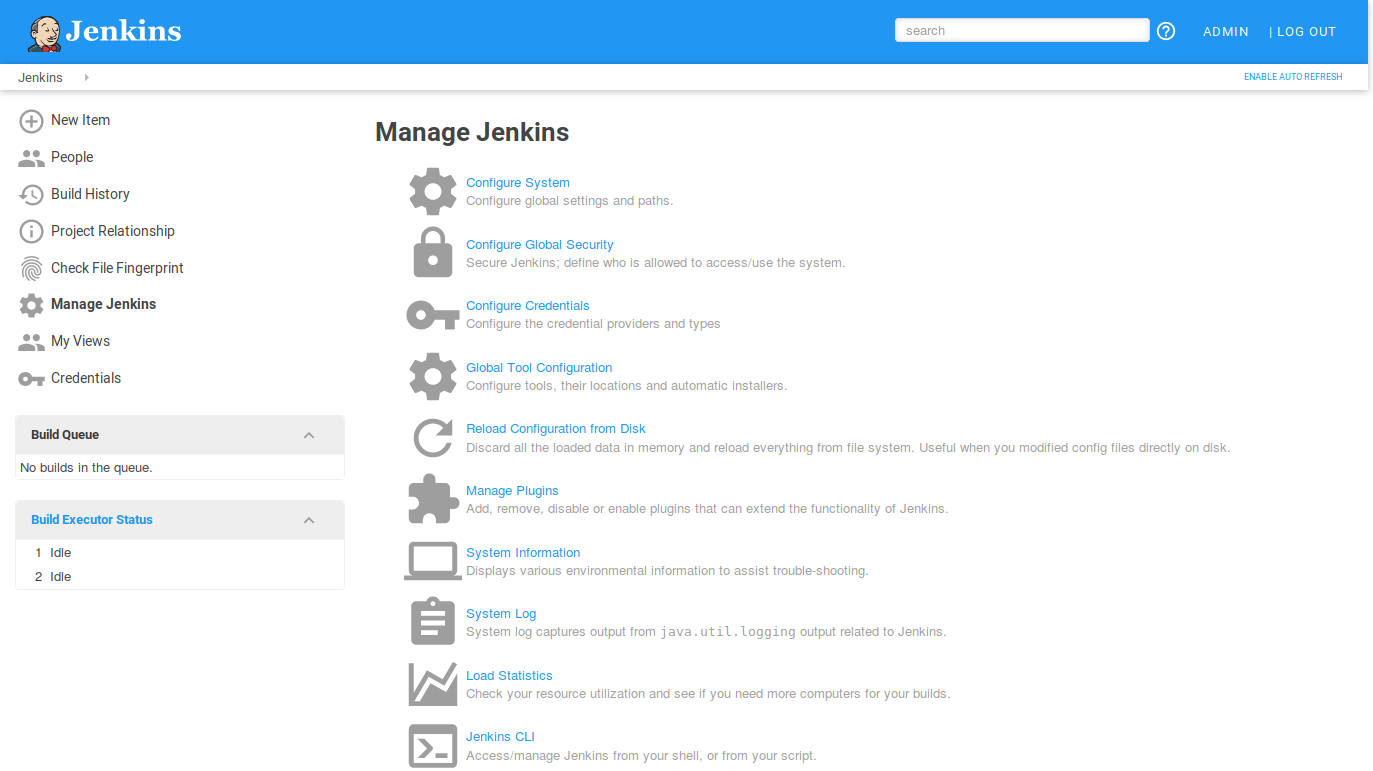
Click {{Manage Jenkins>Configure System}}, and under the Theme section add the URL http://afonsof.com/jenkins-material-theme/dist/material-<color>.css to the URL of theme CSS field. You can find a list of colors on the Jenkins Material Themes website to replace the http://afonsof.com/jenkins-material-theme/dist/material-blue.css

I think you’ll agree that these themes greatly improve the appearance of Jenkins.
Preparing Jenkins
We need to configure a number of tools that we’ll make use of when building our projects. In particular, we want to add a Maven installation to use in our builds, a Java installation to run Maven, and an Octopus CLI custom tool for pushing and deploying files.
I find it easier to let Jenkins download and install these tools for me, which can be configured under {{Manage Jenkins>Global Tool Configuration}}.
Configuring Java
We need a copy of Java in order to build our application. Under the JDK section click the ADD JDK button.

Give the tool a name (I went with Java 9) and select the version of the JDK to install.
We’ll refer to the name of these tools in the next blog post where we build and deploy a Java app using a Jenkinsfile.

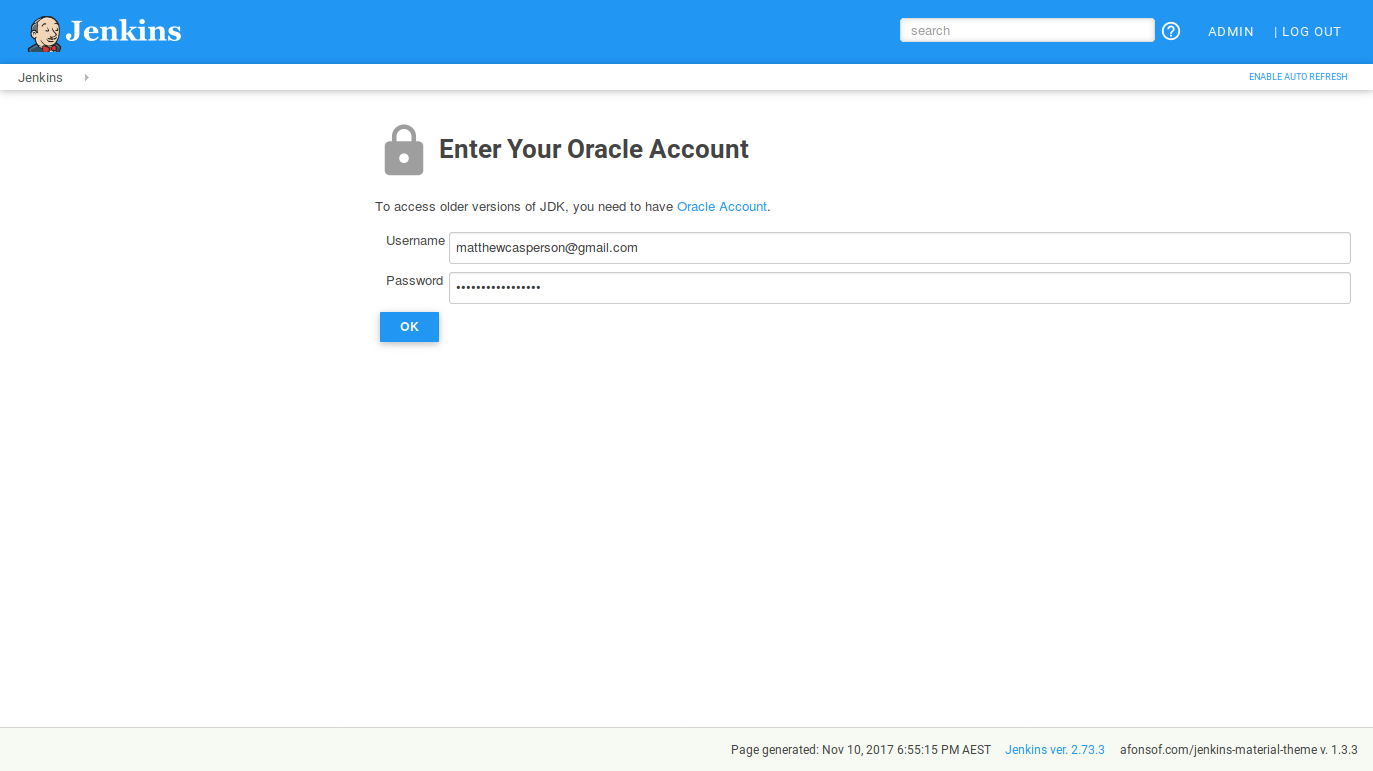
Enter in your Oracle credentials, which are required to download the JDK.
Configuring Maven
Our Java project will be configured to use Maven, so we need an instance of Maven available to complete the build. Under the Maven section click the ADD MAVEN button.

Give the tool a name, and select the latest version of Maven.

Configuring the Octopus CLI
Although the Octopus CLI tool is not available natively in Jenkins, the Custom Tools Plugin we installed does allow us to expose the CLI as a Jenkins tool quite easily.
Under the Custom Tools section, create a new tool called Octo CLI and enter the URL to the Ubuntu CLI in the Download URL for binary archive field.
Make sure you leave the Label field blank.
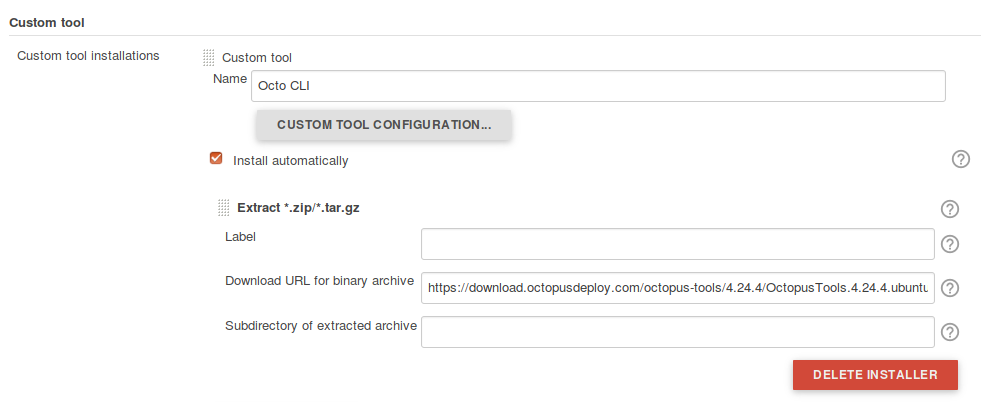
You can get the download link for Octo CLI from the Octopus download page.
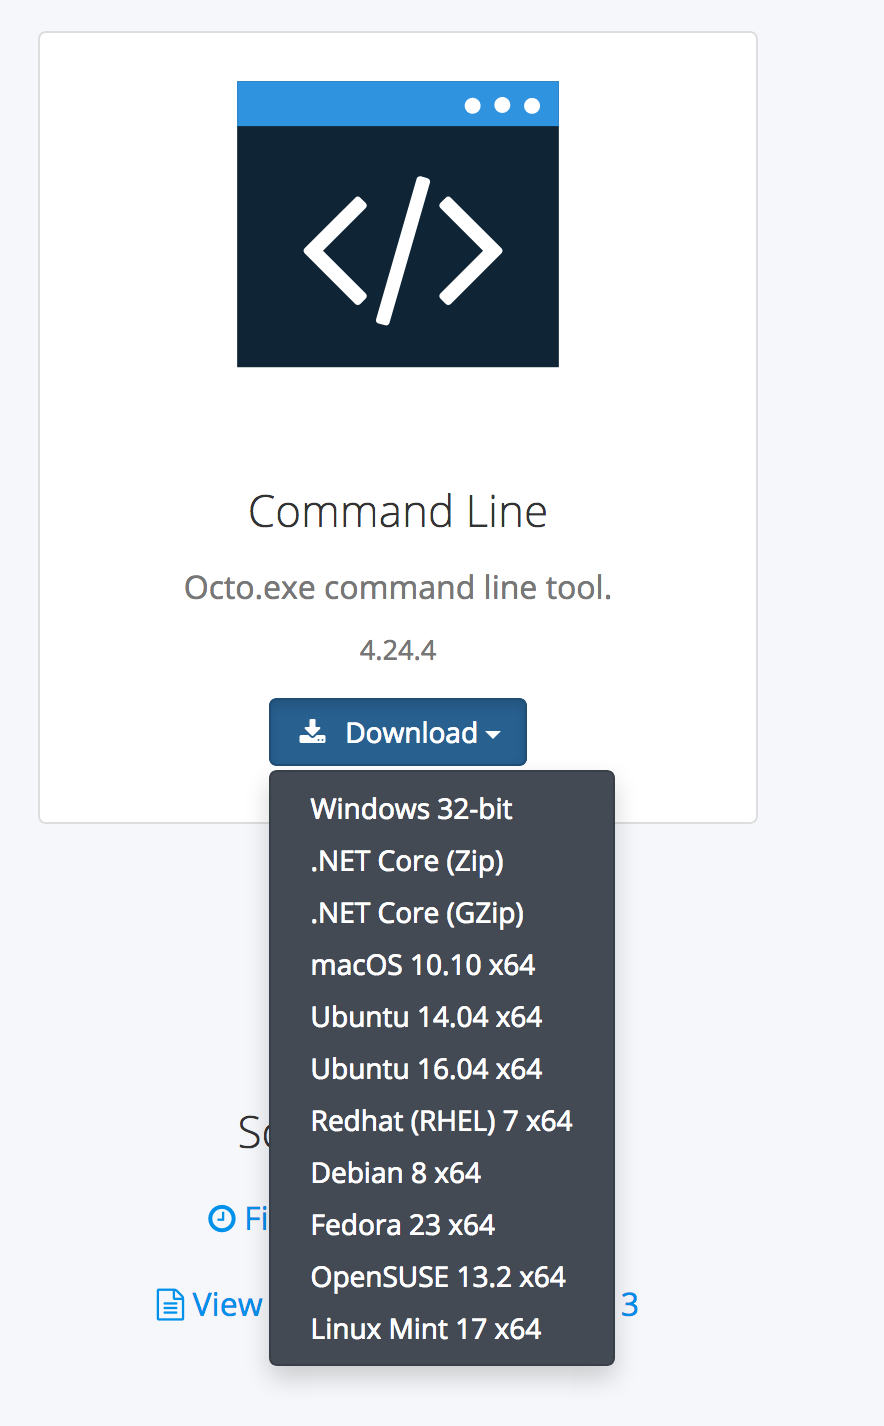
Although the latest version of Ubuntu supported by the Octo CLI is 16.04, I had no trouble pushing packages and creating releases with it in Ubuntu 17.10.
Conclusion
At this point we have a basic installation of Jenkins configured with all the tools we will need to build a deploy a Java application.
In the next blog post we’ll look at how to use Jenkins Pipelines to configure a Java application to be built and pushed to Octopus.
If you are interested in automating the deployment of your Java applications, download a trial copy of Octopus Deploy, and take a look at our documentation.


