

In the previous blog post I showed you how to get a basic instance of Jenkins up and running with the tools required to build a Maven project and publish it to Octopus.
In this blog post we’ll take a look at how to use Jenkins Pipelines to construct a Jenkinsfile that will use these tools to build a WAR file, push it to Octopus, and deploy it to a Tomcat server.
Creating a Tomcat Deployment Project in Octopus
The first step will be to create a new project in Octopus that deploys a Java web application to Tomcat.
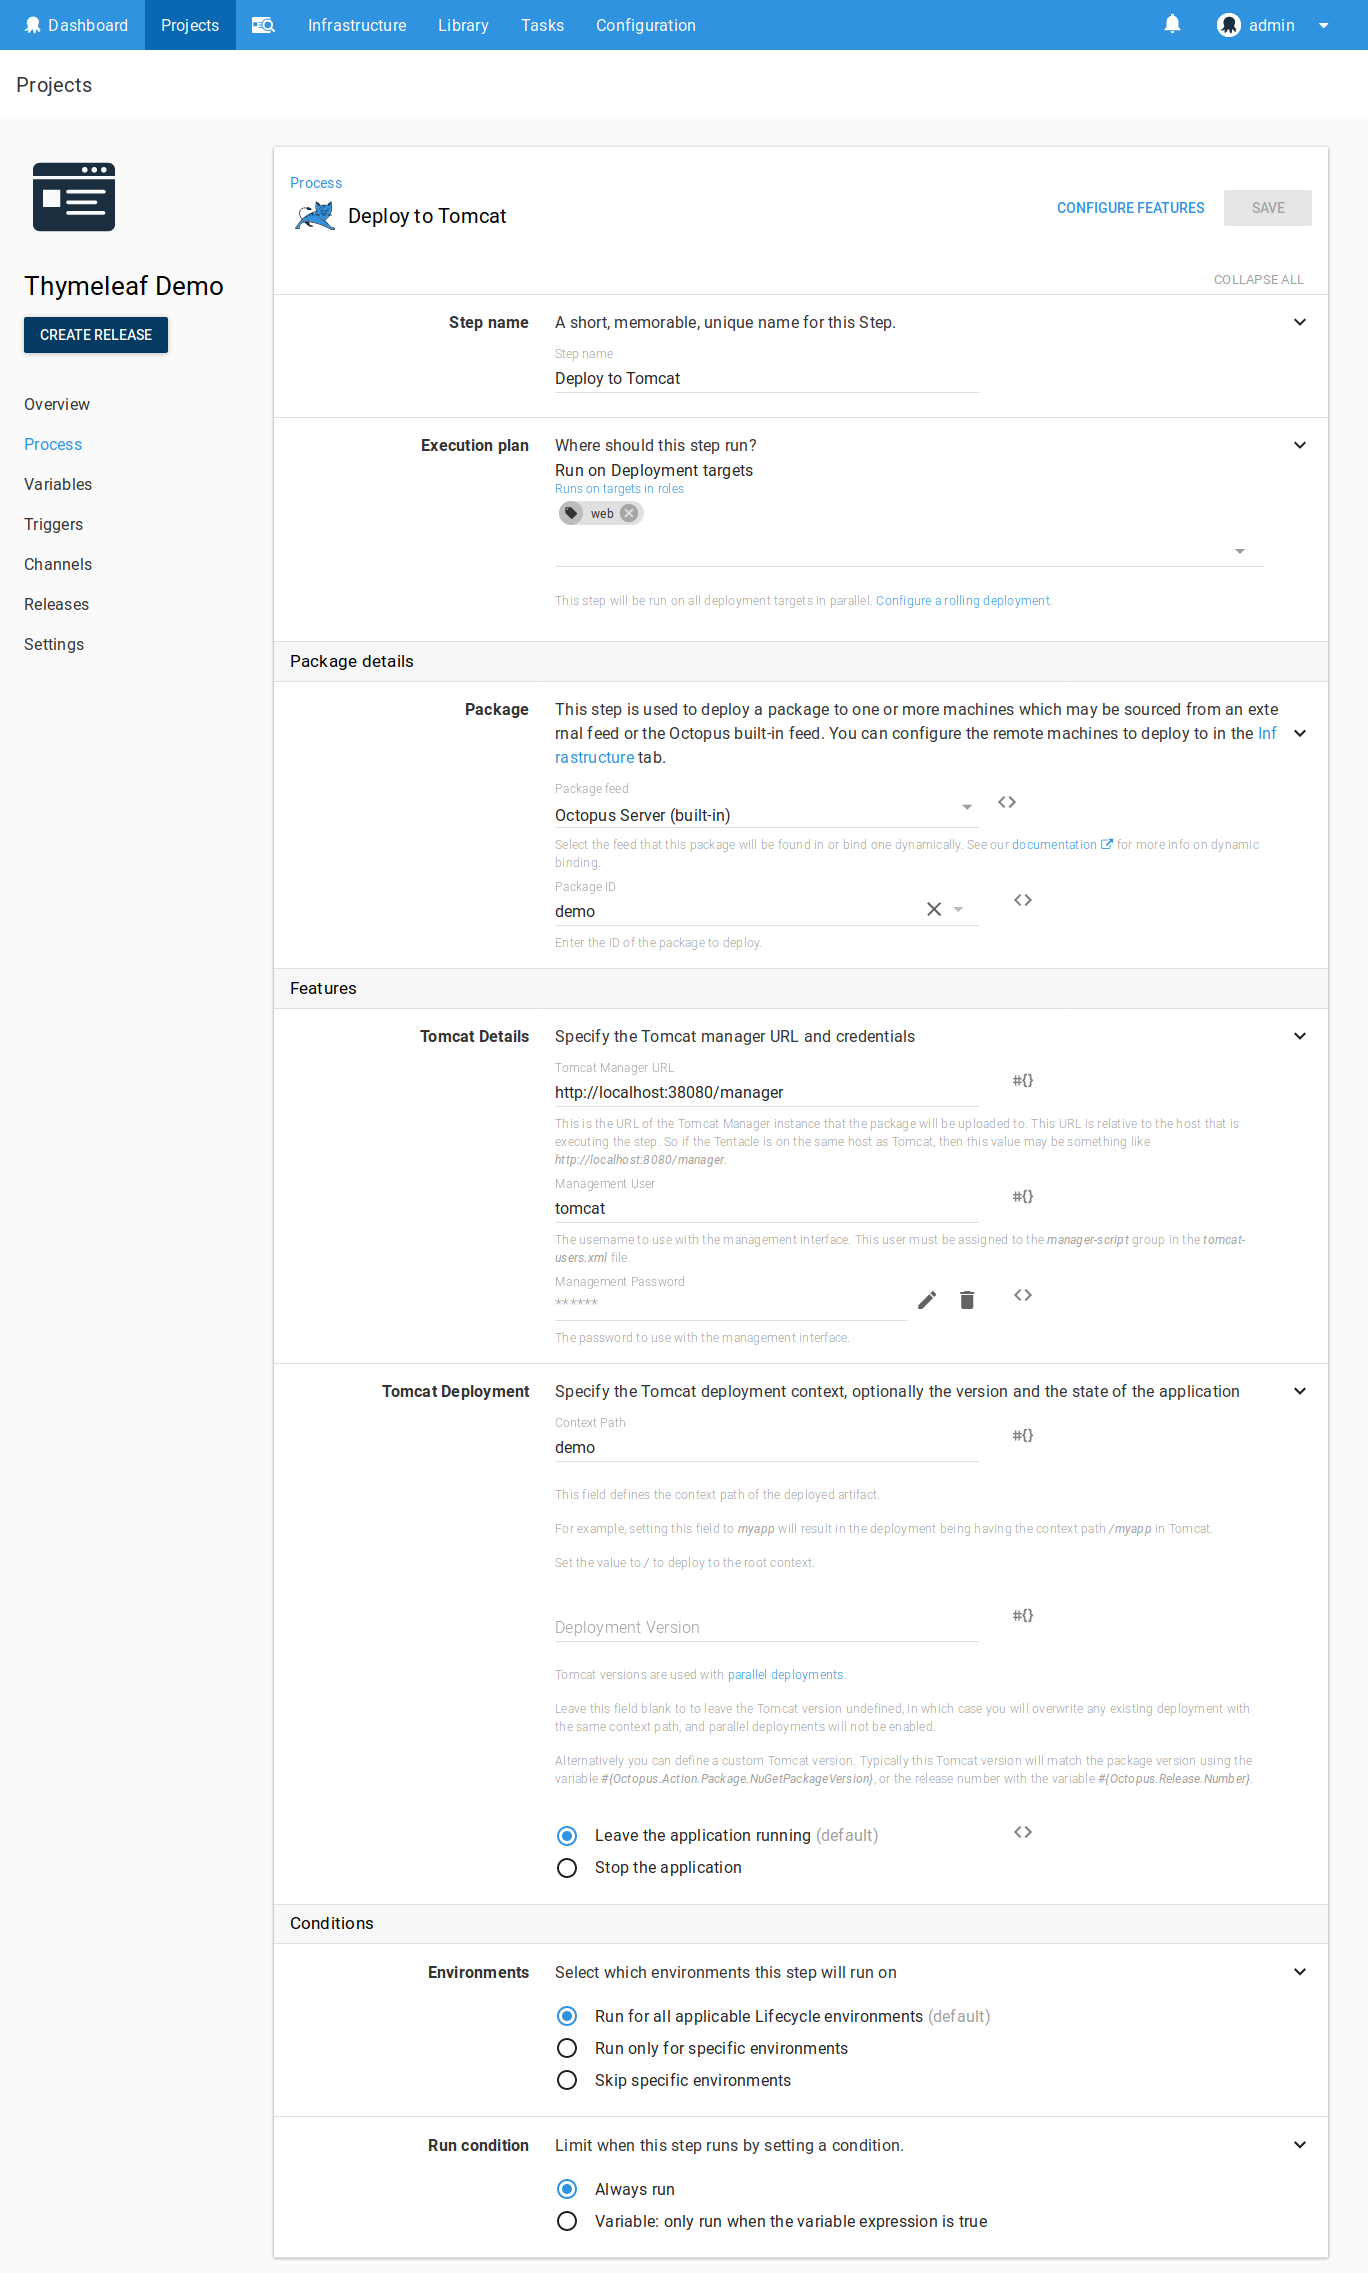
For this we will have an Octopus project called Thymeleaf Demo with a single Deploy to Tomcat via Manager step.
This step will deploy a package called demo from the built in feed to a Tomcat instance found at http://localhost:38080/manager.
Note that at this point we may or may not actually have a package called demo in the built in library. We can reference a package before it is available when creating a step.
The Tomcat Manager URL is relative to the tentacle that is performing the deployment. Since the tentacle will usually be installed on the machine hosting Tomcat, the URL hostname is usually localhost.
Saving API Keys
Our Jekninsfile will use an Octopus API key when working with the Octo CLI tool. However we do not want to save the API key into the Jenkinsfile, since this file is expected to be checked into source control.
Fortunately we can save secret information like API keys in Jenkins itself and reference it from the Jenkinsfile.
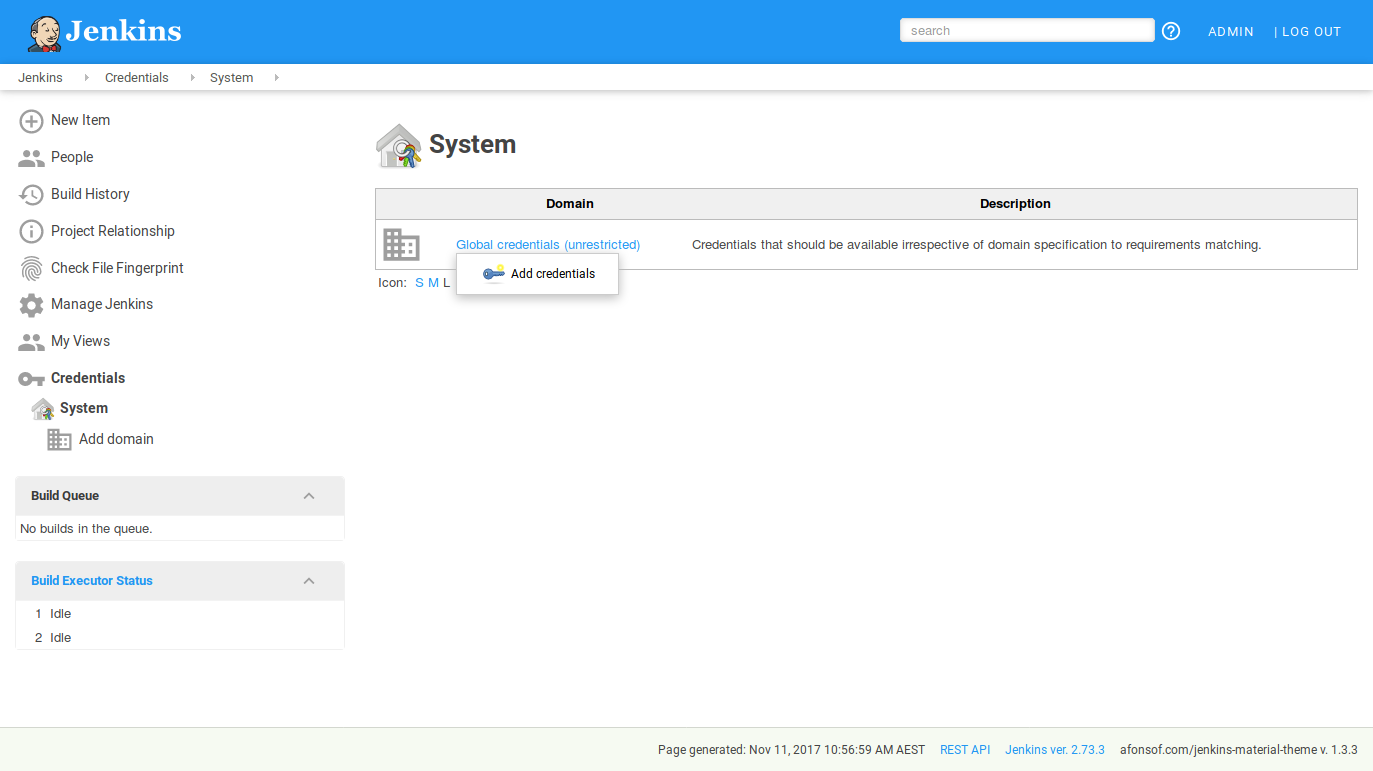
Click {{Credentials>System}}, then click {{Global Credentials>Add Credentials}}.
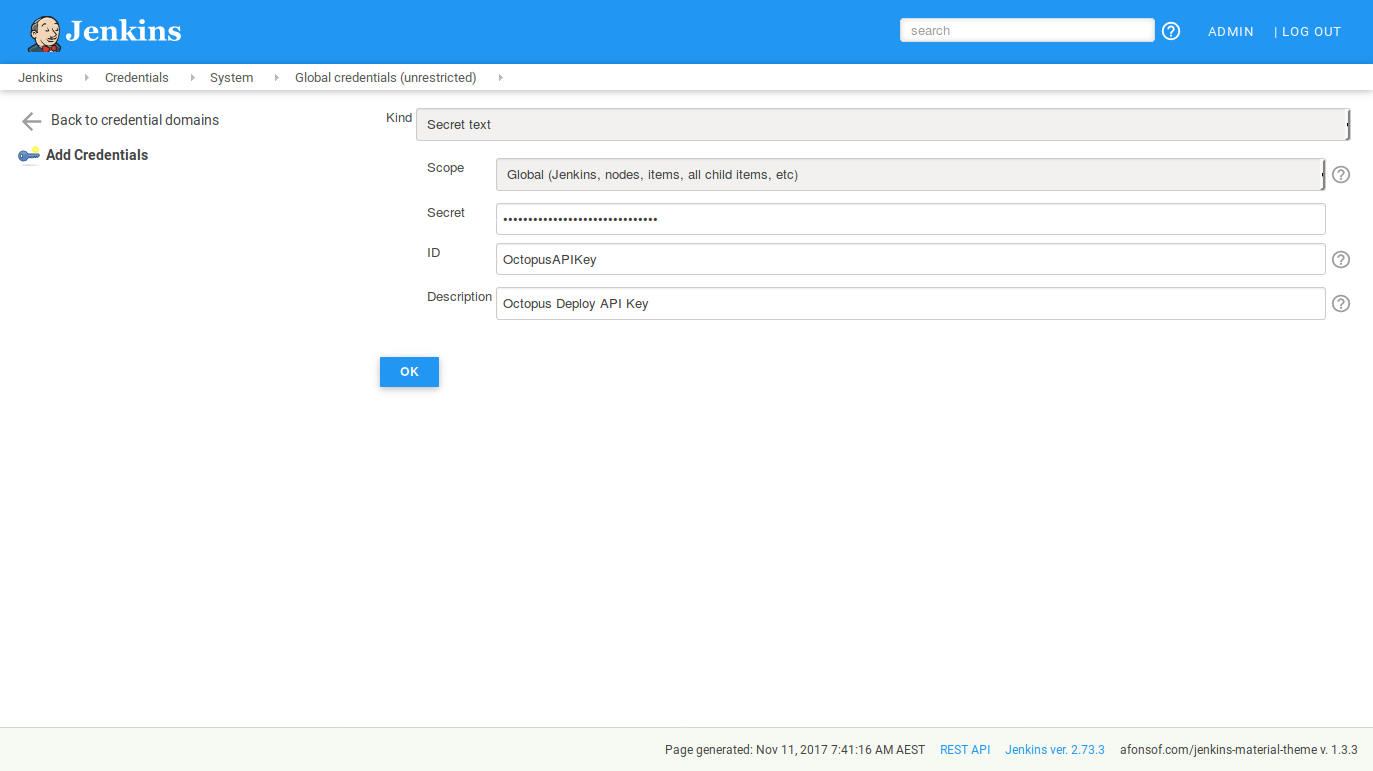
Select Secret Text from the Kind list, paste in the API key in the Secret filed, and enter OctopusAPIKey in the ID field.
Creating the Jenkinsfile
A Jenkinsfile describes the process that Jenkins will follow to build and deploy a project. In our case the Jenkinsfile will describe how to build a project with Maven, how to push the resulting WAR file to Octopus, and then how to create and deploy a release in Octopus.
Let’s take a look at the complete Jenkinsfile.
pipeline {
    agent any
    tools {
        maven 'Maven 3.5.2'
        jdk 'Java 9'
    }
    stages {
        stage ('Initialize') {
            steps {
                sh '''
                    echo "PATH = ${PATH}"
                    echo "M2_HOME = ${M2_HOME}"
                '''
            }
        }

        stage ('Build') {
            steps {
                sh 'mvn package'
            }
        }

        stage ('Deploy to Octopus') {
            steps {
                withCredentials([string(credentialsId: 'OctopusAPIKey', variable: 'APIKey')]) {
                    sh """
                        ${tool('Octo CLI')}/Octo push --package target/demo.0.0.1-SNAPSHOT.war --replace-existing --server https://youroctopusserver --apiKey ${APIKey}
                        ${tool('Octo CLI')}/Octo create-release --project "Thymeleaf Demo" --server https://youroctopusserver --apiKey ${APIKey}
                        ${tool('Octo CLI')}/Octo deploy-release --project "Thymeleaf Demo" --version latest --deployto Integration --server https://youroctopusserver --apiKey ${APIKey}
                    """
                }
            }
        }
    }
}
First we need to expose the tools that our build will make use of. In our case we need to use the Java and Maven tools that were defined in the previous blog post.
The names used in the Jenkinsfile need to match the names we gave the tools in Jenkins.
tools {
    maven 'Maven 3.5.2'
    jdk 'Java 9'
}
We can see that these tools have modified the environment variables PATH and M2 in the Initialize stage.
stage ('Initialize') {
    steps {
        sh '''
            echo "PATH = ${PATH}"
            echo "M2_HOME = ${M2_HOME}"
        '''
    }
}
These echo commands display the following text in the output when the build is executed. You can see how the Java 9 and Maven 3.5.2 tools have been added to the PATH environment variable.
[Java_Demo_master-VERY-LONG-KEY] Running shell script
+ echo PATH = /var/lib/jenkins/tools/hudson.model.JDK/Java_9/bin:/var/lib/jenkins/tools/hudson.tasks.Maven_MavenInstallation/Maven_3.5.2/bin:/var/lib/jenkins/tools/hudson.model.JDK/Java_9/bin:/var/lib/jenkins/tools/hudson.tasks.Maven_MavenInstallation/Maven_3.5.2/bin:/usr/local/bin:/usr/bin:/bin:/usr/local/games:/usr/games:/snap/bin
PATH = /var/lib/jenkins/tools/hudson.model.JDK/Java_9/bin:/var/lib/jenkins/tools/hudson.tasks.Maven_MavenInstallation/Maven_3.5.2/bin:/var/lib/jenkins/tools/hudson.model.JDK/Java_9/bin:/var/lib/jenkins/tools/hudson.tasks.Maven_MavenInstallation/Maven_3.5.2/bin:/usr/local/bin:/usr/bin:/bin:/usr/local/games:/usr/games:/snap/bin
+ echo M2_HOME = /var/lib/jenkins/tools/hudson.tasks.Maven_MavenInstallation/Maven_3.5.2
M2_HOME = /var/lib/jenkins/tools/hudson.tasks.Maven_MavenInstallation/Maven_3.5.2
In the Build stage we perform the Maven build.
stage ('Build') {
    steps {
        sh 'mvn package'
    }
}
The final Deploy to Octopus stage is where we push the WAR file built by Maven, create a release in Octopus, and deploy the release to the Integration environment.
stage ('Deploy to Octopus') {
    steps {
        withCredentials([string(credentialsId: 'OctopusAPIKey', variable: 'APIKey')]) {
            sh """
                ${tool('Octo CLI')}/Octo push --package target/demo.0.0.1-SNAPSHOT.war --replace-existing --server https://youroctopusserver --apiKey ${APIKey}
                ${tool('Octo CLI')}/Octo create-release --project "Thymeleaf Demo" --server https://youroctopusserver --apiKey ${APIKey}
                ${tool('Octo CLI')}/Octo deploy-release --project "Thymeleaf Demo" --version latest --deployto Integration --server https://youroctopusserver --apiKey ${APIKey}
            """
        }
    }
}
Notice that we have exposed the Octopus API key saved in Jenkins as OctopusAPIKey as the variable APIKey using withCredentials. Any script we run inside this withCredentials block can get access to secrets maintained by Jenkins.
withCredentials([string(credentialsId: 'OctopusAPIKey', variable: 'APIKey')]) {
    sh """
        ...
    """
}
Inside the withCredentials block we execute three commands against the Octo CLI: push, create-release and deploy-release.
If you will recall from the previous blog post, Octo CLI was defined as a custom tool. We can reference that tool by calling ${tool('Octo CLI')}/Octo.
With this Jenkinsfile checked in alongside our Java code, we are ready to create a Jenkins project to use it.
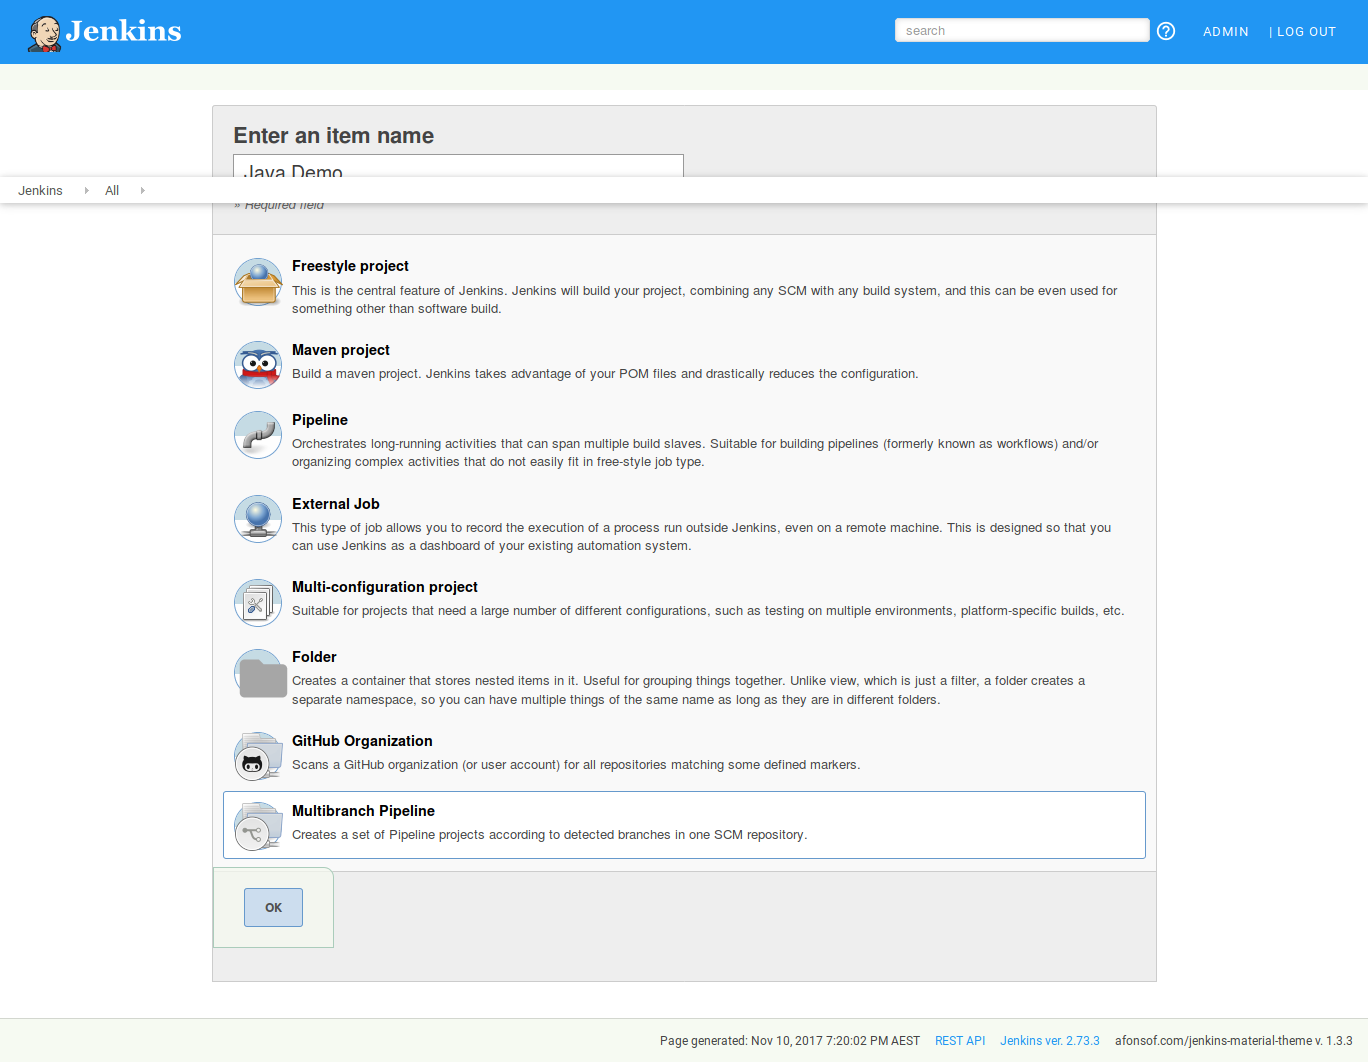
Creating a Jenkins Pipeline Project
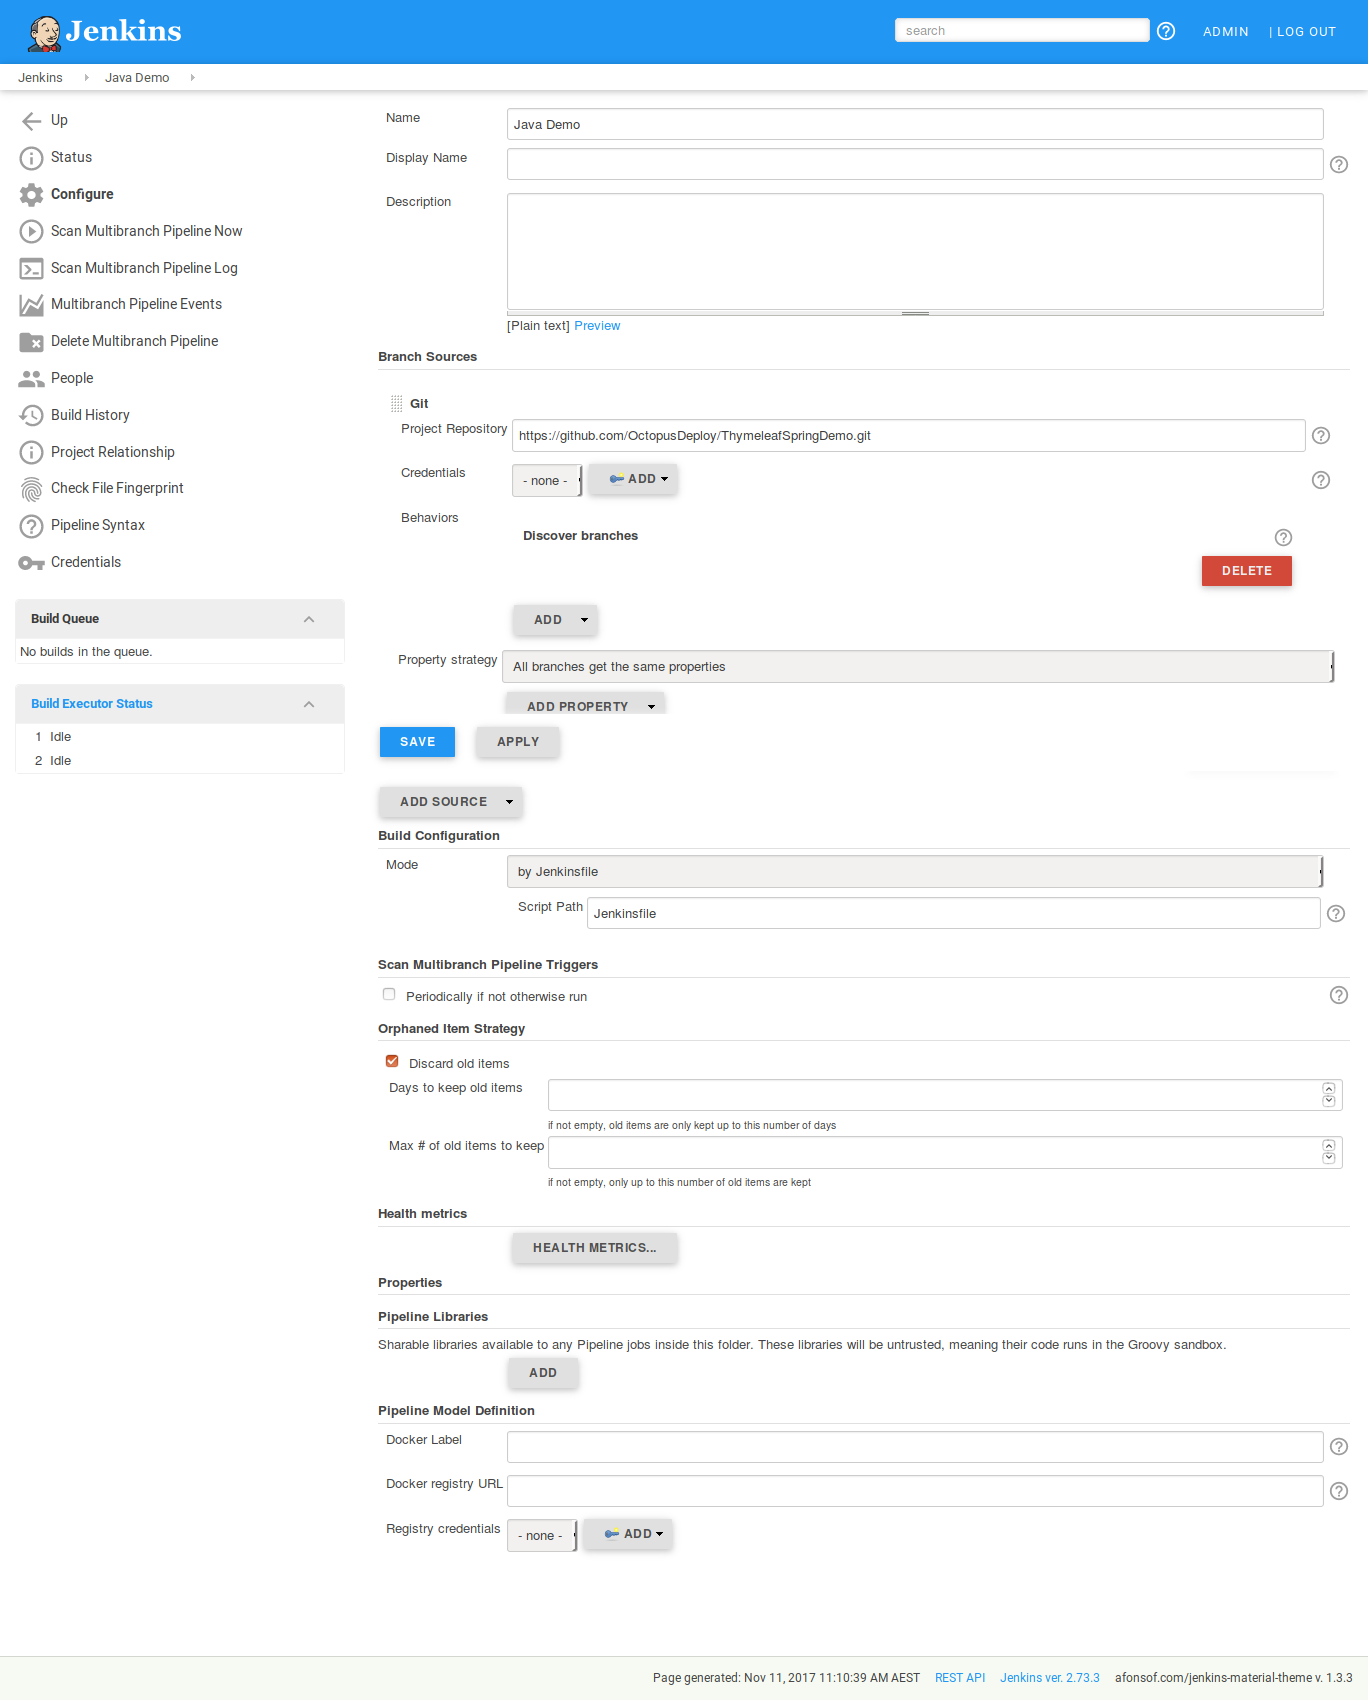
To make use of our Java project and its associated Jenkinsfile, we need to create a new Multibranch Pipeline project in Jenkins.
The only setting we need to change in this project is the Project Repository, which I have set to https://github.com/OctopusDeploy/ThymeleafSpringDemo. That repo holds a demo Spring Java web application, and has a copy of the Jenkinsfile described above.
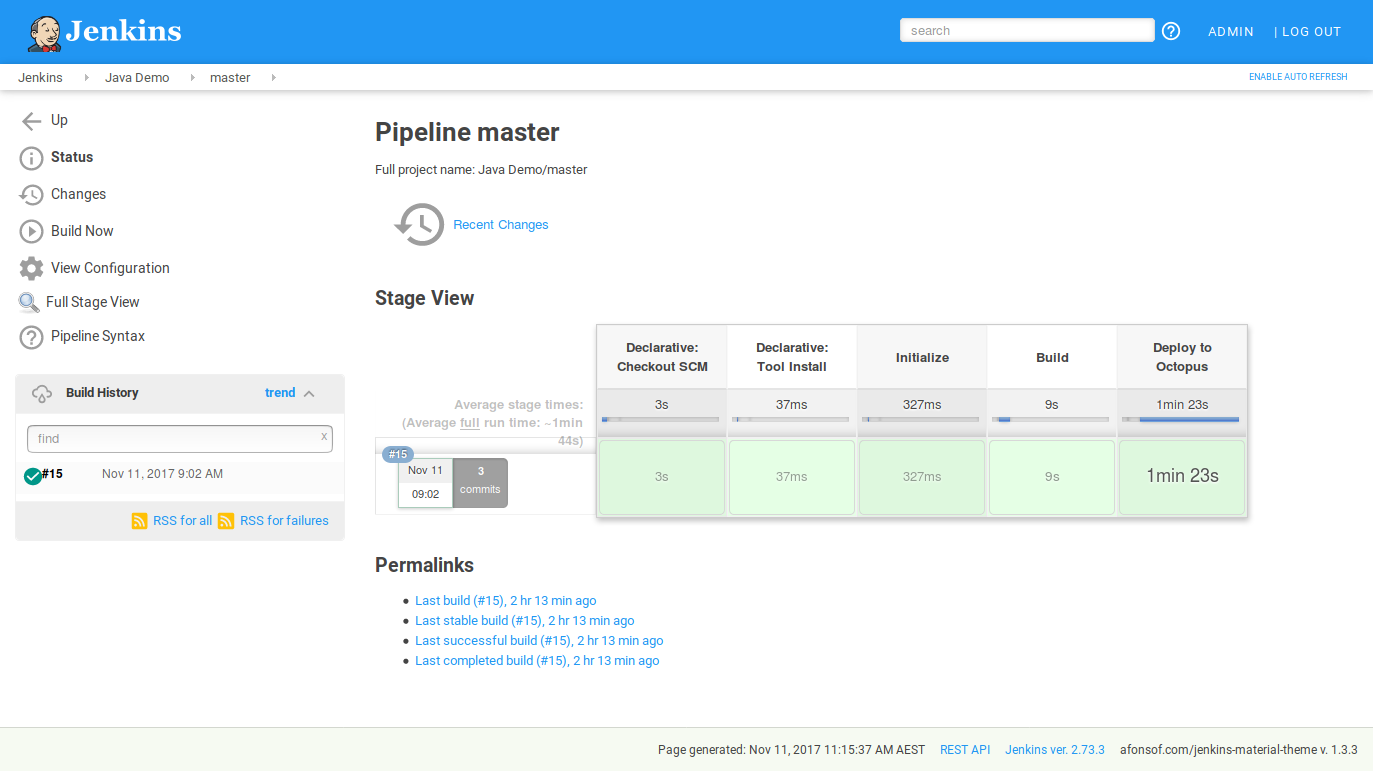
Building and Deploying
This is the result of our Jenkinsfile once a build has completed.
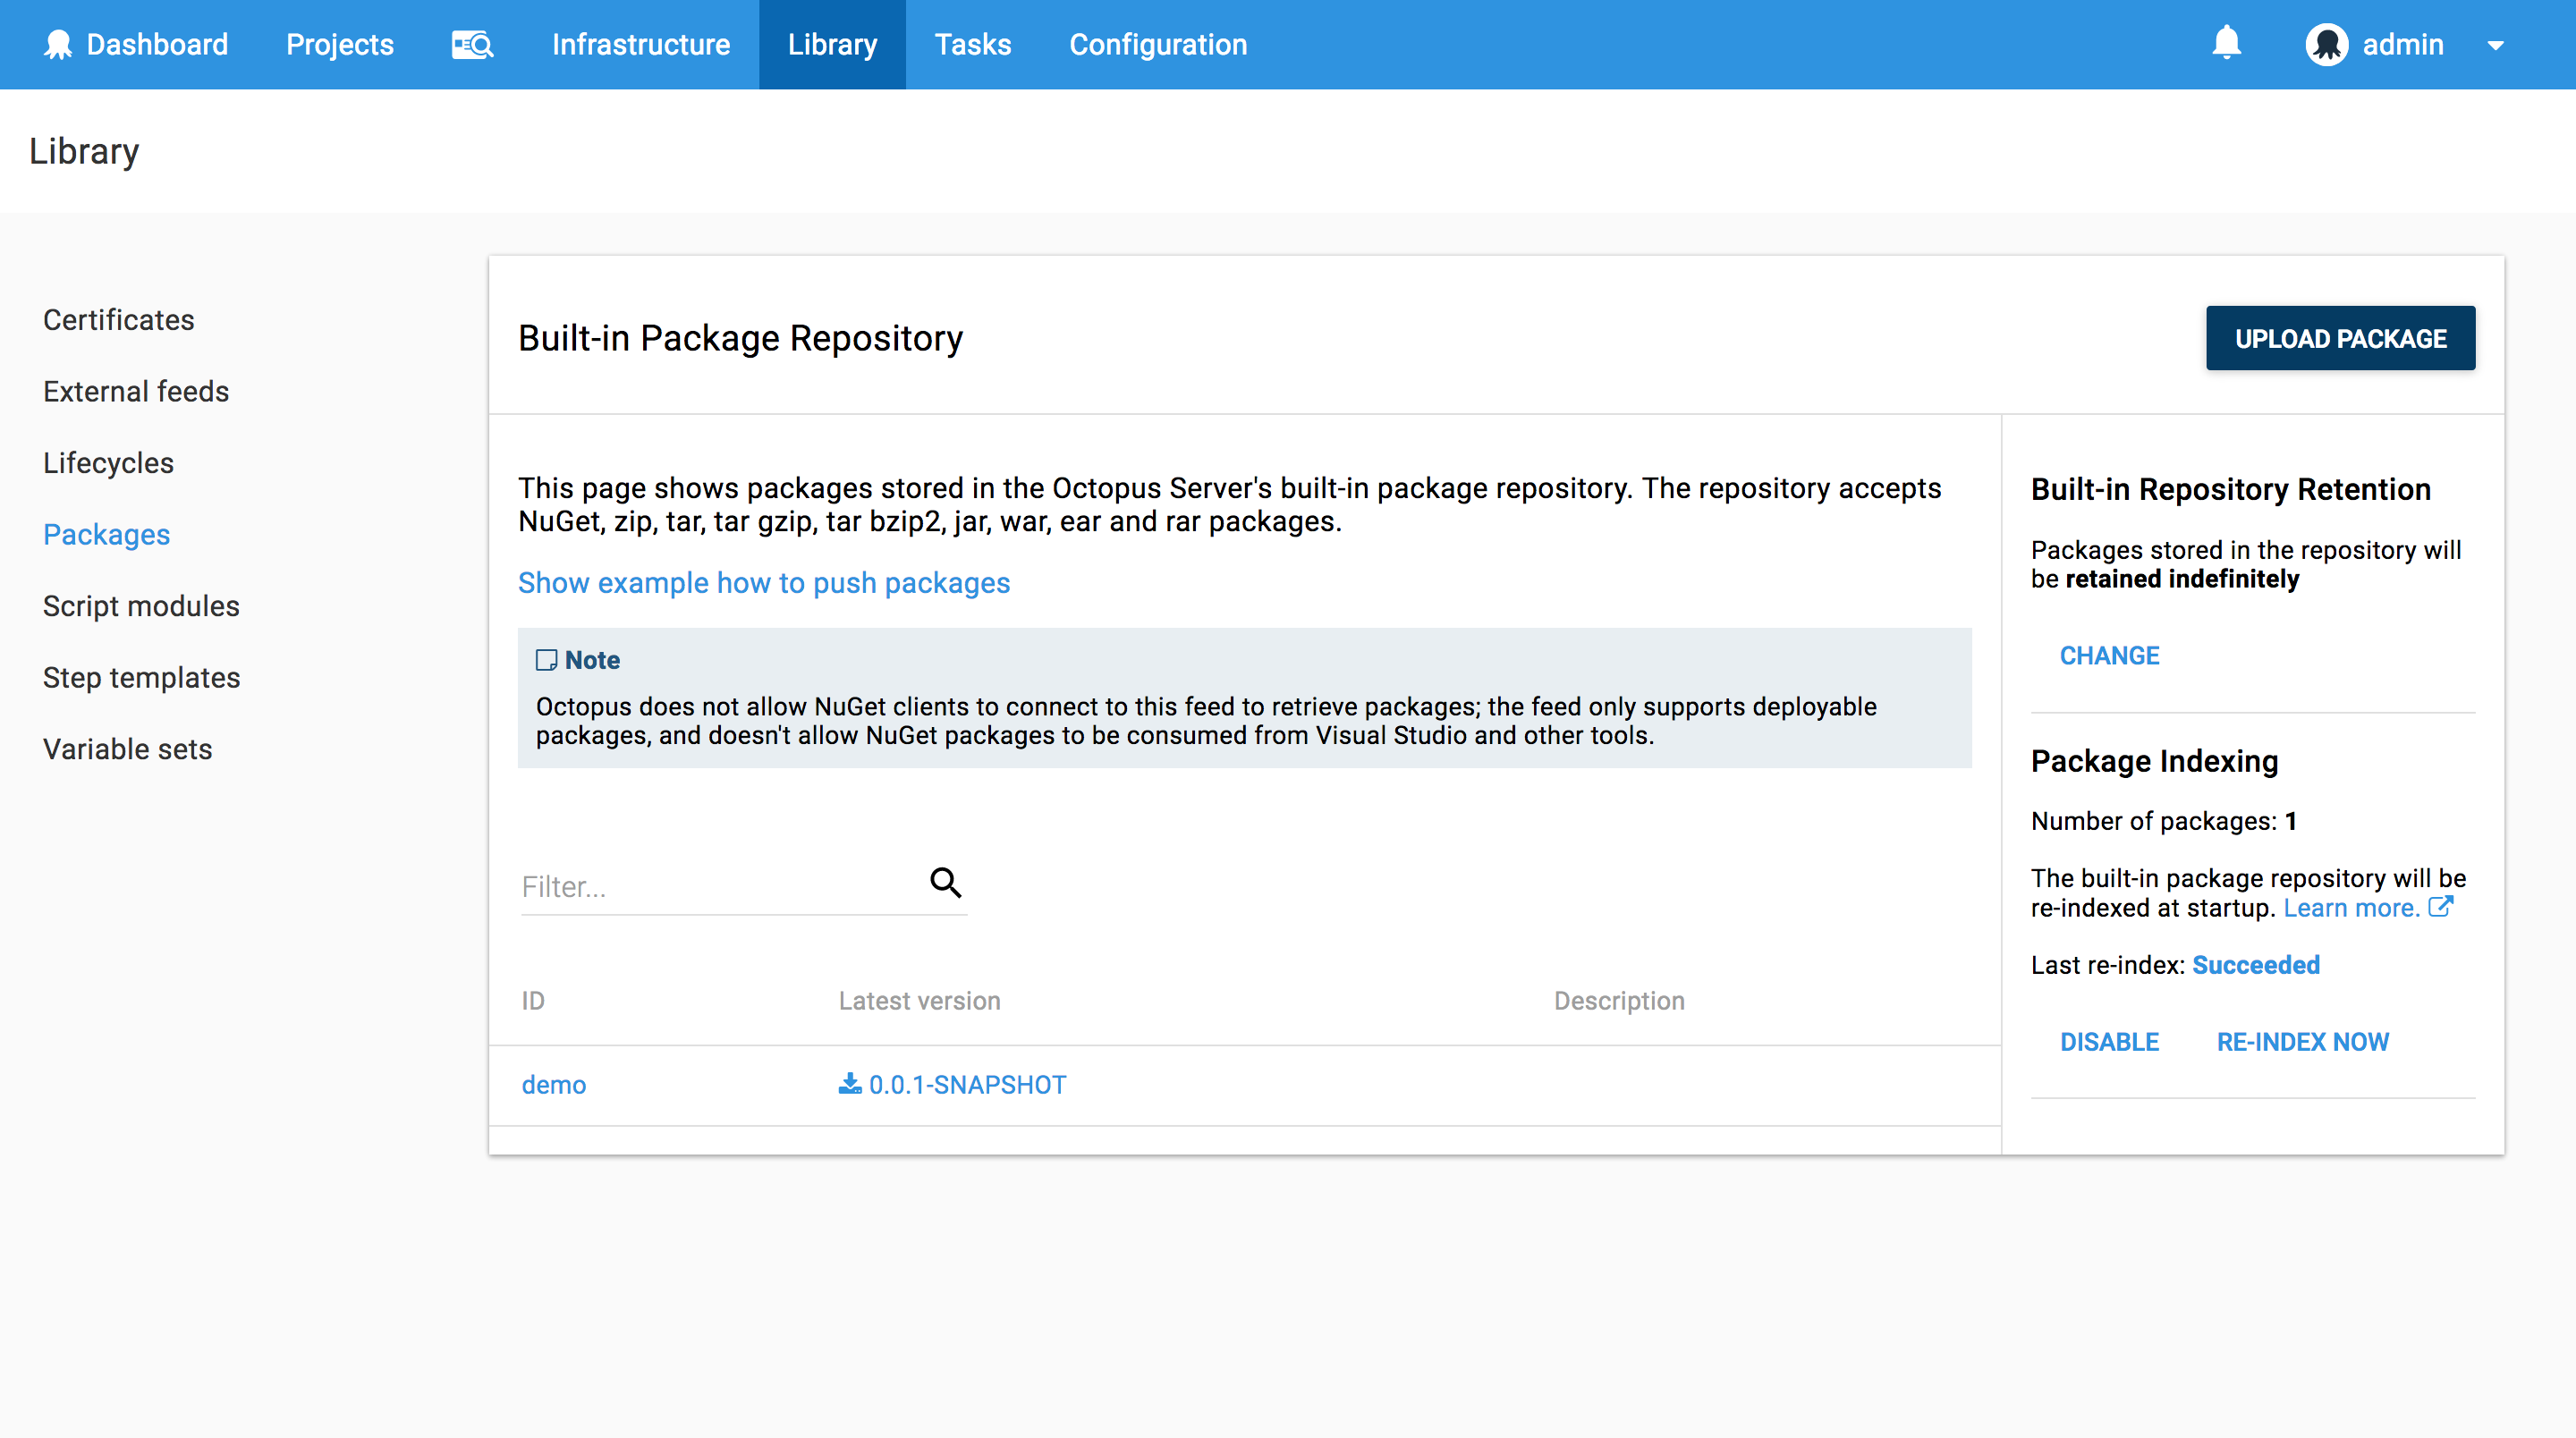
In Octopus, the WAR file has been pushed to the built in library.
And a release has been created and deployed.
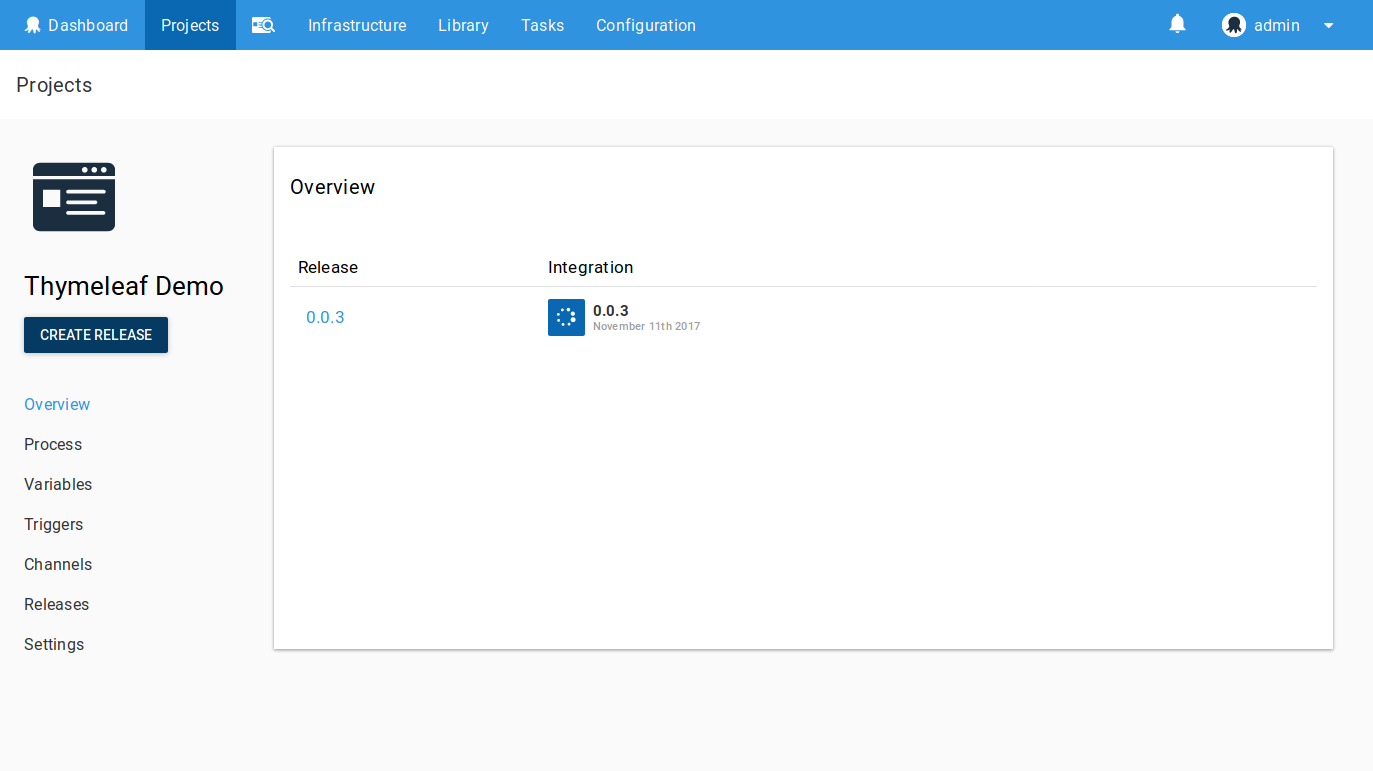
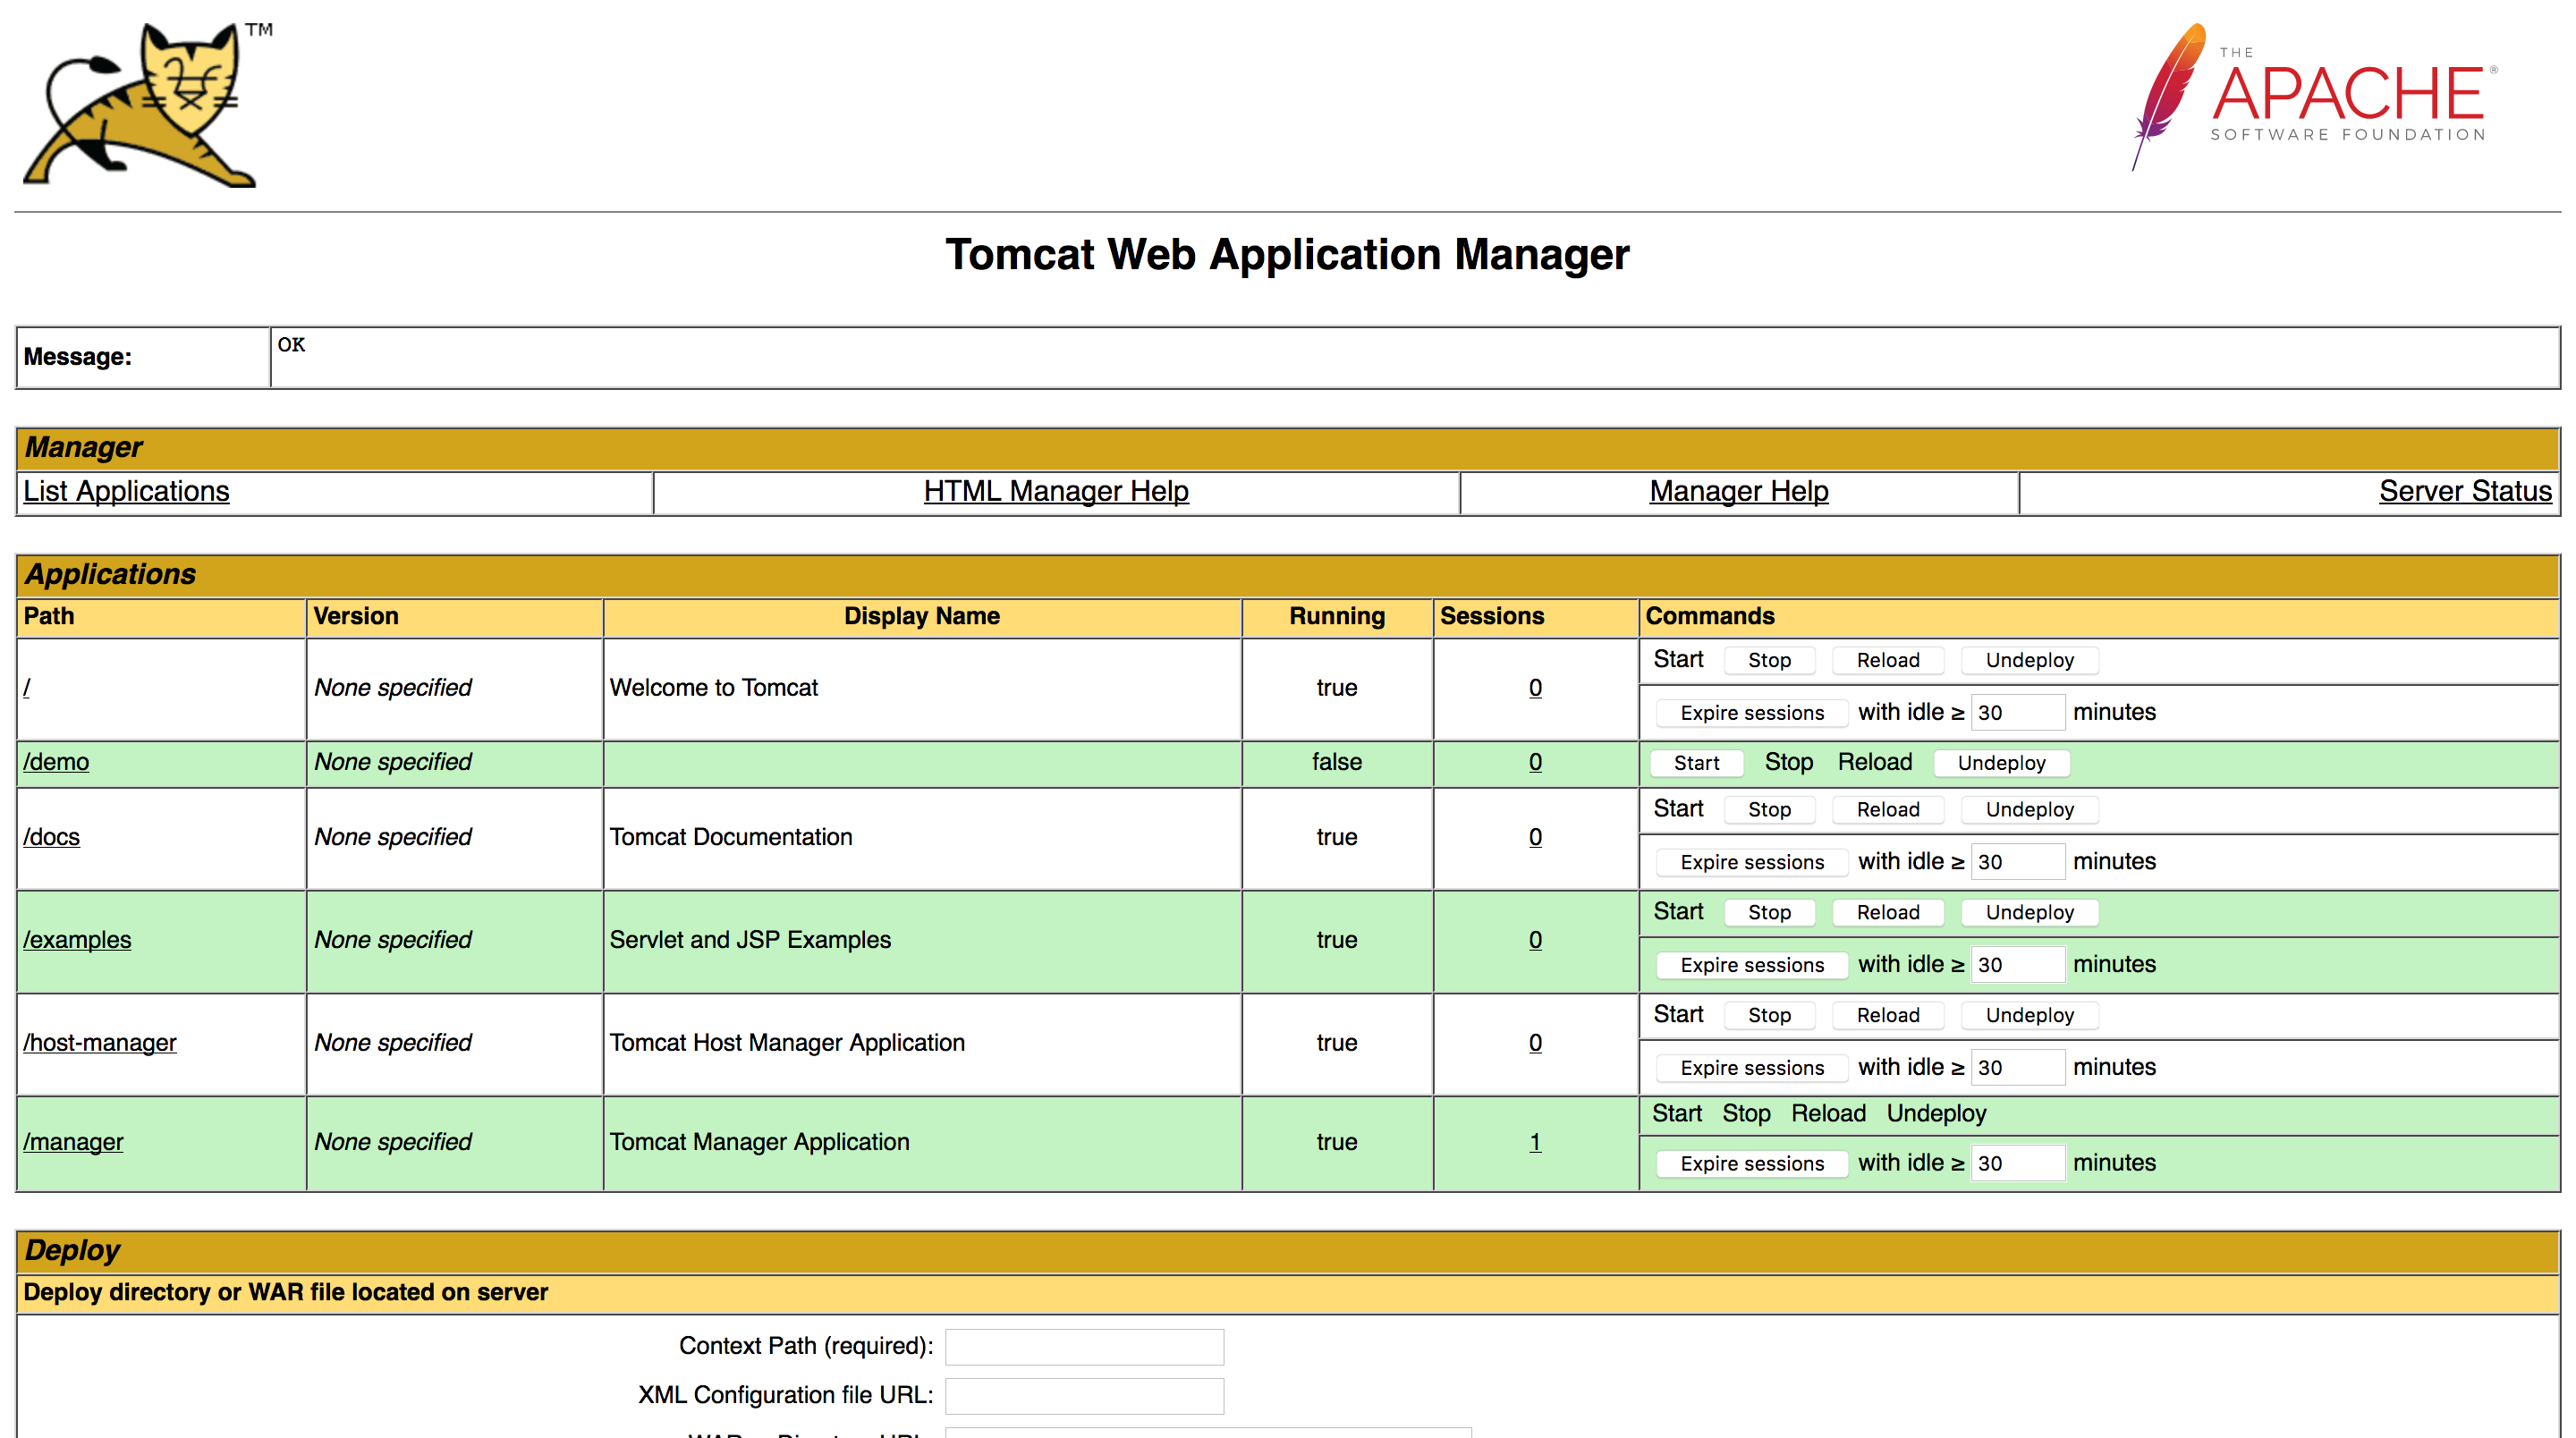
Which in turn deploys the application to Tomcat.
Conclusion
Jenkins Pipelines are a powerful way to describe your build process, and by using the Octo CLI as a custom tool it is quite easy to integrate Octopus into your build pipeline.
If you are interested in automating the deployment of your Java applications, download a trial copy of Octopus Deploy, and take a look at our documentation.
Tags:


