
The Continuous Integration (CI) process typically involves building and pushing an image to a container registry. A Continuous Delivery (CD) tool then takes over and deploys to an endpoint, like a web application. In our CI series, we explore various ways to achieve this.
To demonstrate one of these processes, I built a Maven Java project and hosted the image on the Google Container Registry (GCR).
You can access the GCR through Octopus, and deploy the Java application to Azure Kubernetes Service (AKS).
Prerequisites
To follow along with this post, you need:
- A Google Cloud Platform (GCP) account
- A Microsoft Azure account
- An Octopus Deploy instance - to link the Azure account to the Octopus Deploy instance
- Access to a terminal, locally or in the cloud, with gcloud and the Azure command-line interface installed
The Octopus underwater app
The Octopus underwater app is a landing page for users creating their first deployment. It includes links to posts that help you continue your journey with Octopus Deploy.
You can find the web application repository on GitHub.
The repository is split into separate branches for different use cases. For this post, use the underwater-app-java branch.
Building and pushing to a registry
You use the command-line to build the Java project and use gcloud to push the image to the GCR.
First, configure the gcloud tool to point to your PROJECT_ID:
gcloud config set project <PROJECT_ID>Clone the Java project repository that you’ll use to build and deploy to Azure:
git clone https://github.com/terence-octo/octopus-underwater-app
cd octopus-underwater-app
git checkout underwater-app-java
Test the application locally by using the run command and visiting http://localhost:8080/
chmod +x mvnw
./mvnw spring-boot:run
When you run the package step, it builds the target JAR deployable for the app:
./mvnw packageNext, enable the container registry to store the container image:
gcloud services enable containerregistry.googleapis.com
export GOOGLE_CLOUD_PROJECT=`gcloud config list --format="value(core.project)"`
Run this command to create the config.json with the correct settings:
gcloud auth configure-dockerThe jib tool creates and pushes the image to the container registry:
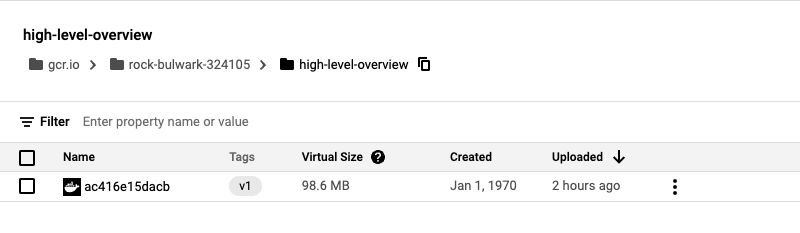
./mvnw com.google.cloud.tools:jib-maven-plugin:build -Dimage=gcr.io/$GOOGLE_CLOUD_PROJECT/octopus-underwater-app:latestConfirm the image is present on GCR by going to the Container Registry home page.
Retrieving credentials from Azure for Octopus Deploy
You need to retrieve some credentials to pass to Octopus Deploy.
Follow the steps in our docs to add an Azure Service Principal to Octopus Deploy.
Creating an Azure Kubernetes cluster
Next, switch to Microsoft Azure to host your Kubernetes cluster. Octopus Deploy is cloud-agnostic, so it can work with deployments that span multiple cloud providers.
- Create a new Kubernetes cluster by going to your resource group and creating a Kubernetes service.
- Give the cluster a name and accept all default options.

Octopus steps
Add deployment target
- Go to Infrastructure, then Deployment Targets, then Add Deployment Target, then Kubernetes Cluster.
- Fill out the fields using the Azure Service Principle set up earlier.
- Assign a unique role for the deployment.
Add external feeds
For Octopus to access the image stored in GCR, you need to enable the Google Container Registry feed.
Set up deployment steps
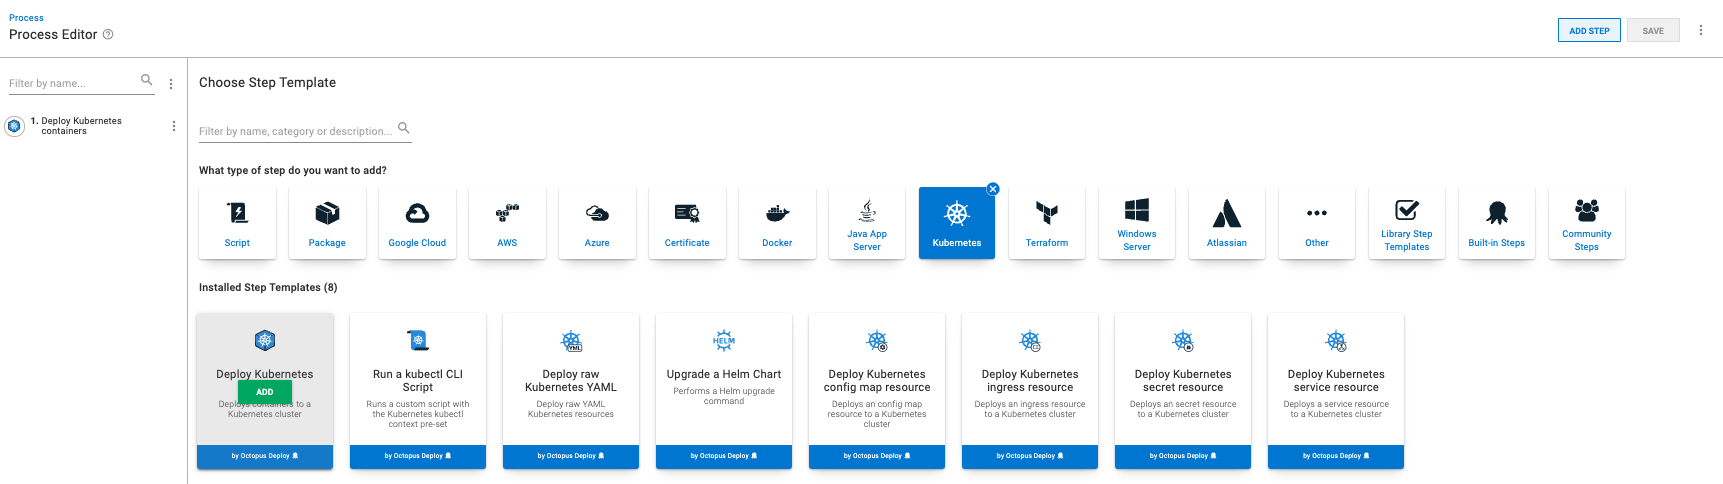
In your project, add the Deploy Kubernetes containers step.
YAML file
Click the Edit YAML box and paste the YAML file below into the box. The YAML file populates the various settings in the Octopus UI. You have to replace the PROJECT_ID with your google PROJECT_ID. Using the Google external feed credentials set up earlier, you can also use the UI to select the container image manually.
apiVersion: apps/v1
kind: Deployment
metadata:
name: java-web-underwater
labels:
app: java-web-app
spec:
selector:
matchLabels:
app: java-web-app
replicas: 1
strategy:
type: RollingUpdate
template:
metadata:
labels:
app: java-web-app
spec:
containers:
- name: java-web-app
image: gcr.io/<PROJECT_ID>/octopus-underwater-app
ports:
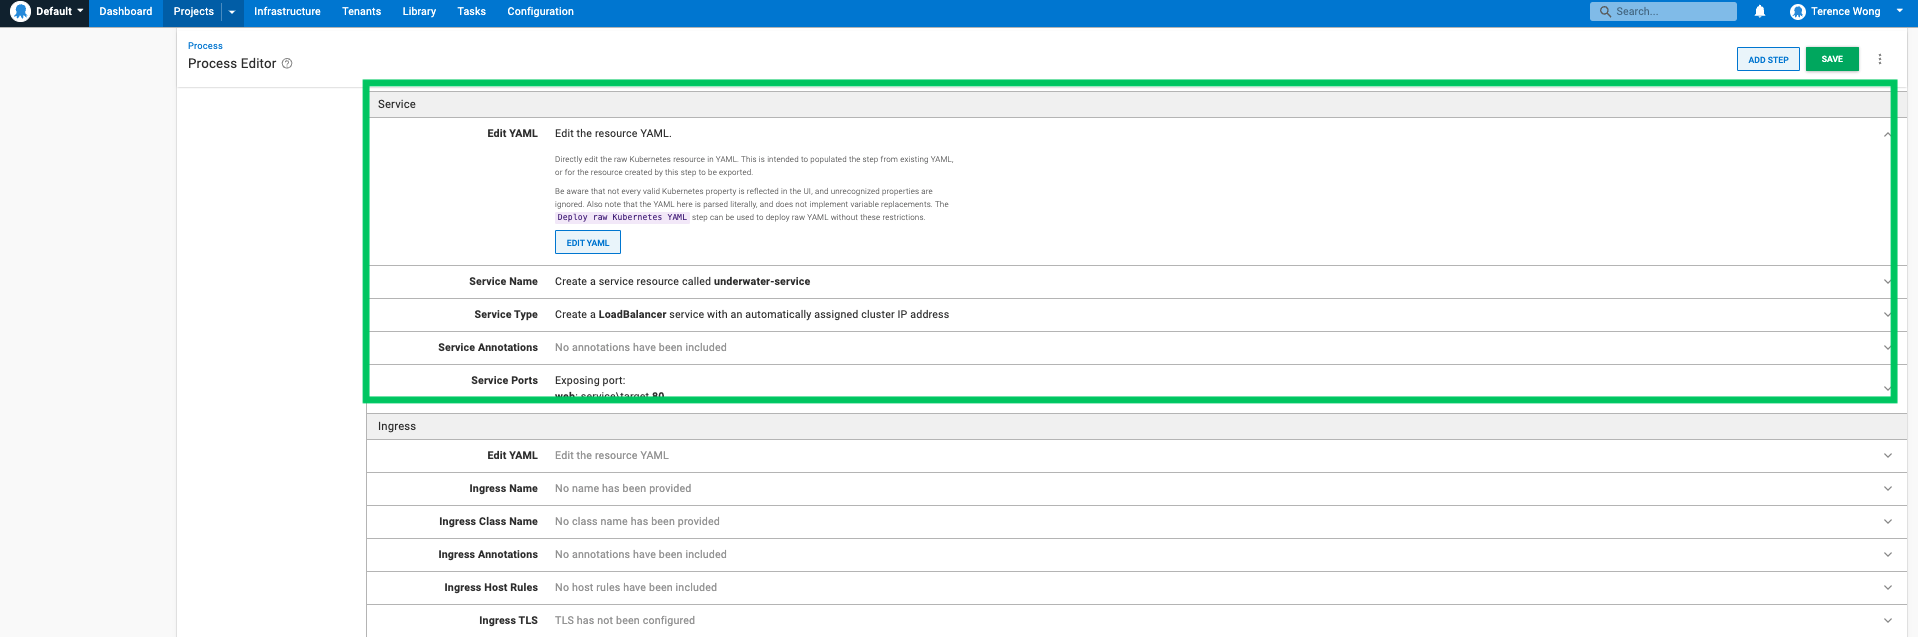
- containerPort: 80Service
Paste the following YAML into the Service section of the step. This will create an Azure Service through the Octopus client.
apiVersion: v1
kind: Service
metadata:
  name: underwater-service
spec:
  type: LoadBalancer
  ports:
    - name: web
      port: 80
      targetPort: 8080
      protocol: TCP
  selector:
    app: java-web-app
Deploy to Azure
- Click SAVE.
- Click Create Release and click through the steps to deploy the application to Azure.
Runbooks as a Kubernetes monitoring tool
You can set up monitoring of your Kubernetes resources through runbooks.
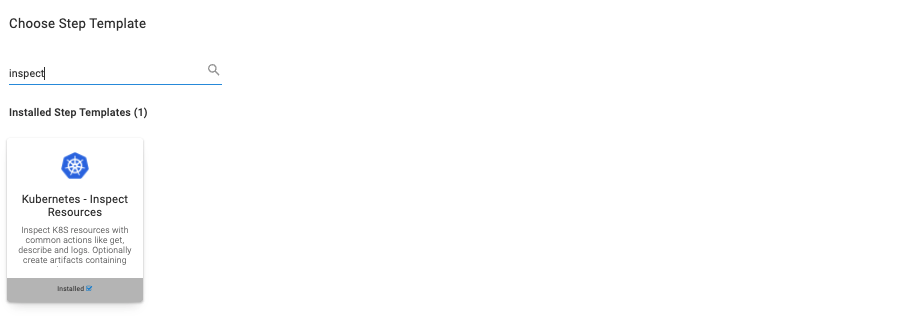
Go to your project dashboard then Runbooks, then Add Runbook, then Define your Runbook Process, then Add Step, then Kubernetes - Inspect Resource.
Assign the role you set for your deployment target. You can replicate the kubectl get service command by setting the Resource and Kubectl Verb.
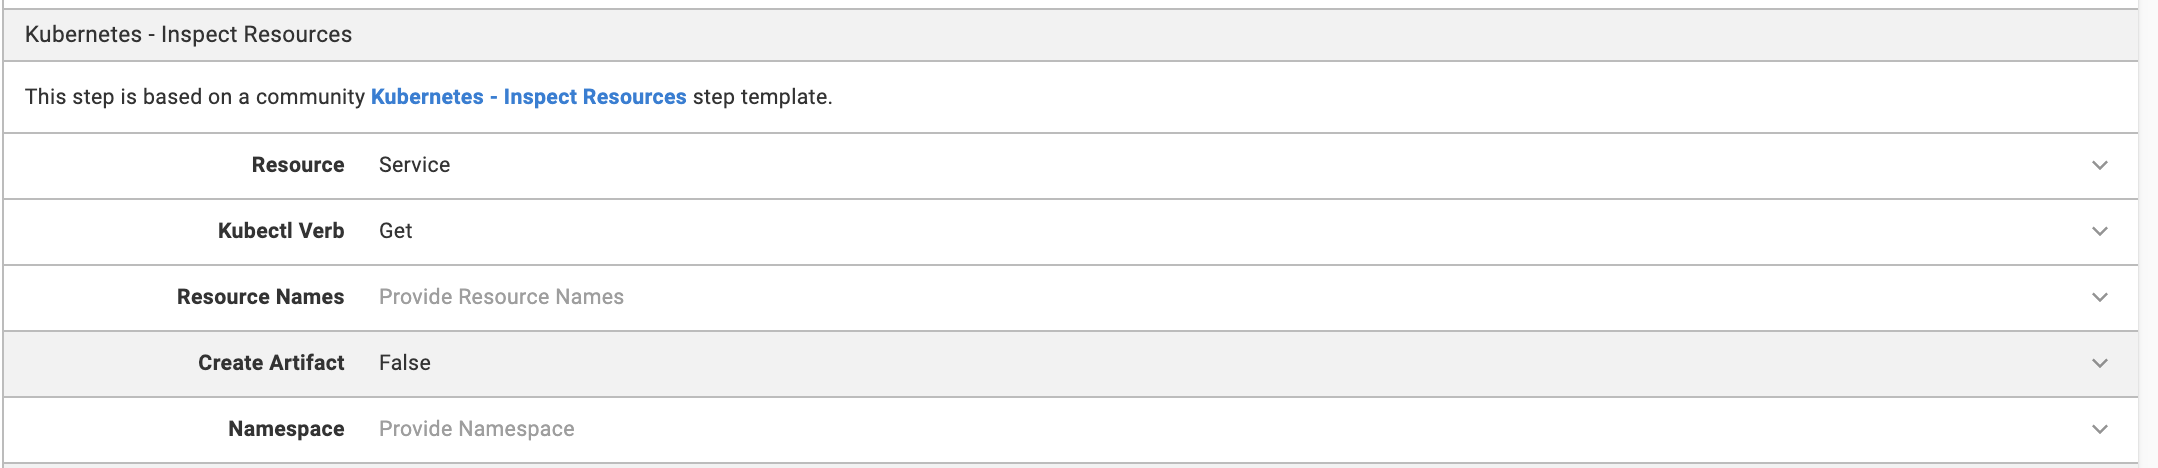
Click Save, then Run.
The runbooks can now be shared across teams. This means monitoring can be done at an organization level rather than individually on local machines.
Go to the task log to see the underwater-service you just created. Find the IP address under External IP. Enter this address into a browser address bar and you’ll see the Octopus underwater app.

Conclusion
In this post, you built the Octopus underwater app and pushed the image to GCR. You used Octopus Deploy to reference this image and deployed the image to AKS.
Read the rest of our Continuous Integration series.
Happy deployments!


