
Jenkins is the most popular Continuous Integration (CI) platform on the market. It’s open-source and free, and lets you automate the building and testing of your code.
You can use it with Octopus Deploy to manage releases and deployments automatically.
In this post, I show you how to configure a Jenkins instance, push a package to an Octopus Deploy instance, and deploy a web application to Azure.
Before you start
To follow along with this post, you need:
- An Octopus Deploy instance
- An Azure account
- A Jenkins instance
You can install Jenkins in many ways, for example, on Linux or Windows, on Docker, or with Helm. Or you can follow steps 1 to 4 in this guide from Microsoft for a live Jenkins instance on Azure.
Setting up Jenkins for Octopus Deploy
After you set up Jenkins, go to the URL for your Jenkins instance to access the UI.
In the UI, go to Manage Jenkins, then Manage Plugins and search for the Octopus Deploy Plugin under Available, and install the plugin.

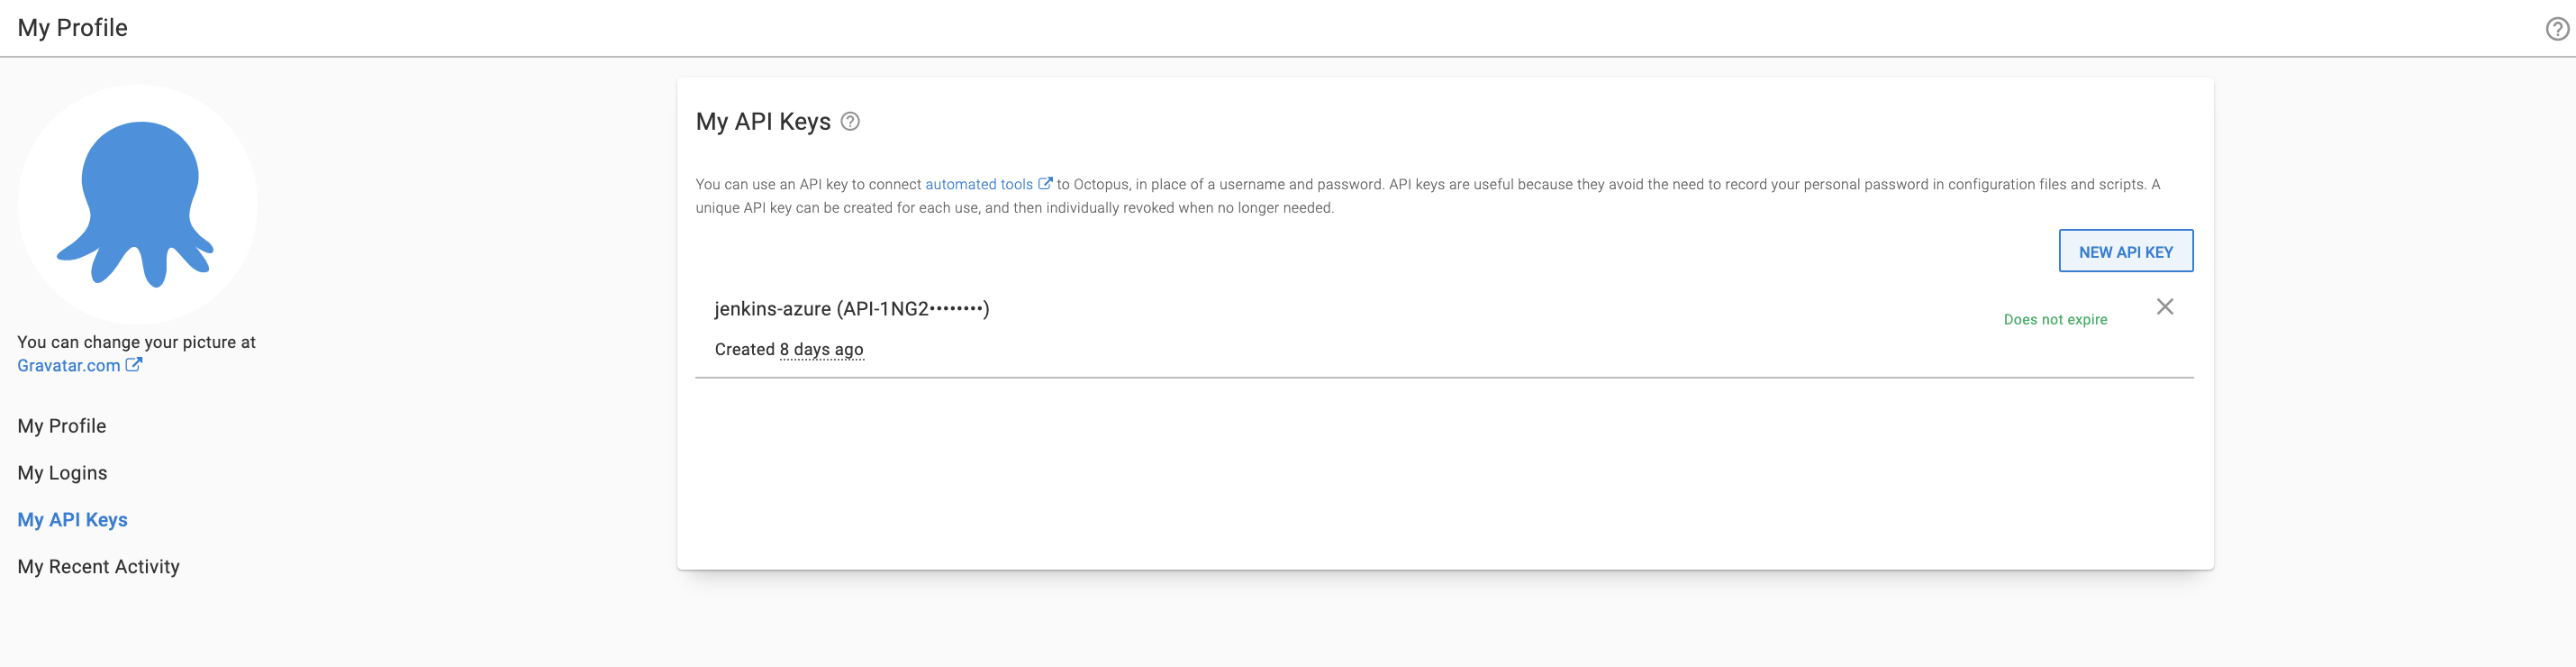
You now need to generate an API key in your Octopus Deploy instance.
In Octopus, go to your Username, then Profile, then My API Keys, and create a key. Jenkins uses this value.
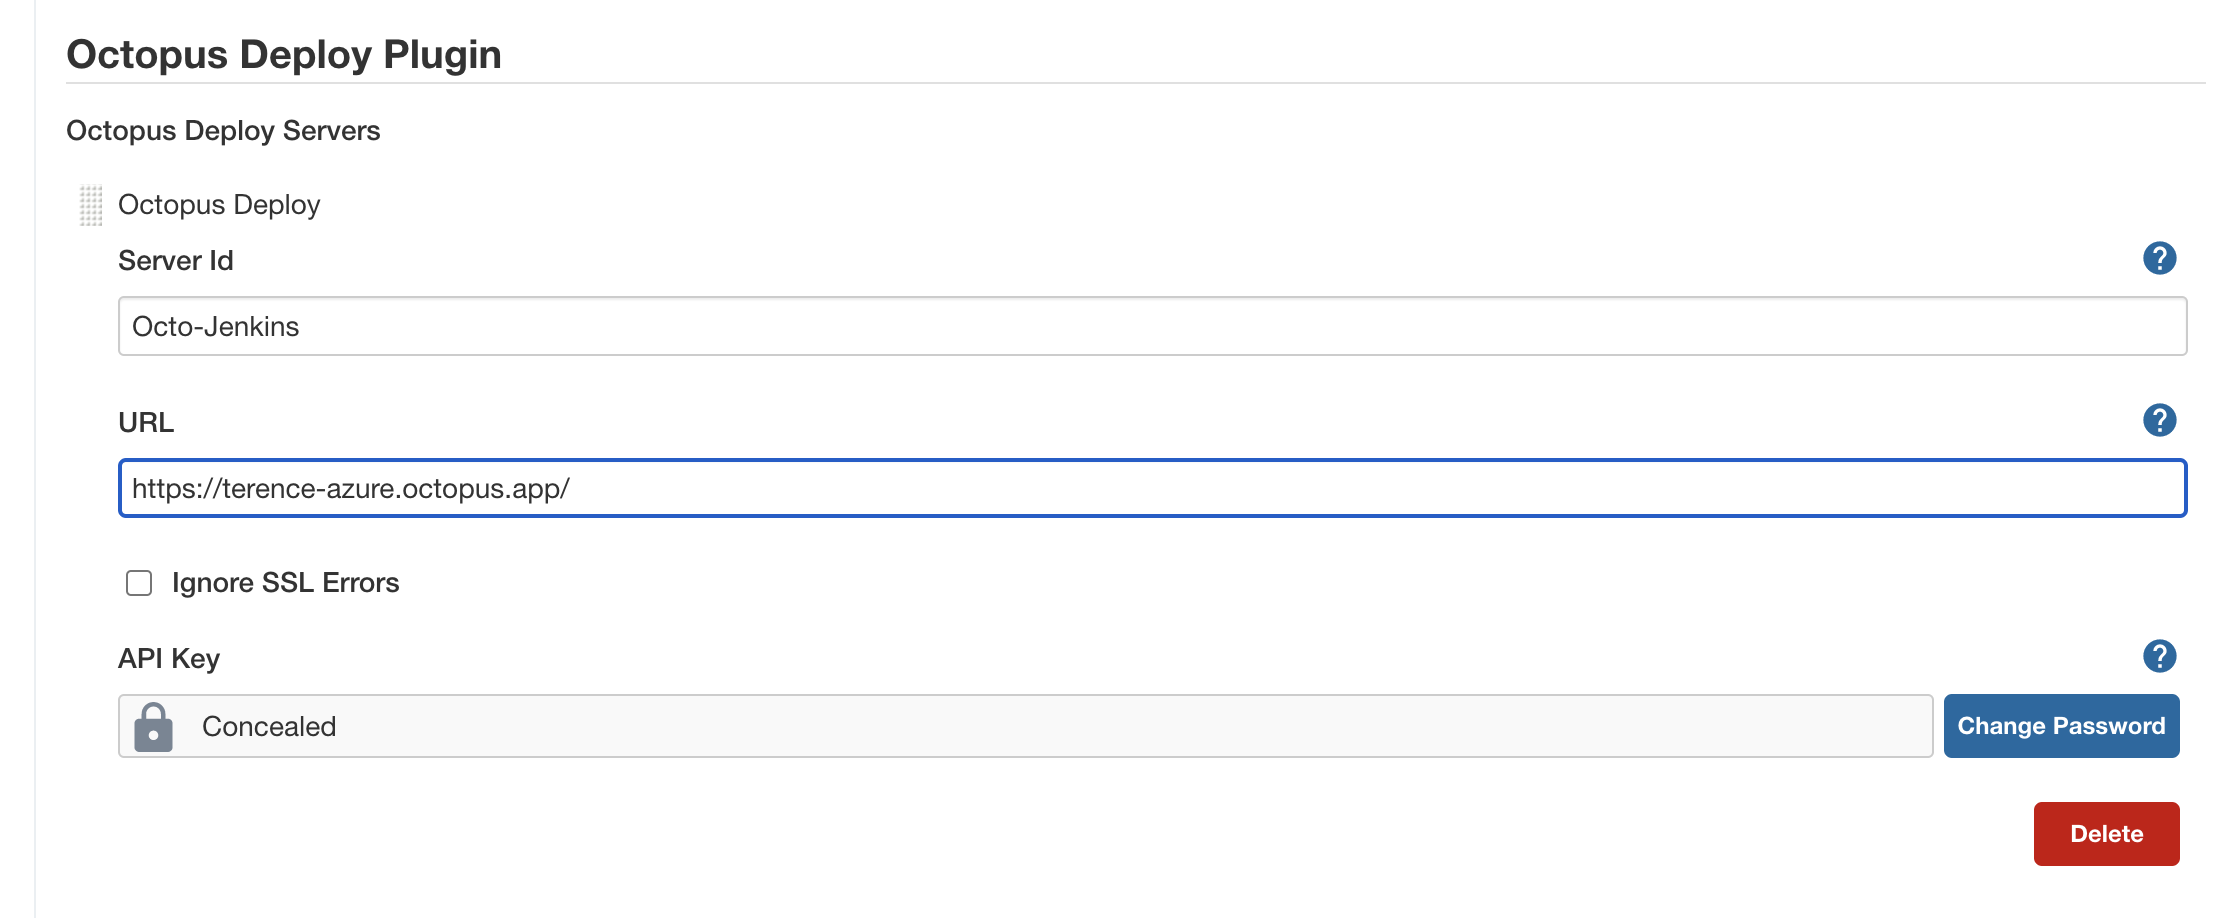
Next, go to Manage Jenkins, then Configure system.
Under the Octopus Deploy Plugin setting, add the URL of your Octopus Deploy instance, and add your API key.
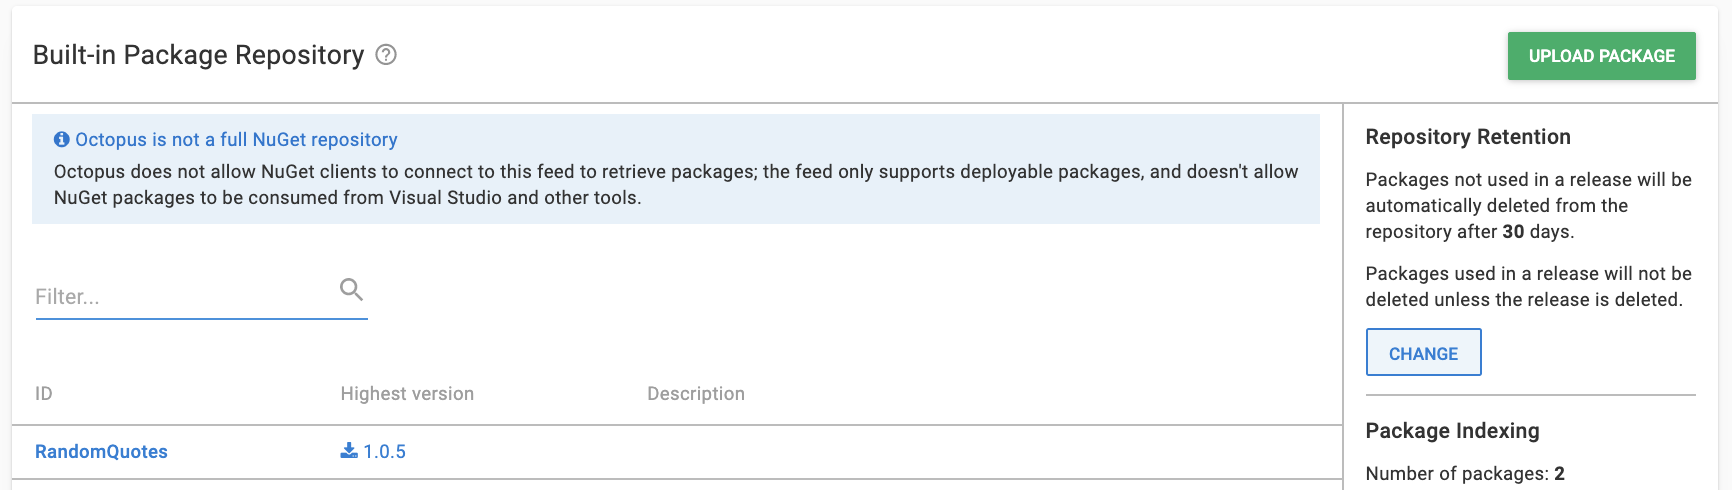
Jenkins makes your compile packages available in Octopus, ready to be deployed.
Create a new job by going to the Jenkins home page and clicking New item, then Freestyle project, and assigning the following settings:
Source code management
Git: https://github.com/OctopusSamples/RandomQuotes-JS.git
Build specifier: */master
Build triggers
Poll SCM: H/5 * * * *
Build step - execute shell
You have to install npm and Node.js on the virtual machine.
npm install
npm tests
Build step Octopus Deploy: package application
- Octopus Deploy CLI: default
- Package ID:
RandomQuotes - Version Number:
1.0.${BUILD_NUMBER} - Package format: zip
- Package include paths:
${WORKSPACE}/** - Package output folder:
${WORKSPACE}
Build step Octopus Deploy: push packages
- Octopus Deploy CLI: default
- Octopus Deploy Connection: Octo-Jenkins
- Package paths:
${WORKSPACE}/RandomQuotes.1.0.${BUILD_NUMBER}.zip
Click SAVE.
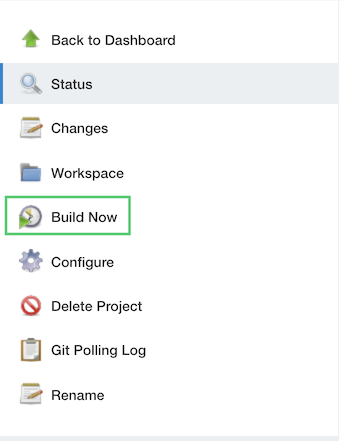
Go back to the Dashboard and click Build Now to start the job.
After the build starts, navigate to the build number and inspect its progress. If every step passes, you see a success status.
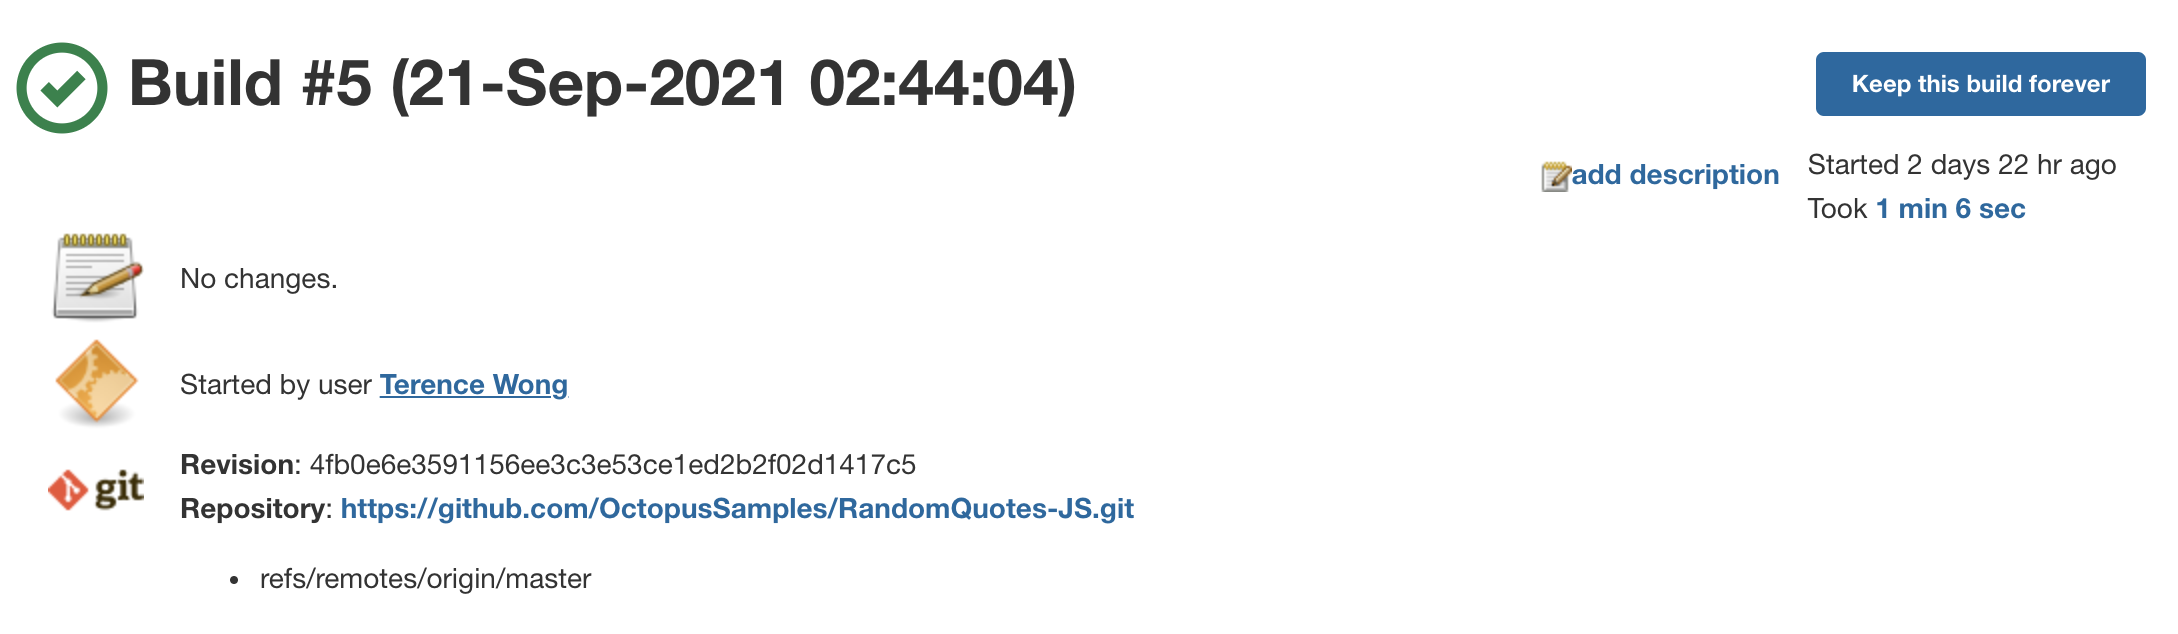
Jenkins uploads the package to the Octopus Deploy instance, which you can find under Library, then Packages. The package version corresponds to the latest build number in Jenkins.
Configuring an Azure account
You need to configure an Azure account and web application as a target for the deployment from Octopus. You can also use other targets, such as AWS or Linux and Windows servers.
Create an account in Azure by navigating to the Azure portal.
Creating an Azure Service Principal with the Azure portal
Getting Started - Azure Account
- In the Azure Portal, open the menu, navigate to Azure Active Directory, then Properties and copy the value from the Tenant ID field. This is your Tenant ID.
- Next you need your Application ID:
- If you created an AAD registered application, navigate to Azure Active Directory, then App Registrations, and click View all applications. Select the app and copy the Application ID. Please note, the Azure UI defaults to Owned Applications tab. Click the All Applications tab to view all app registrations.
- If you haven’t created a registered app, navigate to Azure Active Directory, then App Registrations, click on New registration, and add the details for your app, and click Save. Make note of the Application ID.
- Generate a one-time password by navigating to Certificates & Secrets, then New client secret. Add a new secret, enter a description, and click Save. Make note of the displayed application password to use in Octopus. You can change the expiry date, if you don’t want to accept the default one-year expiry for the password.
You now have the following:
- Tenant ID
- Application ID
- Application Password/Secret
This means you can add the Service Principal Account in Octopus.
Next, you need to configure your resource permissions.
Resource permissions
Resource permissions ensure your registered app can work with your Azure resources.
- In the Azure Portal navigate to Resource groups and select the resource group(s) that you want the registered app to access. If a resource group doesn’t exist, create one by going to Home, then Resource groups, then Create. After it’s created, take note of the Azure subscription ID of the resource group.
- Click the Access Control (IAM) option. Under Role assignments, if your app isn’t listed, click Add role assignment. Select the appropriate role (Contributor is a common option) and search for your new application name. Select it from the search results, then click Save.
The next step is setting up an Azure web application and configuring its properties.
Web application setup
- In your Resource group click Create, then Web App.
- Create a Windows Node Application under runtime stack and operating system.
- Take note of your Azure app name, as this will be the address of your web application:
[your-site].azurewebsites.net.
Add the Service Principal account in Octopus
You can add your account to Octopus using the following values:
- Application ID
- Tenant ID
- Application Password/Key
- Navigate to Infrastructure, then Account
- Select ADD ACCOUNT, then Azure Subscriptions
- Give the account the name you want it to be known by in Octopus
- Give the account a description
- Add your Azure Subscription ID - this is found in the Azure portal under Subscriptions
- Add the Application ID, the Tenant ID, and the Application Password/Keyword
Click SAVE AND TEST to confirm the account can interact with Azure. Octopus attempts to use the account credentials to access the Azure Resource Management (ARM) API and lists the resource groups in that subscription.
You may need to whitelist the IP addresses for the Azure Data Center that you’re targeting. See deploying to Azure via a Firewall for more details.
It can take several minutes for your newly-created Service Principal to pass the credential test. If you’ve double-checked your credential values, wait 15 minutes then try again.
Configuring Octopus to deploy to Azure
In your Octopus instance, add a production environment by going to Infrastructure, then Environments, and Add Environment.
Go to Infrastructure, then Deployment Targets and add an Azure Web App. Assign the production environment and set a role (for example, azure) for the target.
Choose the Azure account you set up earlier and select your Azure Web application. Click SAVE.
Create a project by going to Projects, then Add Project.
Go to the Process section. Add a Deploy an Azure App Service step.
On Behalf of
- Choose the role (for example,
azure)
Deployments
- Select deploy from a zip, Java WAR, or NuGet package
- Choose the package from the built-in library
Use the default settings for everything else.
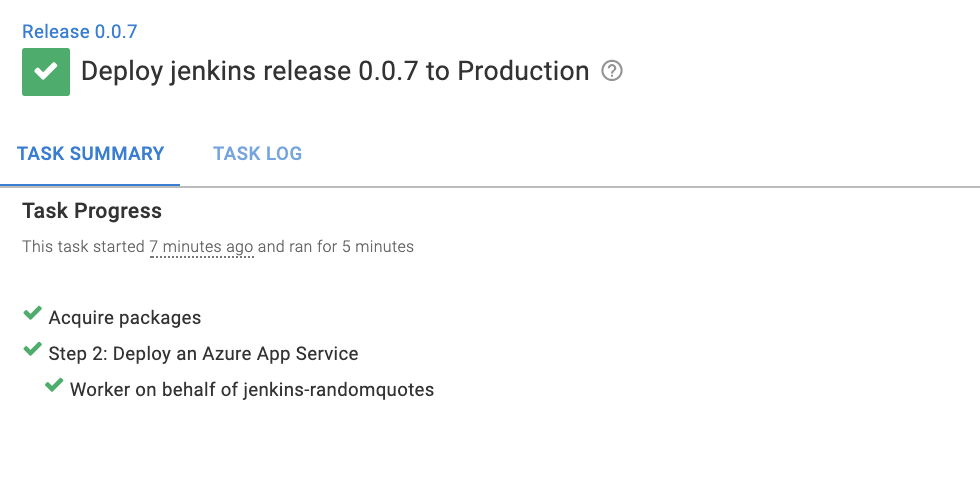
Go to your project and create a release. Click SAVE, then Deploy to Production, then Deploy, and wait for the deployment to complete.
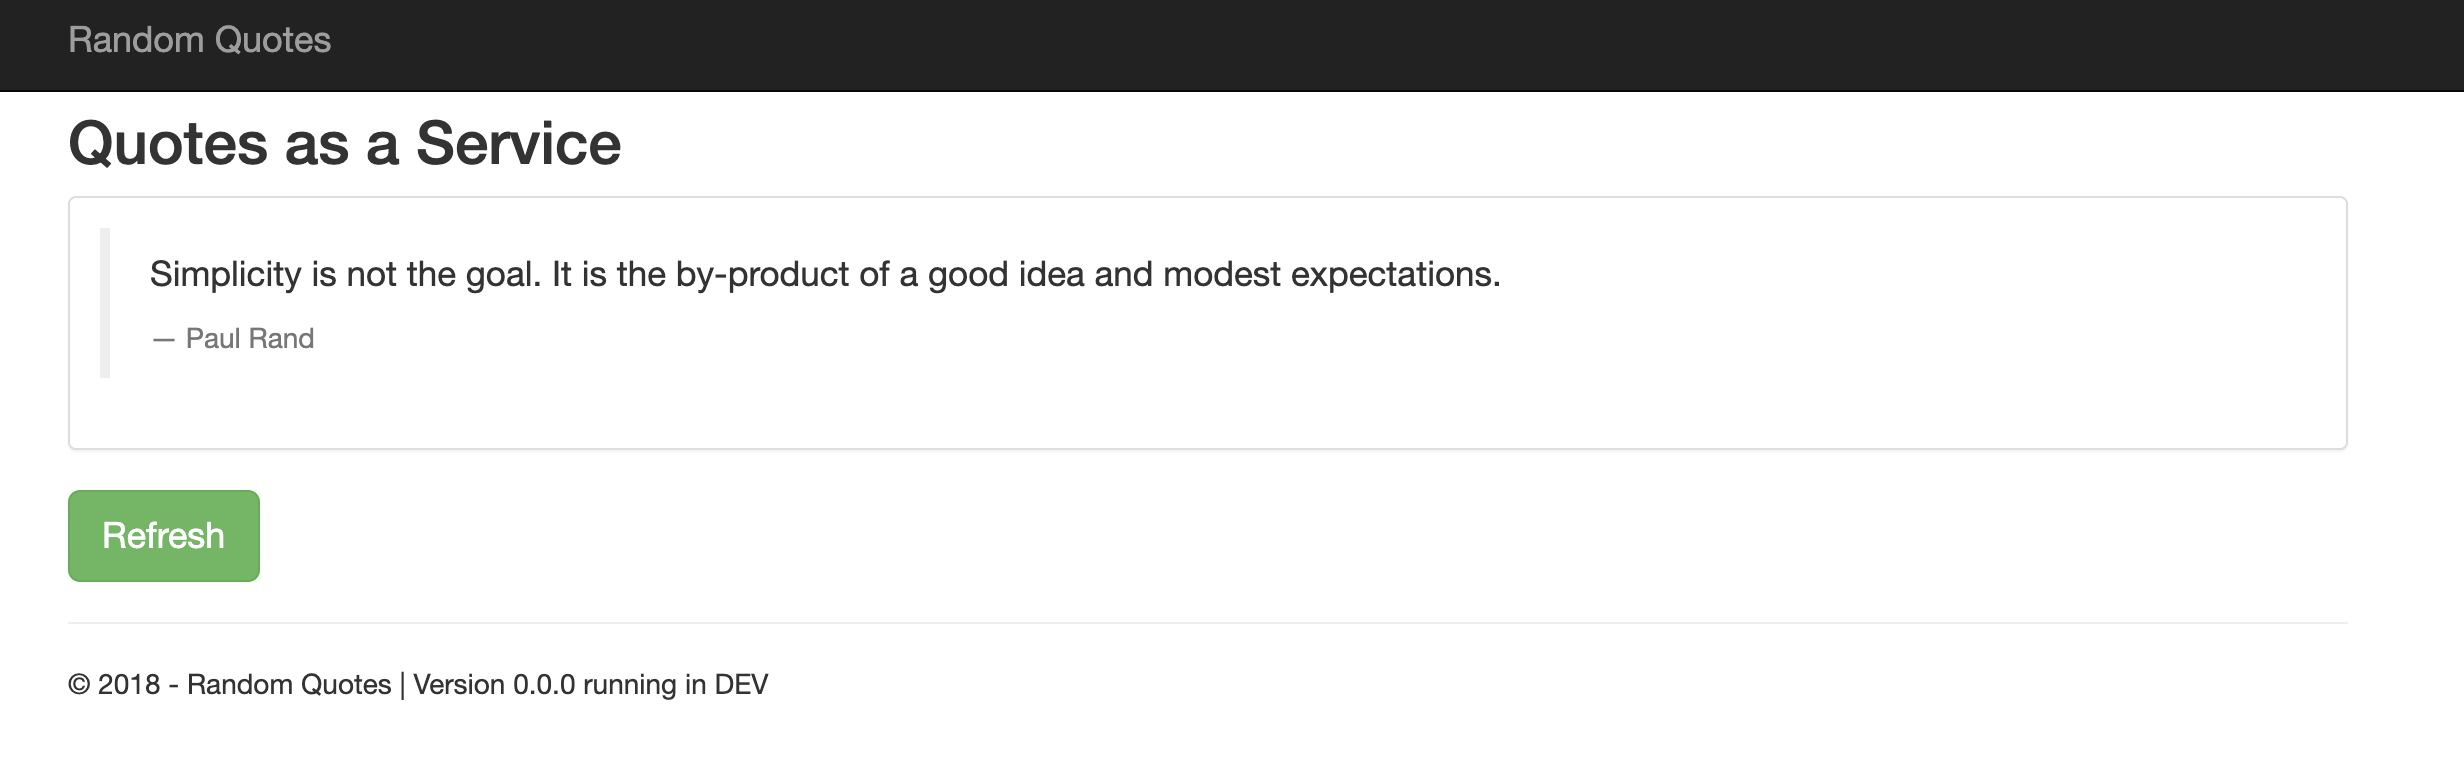
Go to your site URL [your-site].azurewebsites.net to see the deployed web application.
Post-build
The Octopus Deploy Jenkins plugin can also be used to create releases and deployments in Jenkins.
In the dashboard of your Jenkins job, go to Configure and add the following steps:
Post-build action: create release
- Octopus Deploy CLI: default
- Octopus Server:
Octo-Jenkins - Project Name:
jenkins - Release Version:
0.0.i - Deploy this release after it is created? Check the box
Click SAVE, go back to the job dashboard, and click Build now. Jenkins triggers the package to build and starts the post-build release and deploy steps in Octopus Deploy.
Conclusion
In this post, you set up and used a Jenkins instance to build and push a package to Octopus Deploy. You used this package to deploy a web application to an Azure Web App.
This post shows you how Jenkins integrates with Octopus Deploy to manage releases and deployments automatically.
Try our free Jenkins Pipeline Generator tool to create a Pipeline file in Groovy syntax. It’s everything you need to get your Pipeline project started.
For more on Continuous Integration (CI) and build servers, check out our CI blog series.
Happy deployments!