
With the release of version 1 of the Octopus Terraform Provider, DevOps teams can now manage their Octopus resources using a fully supported Terraform based Infrastructure as Code (IaC) solution.
New teams populating their first Octopus spaces can take advantage of the Terraform provider from the outset. However, it is arguably established teams with existing Octopus projects that will benefit the most from IaC capabilities. But how do you migrate existing Octopus projects to Terraform?
In this post we will cover how the Octoterra tool can bring existing projects under Terraform management.
What is Octoterra?
Octoterra is a CLI tool that scans an existing Octopus space and converts the projects, runbooks, and other resources into Terraform configuration files.
A new feature in Octoterra generates Bash and PowerShell scripts to reimport the existing resources into the state file of the exported Terraform configuration. This allows teams to:
- Export existing Octopus resources into Terraform configuration files.
- Import the configuration of existing resources into the Terraform state file associated with the exported configuration.
- Manage the existing resources using Terraform going forward.
Exporting an existing Octopus project
Octoterra is distributed as self-contained binaries for Windows, Linux, and macOS, available from the GitHub releases page.
You can also run Octoterra as a Docker container, which is often the simplest way to get started. The following command will run Octoterra in a Docker container, exporting the configuration of an existing Octopus project into the current directory:
docker run -v $PWD:/tmp/octoexport --rm ghcr.io/octopussolutionsengineering/octoterra \
-url https://instance.octopus.app \
-space Spaces-## \
-apiKey API-xxxx \
-projectName "My Project" \
-lookupProjectDependencies \
-generateImportScripts \
-dest /tmp/octoexport
The Octoterra arguments from this example are:
-url: The URL of the Octopus server.-space: The ID of the Octopus space containing the project.-apiKey: The API key to authenticate with the Octopus server.-projectName: The name of the project to export.-lookupProjectDependencies: Enables the use of data sources to look up the IDs of space-level resources such as environments, lifecycles, and variables. This exports the project as a self-contained Terraform configuration referencing existing space-level resources by name.-generateImportScripts: Generates Bash and PowerShell scripts to locate and import the existing resources into the Terraform state file.-dest: The destination directory to write the exported Terraform configuration files and import scripts. When using a Docker container, this directory must be mounted as a volume to allow the container to write files to the host filesystem.
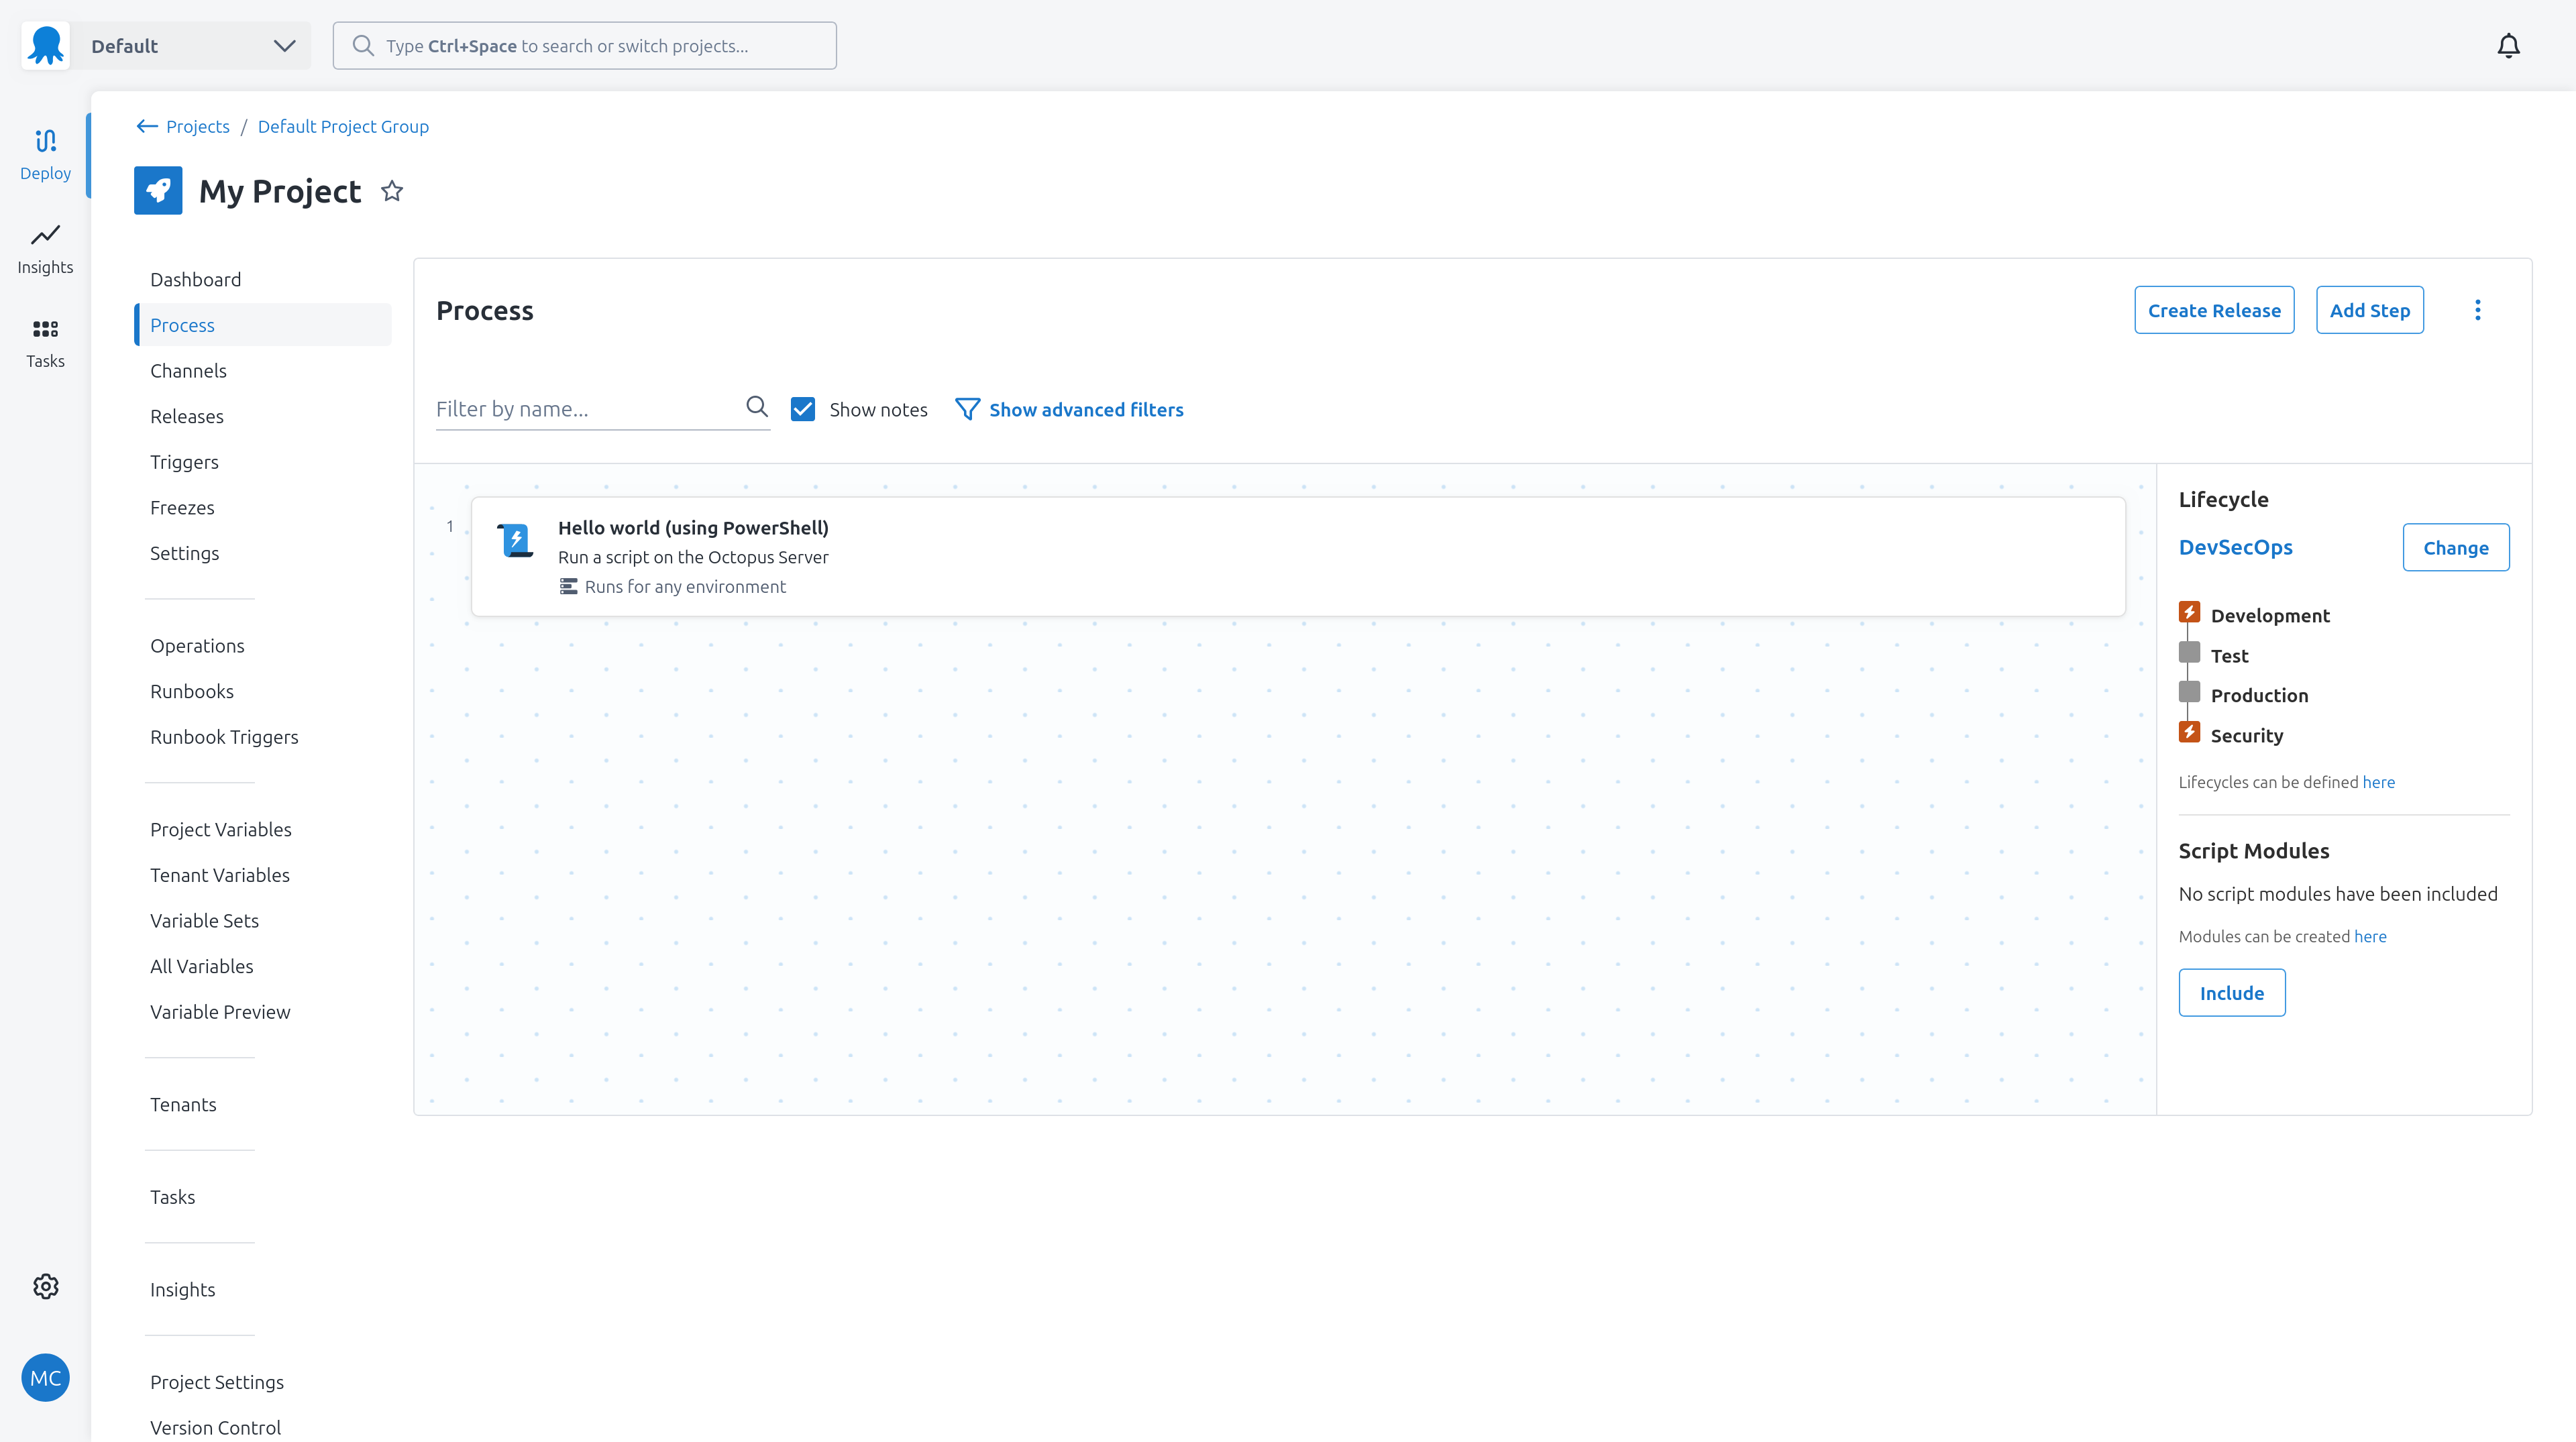
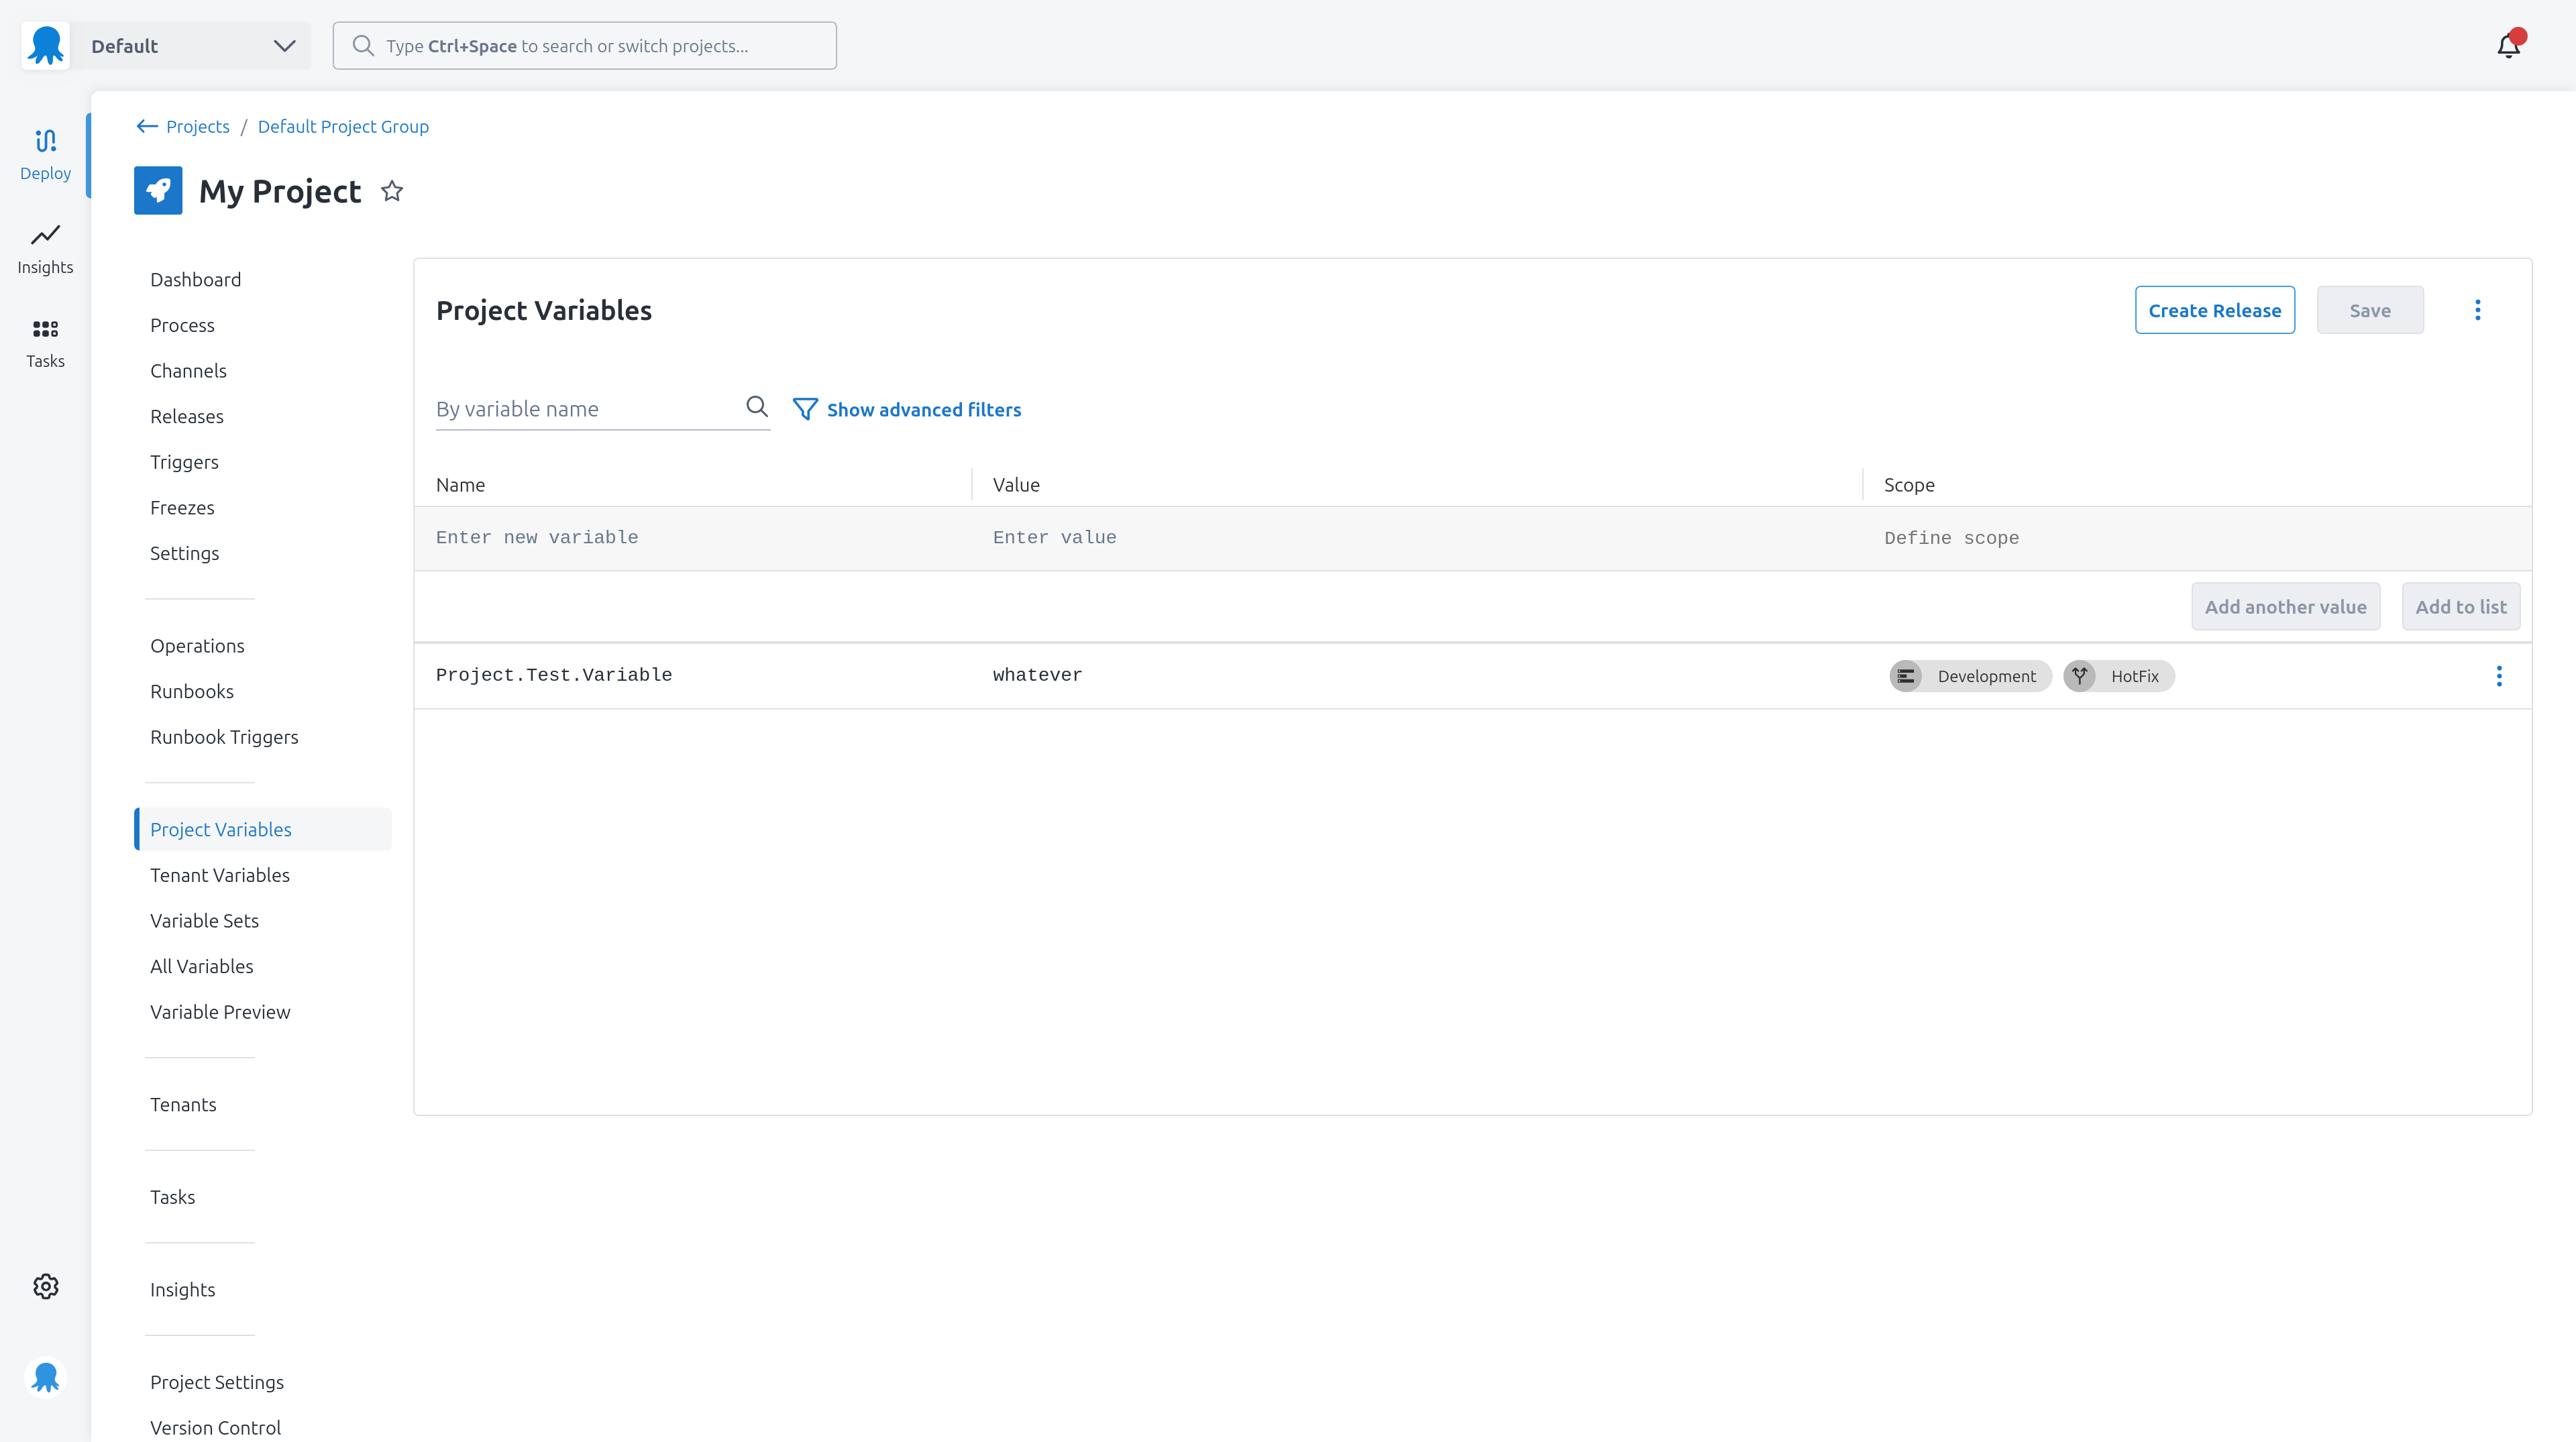
For this post we’ll export a simple project called “My Project” that has a single deployment step running a PowerShell script and a channel called HotFix. The project also has a variable scoped to an environment and a channel.
Once the Terraform configuration files have been generated, run the following command in the space_population directory to initialize the directory containing the exported Terraform configuration files:
terraform initBecause we have supplied the -generateImportScripts argument, Octoterra will generate Bash and PowerShell scripts to reimport the project into the Terraform state file. All the script file names start with the prefix import_. In addition, two scripts called import.sh and import.ps1 are generated which run all the other import scripts, providing a convenient way to import all the resources in the exported configuration.
If running on Linux or macOS, the scripts must be made executable before they can be run:
chmod +x *.shThe import scripts can then be run to import the existing resources into the Terraform state file. The following command runs the Bash script to import the existing resources:
./import.sh API-xxx https://instance.octopus.app Spaces-##If running on Windows, the PowerShell script can be run using the following command:
.\import.ps1 API-xxx https://instance.octopus.app Spaces-##You may need to allow PowerShell to run unsigned scripts by setting the execution policy.
The import scripts first attempt to find the matching resources in the target space by name, and if found, import the resources into the Terraform state file using the terraform import command.
In this example we have used the default local state. Production environments should use remote state, such as an S3 bucket or Azure Storage Account, to ensure the Terraform state is stored securely and can be accessed by all team members.
Checking the Terraform state
Once the project is imported, you can run terraform plan to see any differences between the generated Terraform configuration files and the imported state:
terraform plan \
  -var=octopus_apikey=API-xxxxx \
  -var=octopus_server=https://instance.octopus.app \
  -var=octopus_space_id=Spaces-###
There are open issues in the Terraform provider at the time of writing that lead to the plan showing differences between the generated configuration and the imported state. For example, the octopusdeploy_variable resources may show fields like is_editable, is_sensitive, and value will be added, again when these are no-op changes.
Future releases of the Terraform provider and Octoterra will resolve these import differences, but for now, it is expected that the plan will show some differences between the generated configuration and the imported state.
That said, the primary purpose of the import scripts is to allow the exported Terraform configuration to be reapplied to the existing Octopus resources while avoiding errors about resources already existing in the target space.
This is an example of the plan output from my sample project showing the differences:
Terraform used the selected providers to generate the following execution plan. Resource actions are indicated with the following symbols:
  ~ update in-place

Terraform will perform the following actions:

  # octopusdeploy_project.project_my_project will be updated in-place
  ~ resource "octopusdeploy_project" "project_my_project" {
        id                                   = "Projects-9441"
        name                                 = "My Project"
        # (18 unchanged attributes hidden)

      + connectivity_policy {
          + allow_deployments_to_no_targets = true
          + exclude_unhealthy_targets       = false
          + skip_machine_behavior           = "None"
          + target_roles                    = []
        }

      + versioning_strategy {
          + template = "#{Octopus.Version.LastMajor}.#{Octopus.Version.LastMinor}.#{Octopus.Version.NextPatch}"
        }
    }

  # octopusdeploy_variable.my_project_project_test_variable_1 will be updated in-place
  ~ resource "octopusdeploy_variable" "my_project_project_test_variable_1" {
        id           = "e1b1bb15-d61e-d241-316d-651e495b46e1"
      + is_editable  = true
      + is_sensitive = false
        name         = "Project.Test.Variable"
      + value        = "whatever"
        # (4 unchanged attributes hidden)

        # (1 unchanged block hidden)
    }

Plan: 0 to add, 2 to change, 0 to destroy.
╷
│ Warning: Block Deprecated
│
│   with octopusdeploy_project.project_my_project,
│   on project_project_my_project.tf line 36, in resource "octopusdeploy_project" "project_my_project":
│   36: resource "octopusdeploy_project" "project_my_project" {
│
│ octopusdeploy_project.versioning_strategy is deprecated in favor of resource octopusdeploy_project_versioning_strategy. See
│ https://oc.to/deprecation-tfp-project-versioning-strategy for more info and migration guidance.
It is good practice to run terraform plan after importing the resources to ensure that the Terraform configuration files match the state of the Octopus resources, and manually review the generated Terraform configuration files if needed to confirm they are correct.
Backing up your Octopus instance
Before making any changes to production resources, it is highly recommended that you backup the Octopus database. While changes to projects are tracked in the Octopus audit log, having a backup of the database allows you to restore the state of your Octopus instance if something goes wrong.
You may also consider testing the export and import process on a test instance of Octopus running a copy of your production data, or on a cloned project. This allows you to verify the export and import process works as expected before applying it to your production projects.
Applying the Terraform configuration
Once you are satisfied that the plan does not show any unexpected changes, you can run terraform apply to apply the configuration:
terraform apply \
  -var=octopus_apikey=API-xxxxx \
  -var=octopus_server=https://instance.octopus.app \
  -var=octopus_space_id=Spaces-###
This will apply the Terraform configuration back to Octopus. We expect this operation to make no changes to the project, as the exported configuration matches the state of the project in Octopus.
Once the apply operation is complete, the project is managed by Terraform, and you can make any future changes to the project by editing and reapplying the Terraform configuration.
Dealing with sensitive variables
Octoterra reads the state of Octopus projects and variables via the API. The API does not export the values of sensitive variables, so Octoterra can not include sensitive values in the exported Terraform configuration files.
To manage sensitive variables, you can either:
- Pass the value of sensitive variables as Terraform variables when running
terraform apply, as Octoterra creates Terraform variables to define the values of all exported sensitive variables. - Exclude sensitive variables from the exported configuration and manage them separately in Octopus.
To exclude variables from the exported configuration, you can use the -excludeProjectVariable argument when running Octoterra. This argument can be passed multiple times to exclude multiple variables from the exported configuration.
For example, if the project had a sensitive variable called Project.Test.Secret that we wished to exclude from the exported configuration, we would run the following command:
docker run -v $PWD:/tmp/octoexport --rm ghcr.io/octopussolutionsengineering/octoterra \
  -url https://instance.octopus.app \
  -space Spaces-## \
  -apiKey API-xxxx \
  -projectName "My Project" \
  -lookupProjectDependencies \
  -generateImportScripts \
  -excludeProjectVariable Project.Test.Secret \
  -dest /tmp/octoexport
This will exclude the Project.Test.Secret variable from the exported configuration, meaning it is not managed by Terraform, allowing you to manage it separately in the Octopus UI.
Making manual changes to the exported configuration
The exported Terraform configuration files can be manually edited to apply any customizations or address any issues you may find. The beauty of Terraform and the Octopus Terraform provider is that the configuration files use an open, documented, and editable format.
You have complete control and ownership of the configuration once it is exported, and are free to make any changes you need.
Conclusion
Customers with existing Octopus projects can now place them under Terraform management using the Octoterra tool. By exporting the projects to their equivalent Terraform configuration, importing the state, and applying the configuration, Octopus projects can be effectively migrated in-place with minimal disruption.
Tags:


