Customers often ask if they can run an Octopus worker within a Kubernetes (K8s) cluster. There are a couple of reasons you’d want to do this; to create a dedicated worker for that cluster, or simply to create a bunch of workers to use with Octopus Deploy. Using the Tentacle image, this is possible, but you can even use it to deploy Octopus itself.
In this post, I demonstrate deploying Tentacle containers to be used as workers on an Octopus instance.
In August 2024, we introduced a new worker that makes it easier to scale your deployment infrastructure. The Kubernetes-based worker optimizes your infrastructure use through autoscaling, and Octopus manages the worker for you. Learn how to use it in our post, Autoscaling Octopus workers using Kubernetes.
Create a worker pool
First we need to create a new worker pool for our container workers:
- In the Octopus Web Portal, navigate to the Infrastructure tab.
- Select Worker Pool.
- Then click ADD WORKER POOL.
- Give the pool a name and click SAVE.
With our pool created, we can move on to the runbook.
Create an external feed
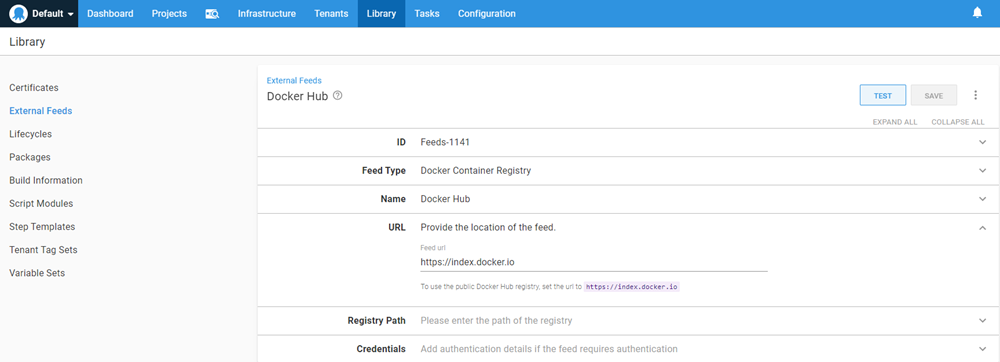
To configure Octopus Deploy to deploy images, we first need to create an external feed as the built-in repository is only a NuGet feed type.
For this post, I created an external feed that points to Docker Hub. Other docker feeds are also supported, such as Artifactory and Nexus.
Create a runbook
Infrastructure activities should be undertaken using Runbooks. This post assumes you’re familiar with creating projects within Octopus, so we’ll skip that part.
- Create a runbook in your project. I called mine Create K8s workers.
- Add a Deploy Kubernetes containers step to your process.
This step template is large, so we’ll go over the minimum components to get this working.
Deployment section
At a minimum, fill in the following:
- Deployment name: Name of the deployment within K8s.
- Replicas: Number of containers to run. I set mine to 3 so I have three workers.
Containers section
Click ADD CONTAINER and fill in the following components:
- Name: Name of the container
- Package Image
- Package feed: Select the feed you’ve configured for the image (Docker Hub, in my case)
- Package ID:
octopusdeploy/tentacle
- Environment Variables: Click ADD ENVIRONMENT VARIABLE and add the following:
- ServerApiKey: API key to register the worker with
- ServerUrl: URL to your Octopus instance
- ACCEPT_EULA:
Y - TargetWorkerPool: Name of the pool to add to
- ServerPort:
10943(setting this environment variable configures the worker for Polling mode) - Space: Name of the space to add the worker to (the OctoStache variable of
#{Octopus.Space.Name}will retrieve the name of the current space)
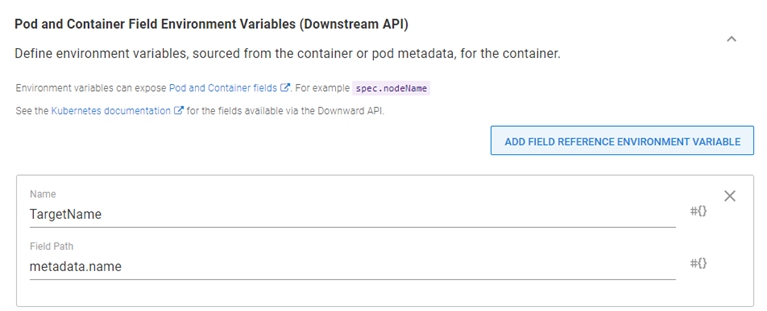
Windows K8s clusters limit the hostname to 16 characters. If you’re using Windows K8s, use the Downstream API feature and add an additional environment variable, TargetName: metadata.name
Anything not listed above uses the form defaults.
Execute the runbook
Click RUN to run the runbook in the environment of your choice.
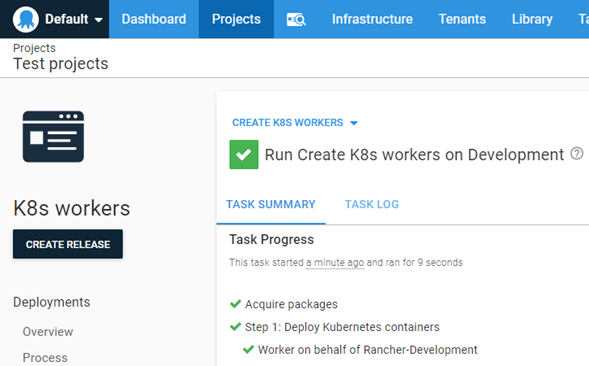
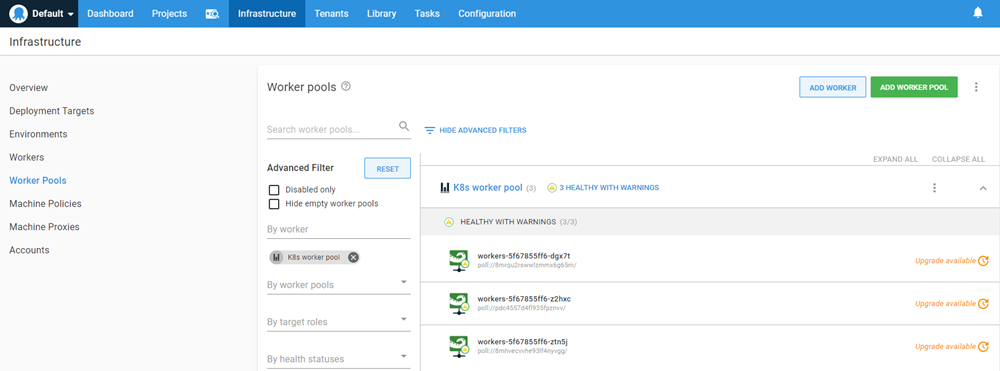
After the runbook has completed successfully, select the Infrastructure tab and you will see workers have been added to Worker Pools.
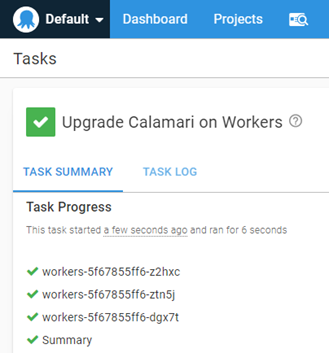
We can verify functionality by upgrading Calamari on our workers. Choose the Upgrade Calamari on 3 Workers option using the ellipsis menu.
Conclusion
In this post I demonstrated how you can deploy workers to a Kubernetes cluster using Octopus Deploy.
Happy deployments!
