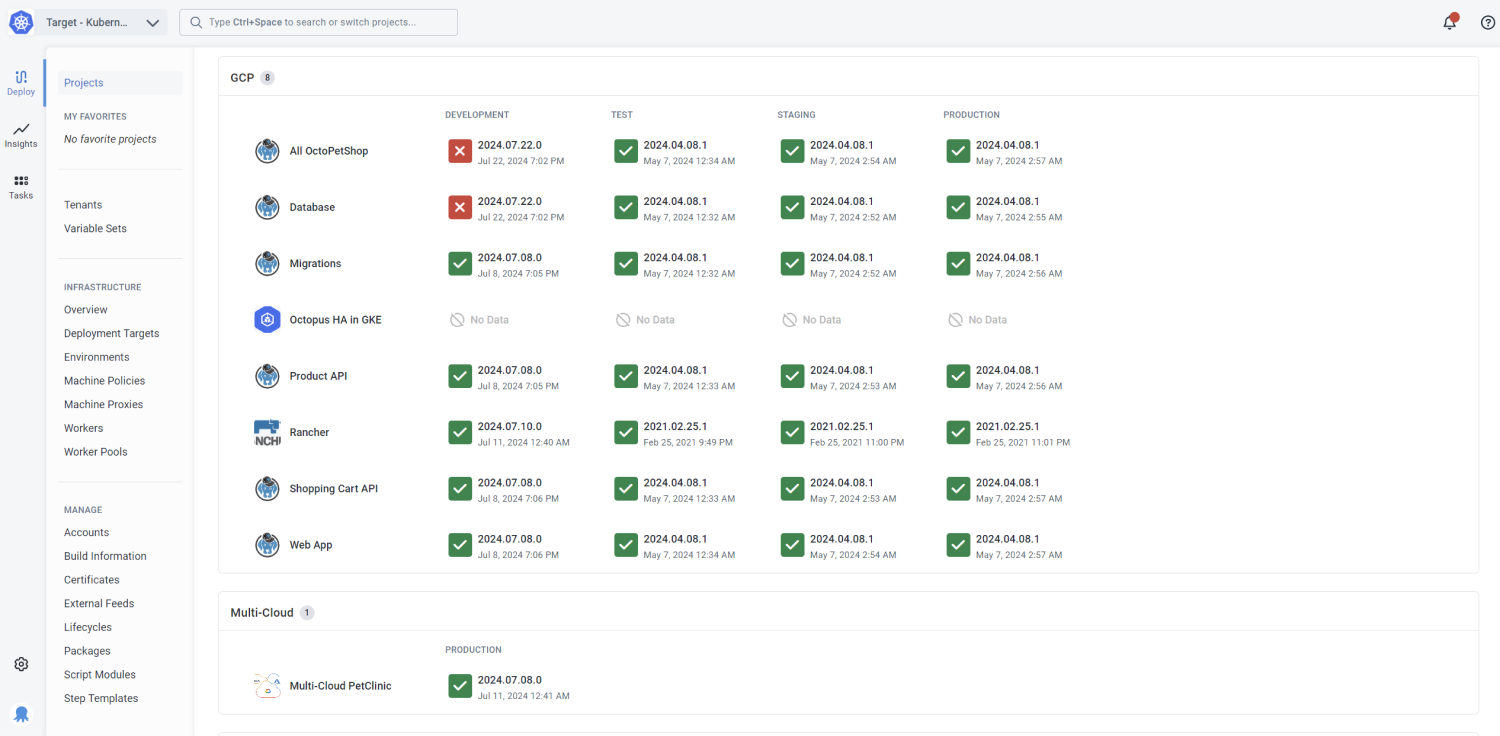
In Octopus, you set up a project for each component you deploy – for example, each application, service, API, or database. In the image below, “Database”, “Product API”, and “Shopping Cart API” are the projects. Each project contains all the information to deploy that application, service, or database.
For each project, you can define:
- A deployment process
- Runbooks to manage your infrastructure
- Variables
- The environments where you’ll deploy the software
Each project has a single deployment process. The process used to deploy to your development environment is the same process used to deploy to your production environment.
You can dive into the details of your projects from the bird’s-eye view of your dashboard.
For advice on how to work with Octopus projects, you can read our project recommendations.
Project groups
Project groups let you organize your projects and keep related components together. For example, you might have a project group for ‘Online Shop’ that has projects for the website, API, and database.
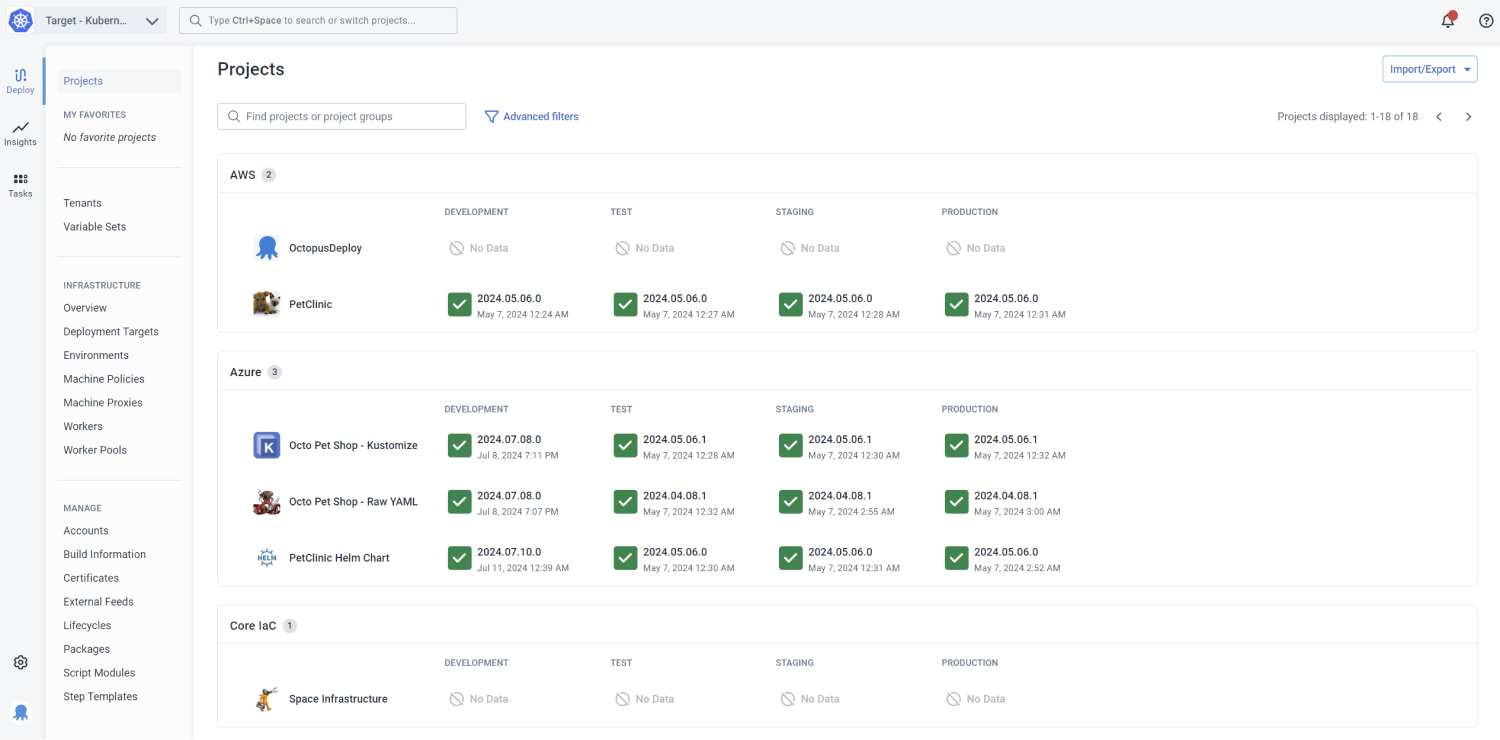
Project groups are useful for organizing dashboards and finding related components. You can see the status of your deployments for each component at a glance in one place. You can also configure permissions at the project group level.
Next steps
Get started with the basics of setting up a project and read our project recommendations. Then, you can use the links below to add more functionality.
Deployments and managing projects
- Deployment processes
- Exporting and importing projects
- Variables
- Tenants
- Project triggers
- Coordinating multiple projects
- Configuration as Code
Steps
Help us continuously improve
Please let us know if you have any feedback about this page.
Page updated on Friday, May 24, 2024