-
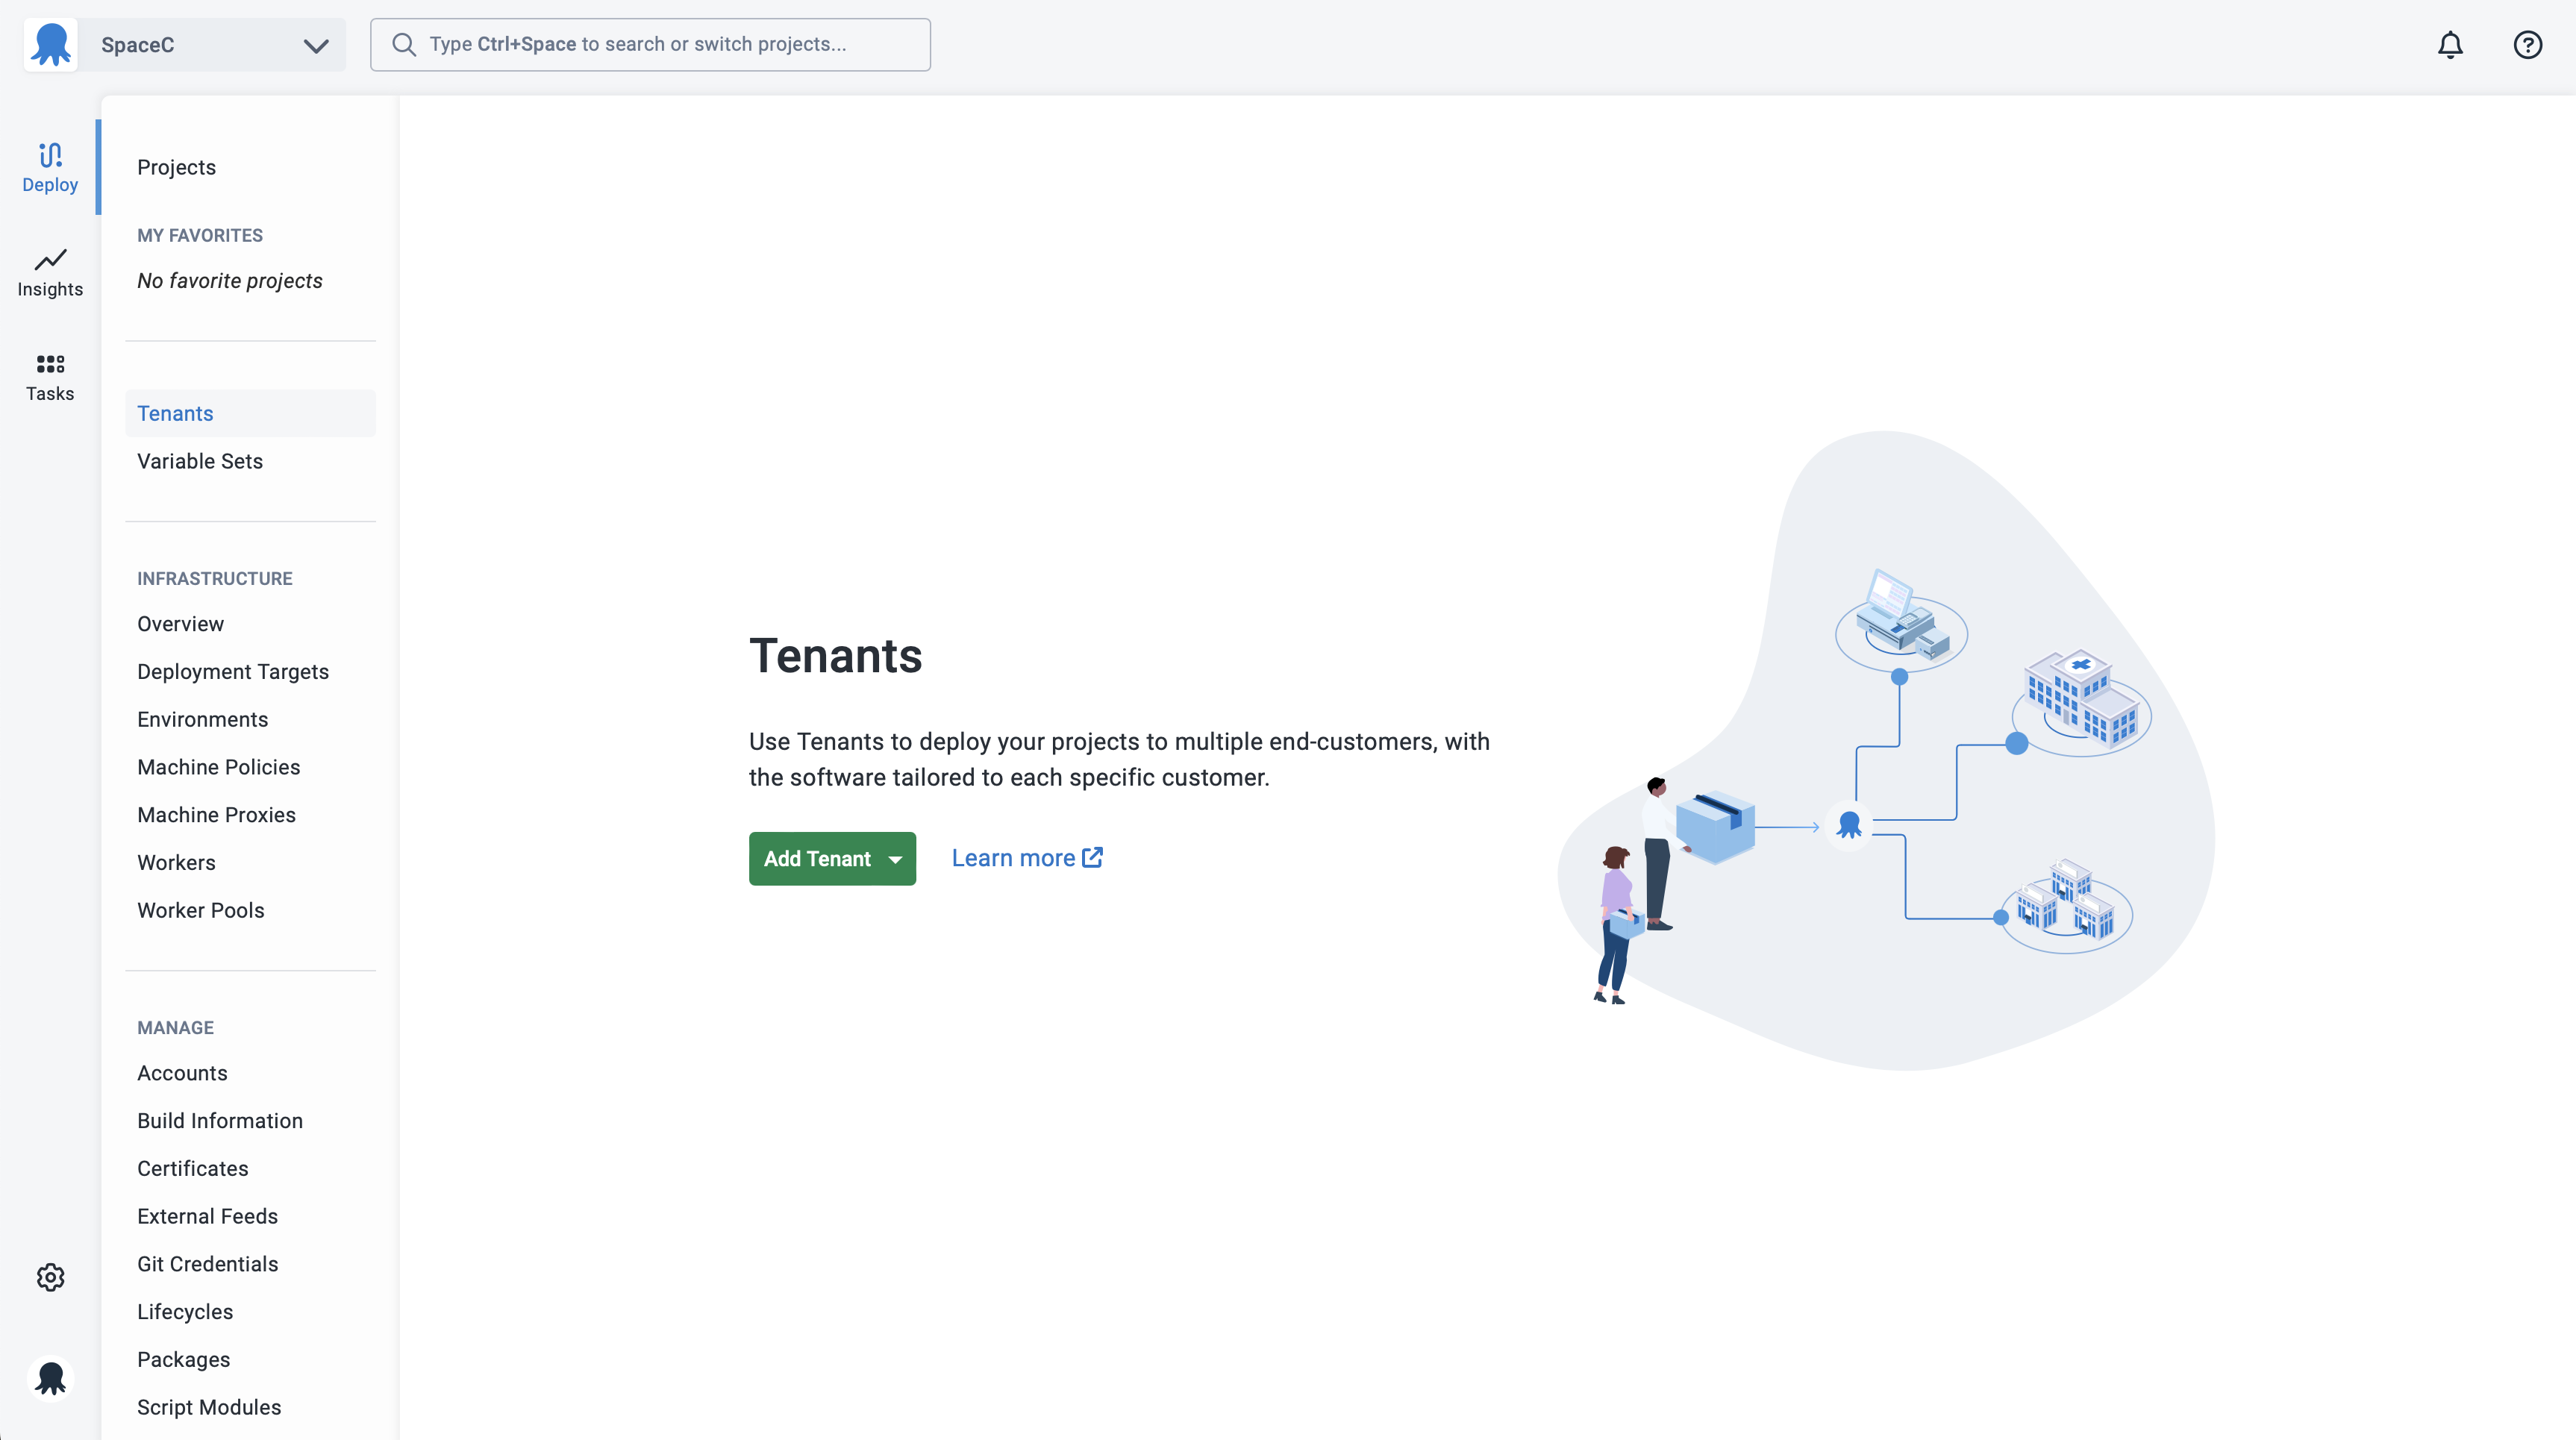
Select Tenants from the main navigation and click the Add tenant button:
-
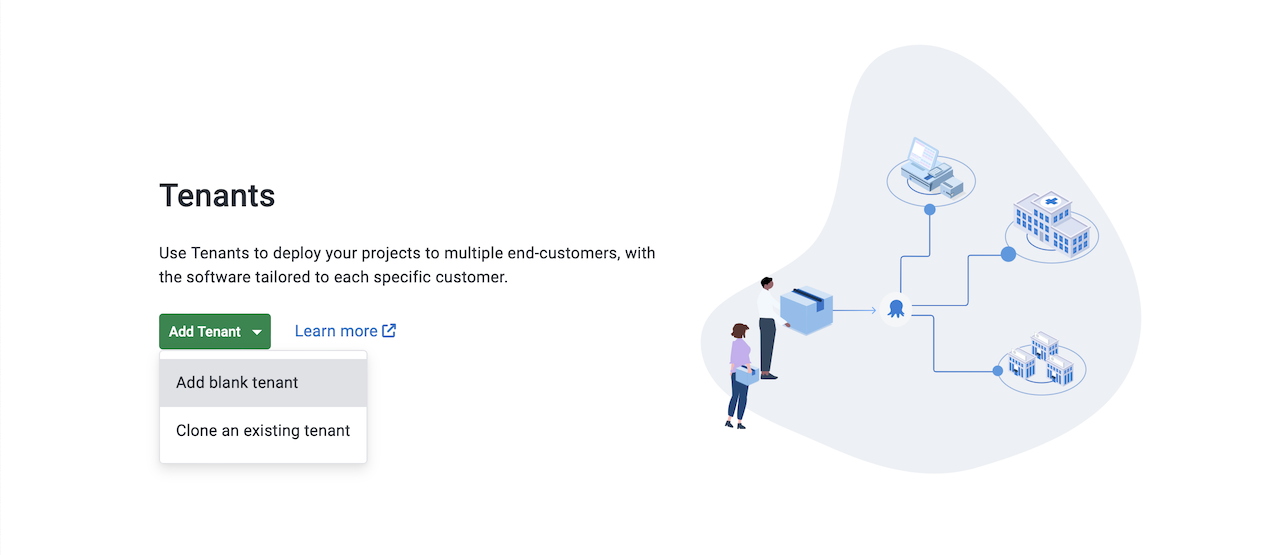
Select if you want to Add blank tenant or Clone an existing tenant:
-
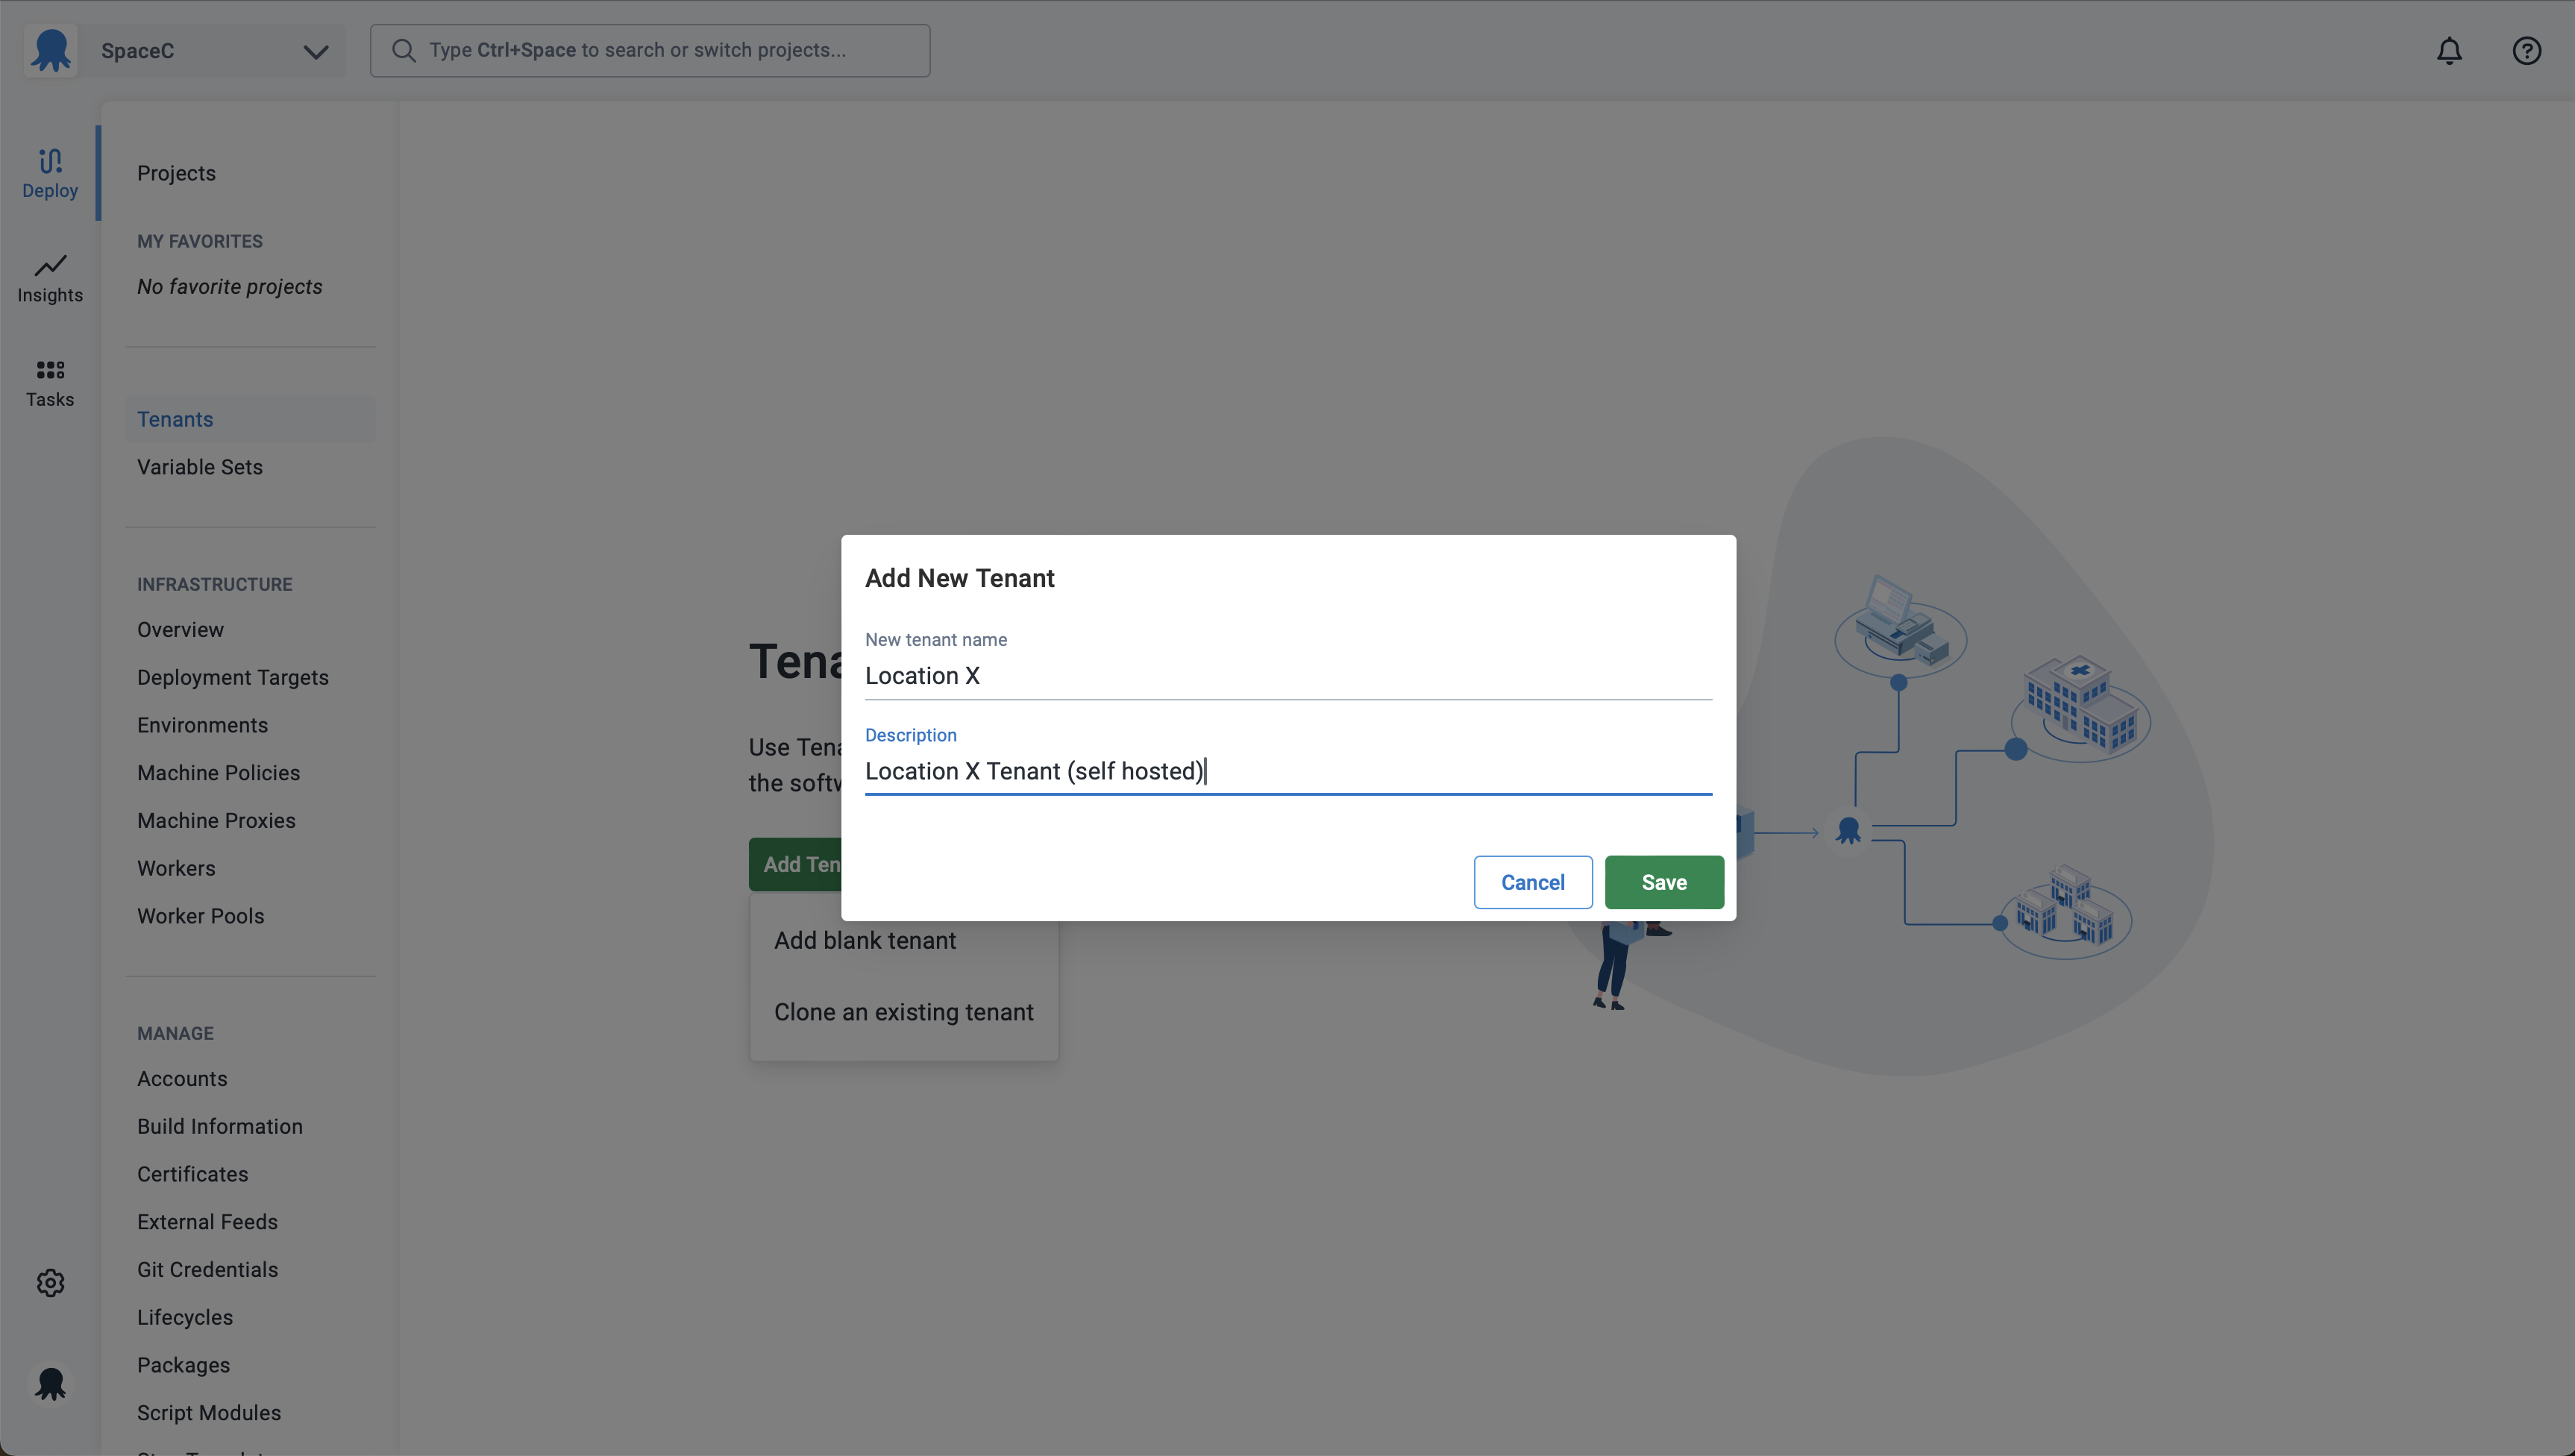
Enter the name you want to use for the tenant and click the Save button:
Now that you’ve created a tenant, you can enable tenanted deployments and then connect the tenant to a project.
It’s also possible to create a tenant using the Octopus REST API. Learn more in our create a tenant example.
Tenant logo
Try adding a logo for your tenant - this will make it much easier to distinguish your tenants. You can do this by navigating to a tenant and clicking the Settings tab.
Your tenants will likely be other businesses, and you could use their logo to help quickly identify the correct tenant.
You could consider using logos based on:
- Customer logos
- Data center region(s) or flags
- Individual tester(s) photo/avatar
Help us continuously improve
Please let us know if you have any feedback about this page.
Page updated on Monday, August 12, 2024