Releases

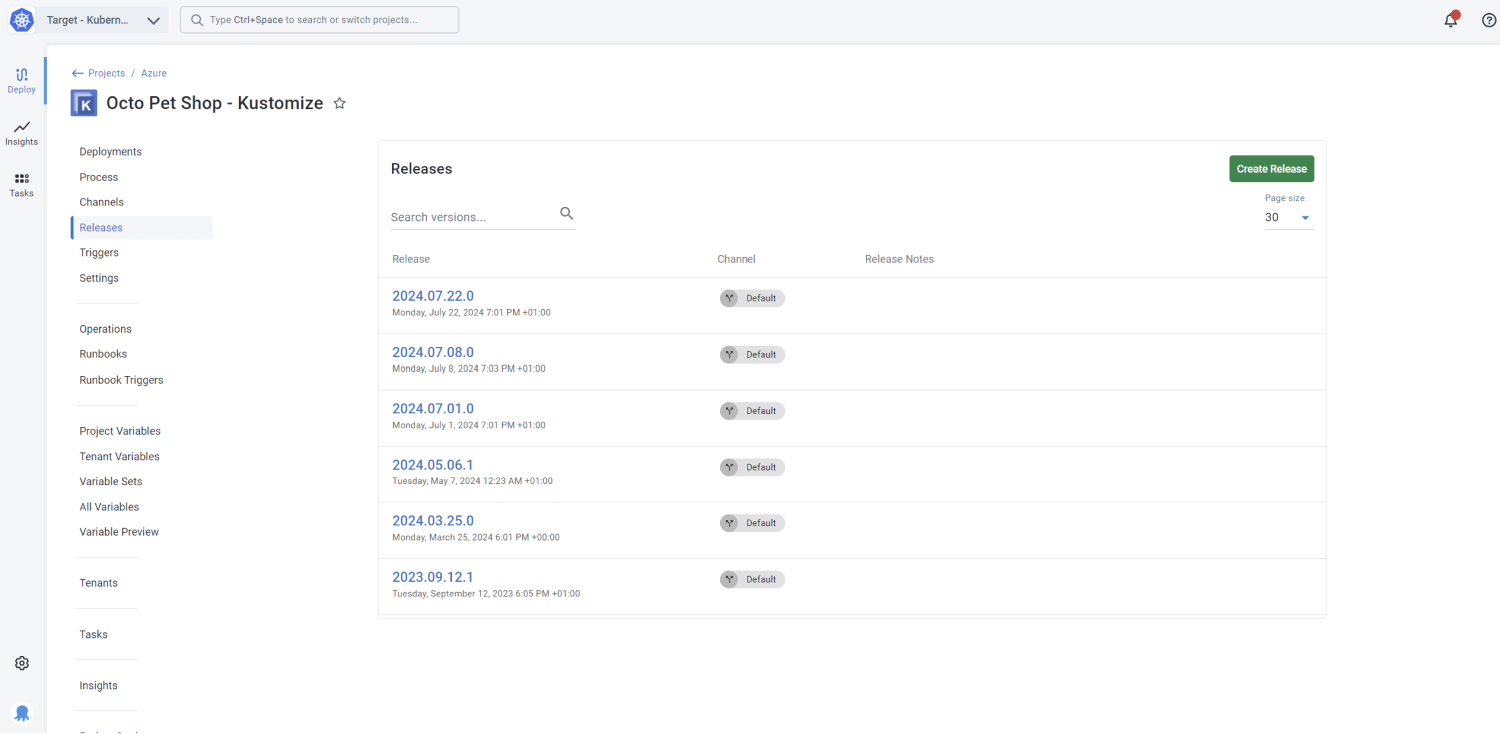
A release is a snapshot of the deployment process and the associated assets that existed when the release was created. These assets include scripts, any references to package versions, and variables (excluding tenant variables). A version number is assigned to a release. Releases can be deployed as often as necessary, even if the deployment process has since been changed for newer releases.

When you deploy a release, you are executing the deployment process with all the associated details as they existed when the release was created.

Create a release

  1. With your deployment process defined, you can create a release on the project’s Overview page, by clicking CREATE RELEASE.

Create release

  1. Depending on the type of steps you configured in the deployment process, there could be additional options available, for instance, if you’re using a step to deploy a package, there will be a package section where you can specify which version of the package to use in the release.
  2. Give the release a version number, add any release notes you’d like to include, and click SAVE.

You can fully automate your build and deployment pipeline, so that the releases are generally created automatically. For more information on this topic, see our build server documentation.

Releases

By navigating to the project’s overview page and selecting Releases, you can see all the releases that have been created for the project. If you want to deploy a release or schedule a deployment, click on the release.

Deploy your releases

After creating the release, if the lifecycle associated with the project is configured to deploy automatically to its first environment, the release will start to be deployed as soon as the release is created.

If the release is not deployed automatically, you can click DEPLOY TO (Environment) where (Environment) is the first environment in the project’s lifecycle. Alternatively, you can click Deploy to… to select a specific environment to deploy to.

Schedule a deployment

  1. Select the release you want to schedule for deployment.
  2. Click DEPLOY TO… or DEPLOY TO (Environment).
  3. If you selected DEPLOY TO…, select the environment to be deployed to.
  4. Expand the WHEN section and select later.
  5. Specify the time and date you would like the deployment to run. Note, deployments can only be scheduled for 30 days in advance.
  6. Specify a timeout period. If the deployment does not start within the specified timeout period, the deployment will not run.
  7. Click SAVE.

Deployments scheduled for the future can be viewed under the Project Overview page, on the Dashboard, and the Tasks section of the Octopus Web Portal.

Schedule deployments with the Octopus CLI

For everyone using the Octopus CLI, you can use the following option:

octo deploy-release --deployAt="2014-07-12 17:54:00 +11:00" --project=HelloWorld --releaseNumber=1.0.0 --deployto=Production --server=http://octopus/api --apiKey=ABCDEF123456

Exclude steps from releases

  1. Select the release you want to deploy.
  2. Click DEPLOY TO… or DEPLOY TO (Environment).
  3. If you selected DEPLOY TO…, select the environment to be deployed to.
  4. Expand the Excluded steps section and use the check-box to select steps to excluded from the deployment.
  5. Click SAVE.

Modify the guided failure mode

Guide failure mode asks for users to intervene when a deployment encounters an error. Learn more about guided failures.

  1. Select the release you want to deploy.
  2. Click DEPLOY TO… or DEPLOY TO (Environment).
  3. If you selected DEPLOY TO…, select the environment to be deployed to.
  4. Expand the Failure mode section, and select the mode you want to use.
  5. Click SAVE.

Deploy to a specific subset of deployment target

You can deploy releases to a specific subset of deployment targets.

  1. Select the release you want to deploy.
  2. Click DEPLOY TO (Environment).
  3. Expand the Preview and customize section.
  4. Expand the Deployment Targets section.
  5. Select whether you would like to include or exclude specific deployment targets. The default is to include all applicable deployment targets.
  6. Select the deployment targets to include or exclude, and click DEPLOY.

Variable snapshot

For each release you create, a snapshot is taken of the project variables. You can review the variables for a release from within a project:

  1. Using the project side menu, navigate to Deployments ➜ Releases
  2. Select the release that you wish to view the variable snapshot for
  3. On the release page scroll to the Variable Snapshot section
  4. Click SHOW SNAPSHOT

This lets you see the variables as they existed when the release was created.

You can update the variables by clicking UPDATE VARIABLES. This can be useful when:

  • The release has not been deployed yet, but the variables have changed since the release was created.
  • The release needs to be redeployed and the variables have changed since the release was created.
  • The release failed to deploy due to a problem with the variables and you need to update the variables and redeploy the release.

After you’ve updated the variables, the release will use the updated variables when it is deployed.

Variable snapshot for Git projects

The variable snapshot for Git projects is a combination of the variables on the selected branch and the sensitive variables stored in the database.

When updating the variable snapshot, the new snapshot is taken from the current tip of the Git reference that was used to create the release. If this reference no longer exists, the variable snapshot cannot be updated.

Screenshot of Octopus Release page showing process snapshot with Git reference main and commit 047cb76 and variable snapshot with reference main and commit 617aa79

Updating the variable snapshot only updates the variables (and not the deployment process). After updating, the commit for the process snapshot and variables snapshot will be different.

Help us continuously improve

Please let us know if you have any feedback about this page.

Send feedback

Page updated on Sunday, January 1, 2023