This is the recommended way of performing an upgrade for larger installations. It gives you the opportunity to verify that your Tentacles have been successfully upgraded, and allows you to more easily roll back if you have any issues.
Be sure to read the Upgrading from Octopus 2.6.5 to 2018.10 LTS documentation page. You must have a working Octopus 2.6.5 installation for the data migration.
Step by step
To upgrade to a modern version of Octopus Server, follow these steps:
1. Back up your Octopus 2.6.5 database and Master Key
See the Backup and restore page for instructions on backing up your database.
2. Install Octopus 2018.10 LTS on a new virtual or physical server
Upgrade to the latest version When upgrading to Octopus 2018.10 LTS please use the latest version available. We have been constantly improving the Octopus 2.6.5 to Octopus 2018.10 LTS data migration process while adding new features and fixing bugs.
See the Installing Octopus 2018.10 LTS page for instructions on installing a new Octopus 2018.10 LTS instance.
3. Migrate your data from 2.6.5 to 2018.10 LTS
See the Migrating data from Octopus 2.6.5 to 2018.10 LTS page for instructions on importing your Octopus 2.6.5 database backup into Octopus 2018.10 LTS.
Migration taking a long time?
By default, we migrate everything from your backup including historical data. You can use the maxage= argument when executing the migrator to limit the number of days to keep. For example: maxage=90 will keep 90 days of historical data ignoring anything older.
To see the command syntax click the Show script link in the wizard
Using the built-in Octopus NuGet repository?
If you use the built-in Octopus NuGet repository you will need to move the files from your Octopus 2.6.5 server to your Octopus 2018.10 LTS server. They are not part of the backup.
In a standard Octopus 2.6.5 install the files can be found under C:\Octopus\OctopusServer\Repository\Packages
You will need to transfer them to the new server to C:\Octopus\Packages. Once the files have been copied, go to Library ➜ Packages ➜ Package Indexing and click the RE-INDEX NOW button. This process runs in the background, so if you have a lot of packages it could take a while (5-20 mins) to show in the UI or be usable for deployments.
4. Use Hydra to automatically upgrade your Tentacles
Hydra is a tool we’ve built that will help you update your Tentacles to the latest version. It is particularly useful migrating from 2.6.5 to 2018.10 LTS as the communication methods have changed.
This is the point of no return. When your Tentacles are upgraded to 3.x your 2.6.5 server will not be able to communicate with them.
We strongly recommend testing Hydra against a small subset of “canary” machines before upgrading the rest of your machines. The best way to do this is:
- Create a new “canary” machine role and assign it to a few machines.
- Set the Update Octopus Tentacle step to run on machines with the “canary” role.
- Once you are confident the Tentacle upgrade works as expected, you can use Hydra to upgrade all remaining machines.
How does Hydra work?
Hydra consists of two parts:
- A package that contains the latest Tentacle MSI installers.
- An Octopus 2.6.5 step template that does the upgrade to your environments.
To account for issues with communicating with a Tentacle that has been ‘cut off’ from its Octopus Server, the Hydra process connects to the Tentacle and creates a scheduled task on the Tentacle Machine. If it is able to schedule the task it considers that install a success. The task runs one minute later.
The scheduled task does the following:
- Find Tentacle services.
- Stop all Tentacles (if they’re running).
- Run MSI.
- Update configs for any polling Tentacles.
- Starts any Tentacles that were running when we started.
With just one Tentacle service this should be a very quick process, but we cannot estimate how long it may take with many Tentacle services running on the one machine.
Common problems using Hydra
The scheduled task is set to run as SYSTEM to ensure the MSI installation will succeed. If your Tentacles are running with restricted permissions, they may not be able to create this scheduled task. The only option is to upgrade your Tentacles manually.
Hydra performs a Reinstall of each Tentacle. As part of the reinstall, the Service Account is reset to Local System. If you need your Tentacles to run under a different account, you will have to make the change after the upgrade completes (after you’ve re-established a connection from 2018.10 LTS). You can do this manually, or using the following script:
Tentacle.exe service --instance "Tentacle" --reconfigure --username=DOMAIN\ACCOUNT --password=your-password --start --consoleLet’s upgrade these Tentacles!
To use Hydra, follow these steps:
These steps should be executed from your Octopus 2.6.5 server to your 2.6 Tentacles.
- Download the latest Hydra NuGet package from https://octopus.com/downloads/latest/Hydra.
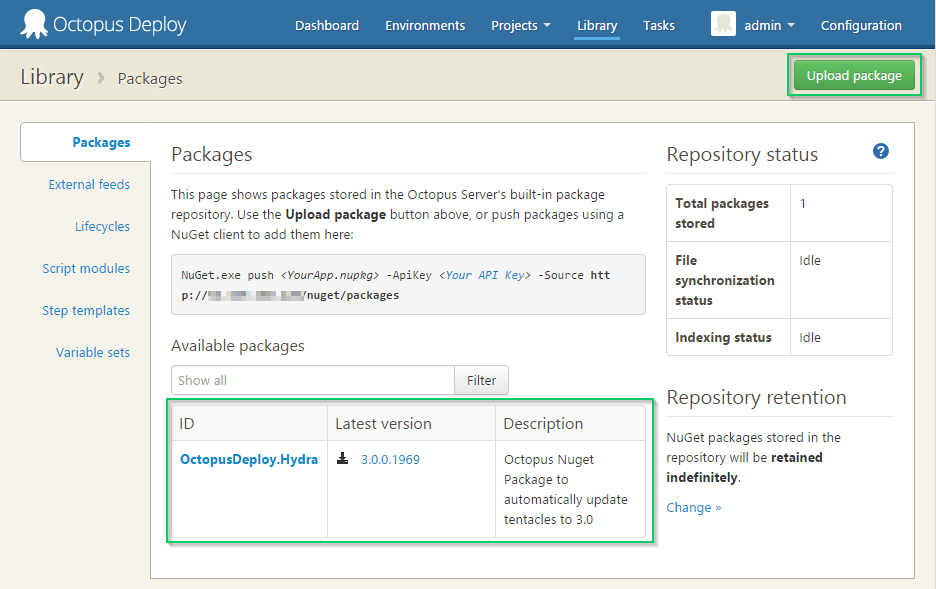
- Use the Upload Package feature of the library to upload the OctopusDeploy. Hydra package to the built-in NuGet repository on your Octopus 2.6.5 server.
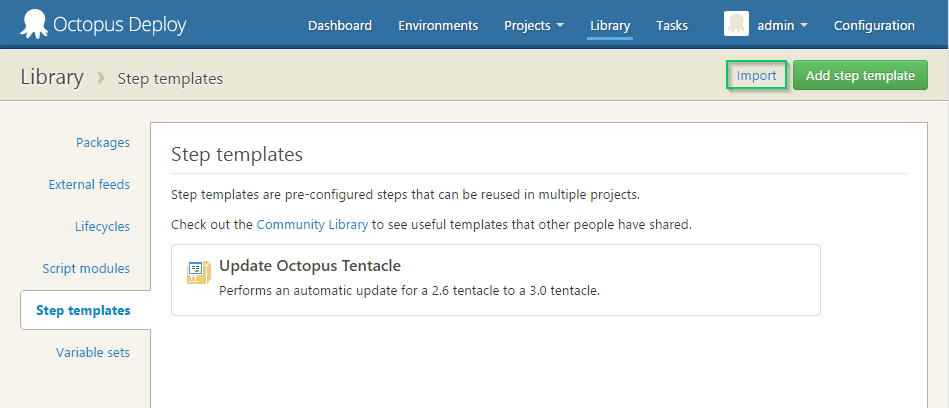
- Import the Hydra step template from the Community Library.
-
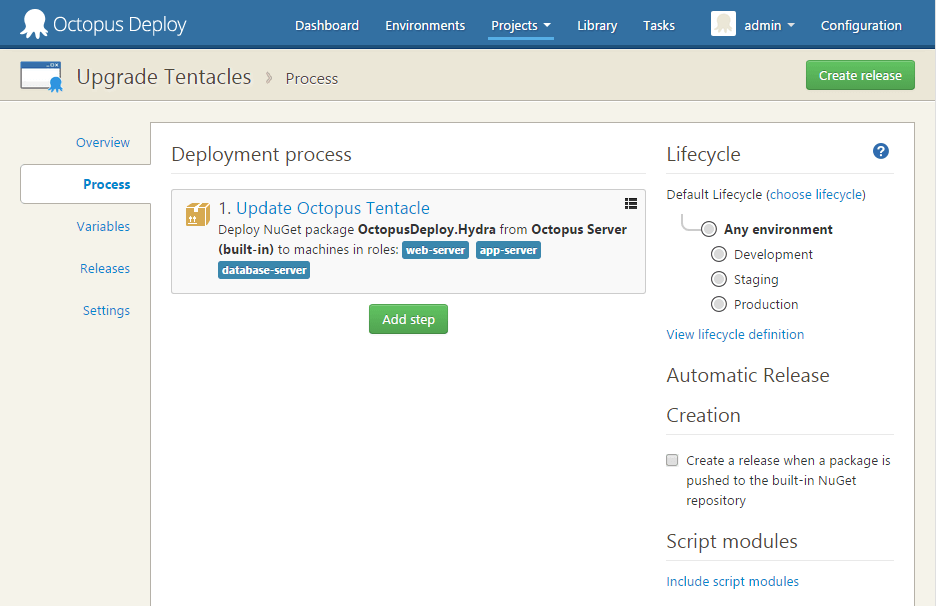
Create a new project with a single “Update Octopus Tentacle” step from the step template.
-
Ensure you choose or create a Lifecycle that allows you to deploy to all Tentacles.
-
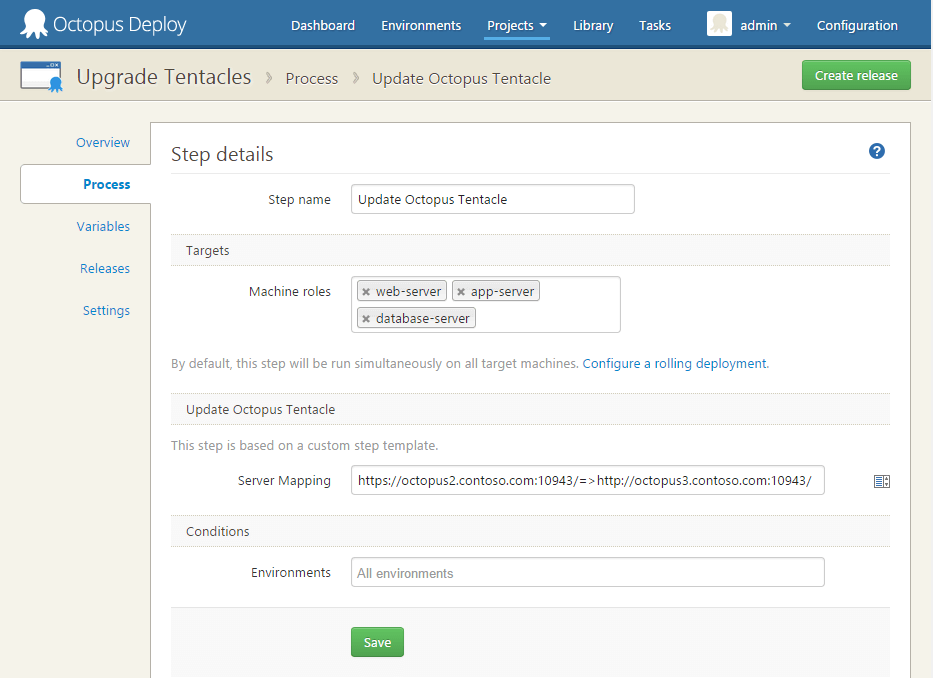
Ensure you set the Update Octopus Tentacle step to run for all appropriate Tentacles.
-
Set the
Server Mappingfield:
- If you only use listening Tentacles you can leave the
Server Mappingfield blank. - If you are using any polling Tentacles, add the new Octopus 2018.10 LTS server address (including the polling TCP port) in the Server Mapping field. See below for examples.
Server mapping for Polling Tentacles
It is very important you get this value correct. An incorrect value will result in a polling Tentacle that can’t be contacted by neither a 2.6.5 or 2018.10 LTS server. Several different scenarios are supported:
- A single Polling Tentacle instance on a machine pointing to a single Octopus Server the most common case:
- Just point to the new server’s polling address
https://newserver:newportlikehttps://octopus3.mycompany.com:10934
- Multiple Polling Tentacle instances on the same machine pointing to a single Octopus Server:
- Just point to the new server’s polling address
https://newserver:newportlikehttps://octopus3.mycompany.com:10934and Hydra will automatically update all Tentacles to point to the new server’s address
- Multiple Polling Tentacle instances on the same machine pointing to different Octopus Servers a very rare case:
- Use this syntax to tell Hydra the mapping from your old Octopus Server to your new Octopus Server:
https://oldserver:oldport=>https://newserver:newport,https://oldserver2:oldport2/=>https://newserver2:newport2where each pair is separated by commas. This will match the first case and replace it => with the second case.
Click the  help button for more detailed instructions.
 :::
:::
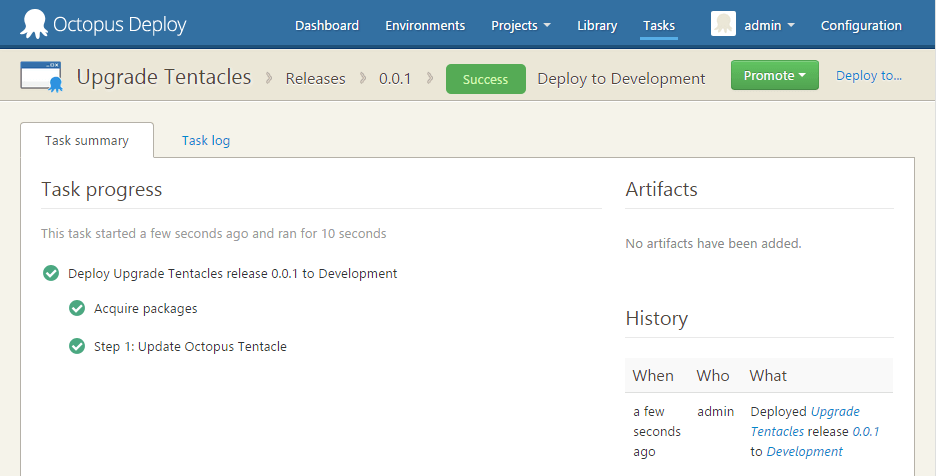
- Create a release and deploy. The deployment should succeed, and one minute later the Tentacles will be upgraded.
5. Verify connectivity between the 2018.10 LTS server and your Tentacles
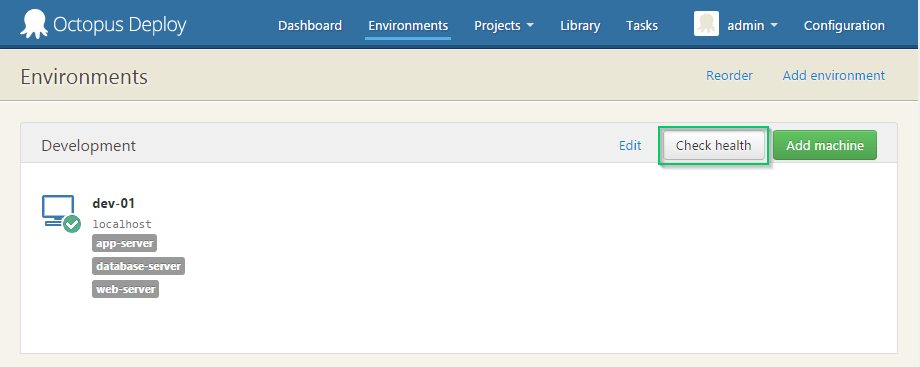
When the Hydra task runs on a Tentacle machine, it should no longer be able to communicate with the Octopus 2.6.5 server. You can verify this by navigating to the Environments page and clicking Check Health.
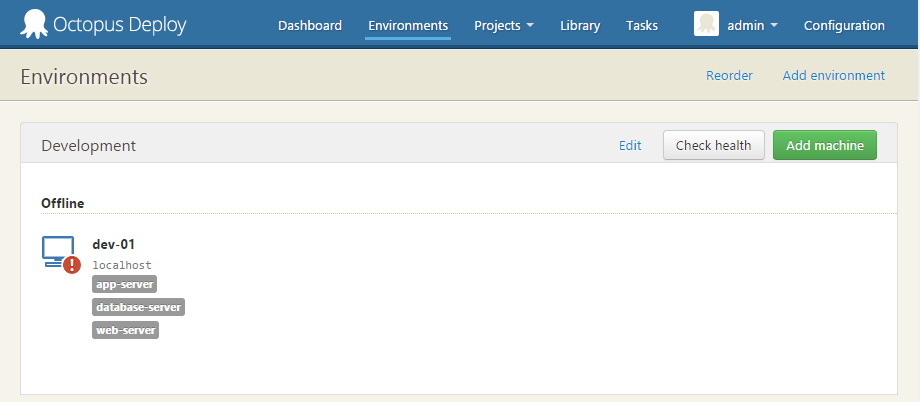
After successfully updating your Tentacles, you should see this check fail from your Octopus 2.6.5 server.
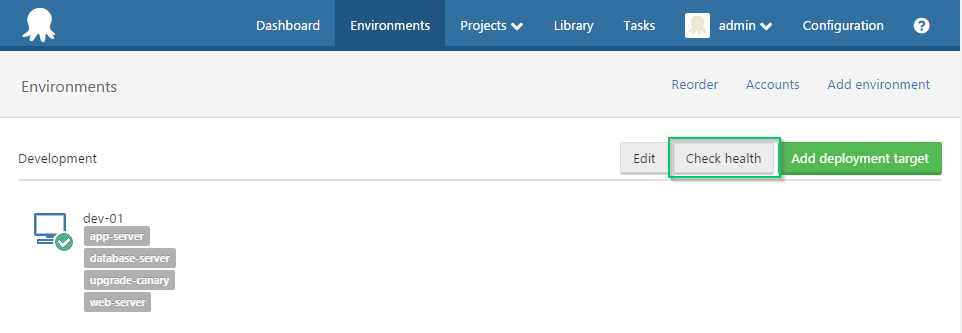
Performing the Check Health on your Octopus 2018.10 LTS server should now succeed.
If you have multiple Tentacles running on the same server, an update to one will result in an update to all of them. This is because there is only one copy of the Tentacle binaries, even with multiple instances configured.
6. Decommission your Octopus 2.6.5 Server
Once you are confident your Tentacles have all been updated and work correctly, you can decommission your Octopus 2.6.5 Server.
Help us continuously improve
Please let us know if you have any feedback about this page.
Page updated on Wednesday, October 4, 2023