Environments are how you organize your deployment targets (whether on-premises servers or cloud services) into groups that represent the different stages of your deployment pipeline, for instance, development, test, and production.
Organizing your deployment targets into environments lets you define your deployment processes (no matter how many deployment targets or steps are involved) and have Octopus deploy the right versions of your software to the right environments at the right time.
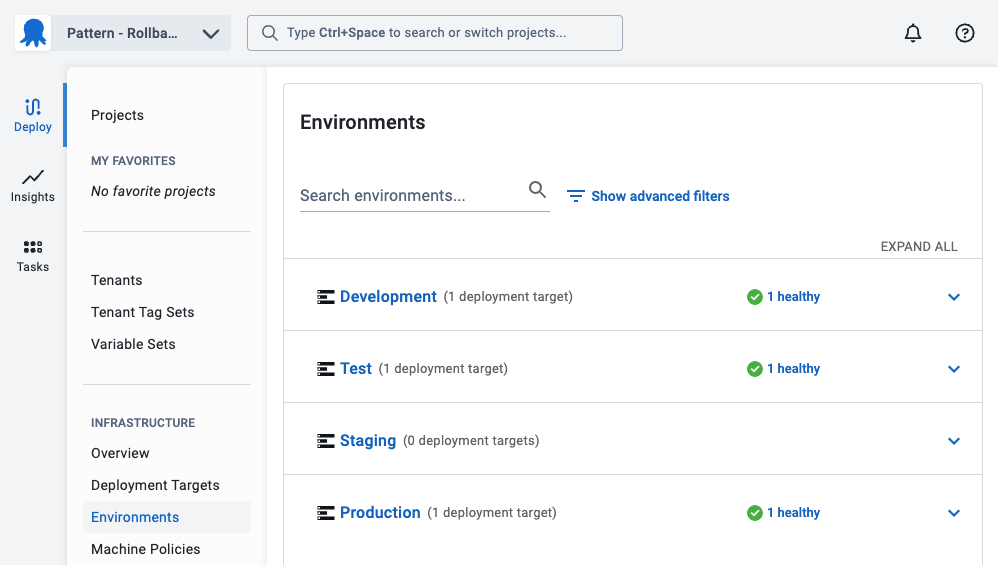
You can manage your environments by navigating to Infrastructure ➜ Environments in the Octopus Web Portal:
Environment configuration
Since environments are the phases that you move your code through, they form the backbone of your deployment pipeline. Before you configure anything else, you should configure your environments.
The most common setup is four environments. These are:
- Development or Dev for short, is for developers to experiment on. It’s generally in flux, and can often be expected to be unavailable.
- Test/QA - Quality assurance teams test functionality in the Test environment.
- Staging/Pre-Production - Staging is used as a final sanity check before deploying to Production.
- Production is where your end users normally use your software outside of testing.
However, we didn’t design Octopus Deploy to force people to use a set of predefined environments. Some companies only have three environments. Others have many more. Likewise, not everyone names their environments the same way. One person’s Test is another person’s QA. It’s important that you can name your environments in the way that best supports your organization’s needs.
Take a look at our environment recommendations section for more tips.
Add new environments
- Navigate to Infrastructure ➜ Environments and click ADD ENVIRONMENT.
- Give your new environment a meaningful name and click SAVE. You can click on the Development, Test, or Production links in the help text to choose that name.
You can add as many environments as you need, and you can reuse your environments with different projects so there’s no need to create environments per project.
In general, keep the number of environments under ten. Having fewer environments makes configuring and maintaining your Octopus Server easier.
Edit your environments
To edit individual environments, click the overflow menu (…) for that environment. From here, it is possible to edit the environment, description, change the guided failure mode, enable or disable dynamic infrastructure, or delete the environment.
Environment tags
From Octopus Cloud version 2025.4.3897 we support tagging environments.
You can create and assign tags to environments. This allows you to:
- Classify environments by attributes like cloud provider, region, or tier.
- Filter environments by tags on the Environments page.
- Configure your deployment dashboard to display only environments with specific tags.
Only tags from tag sets that have been configured with the Environment scope can be used to tag environments.
Learn more about tag sets, including tag set types, scopes, and how to create and manage them.
Environment permissions
You can control who has access to view, edit, and deploy to environments by assigning users to Teams and assigning roles to those teams. For more information, see the section on managing users and teams.
Manage your environments
If you’re working with a large number of environments and deployment targets, the Environments page makes it easy to sort, filter, and view your environments and the deployment targets that belong to each environment.
Sort your environments
Click the overflow menu (…) on the environments sections to reveal the reorder menu and access a drag and drop pane to sort your environments.
The order that environments are shown in the environments tab also affects:
- The order that they are shown in the Dashboard.
- The order that they are listed when choosing which environment to deploy a release to.
It’s a good idea to put your least production-like environments first, and the most production-like environments last.
Use advanced filters
You can use advanced filters to search your environments by clicking on SHOW ADVANCED FILTERS from the environment page.
This will let you search by:
- Name
- Deployment target
- Environment
- Environment tags
- Target tags
- Health Status
- Communication style
Removing environments
For projects using Config as Code, it’s up to you to take care to avoid deleting any environments required by your deployments or runbooks. See our core design decisions for more information.
Learn more
Learn how to add and manage your deployment targets.
Help us continuously improve
Please let us know if you have any feedback about this page.
Page updated on Wednesday, October 8, 2025