You can configure a pair of Octopus Tentacles in an active/passive failover cluster on shared storage with the Failover Cluster Manager. You may need to do this if you’re running an application in a failover cluster and would like to use Octopus Deploy to deploy your application to it irrespective of the fail-over state. In this scenario your Octopus Server will always be communicating with the Octopus Tentacle that is installed on the active node within the failover cluster. This approach has been tested on Windows Server 2016.
Shared storage Considerations
It is not possible to store the tentacle.config file in shared storage because the Tentacle.Certificate component gets encrypted using a node’s machine-specific key. If you attempt to store the config file in shared storage, you will encounter the error: Key not valid for use in specified state upon switching to a new active node. This occurs because the new active node is not able to decrypt the private key resulting in the Tentacle service failing to start.
Requirements
This guide assumes you already have the following setup:
- An Active Directory domain and a local DNS server.
- An Octopus Server (this does not need to be joined to the domain).
- A two node active/passive Windows cluster where each node is joined to the domain.
- A local IP address available for the cluster.
- Shared storage configured for the cluster (in this example we are using
E:\)
Installation
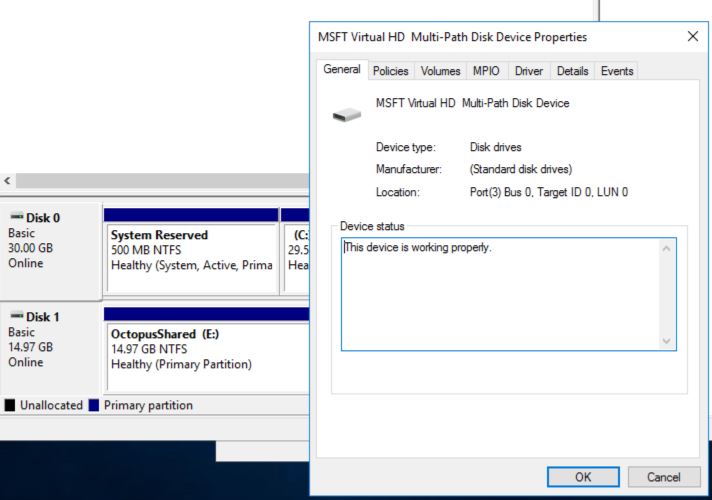
Installing Tentacles with shared storage This guide implements shared storage using an iSCSI target with Multipath IO configured on the Tentacle servers, in this scenario it is best to avoid accessing the same iSCSI volume from two different hosts at the same time as doing so may result in corrupt data on the iSCSI volume.
On the first node, check that the shared drive is mounted and note down the drive letter.
Run through the Tentacle MSI Installer to install Tentacle Manager to its default location C:\Program Files\Octopus Deploy\Tentacle. Do not click “get started” in the Tentacle manager; instead install the Octopus Tentacle instance using the command prompt as an Administrator by opening cmd then run these commands (replacing relevant values as appropriate):
cd "C:\Program Files\Octopus Deploy\Tentacle\"
Tentacle.exe create-instance --instance "Tentacle" --config "C:\Octopus\Tentacle.config"
Tentacle.exe configure --instance "Tentacle" --app "<SHARED STORAGE DRIVE LETTER>:\Octopus\Applications" --home "<SHARED STORAGE DRIVE LETTER>:\Octopus\Home" --port "10933" --noListen "False"
Tentacle.exe configure --instance "Tentacle" --trust "<OCTOPUS SERVER THUMBPRINT>"
"netsh" advfirewall firewall add rule "name=Octopus Deploy Tentacle" dir=in action=allow protocol=TCP localport=10933
Tentacle.exe service --instance "Tentacle" --install --stop --start
In the script, we:
- Installed the Tentacle instance using the default instance name of
Tentacleand made sure theTentacle.configfile was installed into the default location ofC:\Octopus\Tentacle.config. - Configured the new instance to listen on TCP Port
10933and set the Application and Home directories to our shared storage drive. - Configured the Tentacle to trust the Octopus Server holding a certificate which matches the specified certificate thumbprint.
- Ensured the Windows Firewall has a rule configured to allow incoming connections on TCP Port
10933, allowing the Octopus Server to talk to our new Tentacle.
Using the Tentacle Manager stop the Octopus Tentacle service which was just installed on the first node and take the shared disk offline in Windows Disk Management.
Now go to the second Tentacle server in the active/passive cluster and bring the same disk online, repeating the steps which were just performed on the first node to install the Octopus Tentacle service. Please keep the Octopus Tentacle service started and ensure that the shared storage is still mounted this time so that the .pfx file can be exported out of Octopus Tentacle.
Generate an Octopus Tentacle PFX file
Open cmd as Administrator again and run these commands to generate a new Private Key from an Octopus Deploy Tentacle (replacing relevant values as appropriate).
cd "C:\Program Files\Octopus Deploy\Tentacle\"
Tentacle.exe new-certificate --export-pfx="<SHARED STORAGE DRIVE LETTER>:\TentacleClusterPrivateKey.pfx" --pfx-password="YOUR-PFX-PASSWORD"
Import the new Octopus Tentacle PFX file
Now import the new pfx file into the server from which it was just generated.
Tentacle.exe import-certificate --instance="Tentacle" --from-file="<SHARED STORAGE DRIVE LETTER>:\TentacleClusterPrivateKey.pfx" --pfx-password="YOUR-PFX-PASSWORD"
Tentacle.exe service --instance="Tentacle" --stop --start
Now on the second node, stop the Tentacle service and bring the shared storage offline the same way you have done before. This time go back to the first node in the cluster, bringing the shared storage drive back online and start the Tentacle service. Then, import the pfx file into the first node to ensure both nodes in the cluster hold the same private key.
Once both Tentacles are installed and configured ensure that neither node has the Octopus Tentacle started and that the shared storage is brought offline.
Configure a new clustered service
Ensure each node that will be participating in the Tentacle Cluster is joined to the Active Directory Domain and has the Failover Clustering feature installed in Windows. For more information on installing the Failover Clustering feature in Windows please see the Microsoft Failover Clustering documentation.
Open the Failover Cluster Manager console on one of the nodes. If there is no cluster configured yet, you can right-click Failover Cluster Manager and select New Cluster
On the Select Servers page, enter the Fully Qualified Domain Name of each node that will be in this cluster.
On the Validation Warning page, select Yes, When I click Next, run configuration validation tests, and then return to the process of creating the cluster.
When the Validate a Configuration Wizard appears, select Run all Tests and select Next.
After all validation processes successfully, you will be returned to the Create Cluster Wizard where the Access Point for Administering the Cluster page appears. At this point, choose an IP Address that is on the same Network as both Tentacles and a hostname that is 15 characters or less.
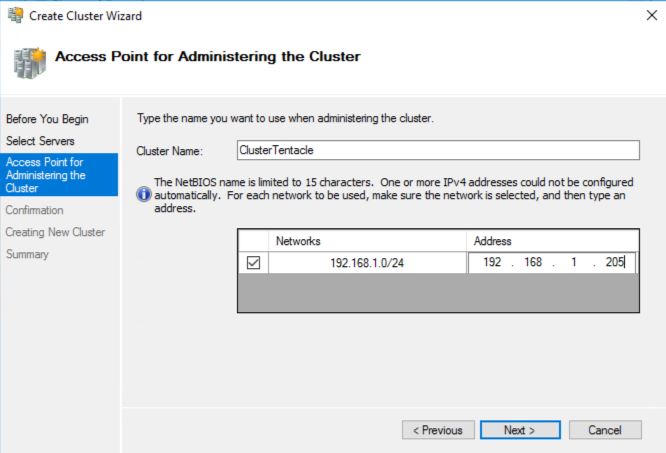
Access point for administering the cluster The IP address which you specify here is not going to be used by Octopus Server, instead this is used for administering the cluster.
Now complete the wizard.
Adding Octopus Tentacle as a generic service cluster
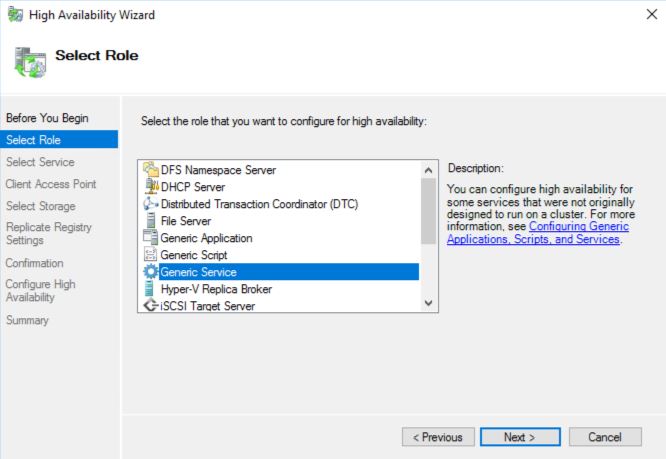
Right-Click Roles and select Configure Roles then highlight Generic Service, click Next.
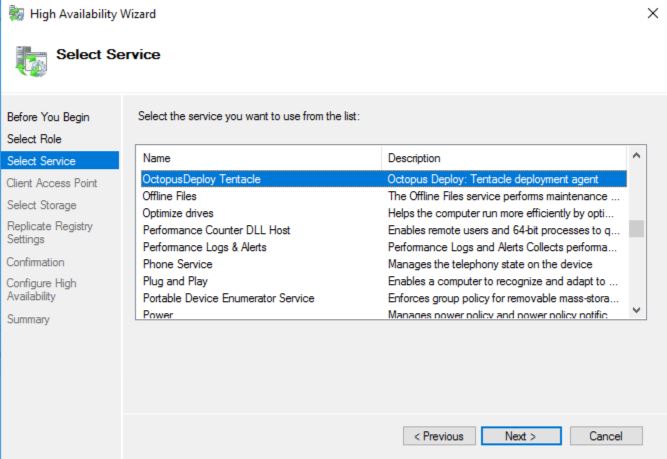
Find and highlight the OctopusDeploy Tentacle service in the list of available services, then click Next.
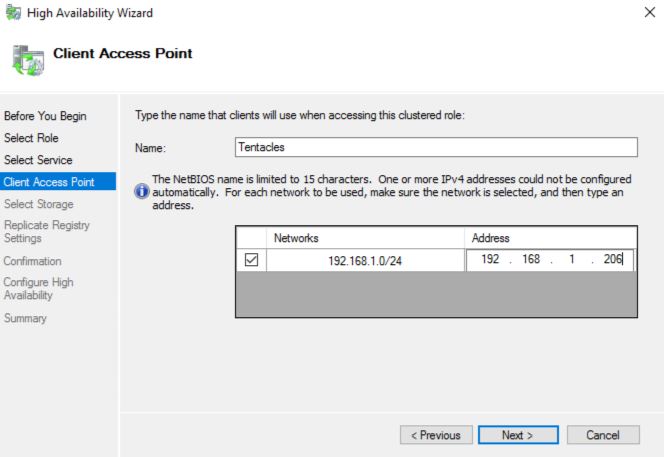
Under Client Access Point choose an appropriate NetBIOS name and IP address for this clustered role. Note down this IP address/DNS hostname, you will need it to add the Tentacle Cluster to your Octopus Server.
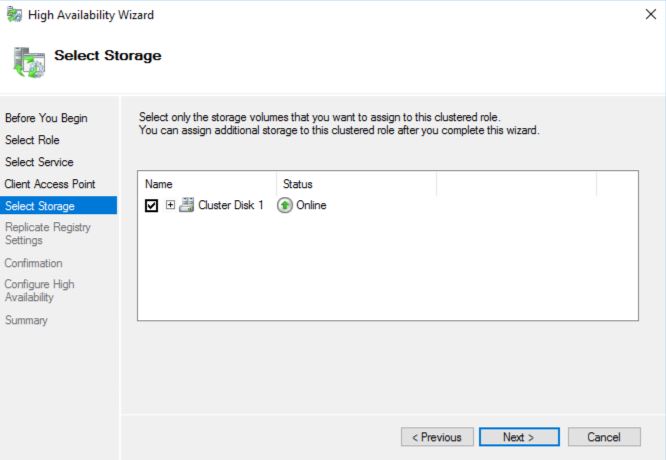
Under Select Storage, choose the disk that is configured as shared storage.
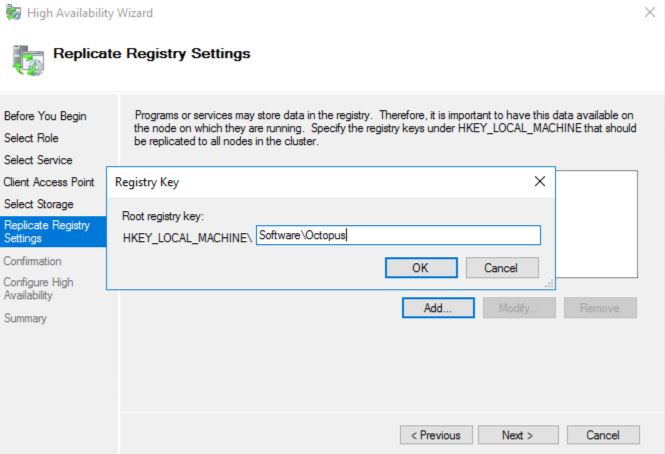
Under Replication Registry Settings add a new root registry key of “Software\Octopus” and complete the wizard.
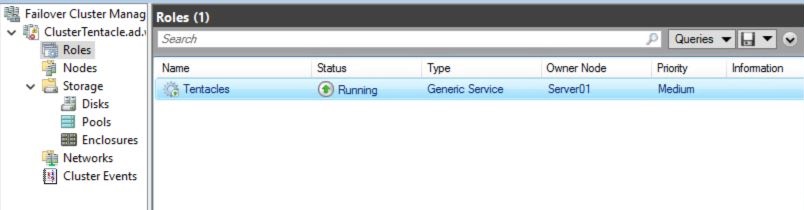
Complete the wizard, then navigate to the roles view to ensure the Tentacle service is running.
Connect Octopus Server to a clustered Tentacle
Log into the Octopus Portal and go to the environments page. Under the desired environment, click Add Deployment Target.
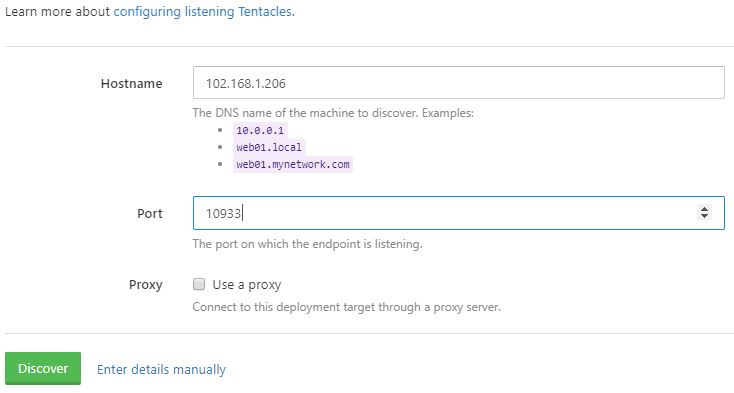
For the target type, choose Listening Tentacle.
For the hostname, enter the IP or DNS hostname you noted down earlier, then click “Discover”.
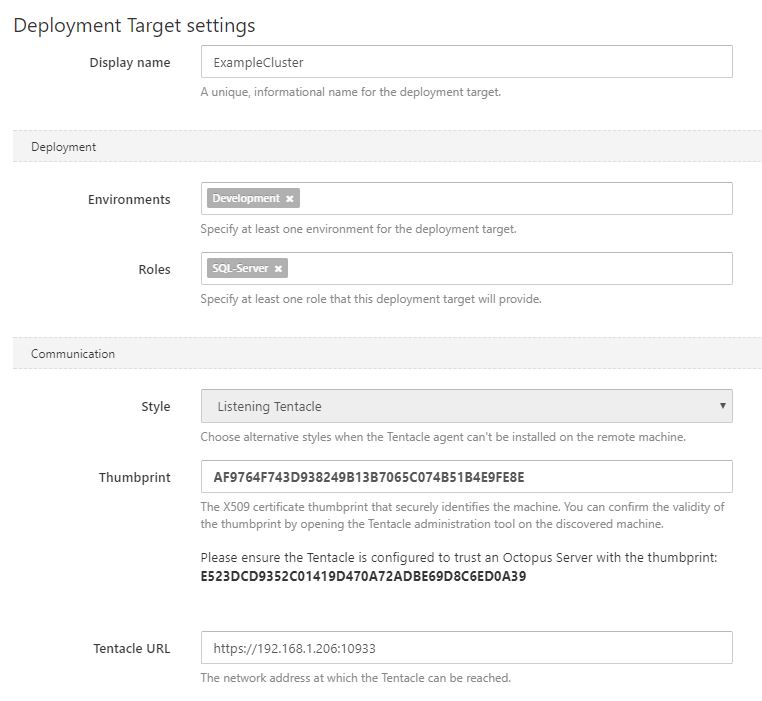
Type the display name in Octopus Deploy and give your new target a role.
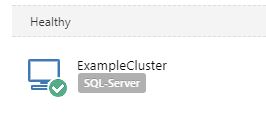
In a few minutes your new Tentacle cluster will appear as healthy in the Octopus Server.
Congratulations! You have successfully configured an active/passive server cluster using Octopus Tentacles.
Help us continuously improve
Please let us know if you have any feedback about this page.
Page updated on Sunday, January 1, 2023