Steps contain the actions your deployment process will execute each time you create a release of your software to be deployed. Steps can contain multiple actions and deployment processes can include multiple steps. Steps are executed in sequence by default or you can configure conditions to control where and when steps run.
Octopus includes built-in step templates that have been developed by the Octopus team to handle the most common deployment scenarios. In addition to the built-in step templates, there are also Community Step Templates that have been contributed by the community. You can also use the built-in step templates as the base to create custom steps templates to use across your projects.
Adding steps to your deployment processes
- Navigate to your project.
- Click the Create process button.
- Find the step template you need and click Add step.
At this point, you have the choice of choosing from the built-in Installed Step Templates or the Community Contributed Step Templates.
If you’re looking for example deployments, see the deployment examples.
-
Give the step a short memorable name.
-
The Execution Location tells the step where to run. Depending on the type of step you are configuring the options will vary:
- Worker pool
- Worker pool on behalf of roles
- Deployment targets
-
If you are deploying to deployment targets or running the step on the server on behalf of deployment targets, you can deploy to all targets in parallel (default) or configure a rolling deployment. To configure a rolling deployment click Configure a rolling deployment and specify the window size for the deployment. The window size controls how many deployment targets will be deployed to in parallel.
Learn more about rolling deployments.
-
The next section of the step is where you specify the actions for the step to take. If you are running a script or deploying a package, this is where you provide the details. This section will vary depending on the type of step you’re configuring. If you’re deploying packages you’ll likely need to set your configuration variables.
-
After providing the actions the steps takes, you can set the conditions for the step. You can set the following conditions:
- Only run the step when deploying to specific environments.
- Only run the step when deploying a release through a specific channel.
- Set the step to run depending on the status of the previous step.
- Set when package acquisition should occur.
- Set whether or not the step is required.
Learn more about conditions.
- Add additional steps.
- Save the deployment process.
With your deployment process configured you’re ready to create a release.
Reordering steps
To reorder steps in a deployment or runbook process:
-
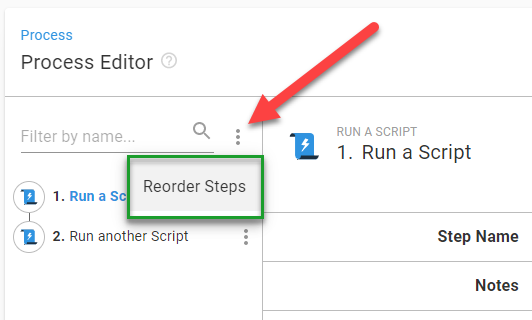
Click into a step in the process.
-
Click on the overflow menu (…) next to the Filter by name text box.
-
Select the Reorder Steps option.
-
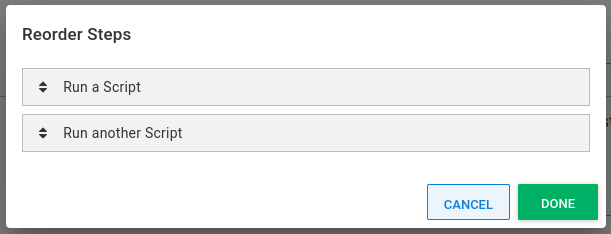
This will open a drag and drop pane to sort your steps in the desired order.
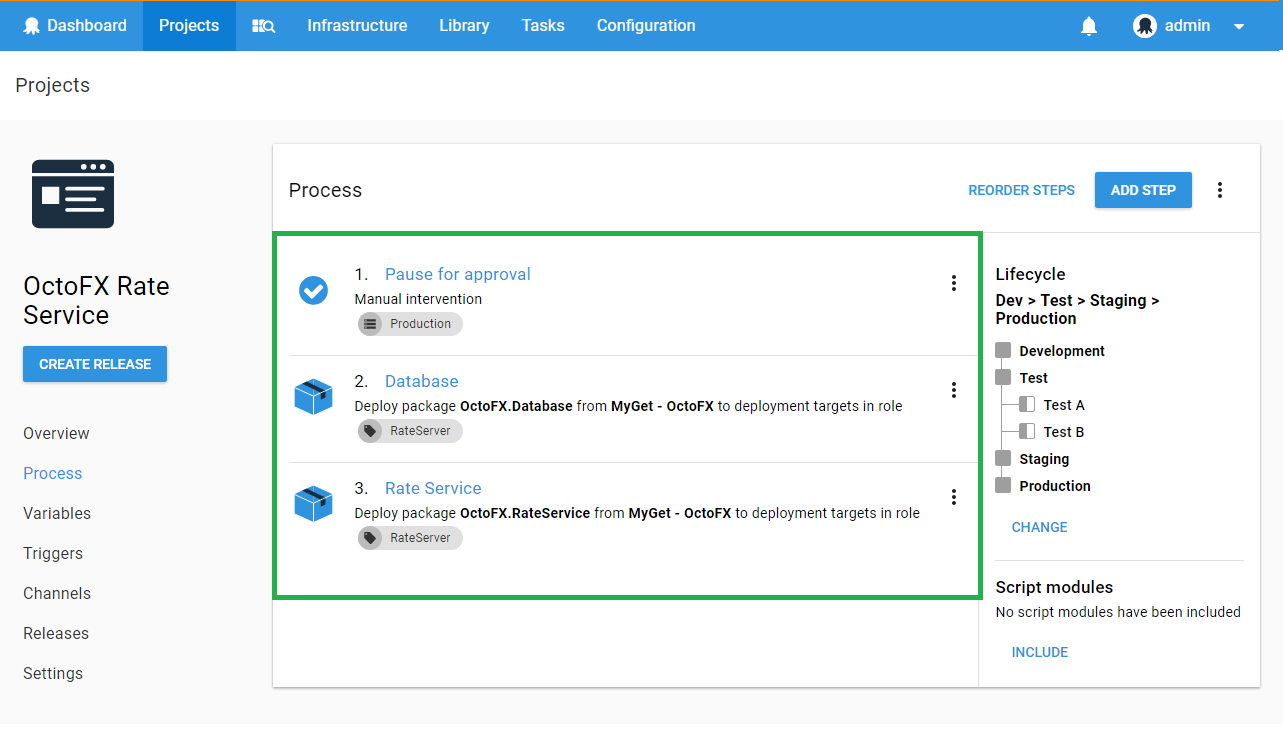
Example: A simple deployment process
In the example shown below there are three steps that will be executed from top to bottom. The first is a manual intervention which executes on the Octopus Server pausing the deployment until someone intervenes and allow the deployment to continue. This step will only execute when targeting the Production environment. The remaining steps both deploy a package and execute custom scripts on all deployment targets with the tag web-server.
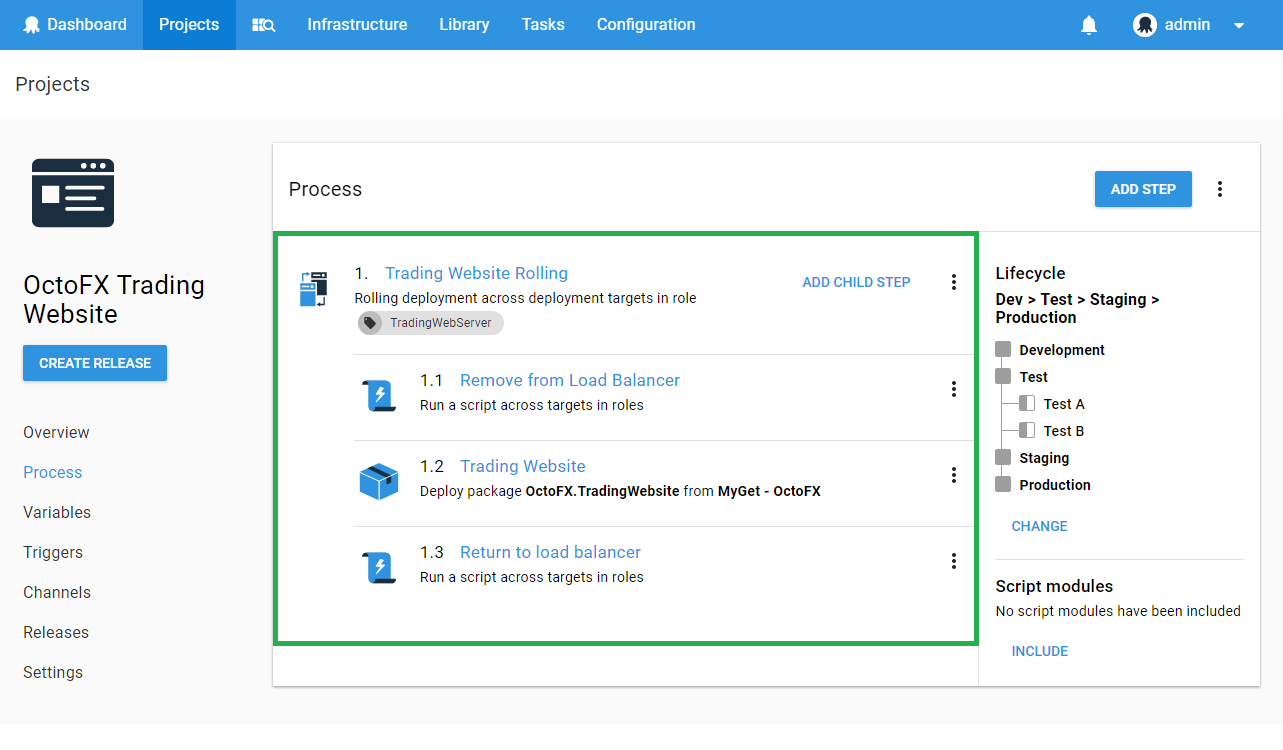
Example: A rolling deployment process
Let’s consider a more complex example like the one shown below. In this example we have configured Octopus to deploy a web application across one or more servers in a web farm behind a load balancer. This process has a single step and three actions which form a rolling deployment.
Help us continuously improve
Please let us know if you have any feedback about this page.
Page updated on Thursday, June 27, 2024