The VM extension is deprecated and no longer supported. All customers using the VM extension should migrate to DSC.
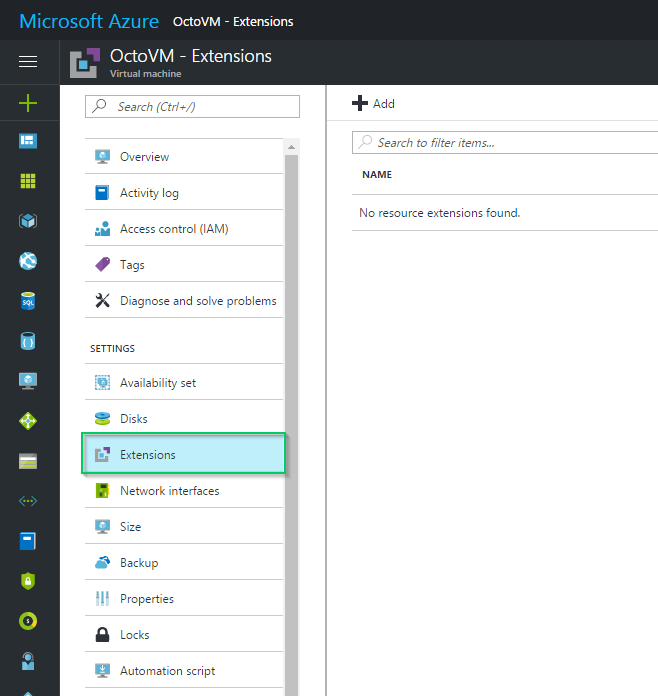
After creating a virtual machine on Azure using the management portal, browse to the virtual machine, then click on Extensions:
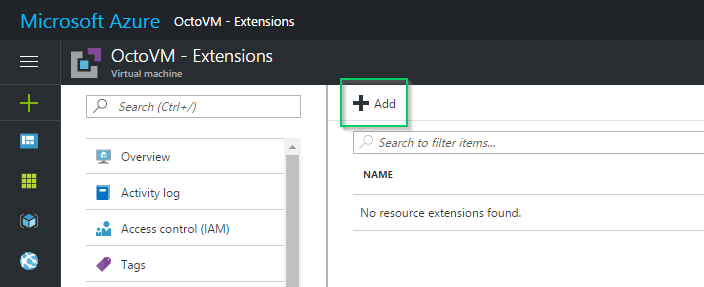
Click Add to add a new extension.
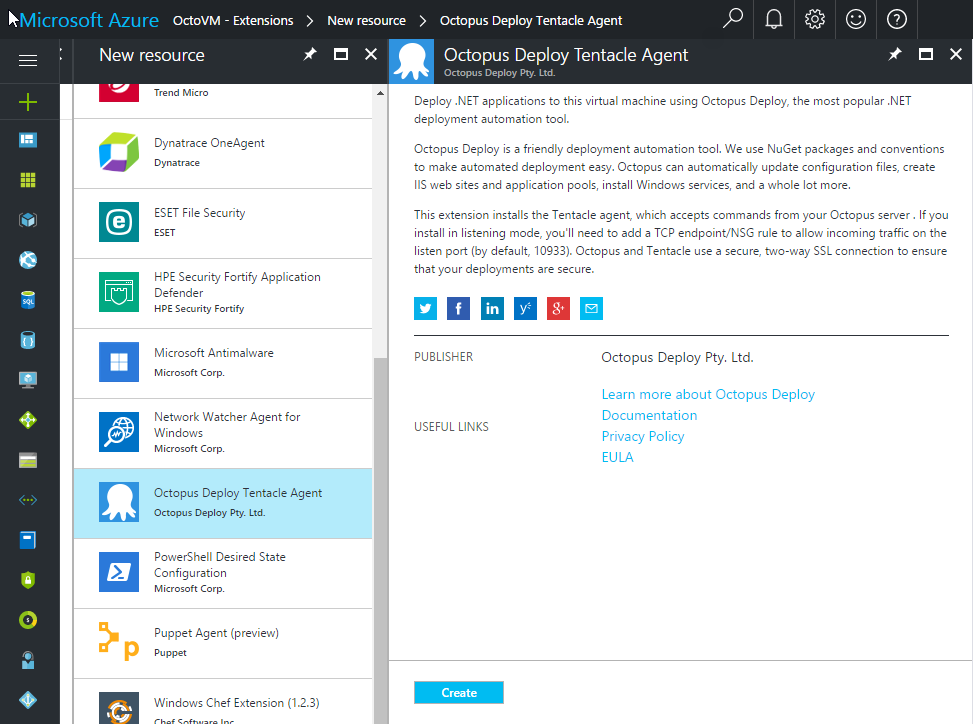
Select the Octopus Deploy Tentacle Agent extension, and click Create.
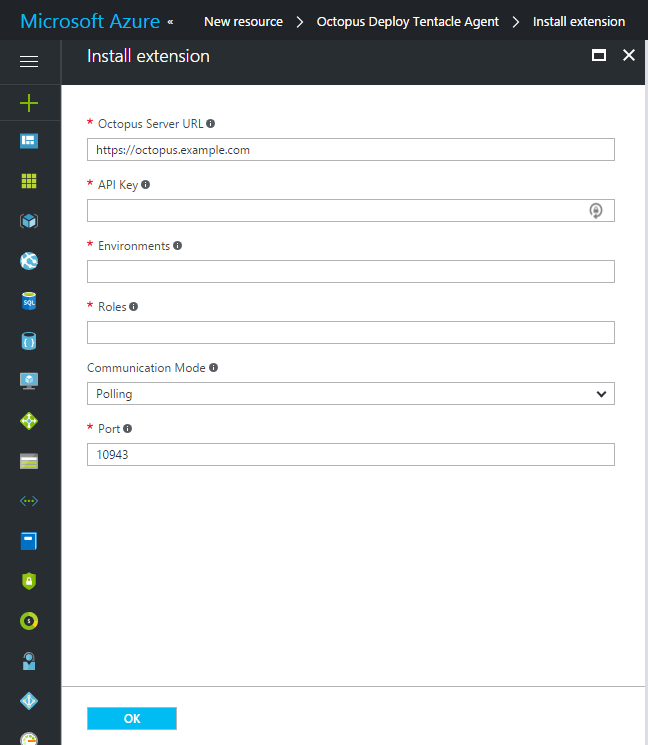
Fill in the settings, and click OK.
A deployment will be initiated which adds the extension to your virtual machine.
Settings
The settings for the extension are:
Octopus Server URL: URL to your Octopus Server. You’ll need your own Octopus Server (possibly also running on Azure), and you should consider using HTTPS. The extension will use the Octopus REST API against this URL to register the machine.
API Key: Your API key. This key will only be used when registering the machine with the Octopus Server; it isn’t used for subsequent communication.
Environments: The name of the environment to add the machine to. You can specify more than one by using commas; for example: UAT1,UAT2.
Roles: The target tags to give to the machine. Again, separate them using commas for more than one, for example: web-server,app-server.
Communication Mode: How the Tentacle will communicate with the server - it will either use Polling to reach out to the server, or Listening to wait for connections from the server.
Port: The port on which the server should contact the Tentacle (if Tentacle is set to Listen), or the port on which the Tentacle should contact the server (if in Polling mode). in Polling mode, the default value is 10943. In Listening mode, the default value is 10933.
Public Hostname Configuration: When in Listening mode, you can specify how the Server should address the Tentacle. You can specify Public IP to use the public IP address (as returned from api.ipify.org), FQDN to use the fully qualified domain name (useful for Active Directory networks), ComputerName to use the local hostname, or Custom to specify your own value.
Custom Public Hostname: When in Listening mode, and the Public Hostname Configuration is set to Custom, you can supply the dns name/ip address the Server should use.
After entering the extension settings, click OK, and the extension will be installed.
After a few minutes, the machine should appear in the environments tab of your Octopus Server. If it doesn’t, please read the Diagnosing issues section.
If you need the ability to customize more of the installation, the CLI and PowerShell methods expose more options than the Azure Portal. For even more customization, you might want to consider using the Azure Desired State Configuration (DSC) extension in conjunction with the OctopusDSC resource.
Help us continuously improve
Please let us know if you have any feedback about this page.
Page updated on Thursday, June 27, 2024