Assuming you are starting with a clean install of Octopus Deploy, the following steps will configure the server to deploy your NGINX Sample Web App ASP.NET Core project to a Linux machine.
Configure environment
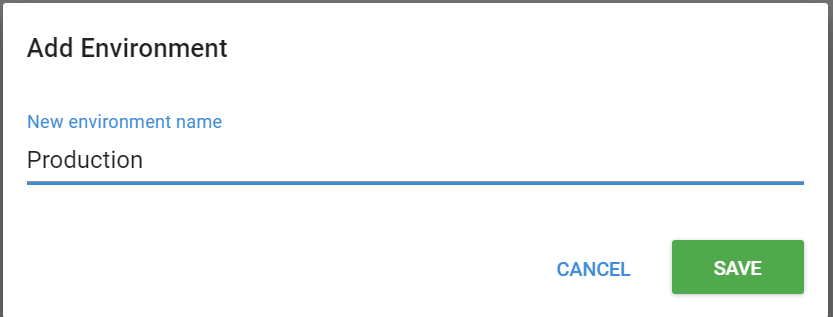
- On the Environments page, add an environment named Production.
For the purpose of this guide we will only use the one deployment environment but there are several other pages in the documentation which explain the benefits of leveraging environments and lifecycles to create advanced deployment processes.
Configure account and target
To connect over SSH the first thing you will need to do is add the credentials for your machine. If you followed the previous “Configuring Target Machine” step this should consist of a username and password pair.
- Navigate to Environments ➜ Accounts ➜ Usernames/Passwords ➜ Add Account and add these credentials.
- In the Production environment click Add deployment target and select SSH Connection.
- Enter the IP or DNS of the machine that is accessible to the Octopus Server. In our case it’s the public IP provided by Azure/AWS.
- Click Discover to automatically pre-populate the SSH fingerprint for the remote server.
- Continue to fill out the rest of the details, selecting the account that you created above.
Further details are provided throughout the rest of this documentation about SSH Targets.
Create deployment project
The next step is to create a project that will extract the package.
- Navigate to the Projects page via Projects ➜ All and then click the Add Project button.
- Give the new project an appropriate name (for example NGINXSampleWebApp) and once saved, go to the project’s Process page and click Add Step ➜ Deploy to NGINX.
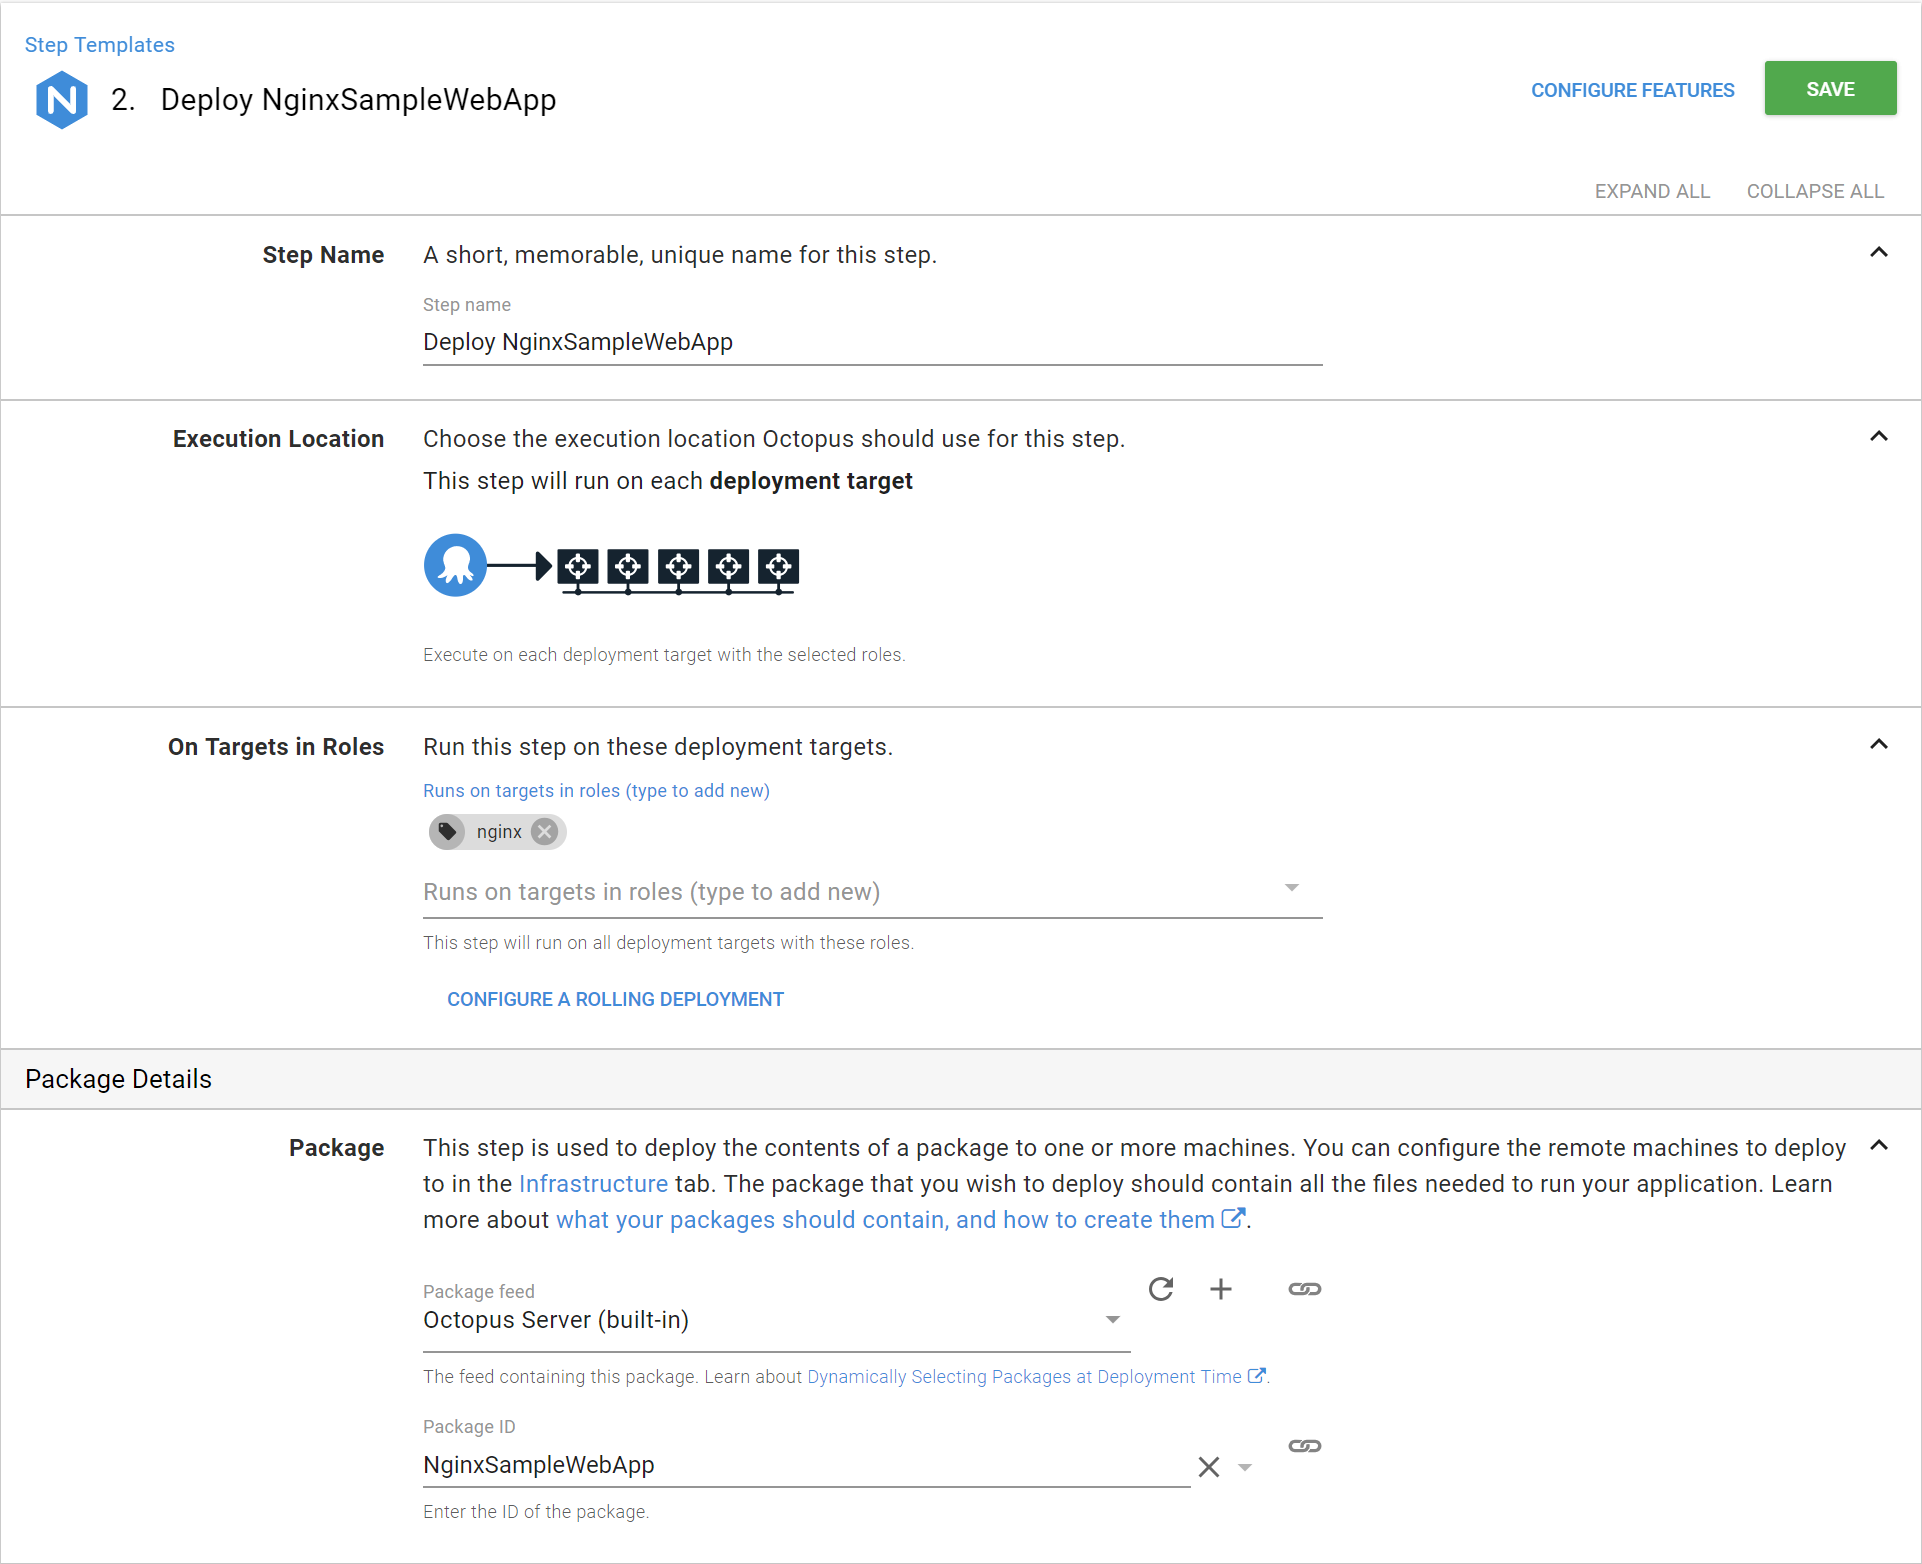
- Give the step a name (for example Deploy NginxSampleWebApp)
- Ensure that the target tag matches that which was assigned to the machine in the previous step and
- Select NGINXSampleWebApp as the Package ID. This Package ID is derived from the first part of the name of the package that was previously uploaded (see the Package ID section of the Packaging Applications documentation for more details).
NGINX web server
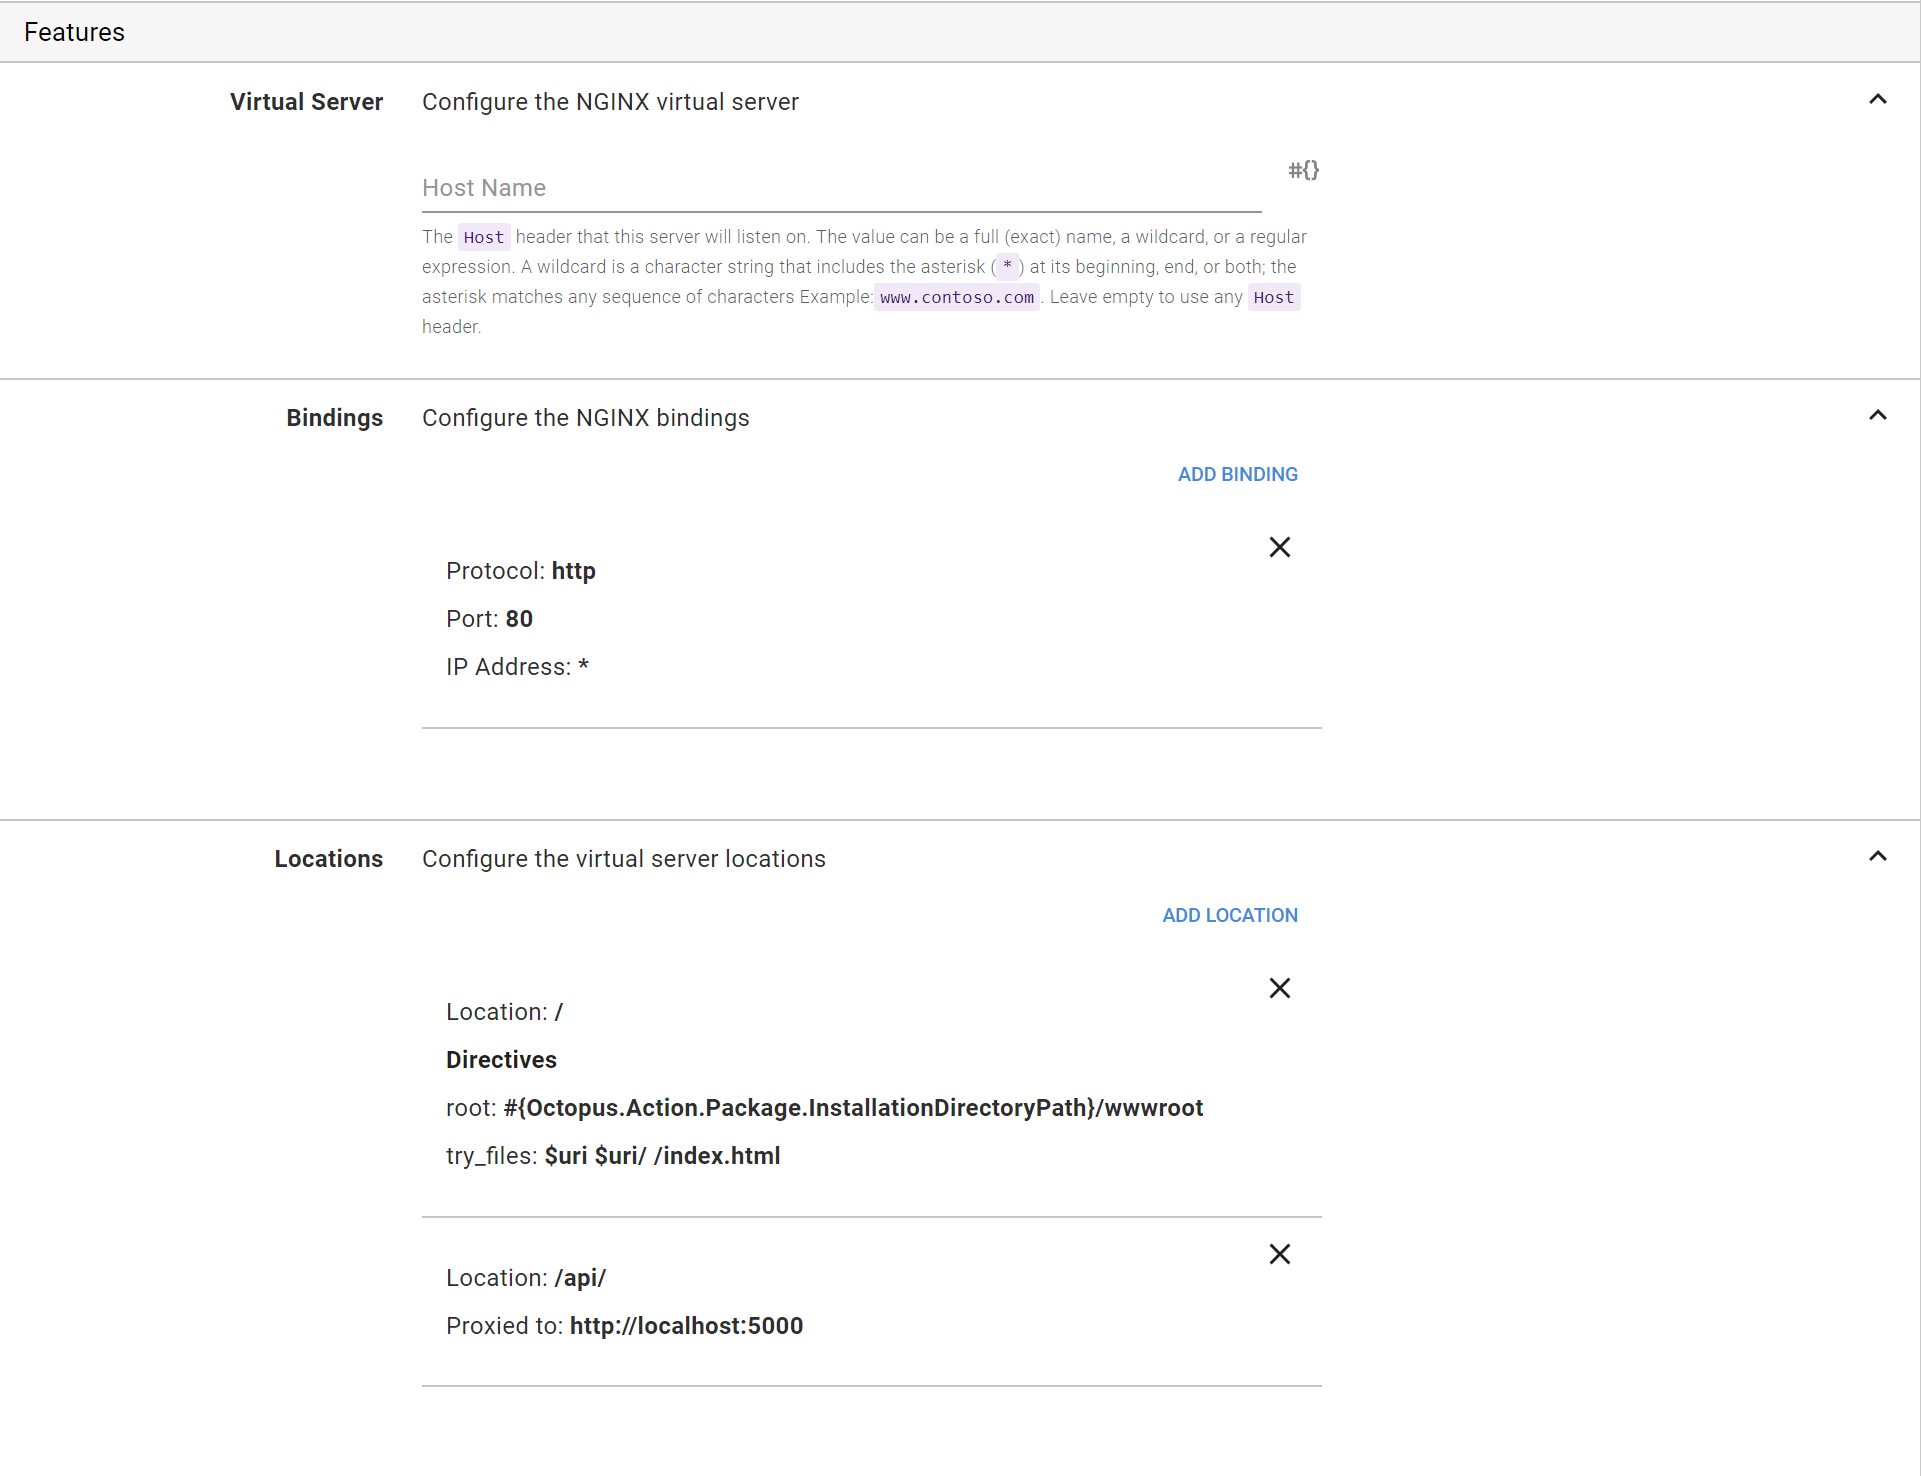
To configure NGINX to send traffic to your application you need to fill in a few details.
| Field | Meaning | Examples | Notes |
|---|---|---|---|
| Host Name | The Host header that this server will listen on. | www.contoso.com | [Optional] The value can be a full (exact) name, a wildcard, or a regular expression. A wildcard is a character string that includes the asterisk (*) at its beginning, end, or both; the asterisk matches any sequence of characters. Leave empty to use any Host header. |
| Bindings | Specify any number of HTTP/HTTPS bindings that should be added to the NGINX virtual server. | ||
| Locations | Specify any number of locations that NGINX should test request URIs against to send traffic to your application. |
When defining locations you can configure NGINX to deliver files from the file system , or proxy requests to another server. For our sample application we want requests to http://<IPorDNSofServer>/ to deliver the index.html file from the WWWRoot folder of our ASP.NET Core project and requests to http://<IPorDNSofServer>/api/ to be proxied to our ASP.NET Core project running on http://localhost:5000.
Starting and managing our ASP.NET Core project
To get the ASP.NET Core process started up you can manually call dotnet <name_of_asp_net_core_application>.dll, however this has its drawbacks when trying to run the process in the background of your deployment environments. Each time you deploy a new version of the package you would then have to stop the old version and start the newly deployed one. Without running the process through some intermediary process manager you would need to search for and kill the previous one from the process list, based on something like parsing its path to determine the correct one. A better approach is to use a process manager, for the purposes of this simple example we will use systemd (as nearly all Linux distributions use this process manager) to demonstrate how the web process might be managed.
- Click the Configure features link at the bottom of the step and enable the Custom deployment scripts feature.
- Add the following code as a bash script for the post-deployment phase.
** Post-deployment Bash script to configure systemd services **
SYSTEMD_CONF=/etc/systemd/system
SERVICE_USER=$(whoami)
DOTNET=/usr/bin/dotnet

APPNAME=$(get_octopusvariable "Octopus.Action[Deploy NginxSampleWebApp].Package.NuGetPackageId")
ENVIRONMENT=Production
ROOTDIR=$(get_octopusvariable "Octopus.Action[Deploy NginxSampleWebApp].Output.Package.InstallationDirectoryPath")

SYSTEMD_SERVICE_FILE=${SYSTEMD_CONF}/${APPNAME}.service

if [ -f $SYSTEMD_SERVICE_FILE ]; then
	serviceRestartRequired=True
fi

# Application systemd service configuration
echo "Creating ${APPNAME} systemd service configuration"
cat > ${APPNAME}.service <<-EOF
    [Unit]
    Description=${APPNAME} service
    After=network.target
    [Service]
    WorkingDirectory=${ROOTDIR}
    User=${SERVICE_USER}
    Group=${SERVICE_USER}
    ExecStart=${DOTNET} ${ROOTDIR}/${APPNAME}.dll
    Restart=always
    RestartSec=10
    SyslogIdentifier=${APPNAME}
    Environment=ASPNETCORE_ENVIRONMENT=${ENVIRONMENT}
    Environment=DOTNET_PRINT_TELEMETRY_MESSAGE=false
    [Install]
    WantedBy=multi-user.target
EOF
sudo mv ${APPNAME}.service ${SYSTEMD_CONF}/${APPNAME}.service

# Application file watcher systemd service configuration
echo "Creating ${APPNAME}-Watcher systemd service configuration"
cat > ${APPNAME}-Watcher.service <<-EOF
    [Unit]
    Description=${APPNAME} File Watcher
    After=network.target

    [Service]
    Type=oneshot
    ExecStart=/bin/systemctl restart ${APPNAME}.service

    [Install]
    WantedBy=multi-user.target
EOF
sudo mv ${APPNAME}-Watcher.service ${SYSTEMD_CONF}/${APPNAME}-Watcher.service

# Application path systemd service configuration
echo "Creating ${APPNAME}-Watcher systemd path configuration"
cat > ${APPNAME}-Watcher.path <<-EOF
    [Path]
    PathModified=${ROOTDIR}

    [Install]
    WantedBy=multi-user.target
EOF
sudo mv ${APPNAME}-Watcher.path ${SYSTEMD_CONF}/${APPNAME}-Watcher.path

if [ "$serviceRestartRequired" == "True" ]; then
  echo "Restarting ${APPNAME} service"
  sudo systemctl restart ${APPNAME}.service
  sudo systemctl restart ${APPNAME}-Watcher.path
else
  echo "Enabling and starting ${APPNAME} service"
  sudo systemctl enable ${APPNAME}.service
  sudo systemctl enable ${APPNAME}-Watcher.path

  sudo systemctl start ${APPNAME}.service
  sudo systemctl start ${APPNAME}-Watcher.path
fi
Deploy
- Create a new release and deploy it to the Production environment.
The package will be uploaded to the server and unpacked, and the environment specific variables replaced in the appropriate config file. The custom post-deployment script will then start the service, passing in the correct environment to ensure the relevant config is loaded. Assuming you have followed all the previous steps to this guide you should now be able to make changes to your website, publish directly to Octopus and have it deploy as many times as you like.
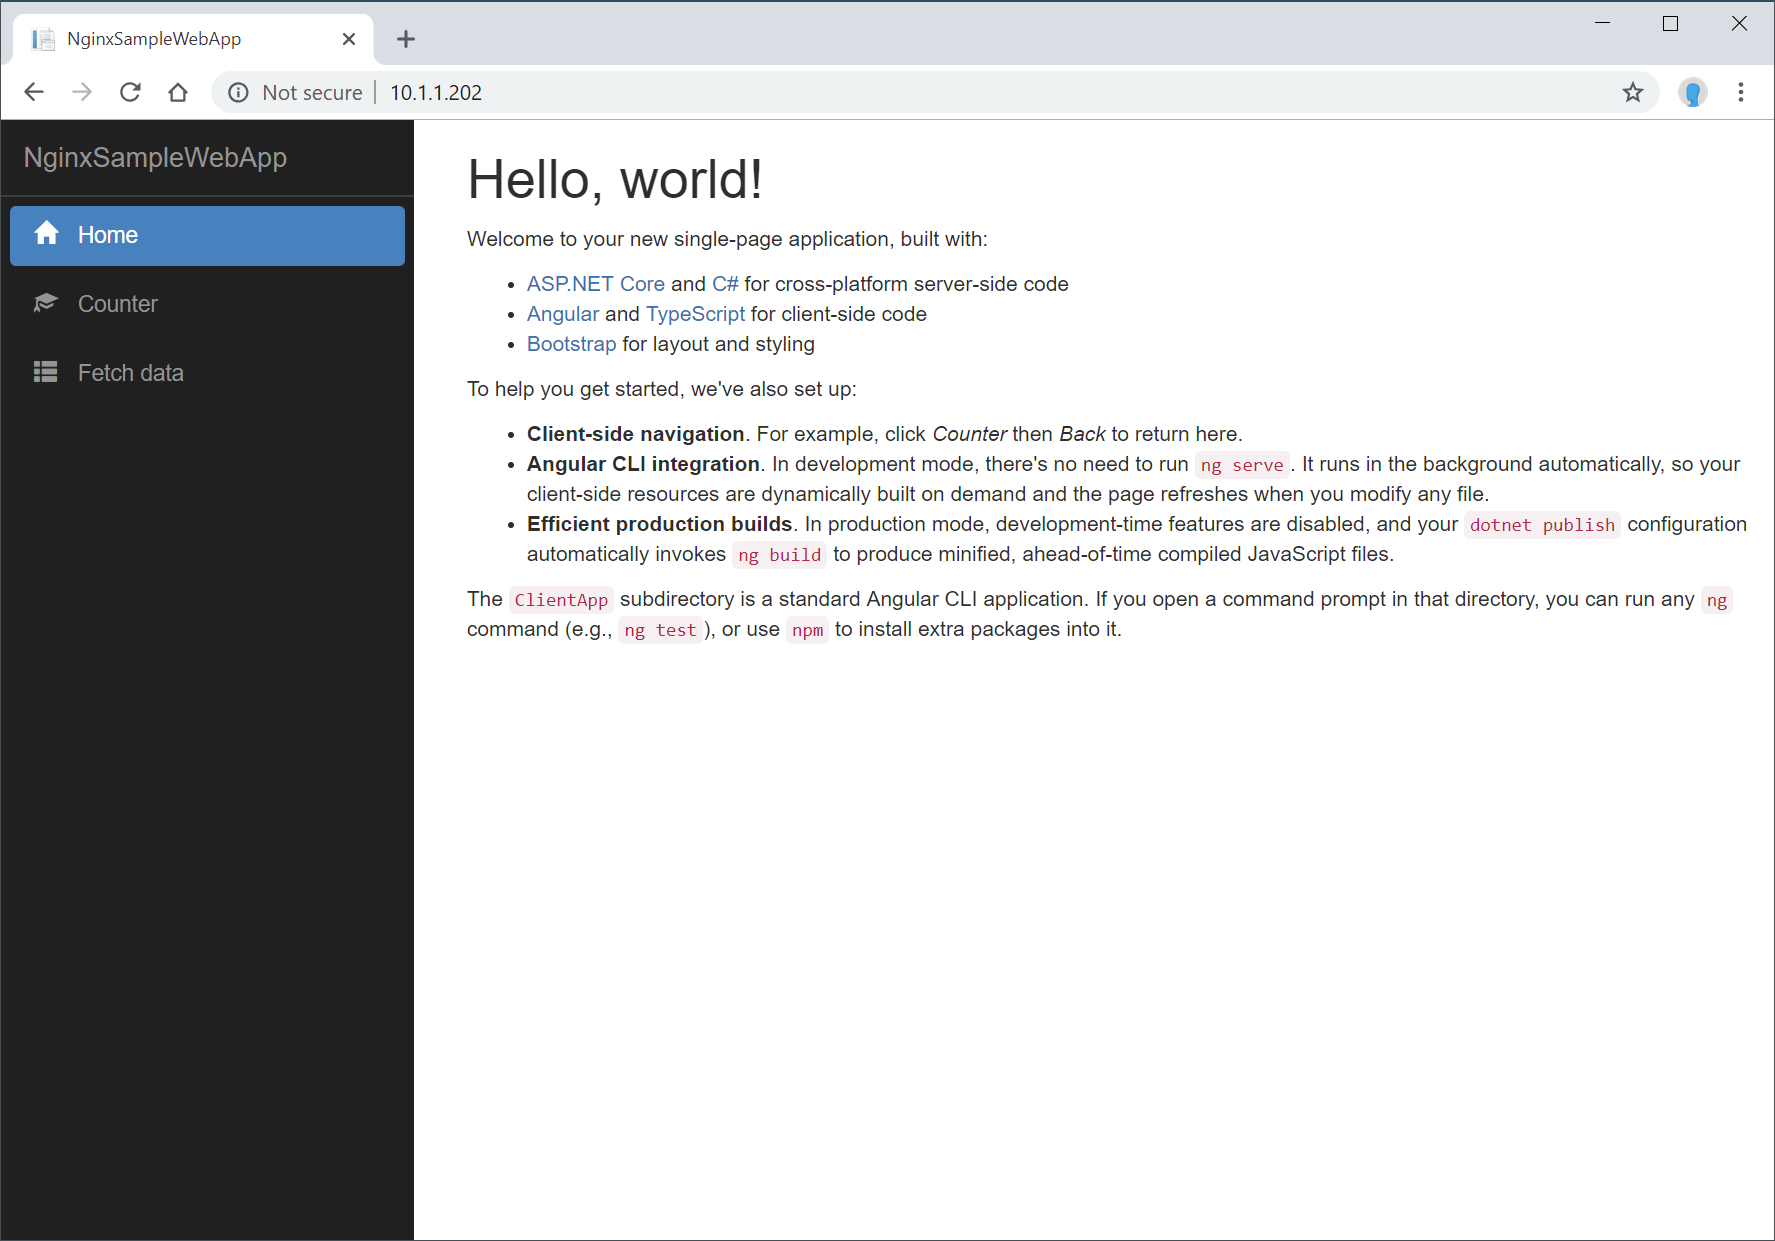
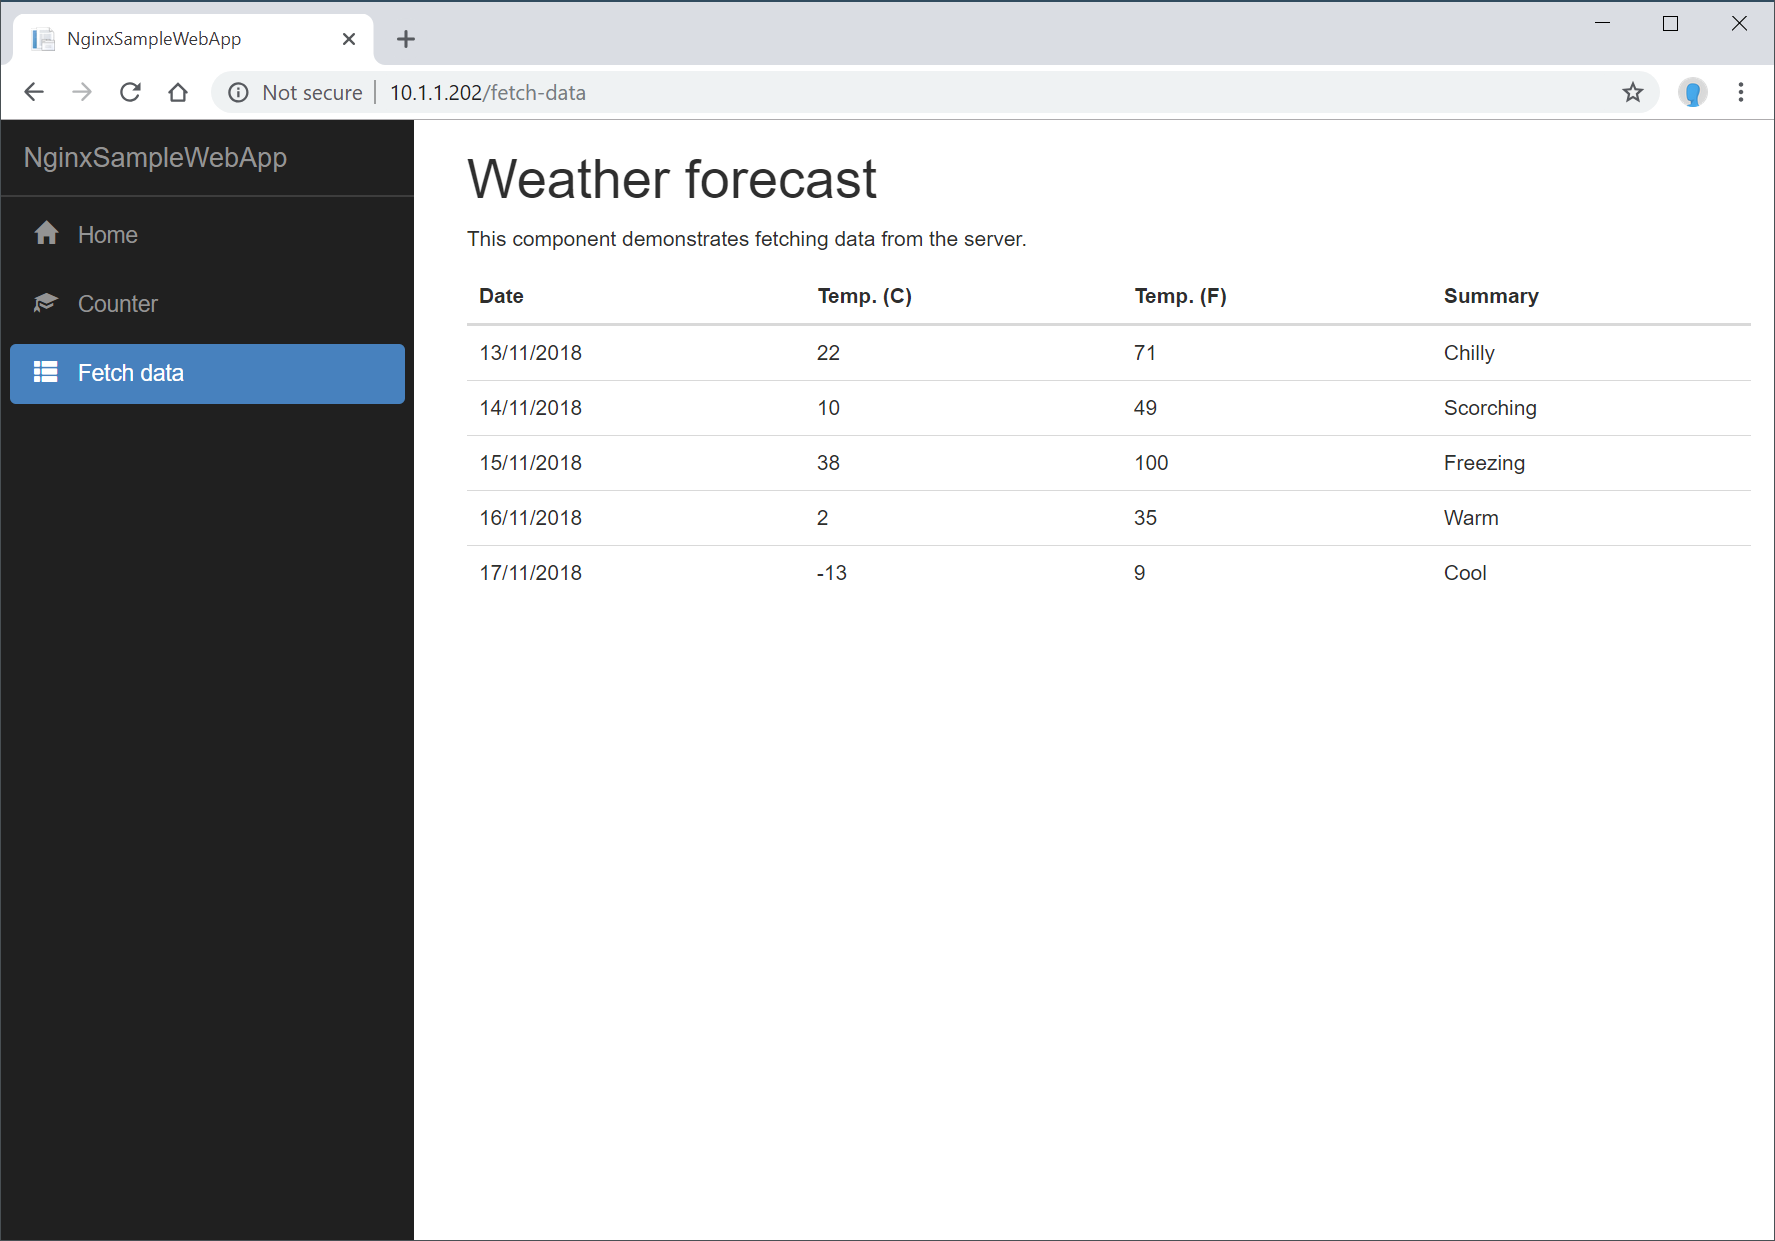
Navigating to the host machine after deploying to the Production environment should then result in our static AngularJS application being served up and looks something like this:
Navigating to Fetch data will call the backend to retrieve the data and should result in a page that looks something like this:
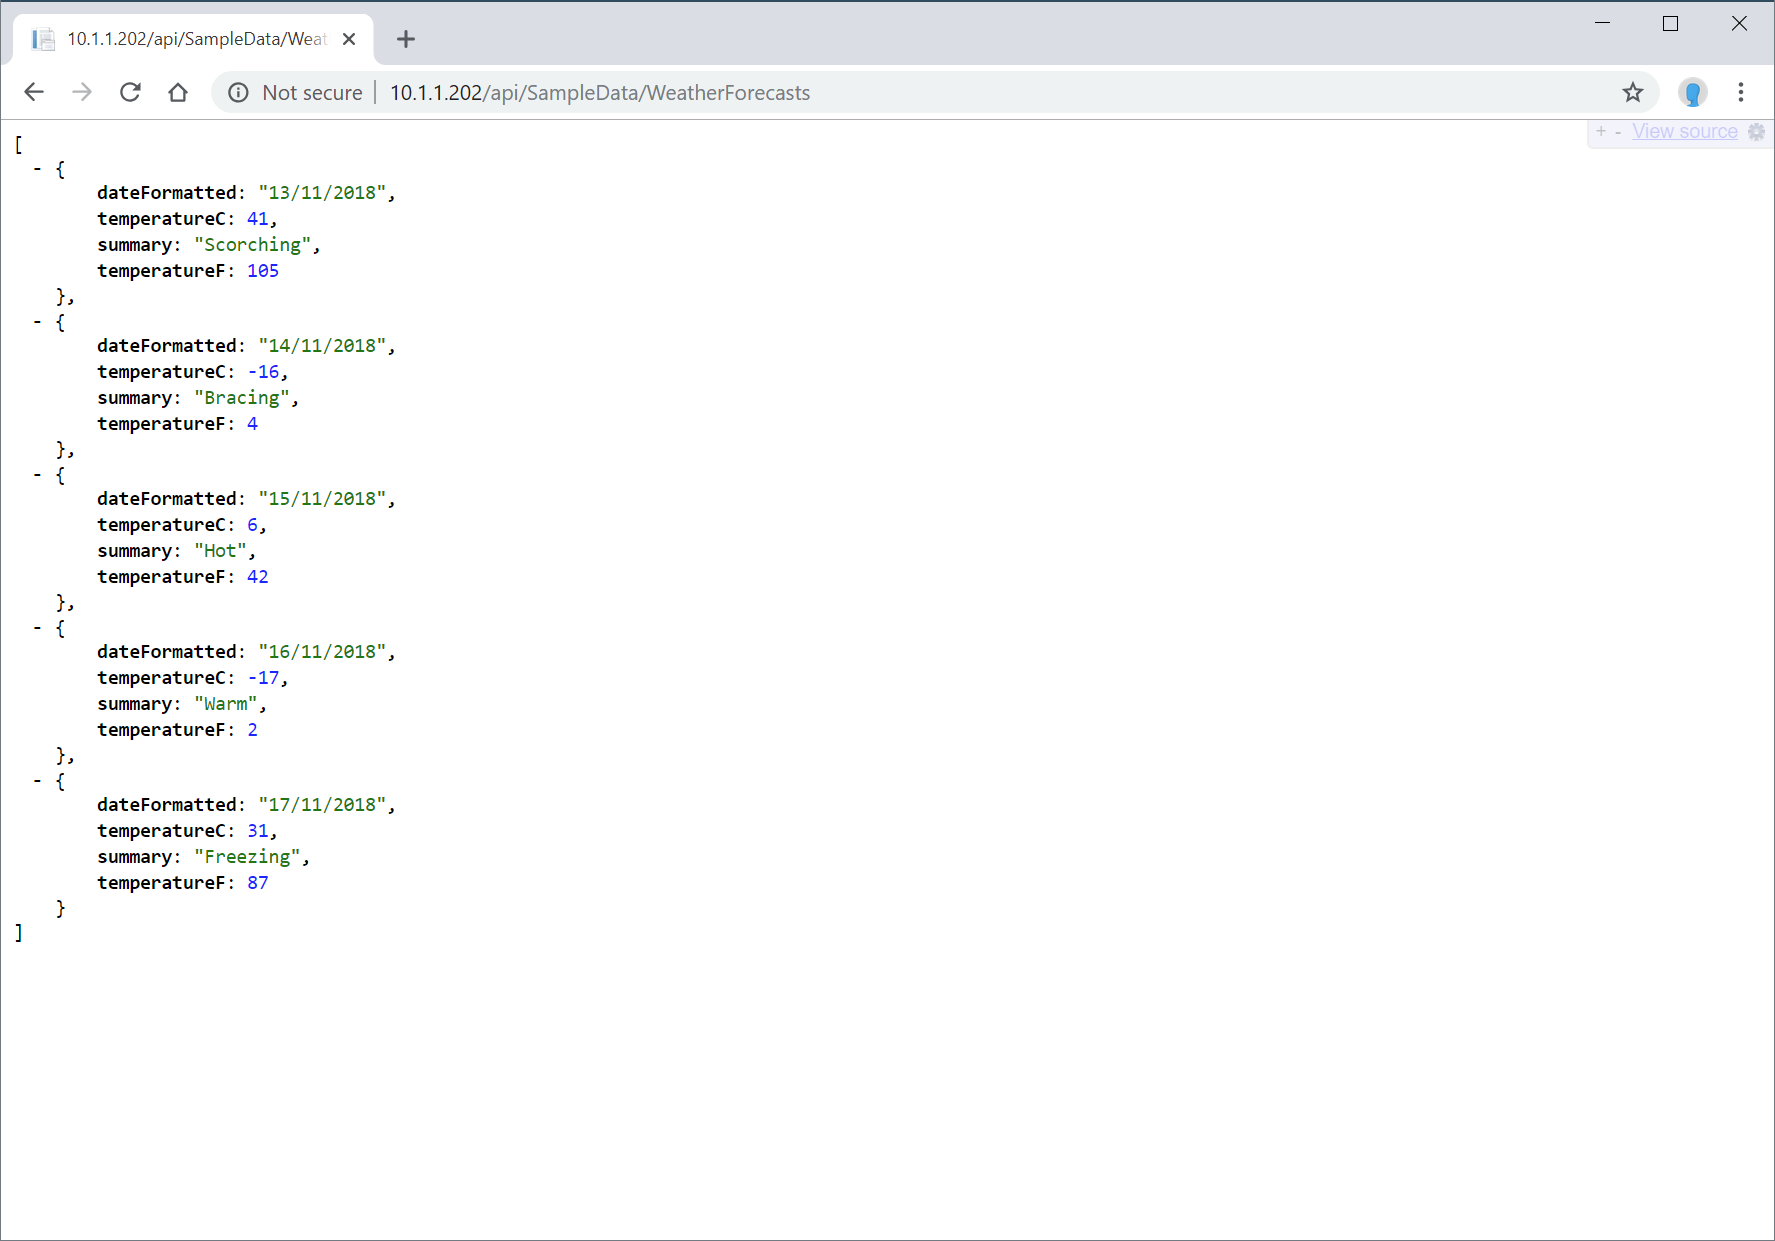
Navigating to the backend directly (by entering http://<IPorDNSofServer>/api/SampleData/WeatherForecasts into the browser address bar) should return something like this:
Learn more
- Generate an Octopus guide for NGINX and the rest of your CI/CD pipeline.
Help us continuously improve
Please let us know if you have any feedback about this page.
Page updated on Thursday, June 27, 2024