You can upgrade from Octopus 2.6.5 to Octopus 2018.10 LTS by downloading the latest MSI’s for both Octopus and Tentacle, and installing them manually. If you’re working with a large number of Tentacles, see the section on upgrading larger installations.
Summary
- Backup your Octopus 2.6.5 database and Master Key.
- Install Octopus 2018.10 LTS on your Octopus Server.
- Migrate your data from Octopus 2.6.5 to Octopus 2018.10 LTS.
- Install the latest version of Tentacle on your deployment targets.
- Verify the connectivity between the Octopus 2018.10 LTS Server and your Tentacles.
- [Optional] Clean up your Octopus Home folder, follow the instructions on this page.
Step by step
To perform an in-place upgrade, follow these steps:
1. Back up your Octopus 2.6.5 database and Master Key
See the Backup and restore page for instructions on backing up your database.
2. Install Octopus 2018.10 LTS on your Octopus Server
Upgrade to the latest version When upgrading to Octopus 2018.10 LTS please use the latest version available. We have been constantly improving the Octopus 2.6.5 to Octopus 2018.10 LTS data migration process while adding new features and fixing bugs.
See the Installing Octopus 2018.10 LTS page for instructions on installing a new Octopus 2018.10 LTS instance.
After installing the MSI, you will be presented with an upgrade page.
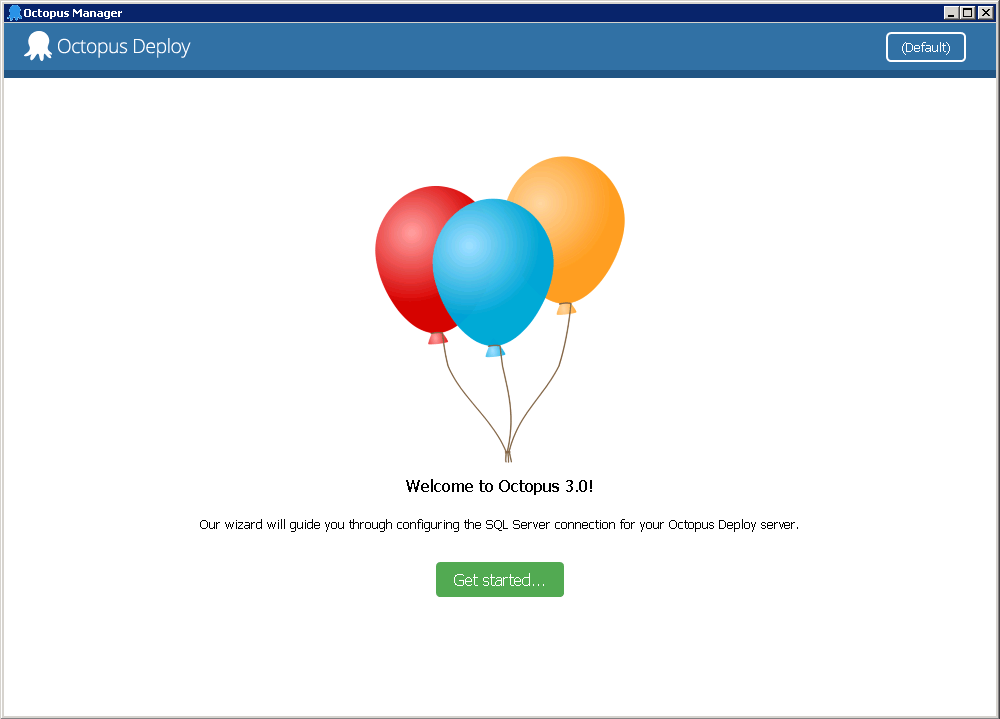
Click “Get started…” and set up your database connection. You may need to grant permission to the NT AUTHORITY\SYSTEM account at this stage.
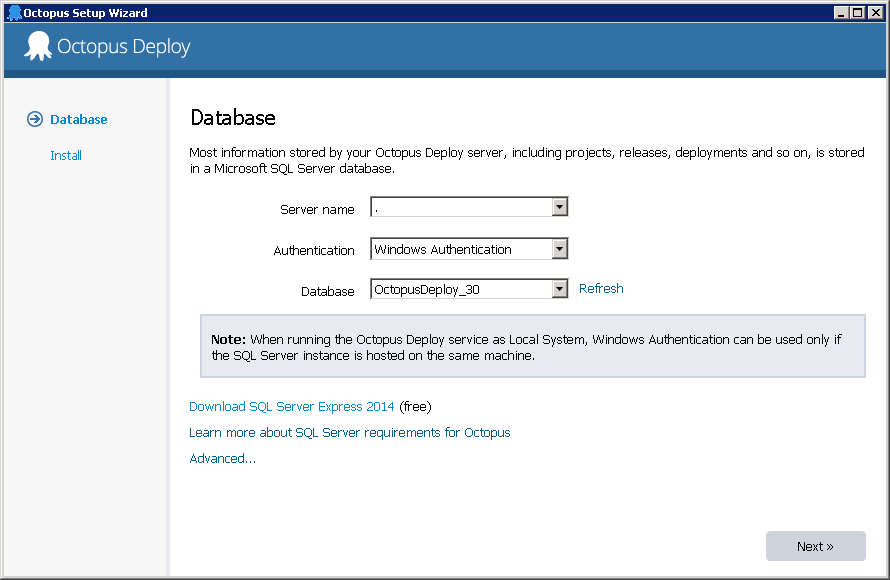
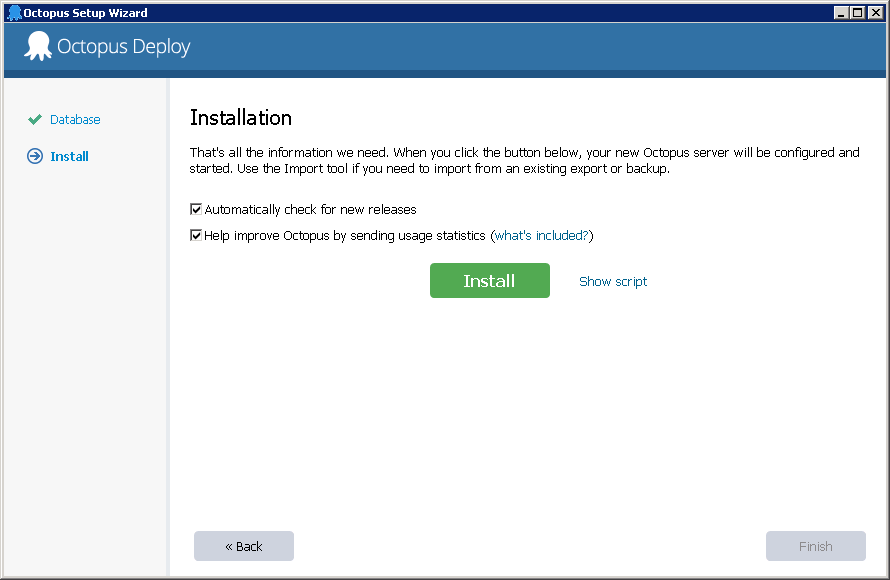
Click Next, and then Install to install the Octopus 2018.10 LTS server over the Octopus 2.6.5 instance.
3. Restore the Octopus 2.6.5 database using the Migration Tool
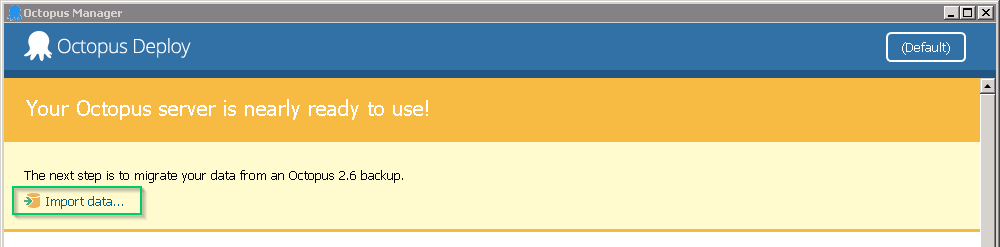
After upgrading, the Octopus Manager will prompt to import your Octopus 2.6.5 database. Click the “Import data…” button and follow the prompts to import your Octopus 2.6.5 data.
See the Migrating data from Octopus 2.6.5 to 2018.10 LTS page for more detailed instructions on importing your Octopus 2.6.5 database backup into Octopus 2018.10 LTS.
Migration taking a long time?
By default, we migrate everything from your backup including historical data. You can use the maxage= argument when executing the migrator to limit the number of days to keep. For example: maxage=90 will keep 90 days of historical data ignoring anything older.
To see the command syntax click the Show script link in the wizard
Using the built-in Octopus NuGet repository?
If you use the built-in Octopus NuGet repository you will need to move the files from your Octopus 2.6.5 server to your Octopus 2018.10 LTS server. They are not part of the backup.
In a standard Octopus 2.6.5 install the files can be found under C:\Octopus\OctopusServer\Repository\Packages
You will need to transfer them to the new server to C:\Octopus\Packages. Once the files have been copied, go to Library ➜ Packages ➜ Package Indexing and click the RE-INDEX NOW button. This process runs in the background, so if you have a lot of packages it could take a while (5-20 mins) to show in the UI or be usable for deployments.
4. Install the latest Tentacle MSI
At this point, the machines should appear in your Environments page inside Octopus 2018.10 LTS, but a health check will fail - the communication protocol used by modern Octopus Servers isn’t compatible with Tentacle 2.6.
On each machine that ran Tentacle 2.6, connect to the machine, and install the latest Tentacle MSI.
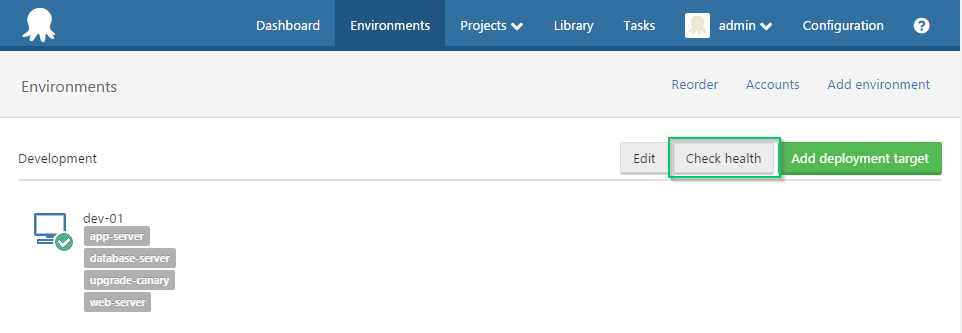
5. Verify connectivity between the 2018.10 LTS server and your Tentacles
Log in to your new Octopus 2018.10 LTS server and run health checks on all of your environments. If the upgrade completed successfully, they should succeed.
If one or more health checks do not succeed after a few attempts, see the Troubleshooting section to identify possible issues.
Help us continuously improve
Please let us know if you have any feedback about this page.
Page updated on Wednesday, October 4, 2023