AWS provides a Docker Image registry, known as Elastic Container Registry (ECR) . Support for EC2 Container registries is provided as a special feed type itself.
The credentials used for ECR feeds only last 12 hours. This may not be suitable for long-lived container workloads.
Configuring an AWS Elastic Container Registry (ECR)
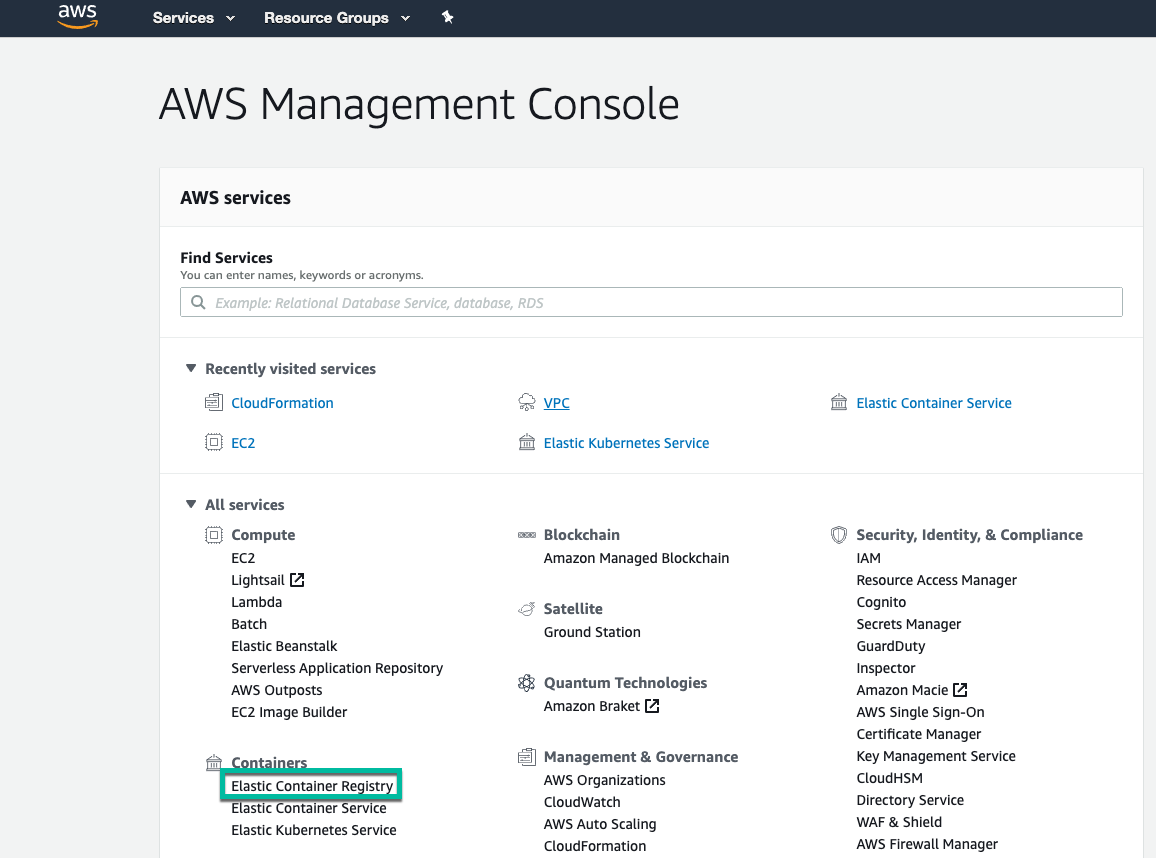
From the AWS Services dashboard go to Elastic Container Registry.
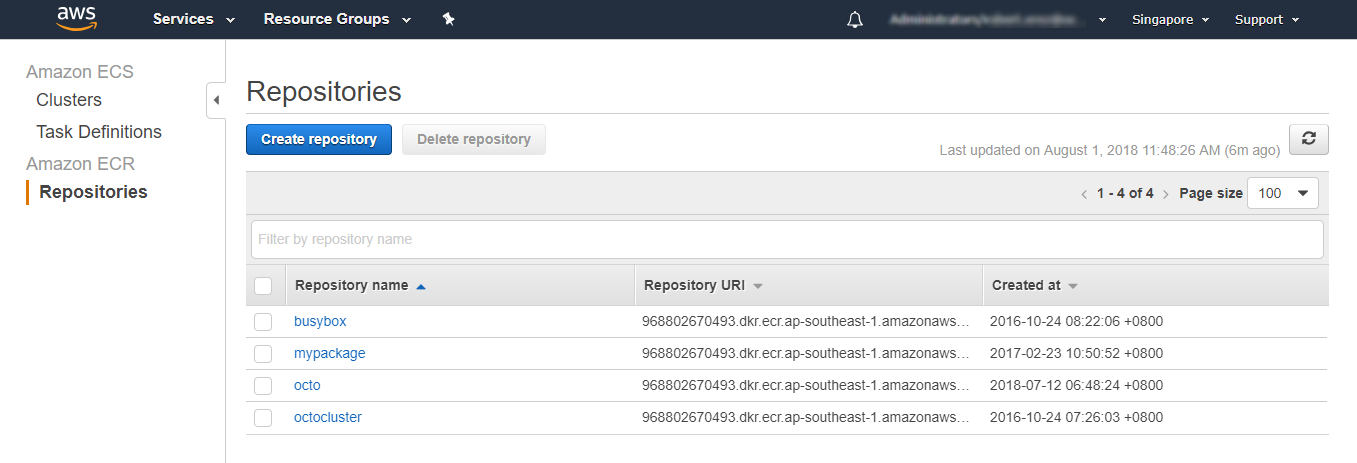
Under the Repositories area you need to create a repository to match the what in Octopus-speak would be the PackageId. This should map to your distinct application image. If you attempt to push an image during your build process to this registry without first creating the corresponding repository you will receive an error.
With the repository configured, ensure that you also have an AWS IAM user available that has at a minimum the permissions ecr:GetAuthorizationToken, ecr:DescribeRepositories, ecr:DescribeImages and ecr:ListImages. This user is the account which Octopus will use to retrieve the Docker login token which is then used to perform the appropriate Docker commands.
Further links for getting your AWS registry set up are available in their online docs
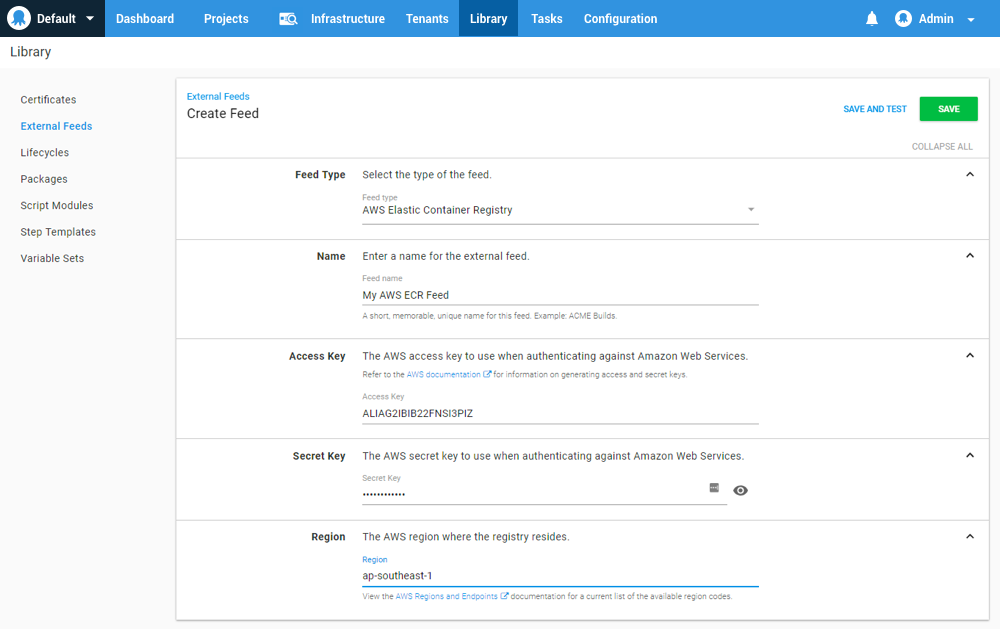
Adding AWS ECR as an Octopus External Feed
Create a new Octopus Feed (Deploy ➜ Manage ➜ External Feeds) and select the AWS Elastic Container Registry Feed type. With this selected you will need to provide the credentials configured above, as well as the region at which the registry was created. In AWS you are able to maintain separate repositories in each region.
Save and test your registry to ensure that the connection is authorized successfully.
Using worker configured credentials
From Octopus Server 2025.2, you can now use worker configured credentials by setting Execute using the credentials configured on the worker to Yes when creating your AWS ECR feed.
If your AWS credentials are not set up on server, package search and package version resolution will not find any results. You can still enter your full package name and version for package acquisition on your worker.
Adding an AWS OpenID Connect ECR External feed
Octopus Server 2025.2 adds support for OpenID Connect to ECR feeds. To use OpenID Connect authentication you have to follow the required minimum configuration. The configuration of
- Navigate to Deploy ➜ Manage ➜ External Feeds, click the Add Feed and select AWS Elastic Container Registry.
- Add a memorable name for the account.
- Set the Audience to the audience of the identity provider in AWS.
- Set the Role ARN to the ARN from the identity provider associated role.
- Click SAVE to save the account.
- Before you can test the account you need to add a condition to the identity provider in AWS under IAM ➜ Roles ➜ {Your AWS Role} ➜ Trust Relationship :
{
  "Version": "2012-10-17",
  "Statement": [
    {
      "Effect": "Allow",
      "Principal": {
          "Federated": "arn:aws:iam::{aws-account}:oidc-provider/{your-identity-provider}"
      },
      "Action": "sts:AssumeRoleWithWebIdentity",
      "Condition": {
        "StringEquals": {
          "example.octopus.app:sub": "space:[space-slug]:feed:[slug-of-feed-created-above]",
          "example.octopus.app:aud": "example.octopus.app"
        }
      }
    }
  ]
}- Go back to the AWS feed in Octopus and click TEST, search for a package in any ECR feeds the role has access to.
Refer to the AWS docs for more information on the role permissions required for ECR. Please read OpenID Connect Subject Identifier on how to customize the Subject value.
By default, the role trust policy does not have any conditions on the subject identifier. To lock the role down to particular usages you need to modify the trust policy conditions and add a condition for the sub.
For example, to lock an identity role to a specific Octopus environment, you can update the conditions:
"Condition": {
  "StringEquals": {
        "example.octopus.app:sub": "space:default:feed:feed-slug",
        "example.octopus.app:aud": "example.octopus.app:"
  }
}
default and feed-slug are the slugs of their respective Octopus resources.
AWS policy conditions also support complex matching with wildcards and StringLike expressions.
Help us continuously improve
Please let us know if you have any feedback about this page.
Page updated on Thursday, May 8, 2025