Variables are a super-power of Octopus. They’re usually a high-risk deployment task, but Octopus makes it easy to manage and apply the correct values during a deployment. Using variables in Octopus, you can use the same deployment process across your environments and eliminate hard-coded configuration settings.
Octopus can manage simple values, secrets, and accounts as variables.
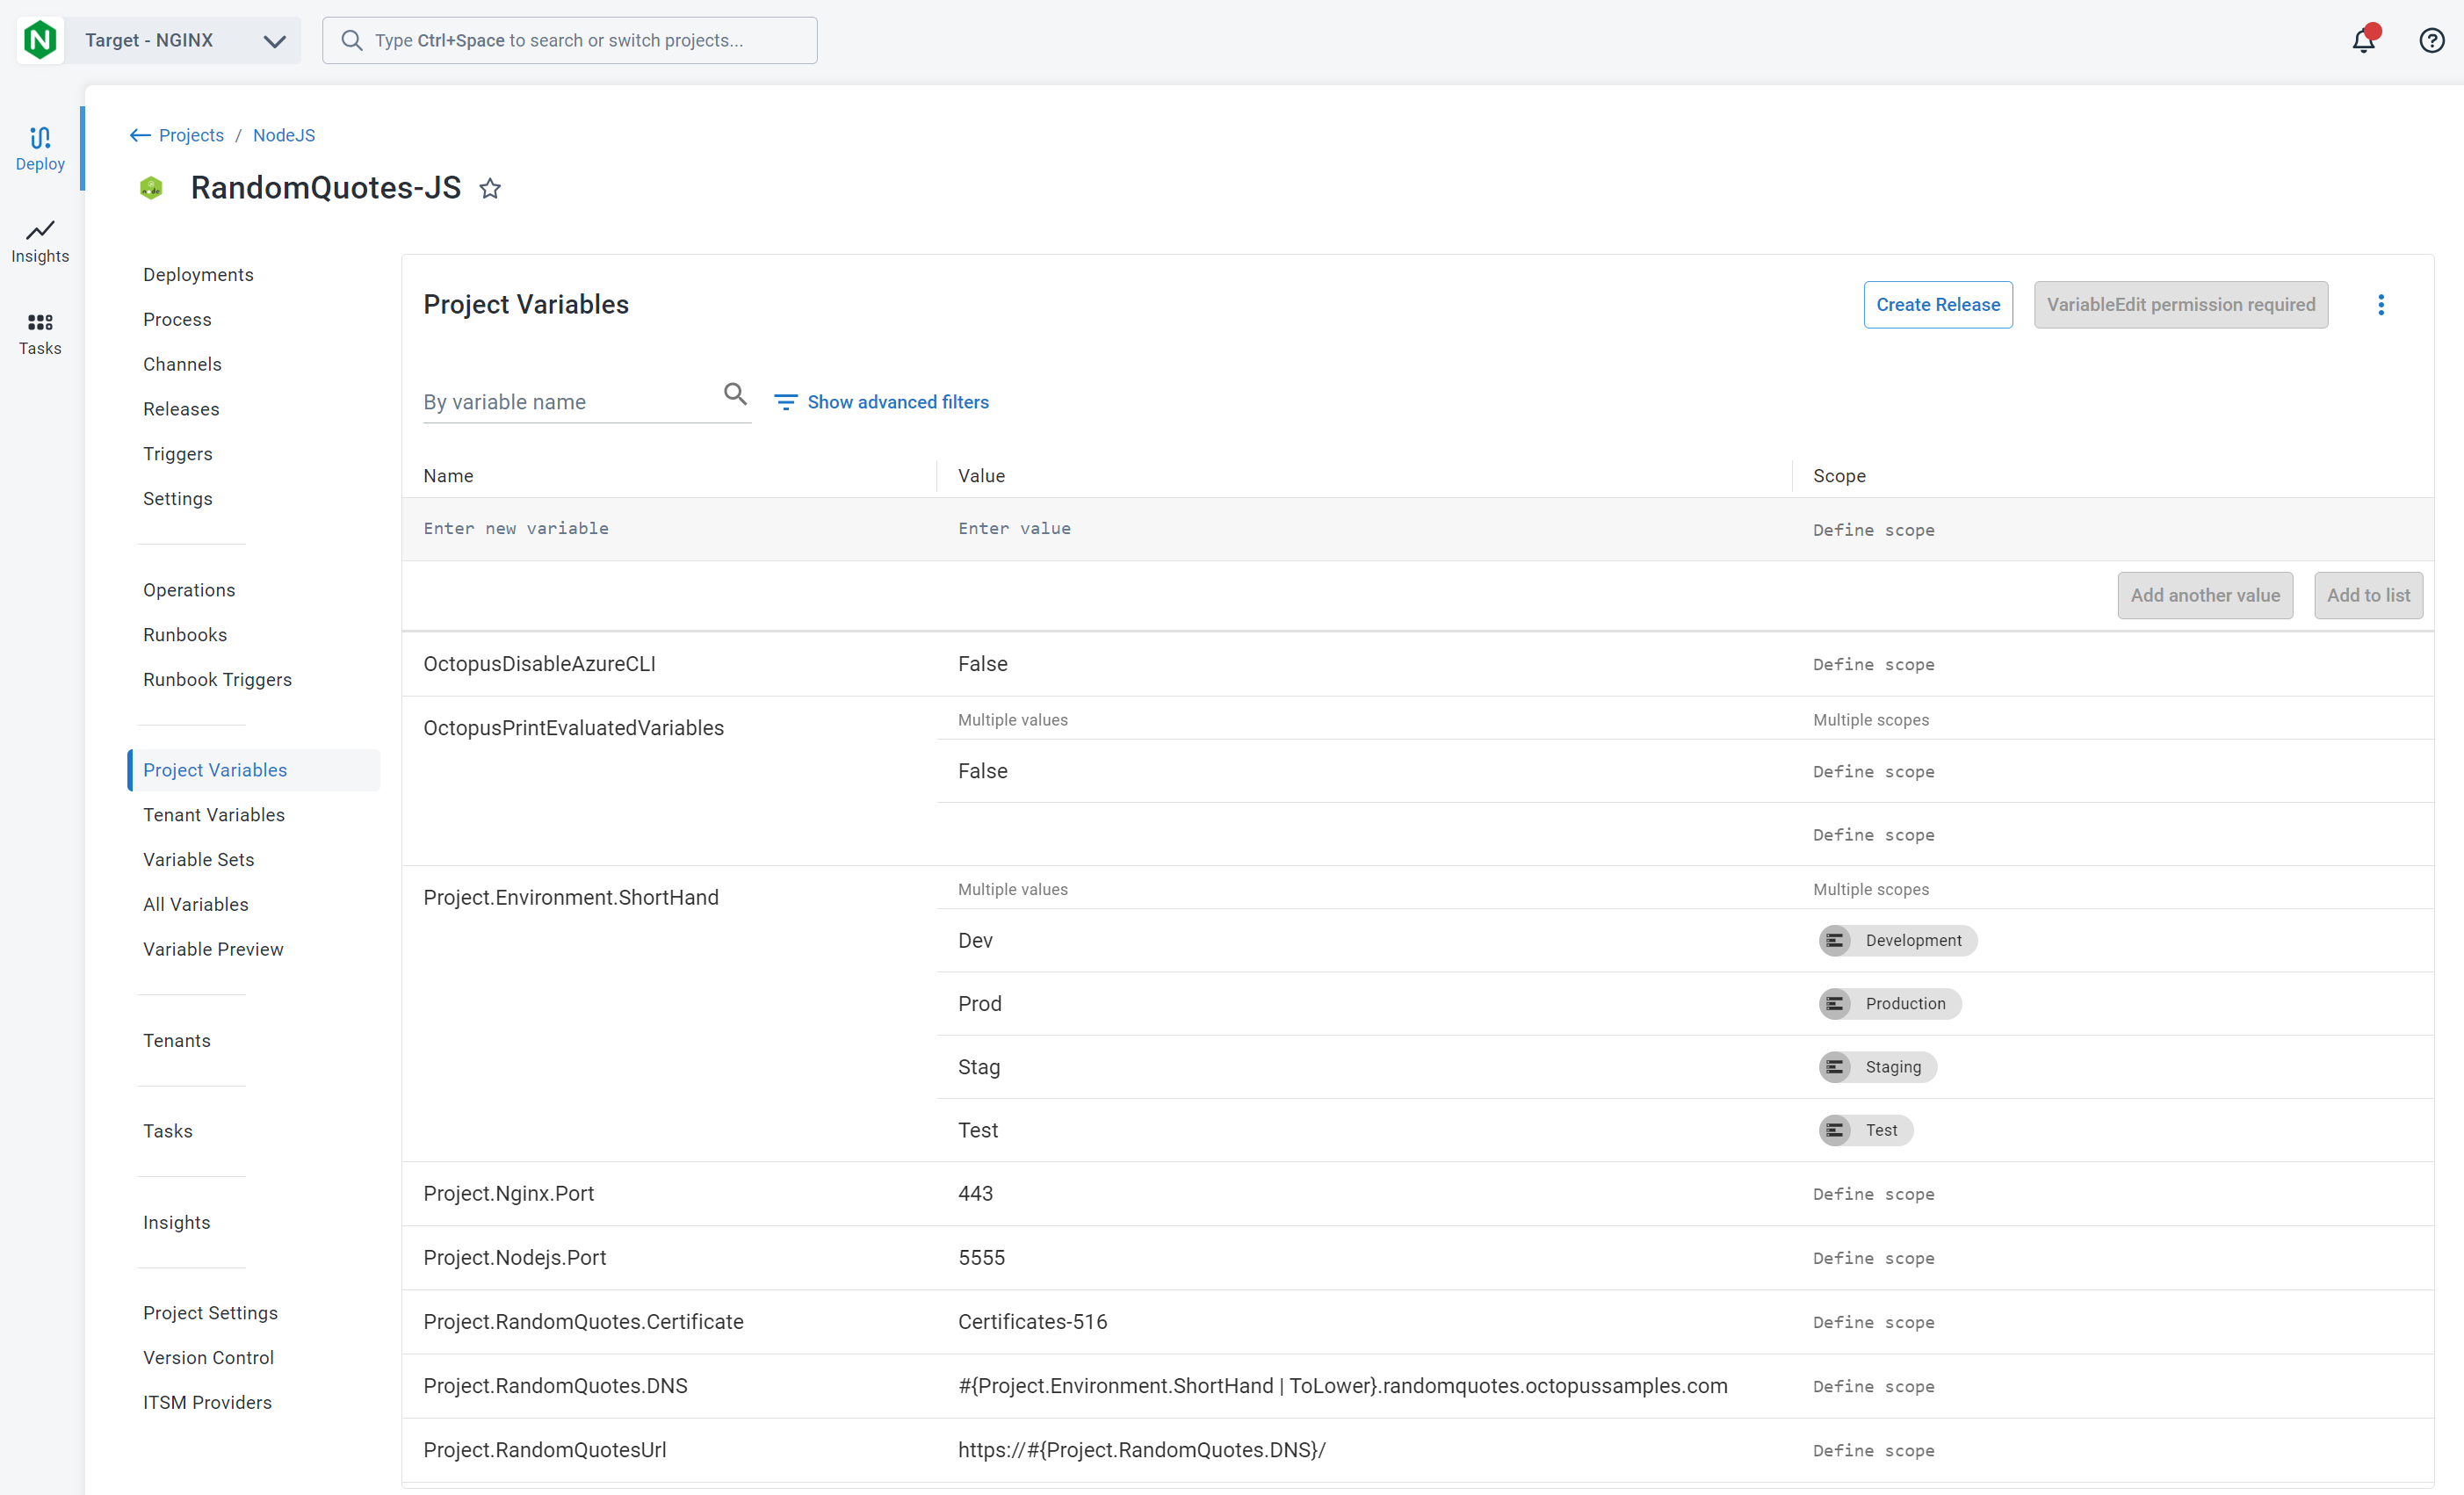
You can scope variables by:
- Environments
- Deployment target tags
- Deployment targets
- Deployment processes and steps
- Channels
Common examples include setting a different database connection string for each tenant or applying different logging levels by environment.
Variable Sets
It’s common to have variables that you need to use across multiple projects. Variable Sets make it possible to define a variable once and use it in many projects in the same space. This is far simpler than duplicating a value in multiple projects.
You can scope variable sets to:
- Environments
- Deployment target tags
- Deployment targets
Each time you add a variable, consider whether you should place it in a variable set so all projects can share it.
Learn more
- Getting started with variables
- Variable substitutions
- Variable filters
- System variables
- Output variables
- Prompted variables
- Sensitive variables
Help us continuously improve
Please let us know if you have any feedback about this page.
Page updated on Wednesday, August 28, 2024