Ephemeral environments in Octopus Deploy allow you to automatically create test environments on-demand to gain confidence in your changes while helping to keep your infrastructure costs down.
Ephemeral environments integrate smoothly into your existing development workflows by building on existing Octopus features such as Releases, Channels and Runbooks.
Octopus can automatically create and deploy to an ephemeral environment from releases created within a specifically configured channel in a project, and supports provisioning and deprovisioning of associated infrastructure using Runbooks.
Getting started
To configure Ephemeral Environments for your project:
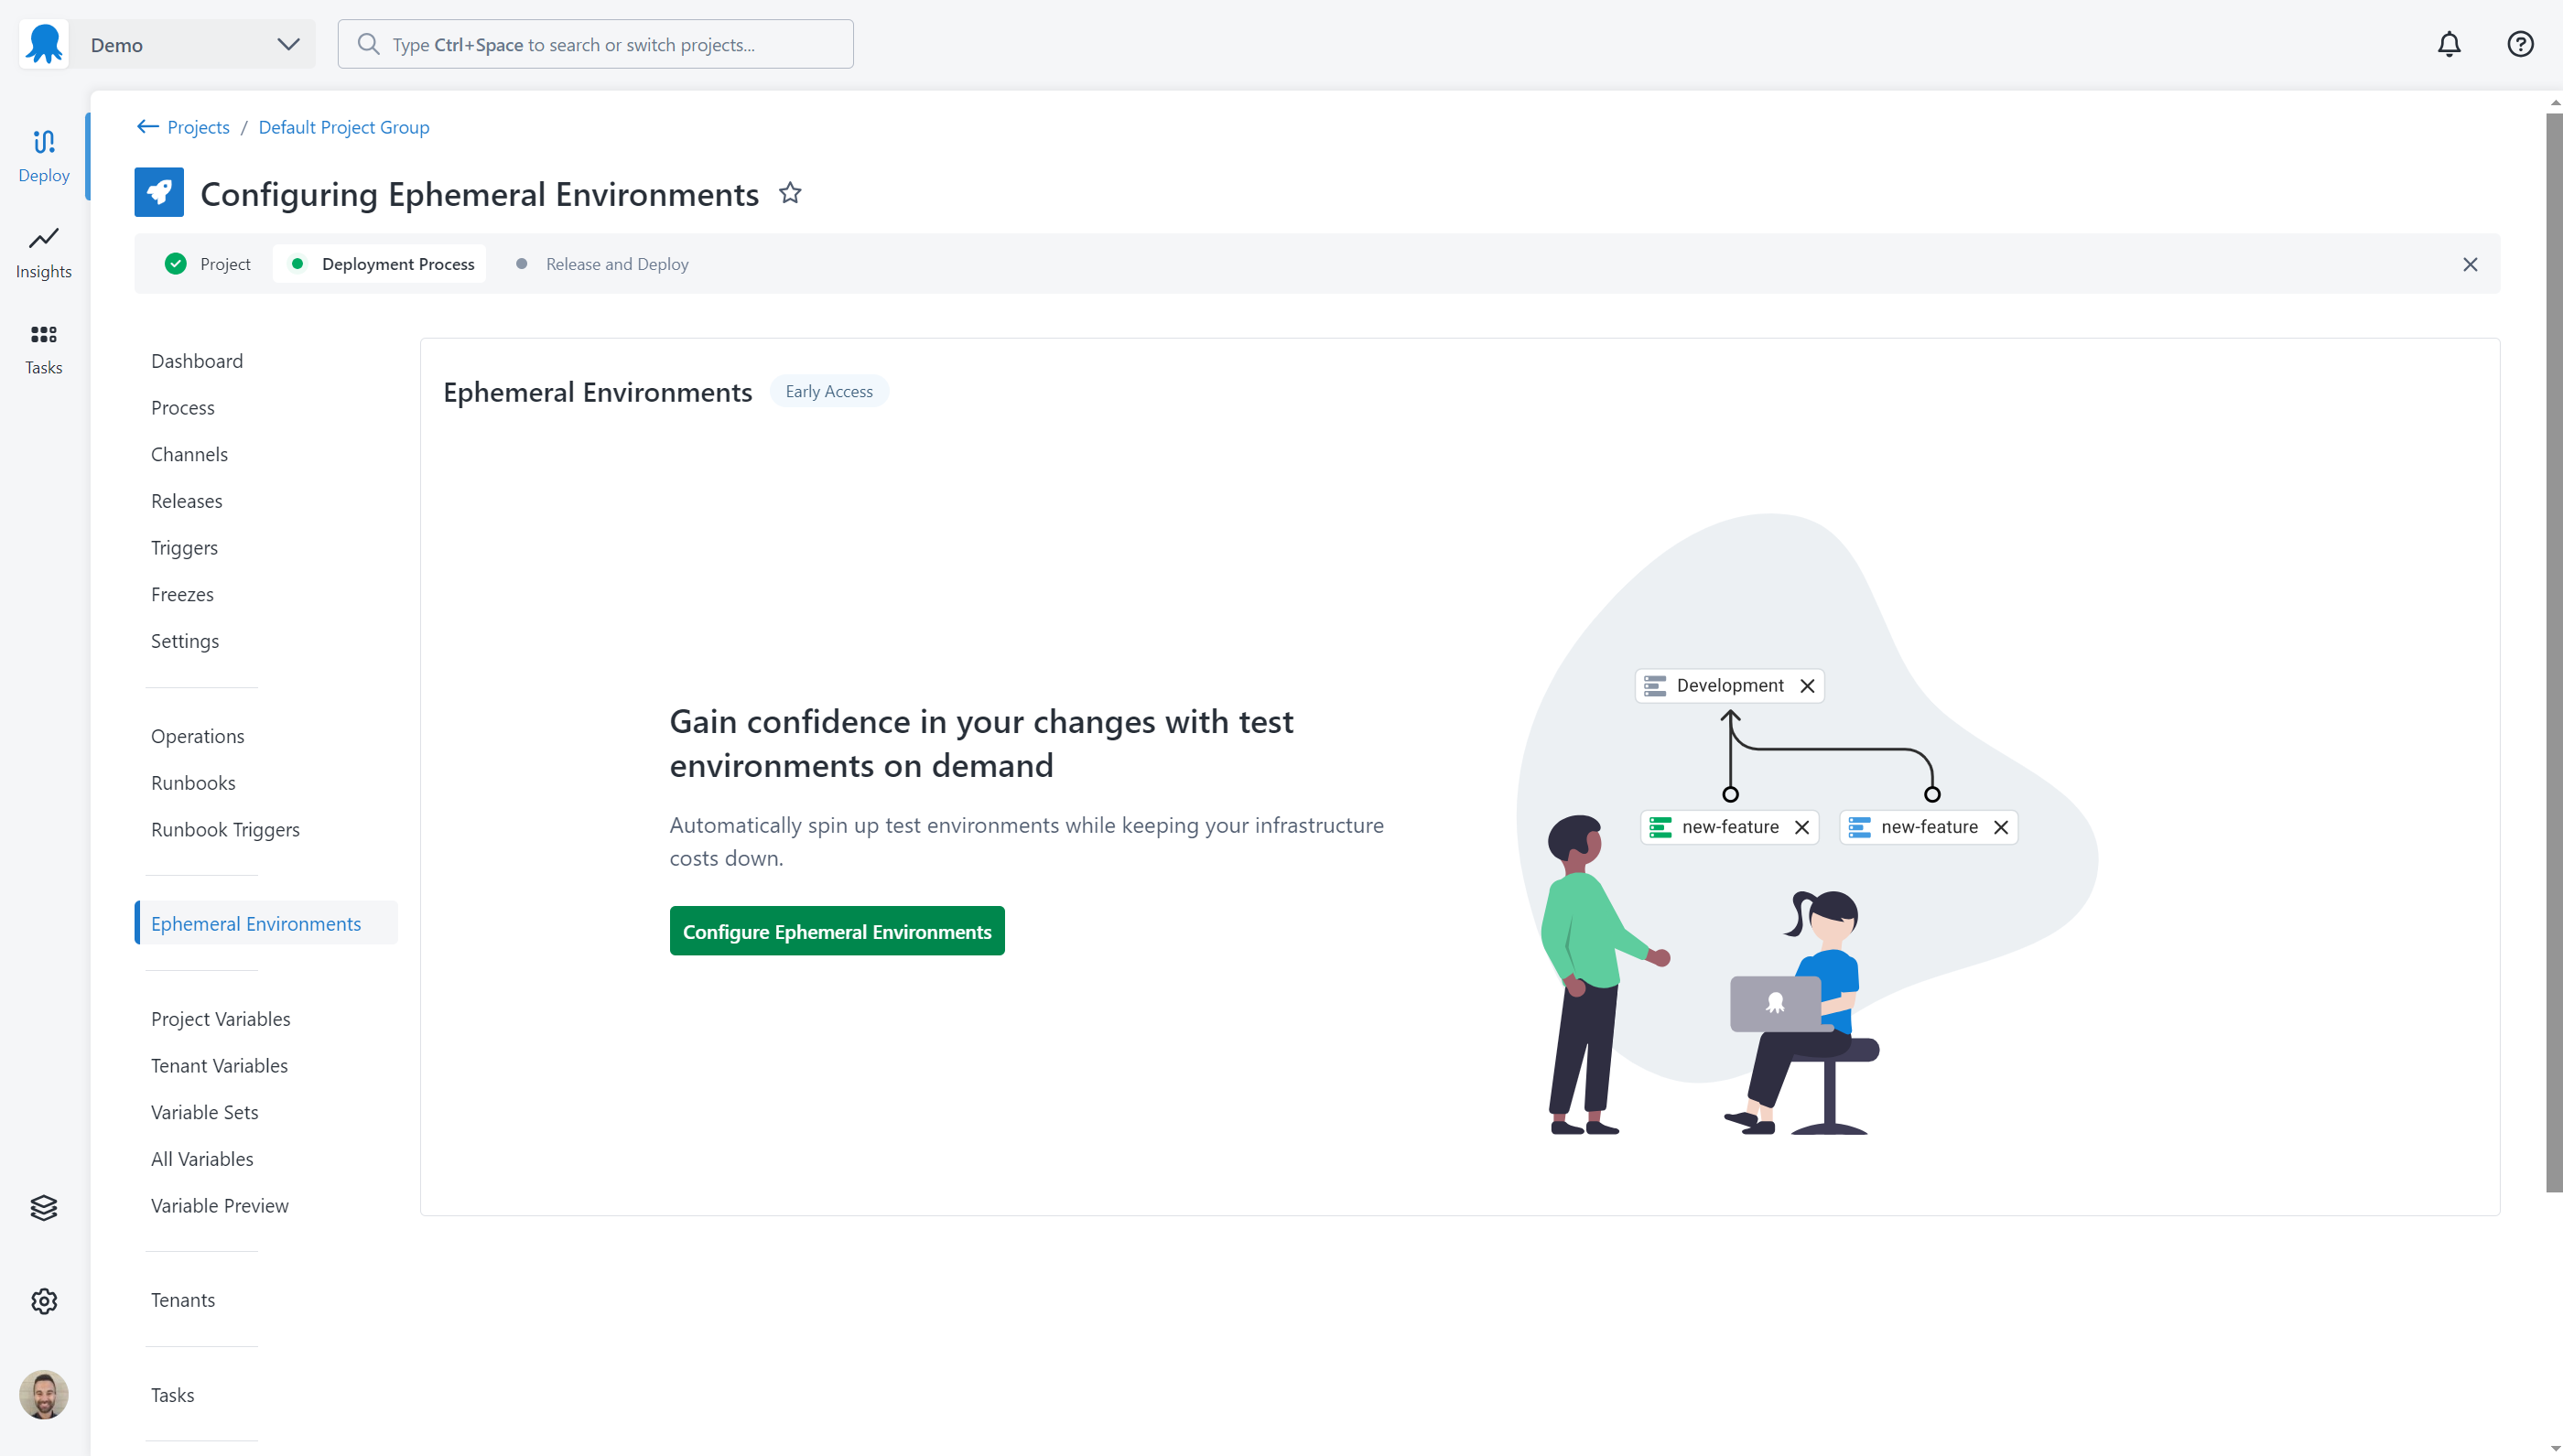
- Select Deploy from the main navigation in the Octopus Web Portal and select your project.
- Select the Ephemeral Environments navigation menu in the sidebar.
- Click the Configure Ephemeral Environments button.
- Follow the configuration wizard to enable the feature for your project.
Parent environment
A parent environment provides scoping of variables, deployment targets and accounts for ephemeral environments. Parent environments are not included in Lifecycles and cannot be deployed to.
Enter the name for a new parent environment or select an existing parent environment then click Next.
Tip: Give your parent environment a recognizable name that describes what you intend to use ephemeral environments for. Examples might include “Pull request environments” or “Test environments”.
Auto Deploy
You can choose to automatically deploy releases to ephemeral environments when they created. This can help to streamline your workflows by reducing the number of manual steps required to get your changes deployed.
When auto deployment is configured, Octopus will automatically create a new ephemeral environment for you from releases in your project. The name of each environment can be configured using an Environment Name Template. Templates support the same powerful syntax as Variables. Any system variable for a release can be used as part of the template.
When auto deployment is not configured, you need to manually create ephemeral environments and deploy releases to them. You can do this using the Octopus Portal, API and CLI. You can also select to manually create and deploy to an environment.
Select whether to automatically deploy releases to ephemeral environments. If you select to automatically deploy, you will also have to provide an environment name template that will be used to name the environment.
Environment Name Template
Tips:
- Environment names only support a specific set of characters, Octopus will automatically replace the following invalid characters with a
-:< > : " / \ | ? * { } - Environment names can have spaces in them. Leading and trailing dashes and underscores will be removed from your environment name.
- Environment names have a limit of 50 characters, you can use Variable filters to limit the length of the name if needed.
Custom Fields
Releases support Custom Fields which can be used to configure the name of an ephemeral environment. See Using custom fields in releases for more information.
Remember that custom fields referenced in your Environment Name Template must be provided with any release that you use to create an ephemeral environment.
Examples
| Template | Release Data | Environment name | Notes |
|---|---|---|---|
#{Octopus.Release.Git.BranchName} | Branch: ava/my-new-feature | ava-my-new-feature | The Octopus.Release.Git.BranchName variable is only supported for projects using version control. |
pr-#{Octopus.Release.CustomFields[PullRequestNumber]} | PullRequestNumber: 451 | pr-451 | Provide the PullRequestNumber custom field when creating the release. |
#{Octopus.Release.CustomFields[TeamName]} - #{Octopus.Release.CustomFields[JiraTicketNumber]} | TeamName: My Team, JiraTicketNumber: TST-150 | My Team - TST-150 | Multiple custom fields from a release can be combined. |
Provisioning
Any infrastructure required by an ephemeral environment can be created using a Runbook. Octopus will automatically run this Runbook as needed before deploying a release to the environment.
Create a new runbook, select an existing one or select to skip provisioning and click Next.
Deprovisioning
Any infrastructure used by an ephemeral environment can be removed using a Runbook. Octopus will automatically run this Runbook as needed as part of deprovisioning the environment.
Create a new runbook, select an existing one or select to skip deprovisioning and click Next.
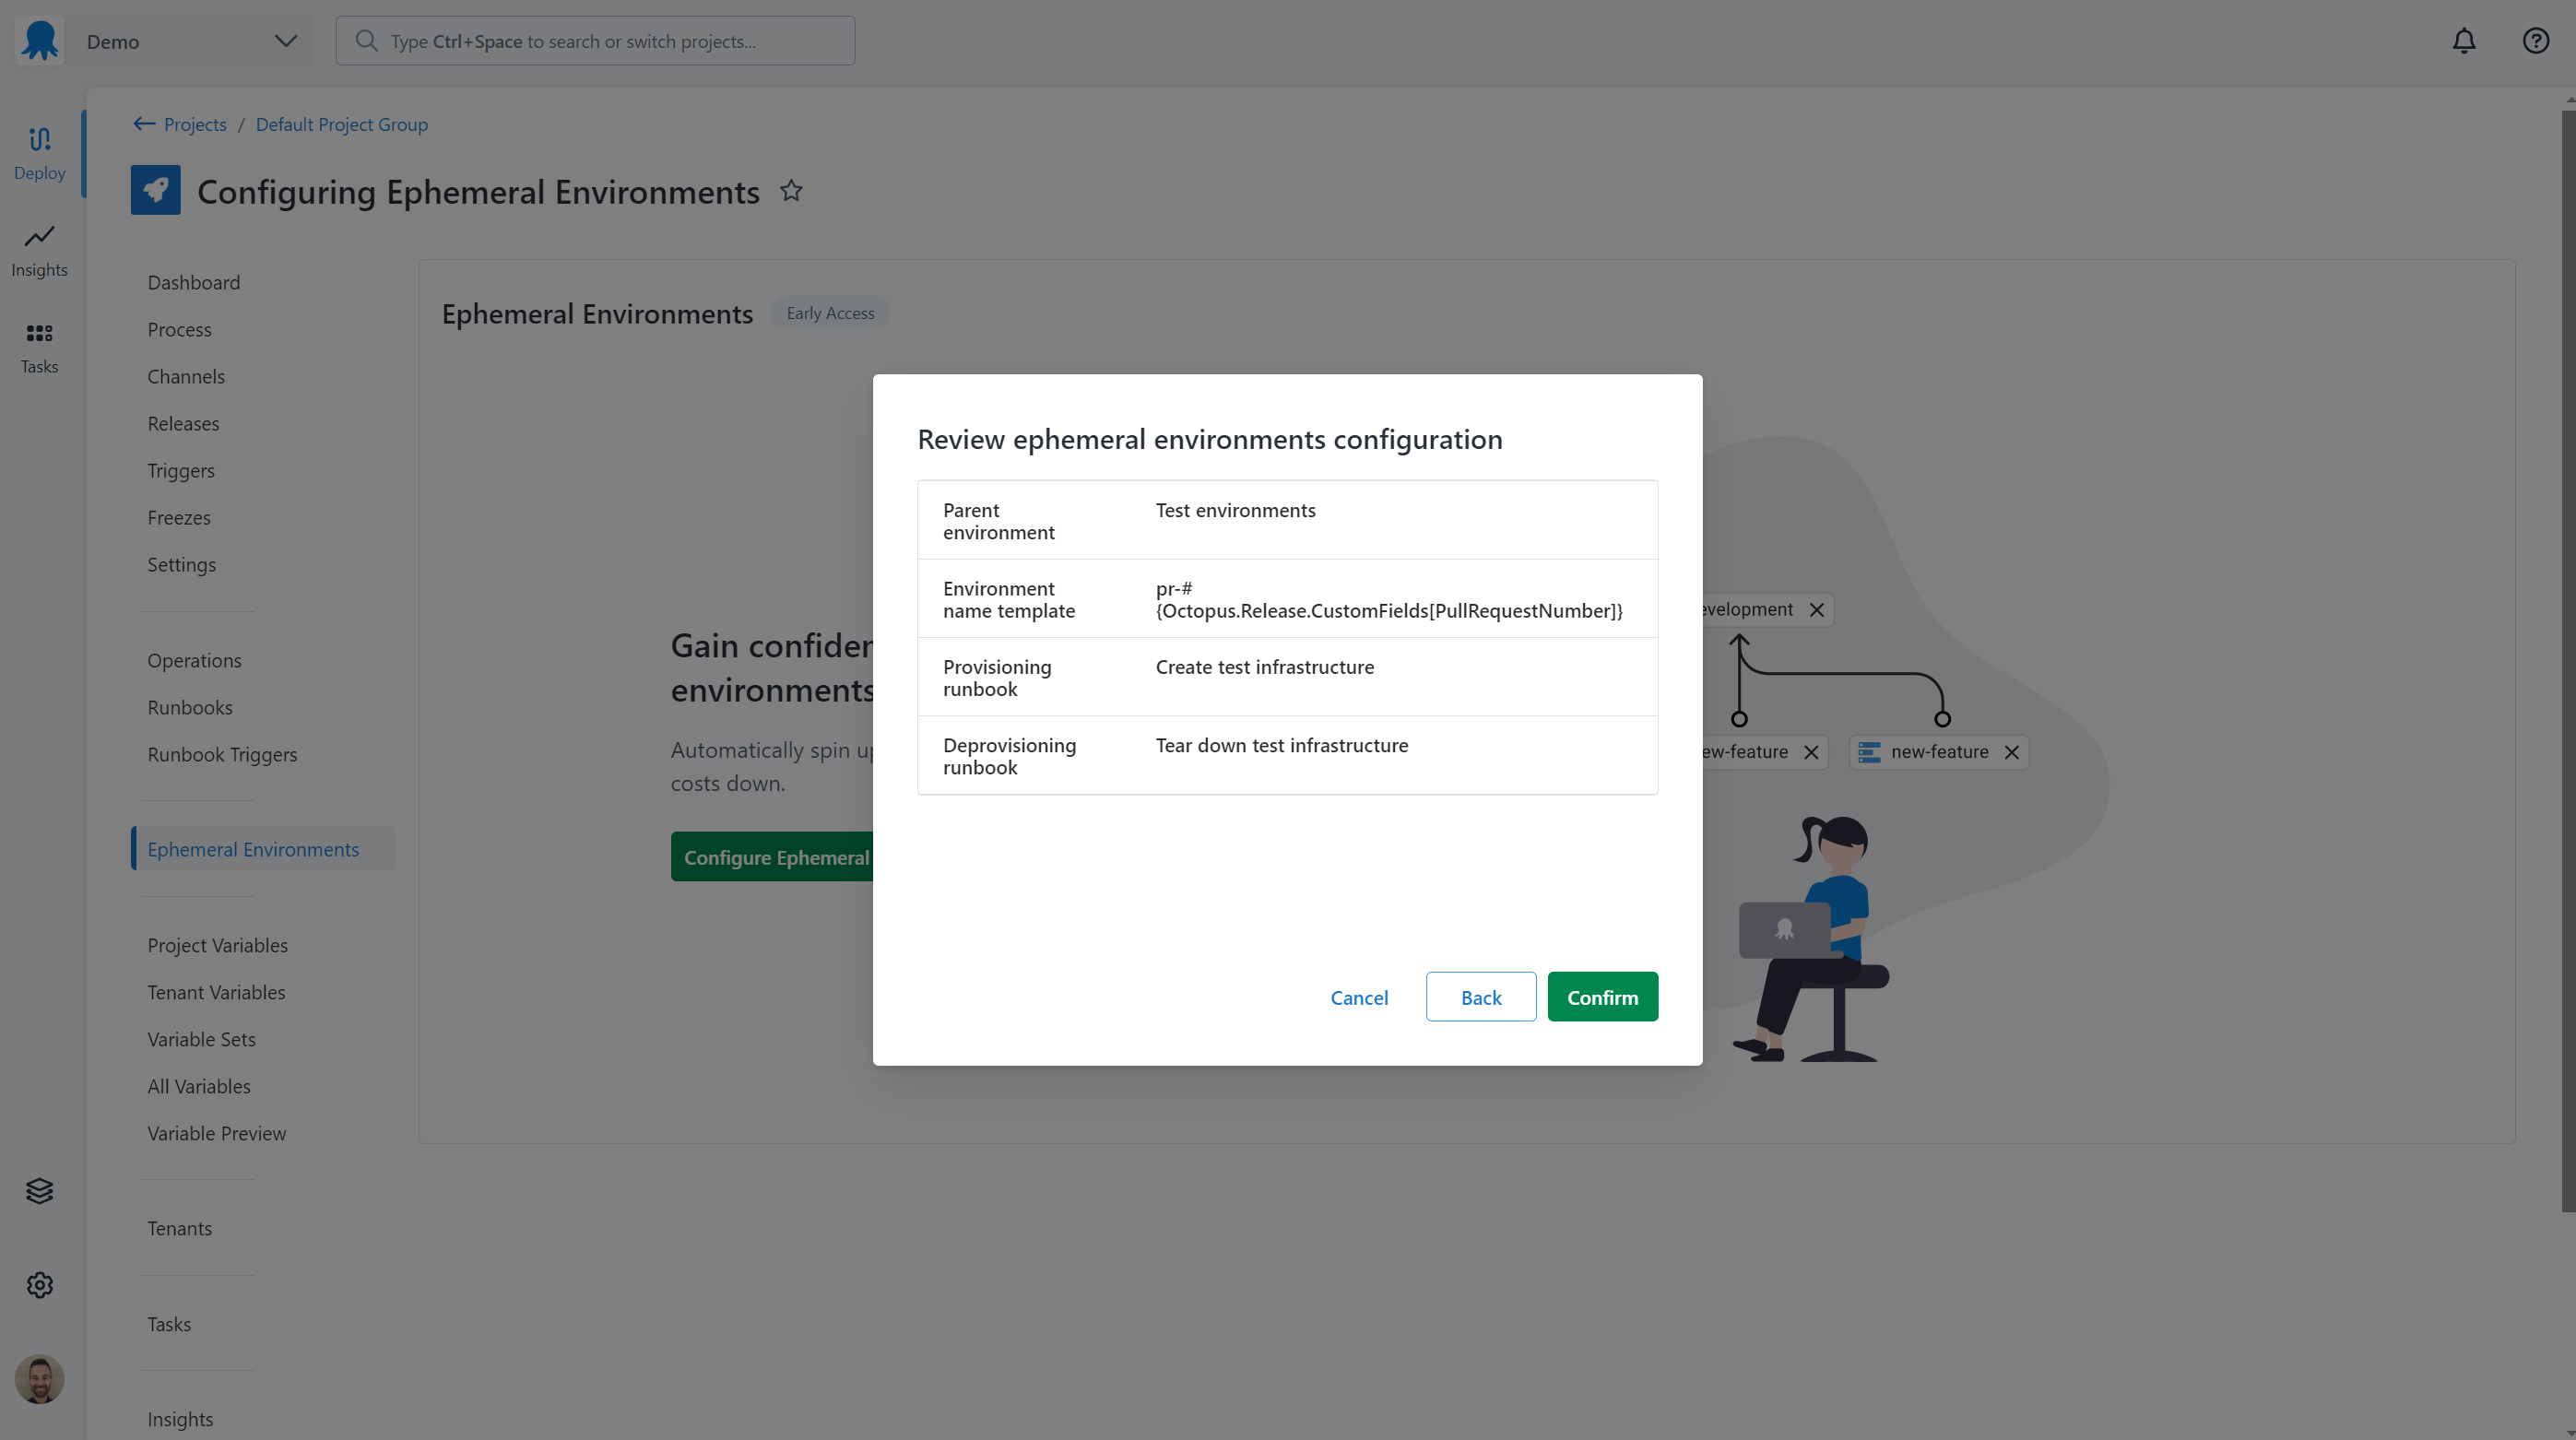
Review and confirm
Review the selected configuration and click Confirm. You can go back and adjust before confirming.
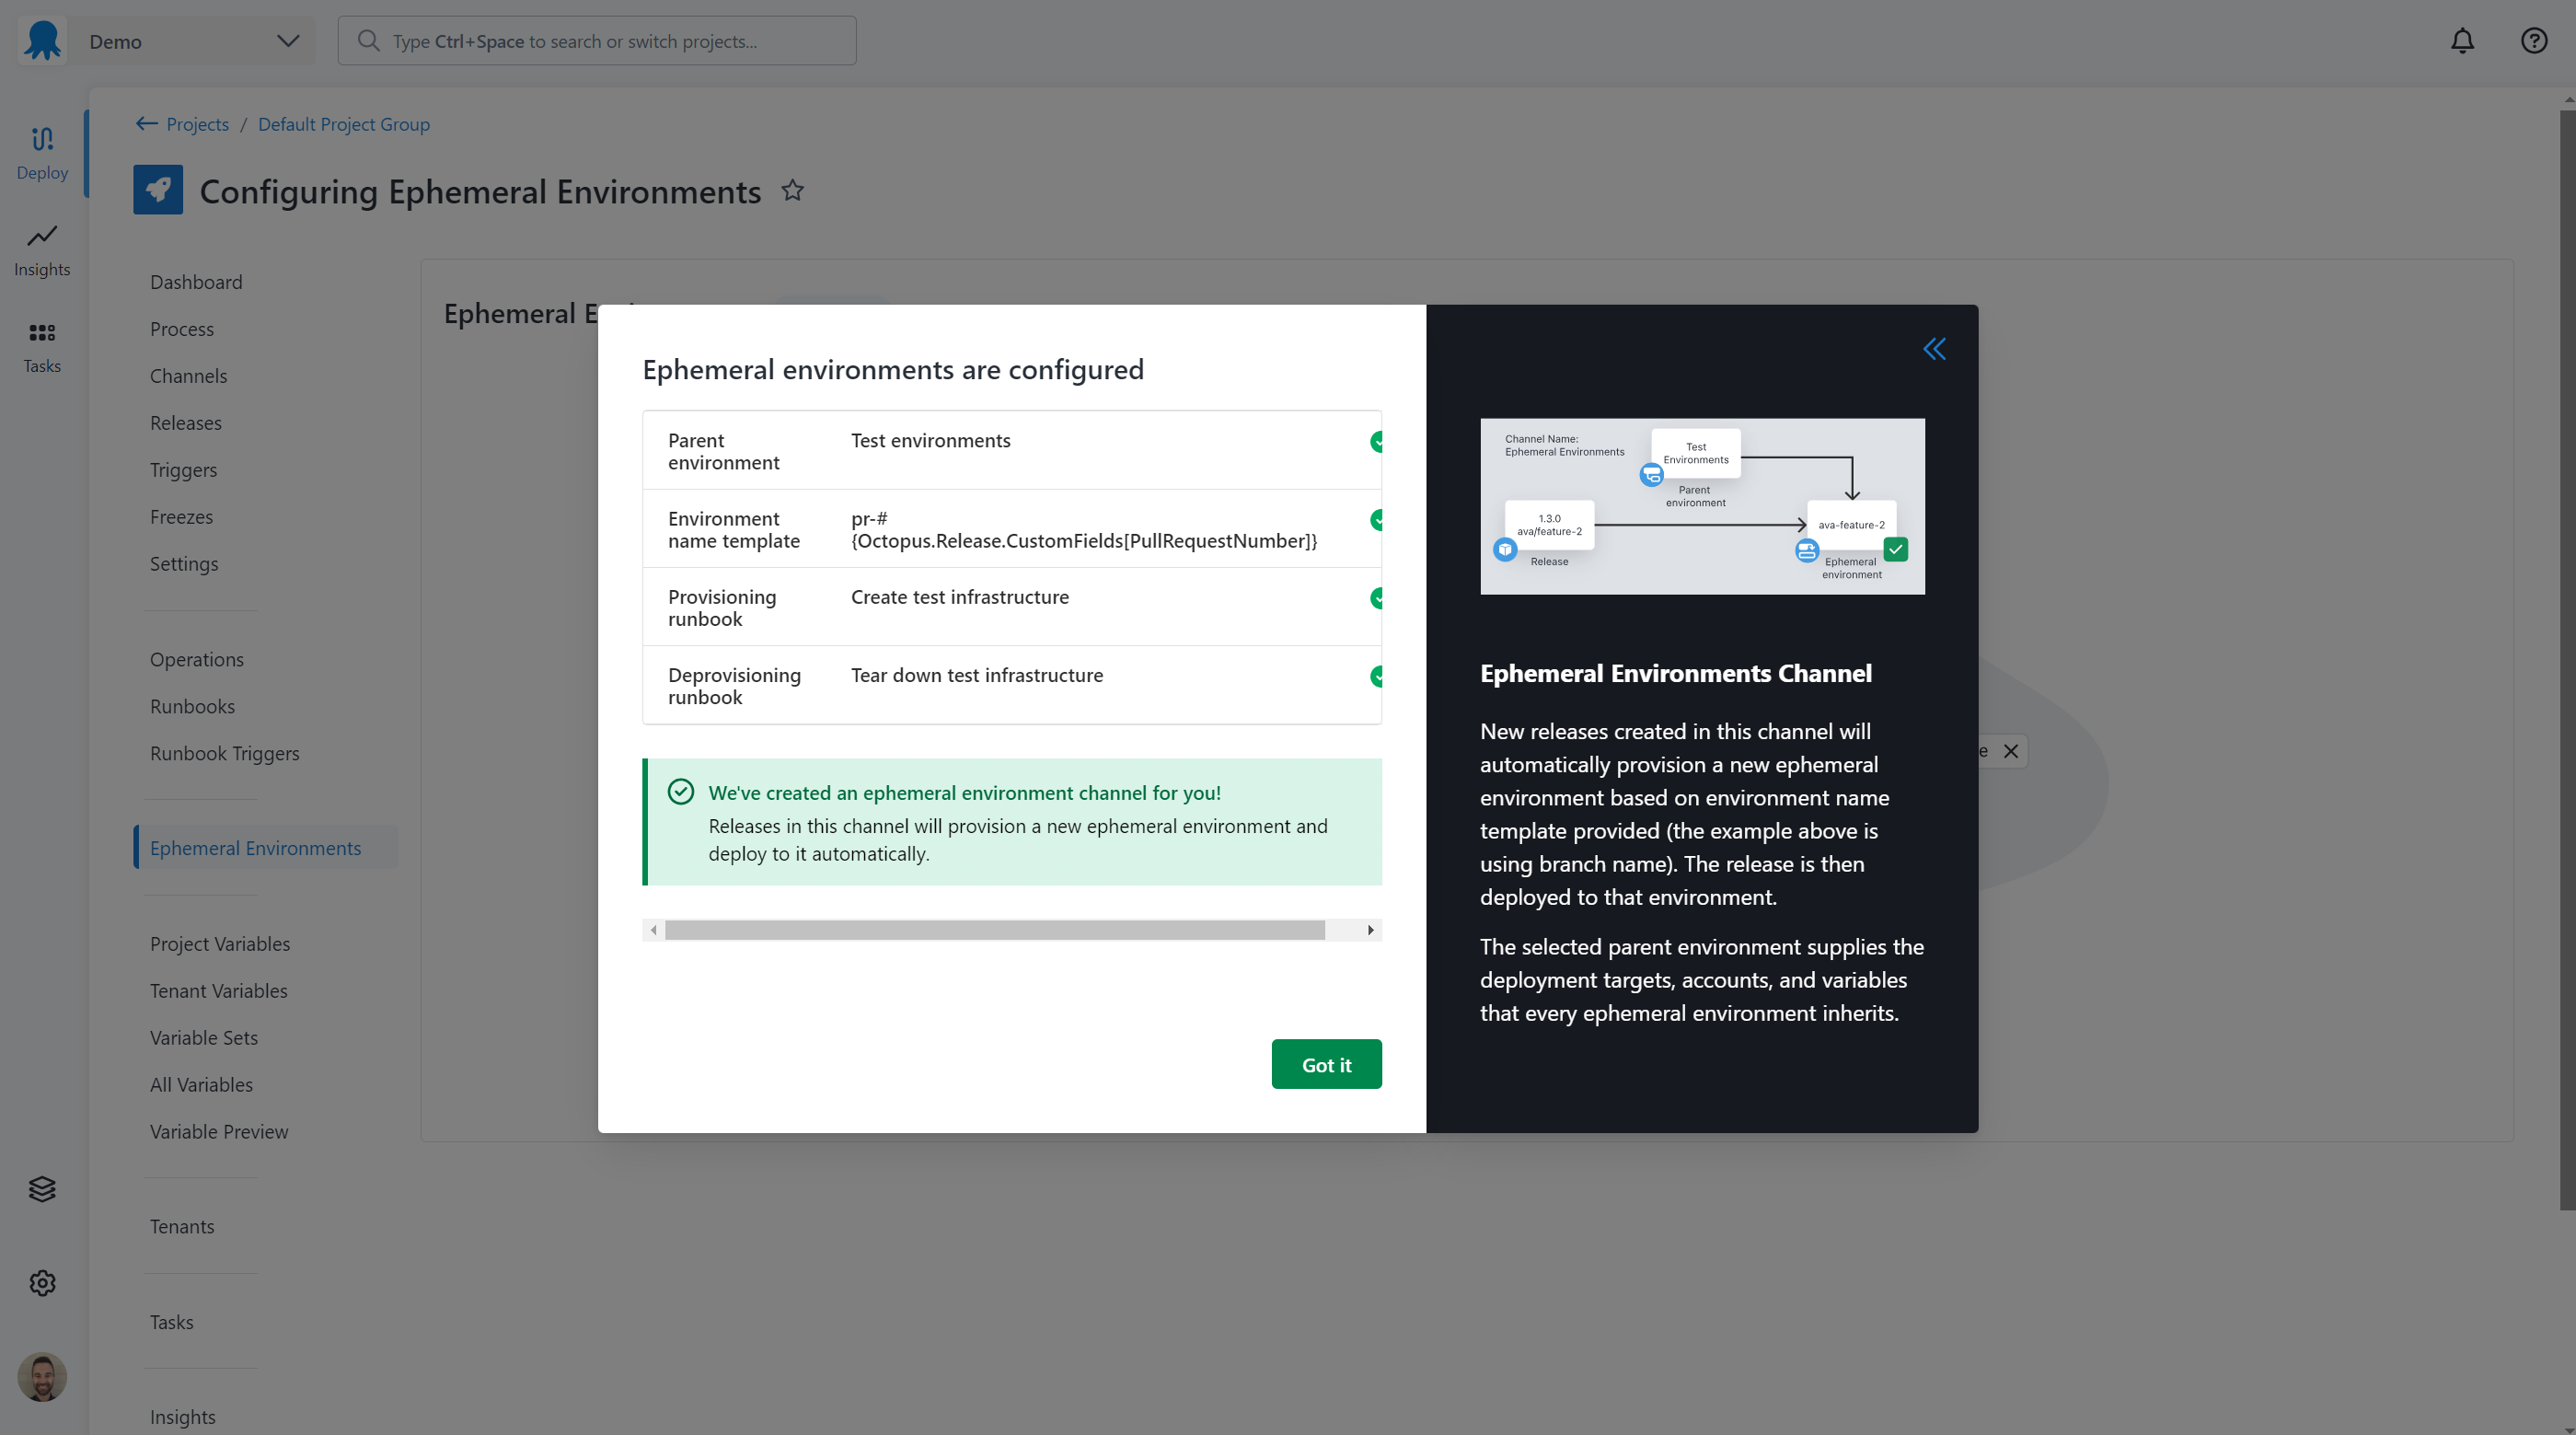
Ephemeral environments are now configured for your project. A new channel has been created in the project to manage the creation and deployment of ephemeral environments.
Click Got it to continue to creating a new environment from a release.
Creating an ephemeral environment
Automatically
Octopus can automatically create an ephemeral environment when a release is created in the channel configured for ephemeral environments if automatic deployments is selected.
To create an ephemeral environment, create a release in the new channel configured within the project. Octopus will create a new environment and deploy the release to it.
A release can be created using the:
- Octopus Web Portal
- Octopus API
OctopusDeploy/create-release-actionGitHub Action- Octopus CLI
Tip: Remember to provide any custom fields with the release that are used in the environment name template.
Support for providing custom fields is not yet available in the Octopus CLI.
Manually
If automatic deployment is not selected, ephemeral environments can be created using the:
- Octopus Web Portal
- Octopus API
OctopusDeploy/create-ephemeral-environmentGitHub Action- Octopus CLI
To manually create an ephemeral environment in the Octopus portal, visit the Ephemeral Environments page within the project then:
- Select Add Ephemeral Environment from the Ephemeral Environments page.
- Enter a name for the environment.
The environment will now be created in the Not Provisioned state, ready for a release to be deployed to it. Provisioning will be performed automatically by the configured runbook when a release is deployed to the environment.
Provisioning infrastructure
Infrastructure required for an ephemeral environment can be provisioned using a runbook. Octopus will automatically run this runbook before the first deployment to the environment.
- For projects using runbooks stored in Octopus the published snapshot will be used to run the runbook.
- For projects using runbooks stored in version control, the Git reference from the release will be used to run the runbook.
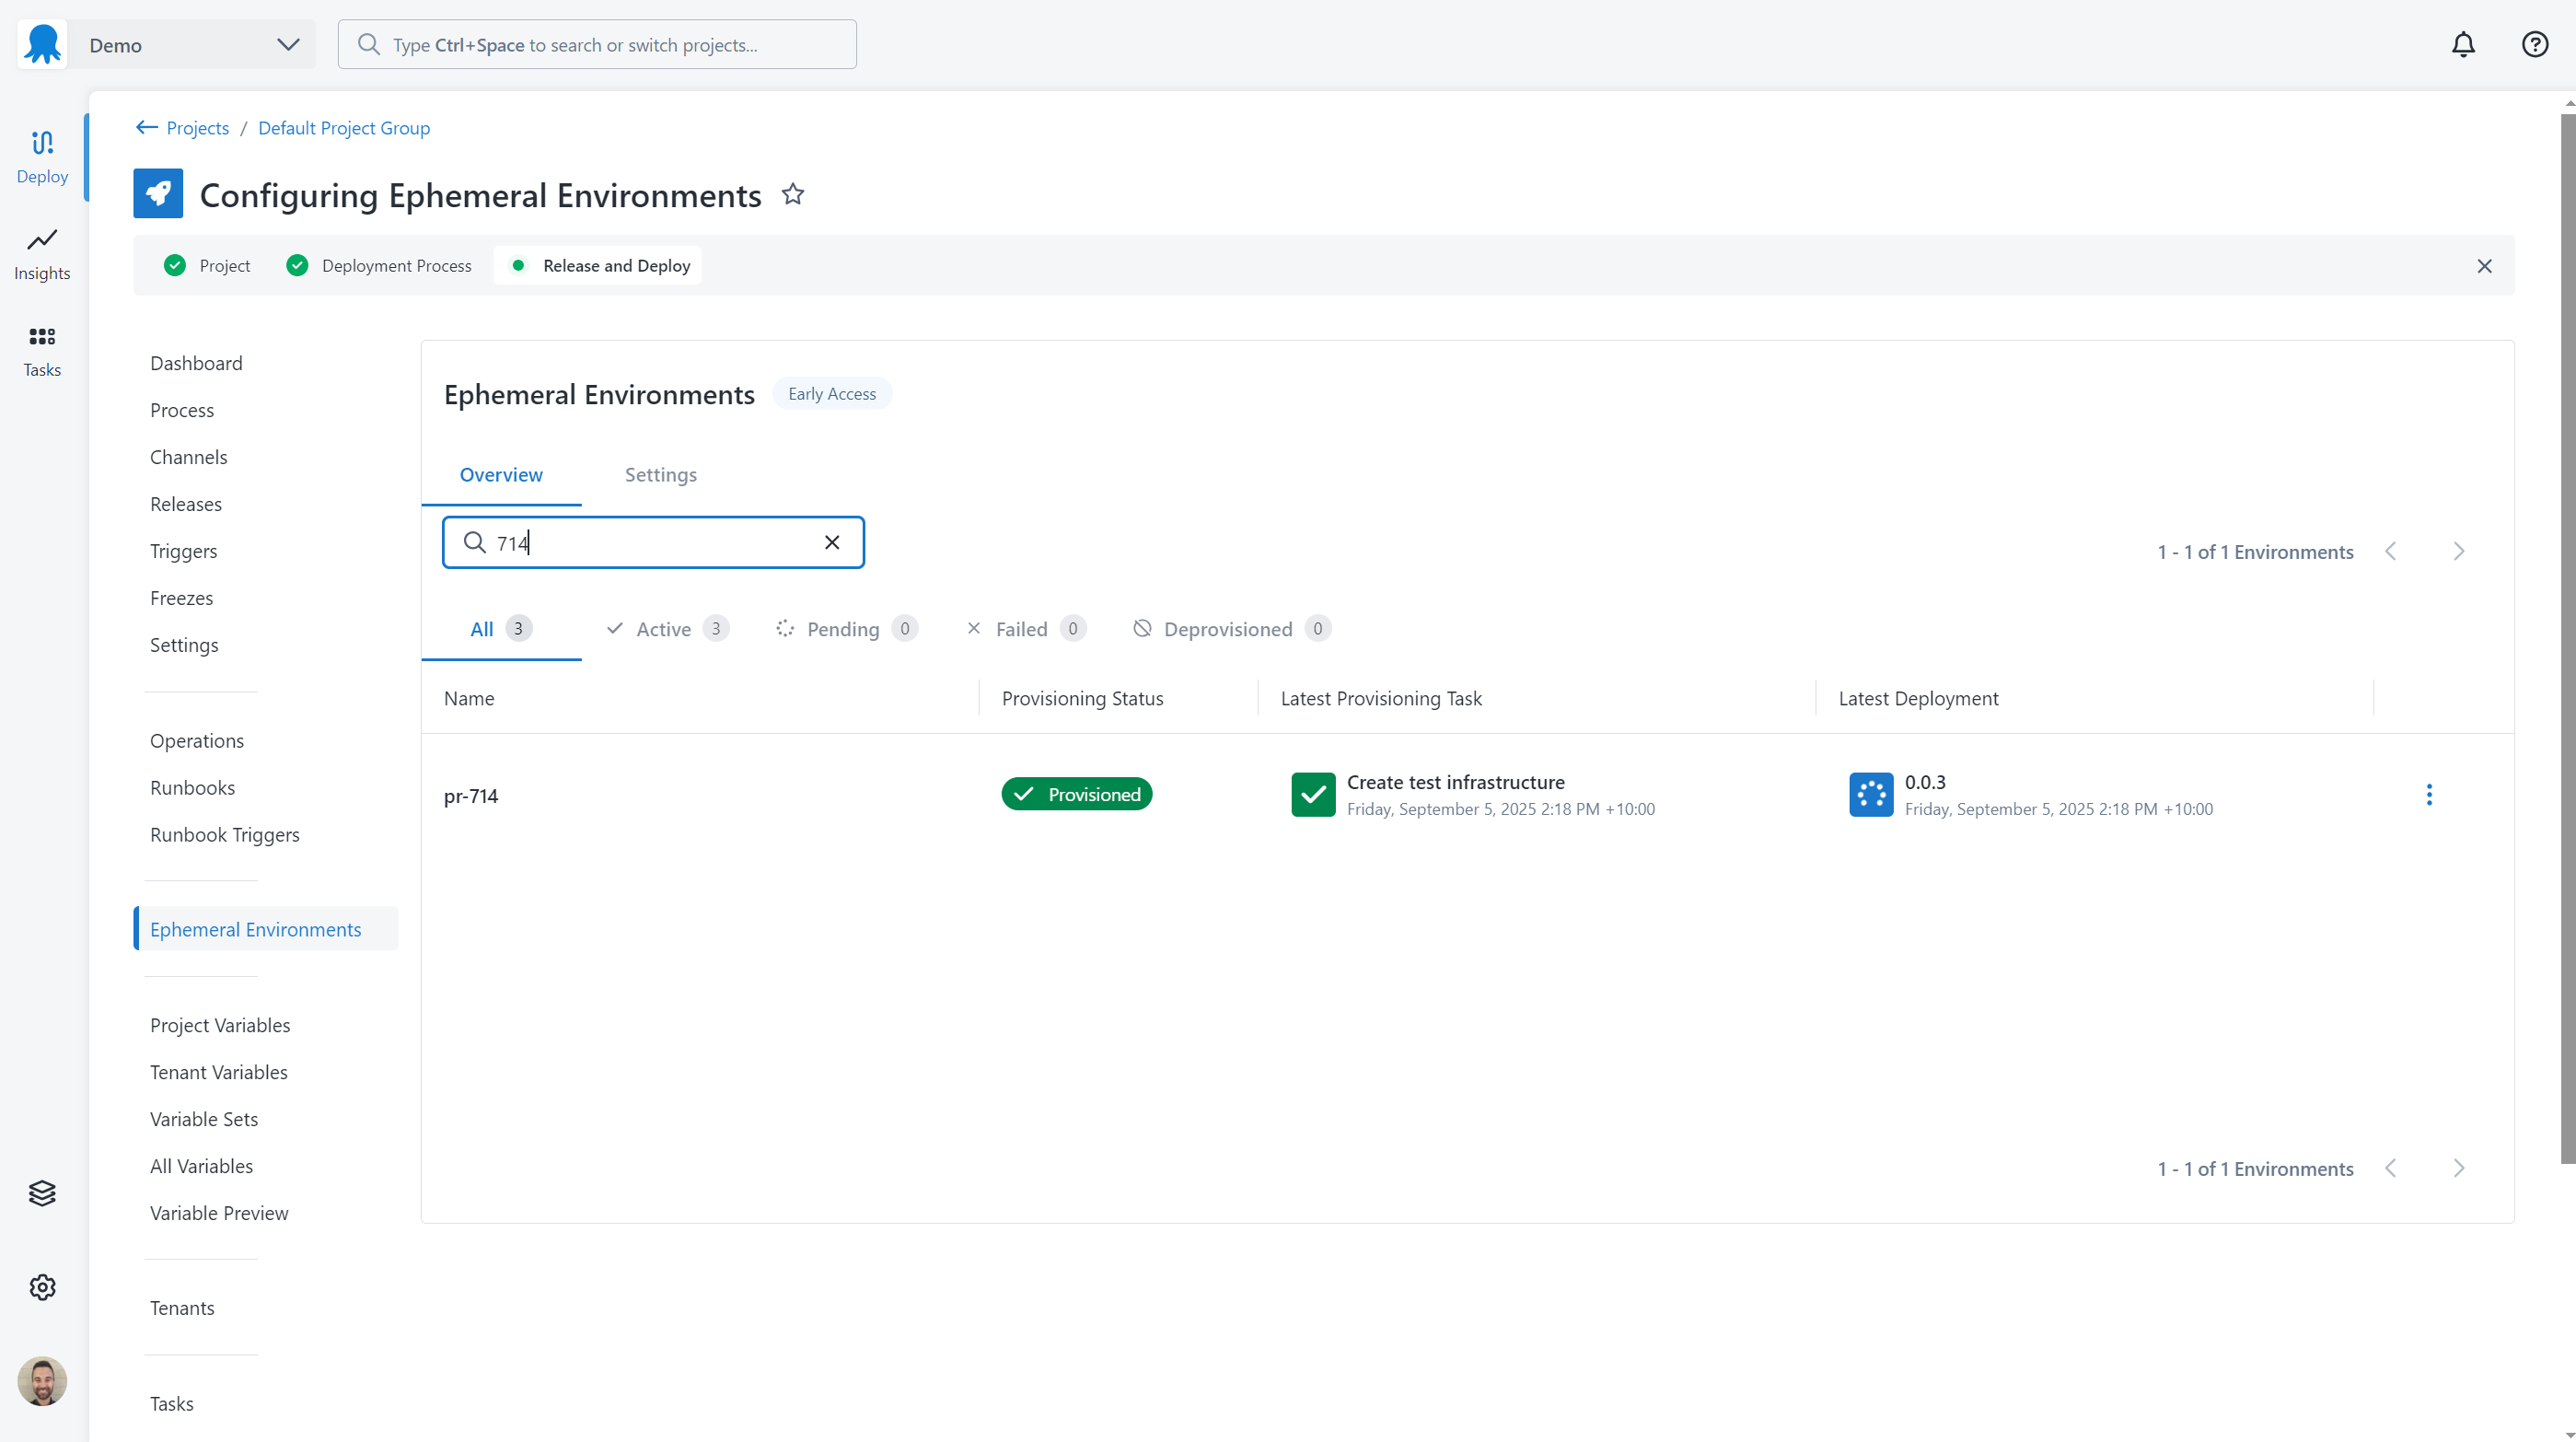
Viewing ephemeral environments
To view ephemeral environments:
- Select Deploy from the main navigation in the Octopus Web Portal and select your project.
- Select the Ephemeral Environments navigation menu in the sidebar.
Environments can be filtered by name and by the current state of the environment for the project.
Updating an existing environment
Automatic Deployments
Create another release that results in the same environment name based on the environment name template. The release will be automatically deployed into the environment.
Manual Deployments
Create a new release, then deploy it and select the existing environment in the Deploy to step. Octopus deploys the release to that environment without creating a new one.
Deprovisioning an environment
When an ephemeral environment is no longer needed it can be deprovisioned and any infrastructure removed. Octopus will run the selected deprovisioning runbook before (optionally) removing the environment.
- For projects using runbooks stored in Octopus the published snapshot will be used to run the runbook.
- For projects using runbooks stored in version control, the Git reference used to provision the environment will be used to run the runbook.
Ephemeral environments can be deprovisioned via the:
- Octopus Web Portal
- Octopus API
OctopusDeploy/deprovision-ephemeral-environmentGitHub Action- Octopus CLI
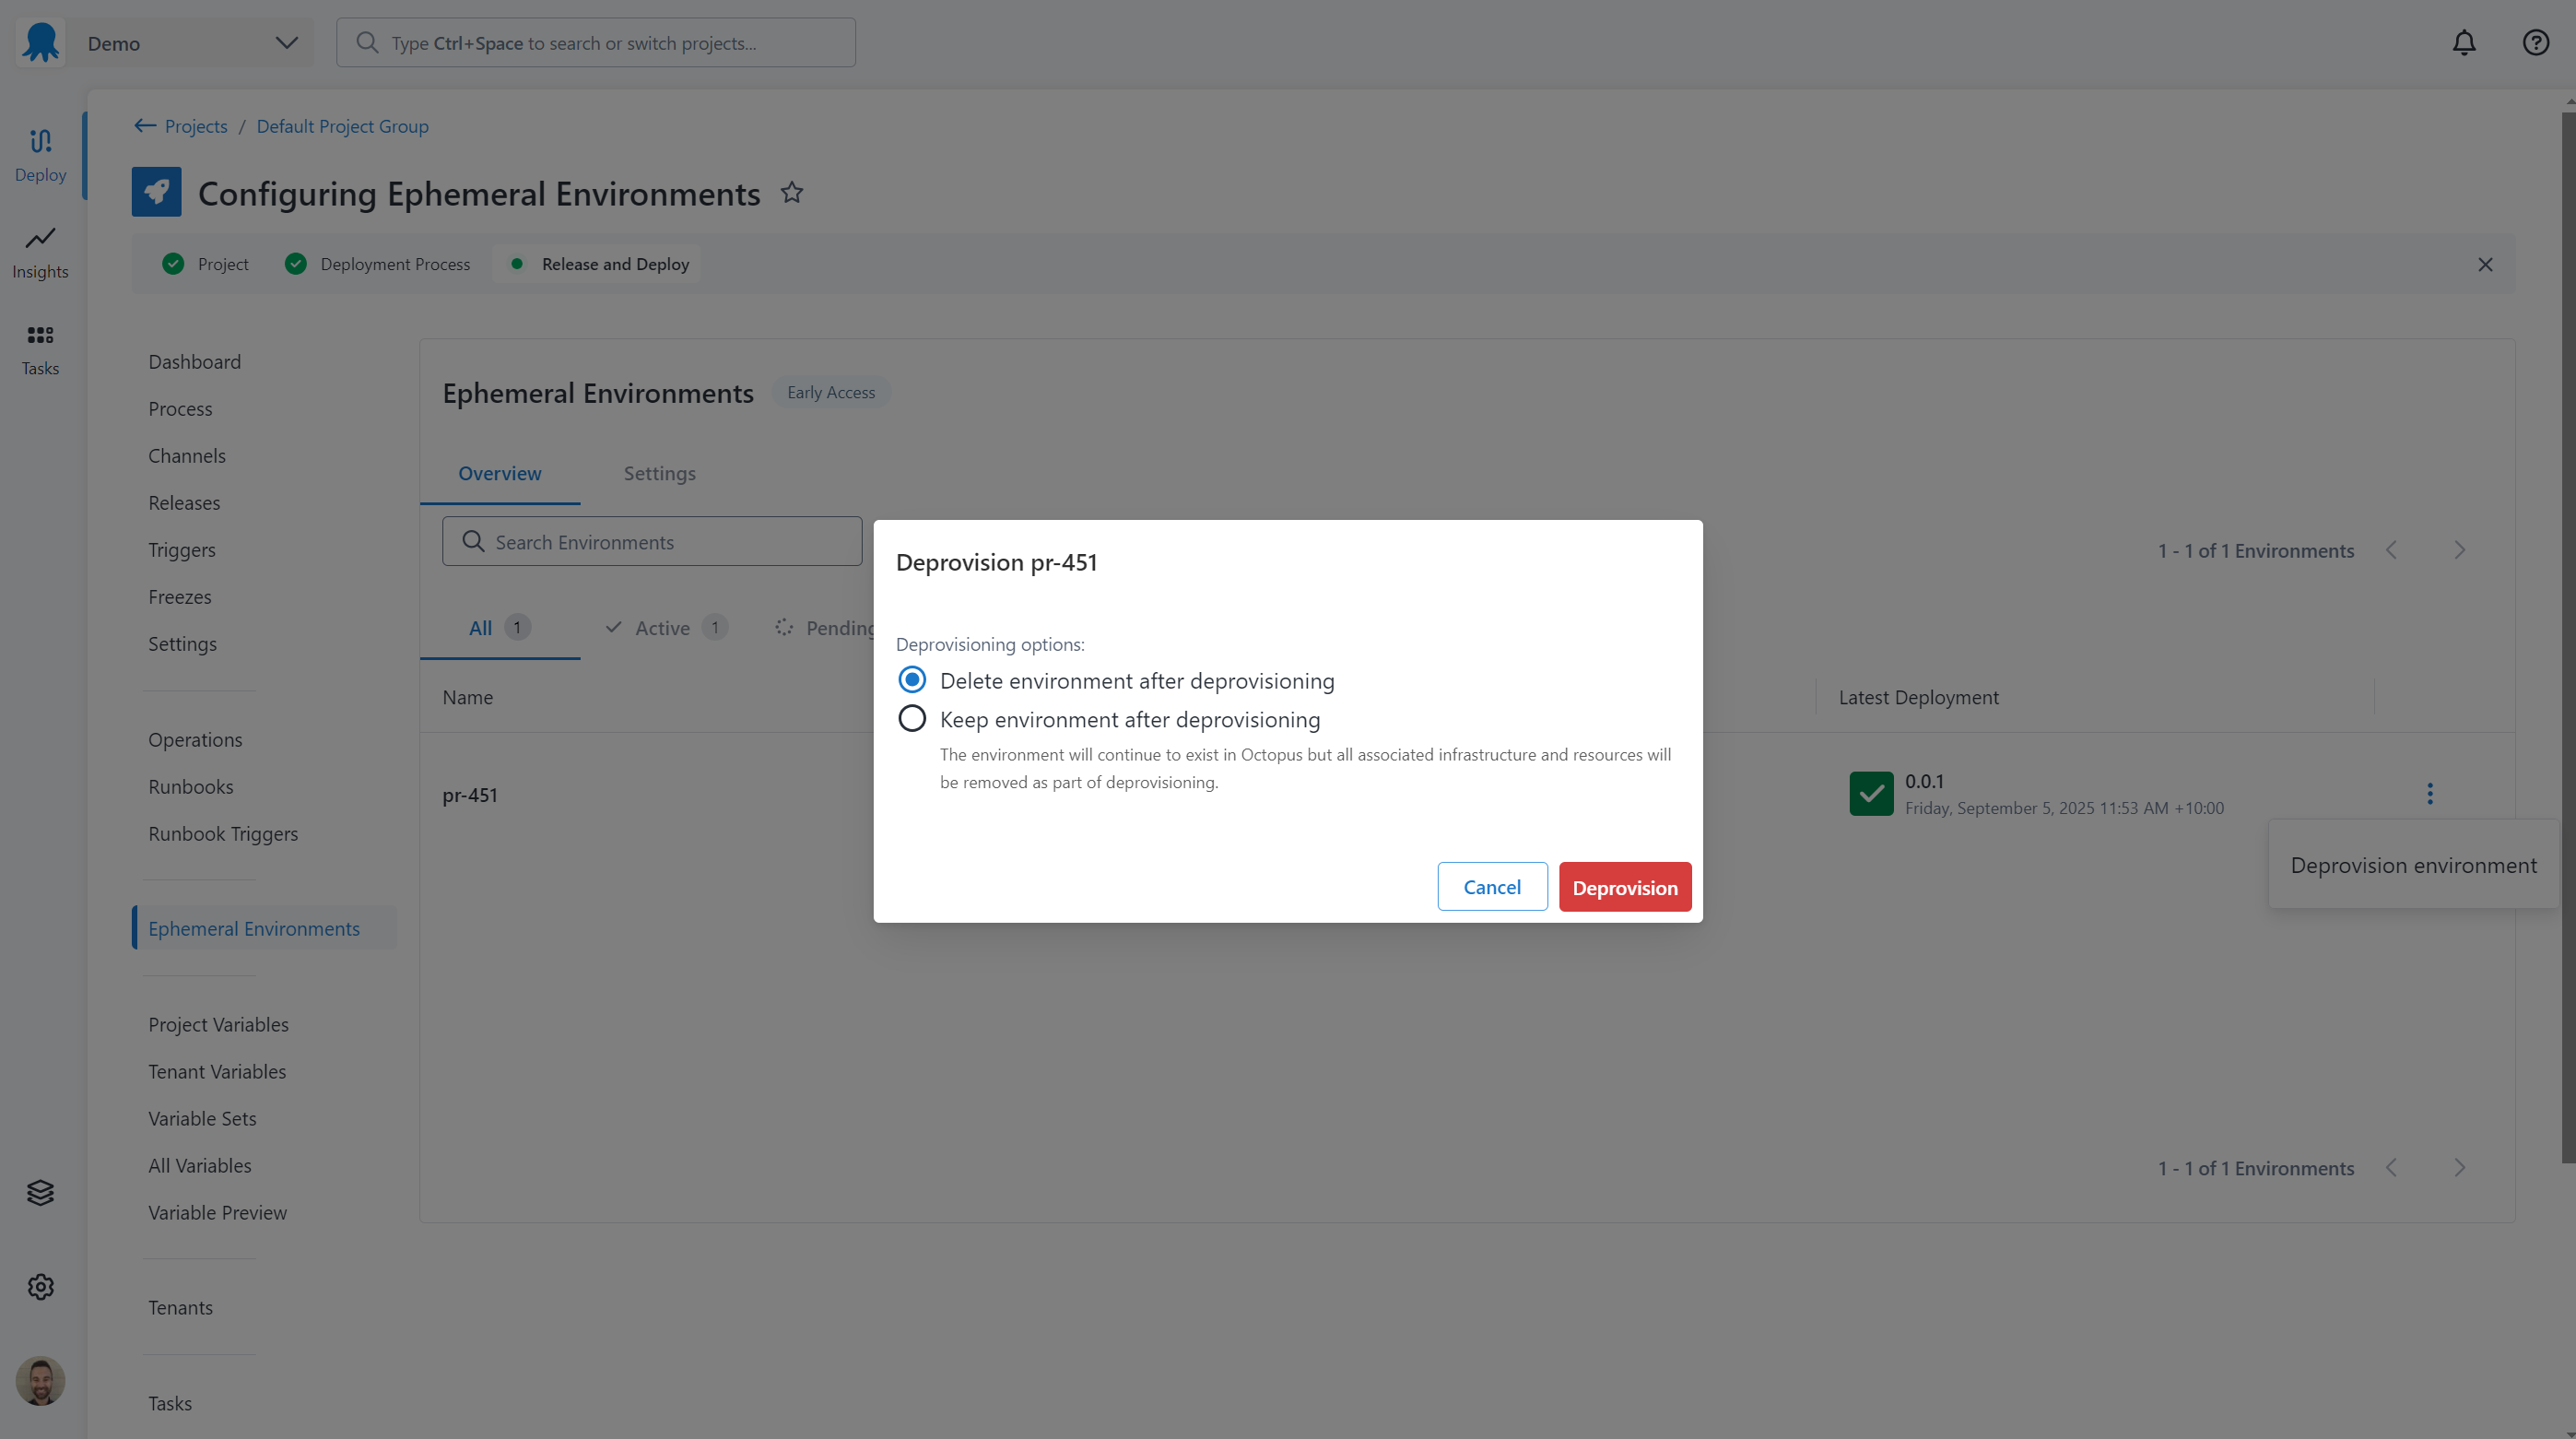
To deprovision an ephemeral environment in the Octopus portal:
- Select Deploy from the main navigation in the Octopus Web Portal and select your project.
- Select the Ephemeral Environments navigation menu in the sidebar.
- Click the menu next to the environment to deprovision and select Deprovision Environment.
- Select whether to keep the environment in Octopus or remove it after deprovisioning.
- Click Deprovision
Automatic deprovisioning of environments
Ephemeral environments can be automatically deprovisioned if they are inactive after a configurable time period. Deploying a release to an environment or running a runbook against an environment marks the environment as still being active.
By default, ephemeral environments are removed after 7 days of inactivity.
To configure automatic deprovisioning of environments:
- Select Deploy from the main navigation in the Octopus Web Portal.
- Select Environments from the sub-navigation.
- Find the parent environment, click the menu and select Edit.
- Edit the Automatic Deprovisioning value.
Automatic deprovisioning can be disabled, however it is recommended to enable it to ensure that environments are removed when they are no longer in use, reducing associated infrastructure costs.
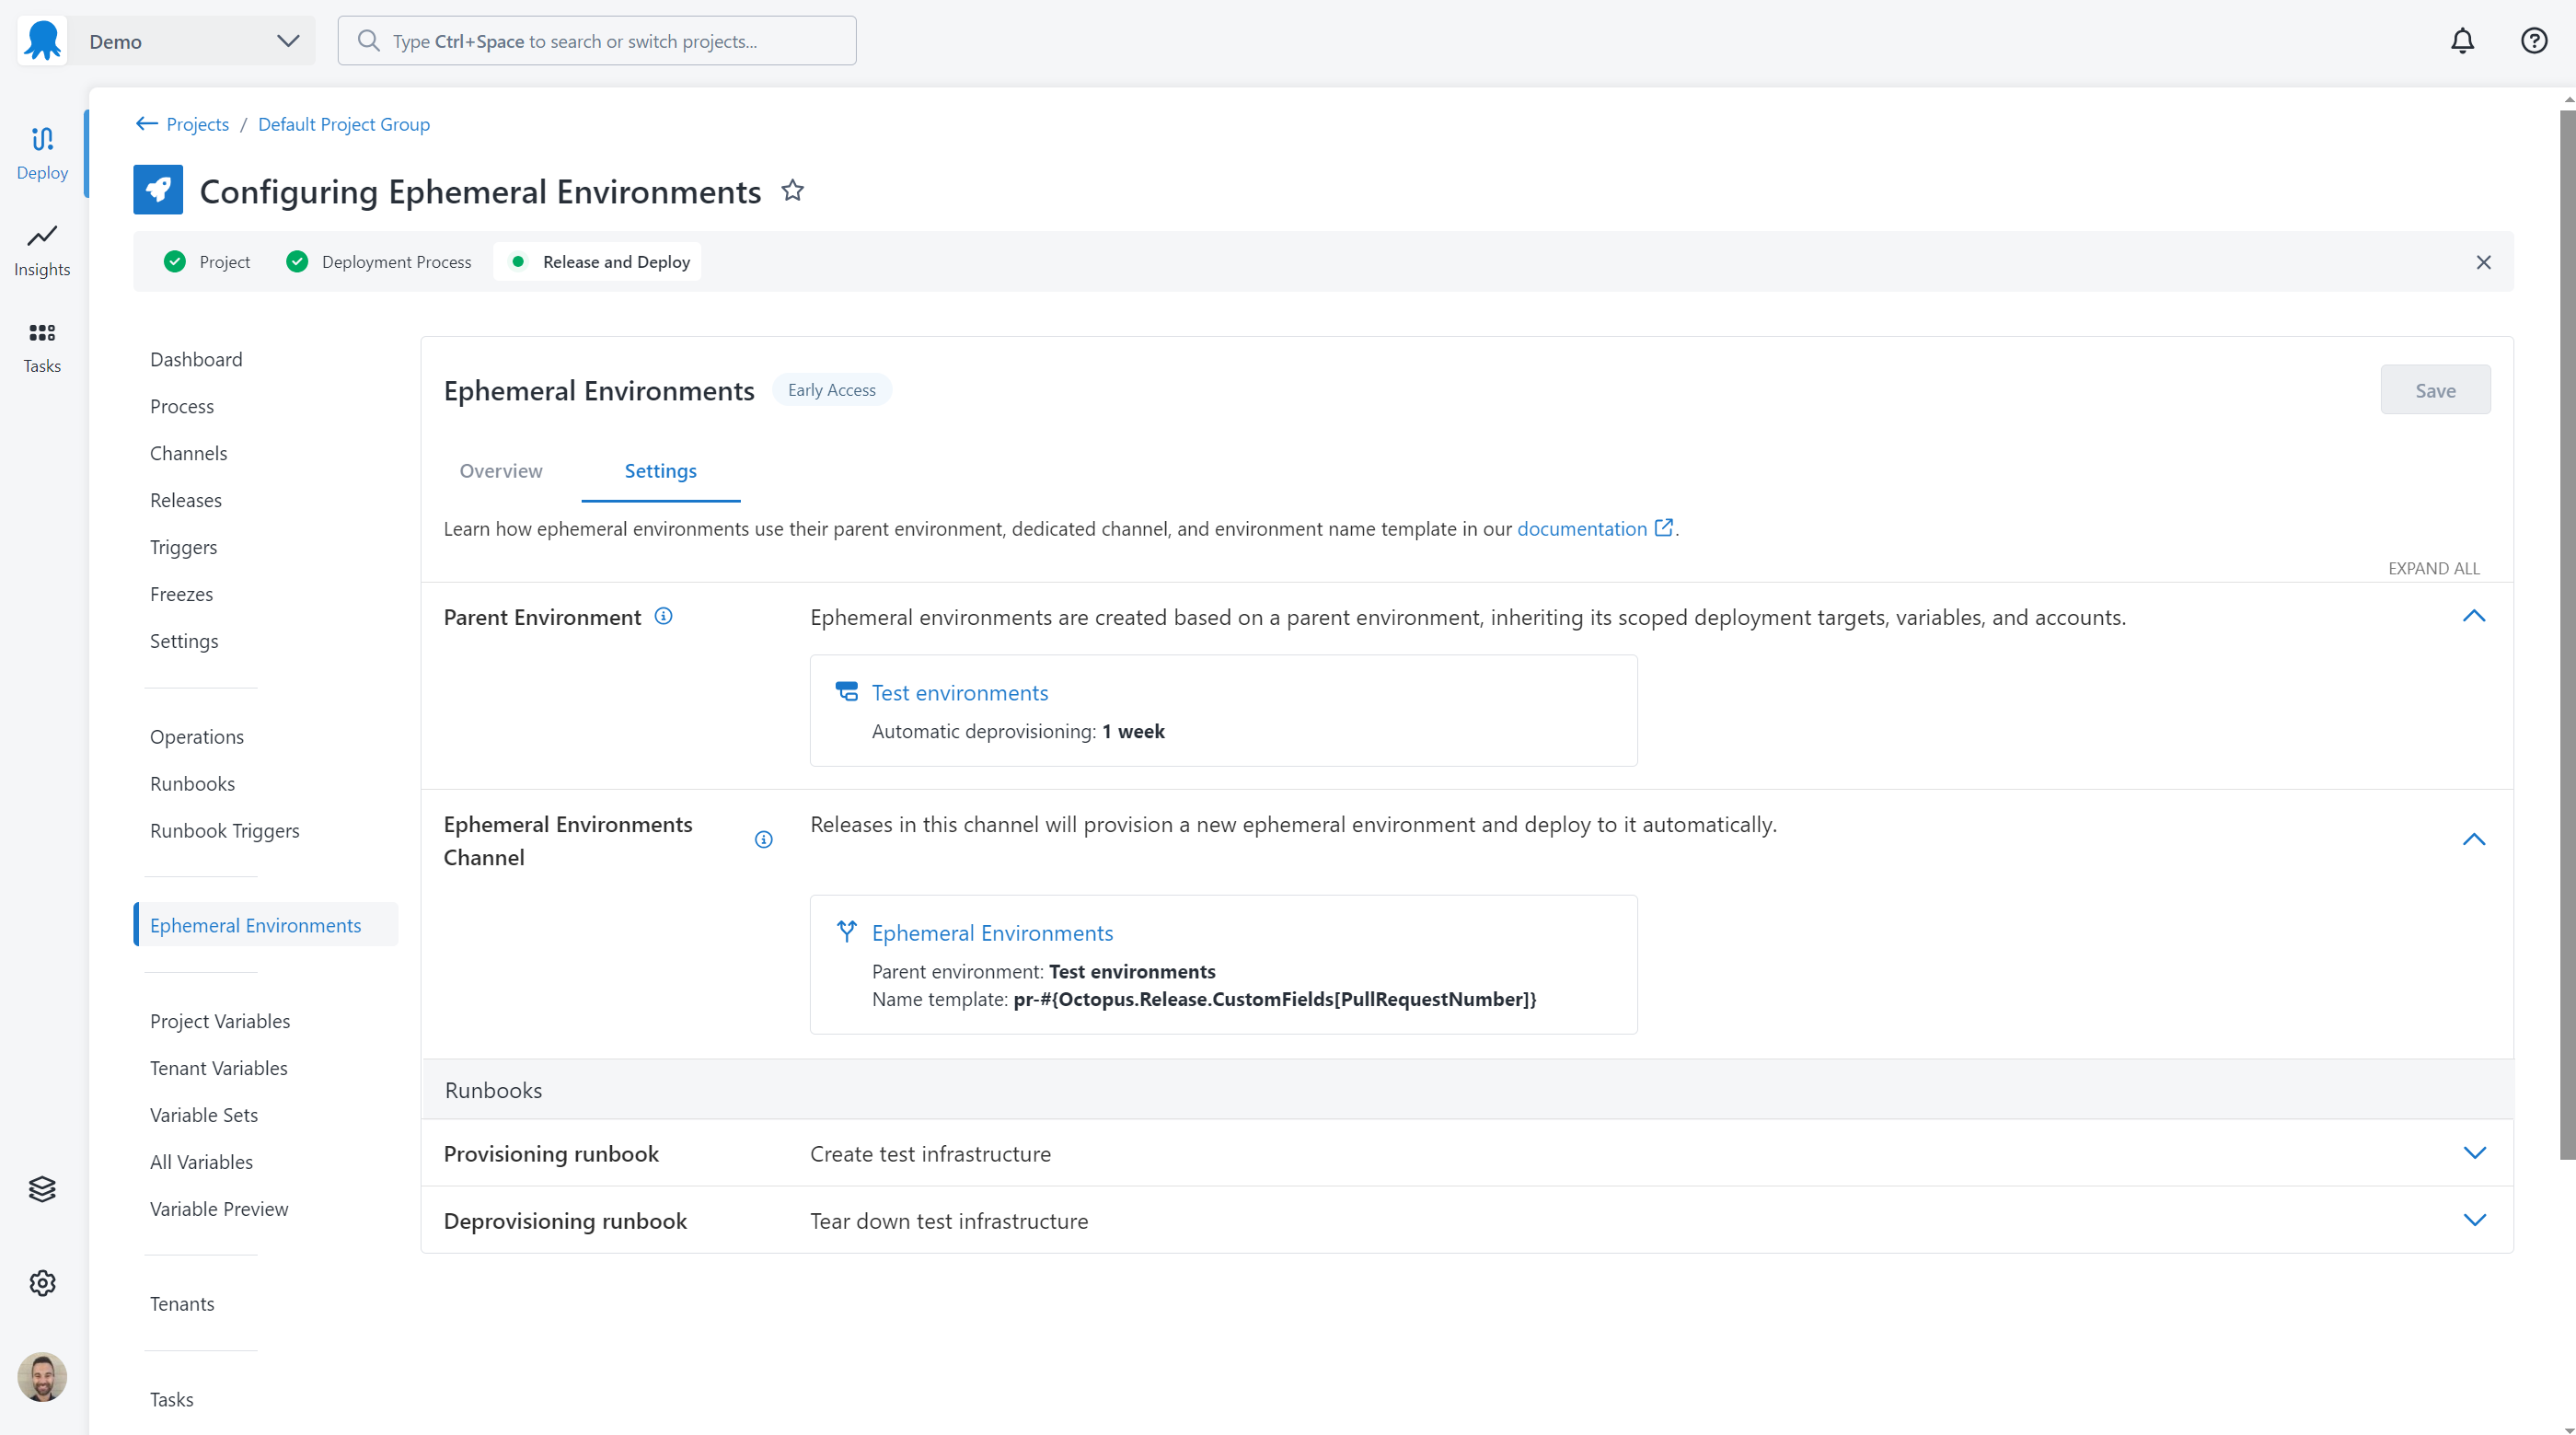
Changing ephemeral environment settings
To change the ephemeral environment settings for a project:
- Select Deploy from the main navigation in the Octopus Web Portal and select your project.
- Select the Ephemeral Environments navigation menu in the sidebar.
- Select the Settings tab.
Using multiple projects with ephemeral environments
Ephemeral environments can be used by multiple projects in the same way that other environments in Octopus can be used.
Important notes for using multiple projects:
- Each project using the same ephemeral environment must be configured to use the same parent environment.
- Ephemeral environments are shared across a space, and the name must be unique.
- If the environment name created from a release using the template is the same as an existing environment used in another project, a new environment will not be created.
- When deprovisioning an ephemeral environment being used by multiple projects, an option can be selected to deprovision and remove the entire environment, or only deprovision the current project and leave the environment in Octopus.
Release retention
Releases in channels configured for ephemeral environments have a retention policy of 3 days. Releases currently deployed to an ephemeral environment will be kept.
Limitations
The following limitations currently apply to the use of the Ephemeral Environments feature:
- Ephemeral environments cannot be deployed to tenants.
- Parent environments cannot be connected to tenants.
- Ephemeral environments and parent environments cannot be used within lifecycles, deployment freezes and insights reports.
Availability
Ephemeral environments are available to all cloud and self-hosted customers from version 2025.4
Help us continuously improve
Please let us know if you have any feedback about this page.
Page updated on Thursday, November 27, 2025