What is GitLab CI/CD?
GitLab CI/CD is a component of GitLab that enables Continuous Integration (CI) and Continuous Delivery (CD). It automates parts of the development lifecycle by integrating code changes continuously using pipelines.
By automating the testing, building, and deployment stages, GitLab CI/CD improves productivity and reduces the risks associated with manual processes. In GitLab CI/CD, the automation begins with a file called .gitlab-ci.yml that defines the stages, jobs, and variables needed for the pipeline execution.
Each commit triggers this pipeline, which can include tasks like compiling, testing, or deploying code. The uniform environment provided by GitLab improves collaboration between team members and ensures consistent application performance across different stages of development.
GitLab CI/CD cheatsheet
Let’s start with a quick review of common GitLab CI/CD operations. GitLab CI/CD has a wide array of predefined variables to enable context-specific behavior for jobs within the pipeline. Here is a list of key variables, their purpose, and usage. Below is a cheat sheet with a brief description of the common variables and tips for using them effectively.
Note: All the variables below are available in GitLab 10.0 or later.
GitLab CI/CD variables: Quick reference
| Variable | Description |
|---|---|
| CI | Indicates that the job is running in a CI/CD environment. |
| CI_COMMIT_REF_NAME | Refers to the branch or tag name of the project being built. |
| CI_COMMIT_REF_SLUG | A lowercased and URL-safe version of $CI_COMMIT_REF_NAME, limited to 63 bytes. |
| CI_COMMIT_SHA | The commit hash for the current job. |
| CI_COMMIT_TAG | The tag name associated with the current commit. |
| CI_CONFIG_PATH | Specifies the path to the pipeline’s configuration file (default: .gitlab-ci.yml). |
| CI_DEBUG_TRACE | Enables debug tracing for troubleshooting. |
| CI_ENVIRONMENT_NAME | Specifies the name of the environment for the current job. |
| CI_ENVIRONMENT_SLUG | A URL-safe version of the environment name, useful for DNS and Kubernetes labels. |
| CI_ENVIRONMENT_URL | The URL of the environment being deployed. |
| CI_JOB_ID | The unique ID of the current job within the pipeline. |
| CI_JOB_MANUAL | Indicates that the job was started manually. |
| CI_JOB_NAME | The name of the current job as defined in .gitlab-ci.yml. |
| CI_JOB_STAGE | The stage of the current job, as defined in the pipeline configuration. |
| CI_JOB_TOKEN | Token used for authentication with GitLab’s Container Registry or multi-project pipelines. |
| CI_REPOSITORY_URL | The URL of the Git repository being used for the pipeline. |
| CI_RUNNER_DESCRIPTION | A description of the runner executing the current job. |
| CI_RUNNER_ID | The unique ID of the runner executing the job. |
| CI_RUNNER_TAGS | Tags assigned to the runner, used for selecting which runner executes the job. |
| CI_RUNNER_VERSION | The version of the GitLab runner executing the job. |
| CI_PIPELINE_ID | The unique ID of the pipeline. |
| CI_PIPELINE_SOURCE | Specifies the source of the pipeline trigger (e.g., push, web, trigger, schedule, API). |
| CI_PROJECT_DIR | The directory path where the repository is cloned and the job is executed. |
| CI_PROJECT_ID | The unique ID of the GitLab project. |
| CI_PROJECT_NAME | The name of the project. |
| CI_PROJECT_PATH | The full project path, including the namespace. |
| CI_PROJECT_URL | The HTTP URL of the project repository. |
| CI_PROJECT_VISIBILITY | Indicates whether the project is public, private, or internal. |
| CI_REGISTRY | The URL of the GitLab Container Registry if enabled. |
| CI_REGISTRY_IMAGE | The URL of the container registry associated with the project. |
| CI_SERVER_NAME | The name of the CI/CD server. |
| CI_SERVER_VERSION | The version of the CI/CD server. |
| GITLAB_USER_ID | The ID of the GitLab user who triggered the job. |
| GITLAB_USER_EMAIL | The email of the GitLab user who triggered the job. |
| GITLAB_USER_LOGIN | The username of the GitLab user who triggered the job. |
| GITLAB_USER_NAME | The full name of the GitLab user who triggered the job. |
Tips for using GitLab CI/CD variables effectively
- Dynamic pipelines: Use variables like
CI_COMMIT_REF_NAMEorCI_COMMIT_TAGto make pipelines adapt to branches or tags dynamically. - Debugging: Enable
CI_DEBUG_TRACEto log detailed job information and debug your pipeline. - Environment-specific jobs: Use
CI_ENVIRONMENT_NAMEandCI_ENVIRONMENT_URLto create jobs tailored for specific deployment environments. - Artifact management: Combine
CI_JOB_IDwith custom paths to manage and identify artifacts from specific jobs. - Secure deployments: Use
CI_JOB_TOKENfor authenticating with external services securely.
Beginner’s tutorial: Create and run your first GitLab CI/CD pipeline
GitLab CI/CD allows you to automate tasks such as building, testing, and deploying code through pipelines. Below is a step-by-step guide to creating and running your first pipeline. Instructions are adapted from the GitLab documentation.
1. Prerequisites
Before proceeding, ensure that:
- You have a GitLab project with the maintainer or owner role.
- If you don’t have a project, you can create a public project for free at gitlab.com.
2. Ensure runners are available
Runners are agents that execute CI/CD jobs. On GitLab.com, runners are provided by default.
To verify or add a runner:
- Go to your GitLab project and navigate to Settings > CI/CD.
- Expand the Runners section. Ensure at least one runner is active (indicated by a green circle).
If no runners are available:
- Install the GitLab runner on your local machine.
- Register the runner for your project, selecting the shell executor. This allows jobs to run locally during the pipeline execution.

3. Create the .gitlab-ci.yml file
The .gitlab-ci.yml file defines the structure and behavior of your pipeline. Follow these steps:
- Navigate to your project repository in GitLab.
- Click Code, then Repository, then select the branch where you want to add the file. Click the plus icon and choose New file.
- Name the file .gitlab-ci.yml and paste the following sample code:
build-job:
  stage: build
  script:
    - echo "Welcome, $GITLAB_USER_LOGIN!"

test-job1:
  stage: test
  script:
    - echo "This job is a test"

test-job2:
  stage: test
  script:
    - echo "This job is a test that takes longer than test-job1."
    - echo "When the echo commands are completed, it runs the sleep command for 30 seconds"
    - sleep 30

deploy-prod:
  stage: deploy
  script:
    - echo "This job deploys an object from the $CI_COMMIT_BRANCH branch."
  environment: production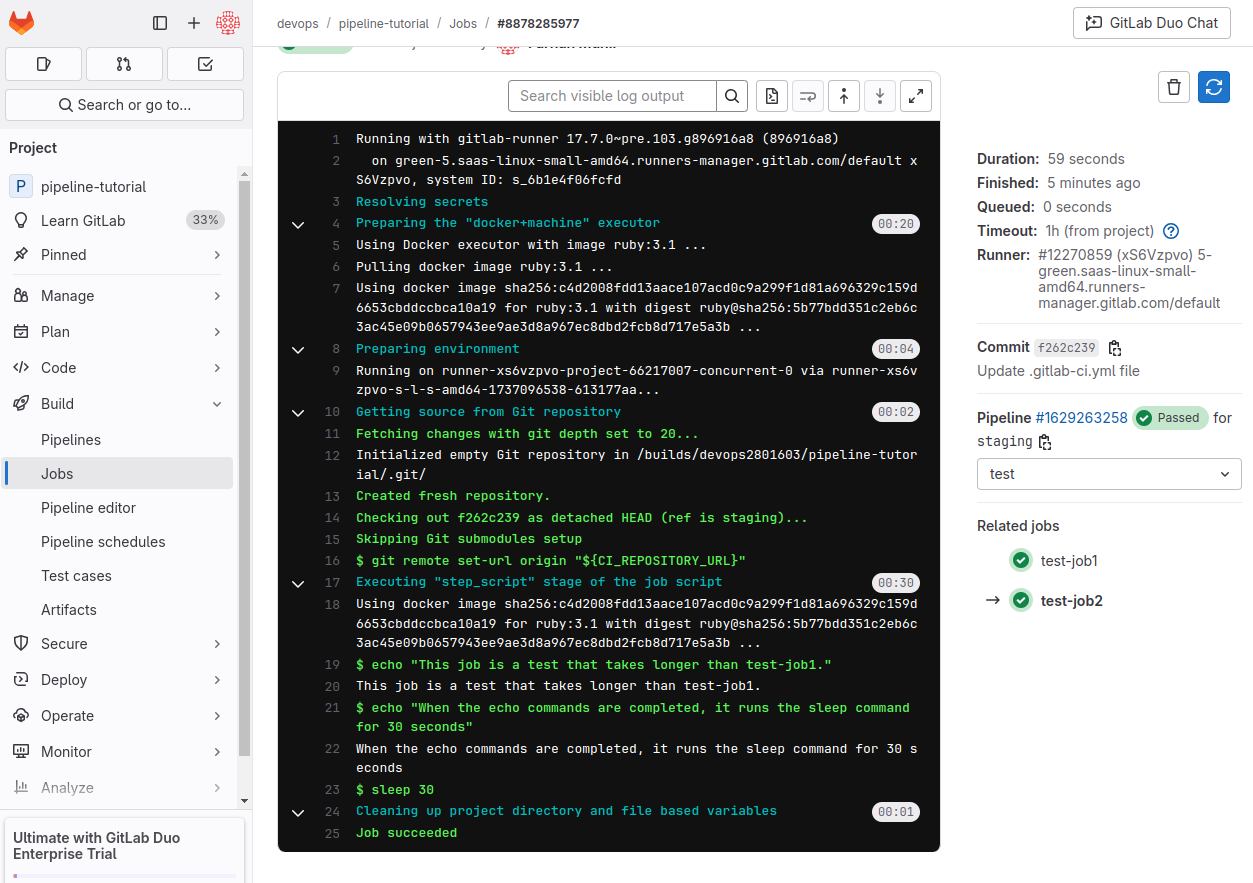
4. Understanding the code
The provided .gitlab-ci.yml file defines:
- Stages:
build, test,anddeploy. These represent phases in the pipeline. - Jobs: Each stage contains one or more jobs:
build-jobprints a greeting using the $GITLAB_USER_LOGINvariable.test-job1runs a quick test.test-job2simulates a longer test using the sleep command.deploy-proddeploys the application to the production environment.
When you commit the file, the runner executes the jobs based on their stage and dependencies.
5. View the pipeline
After committing the .gitlab-ci.yml file:
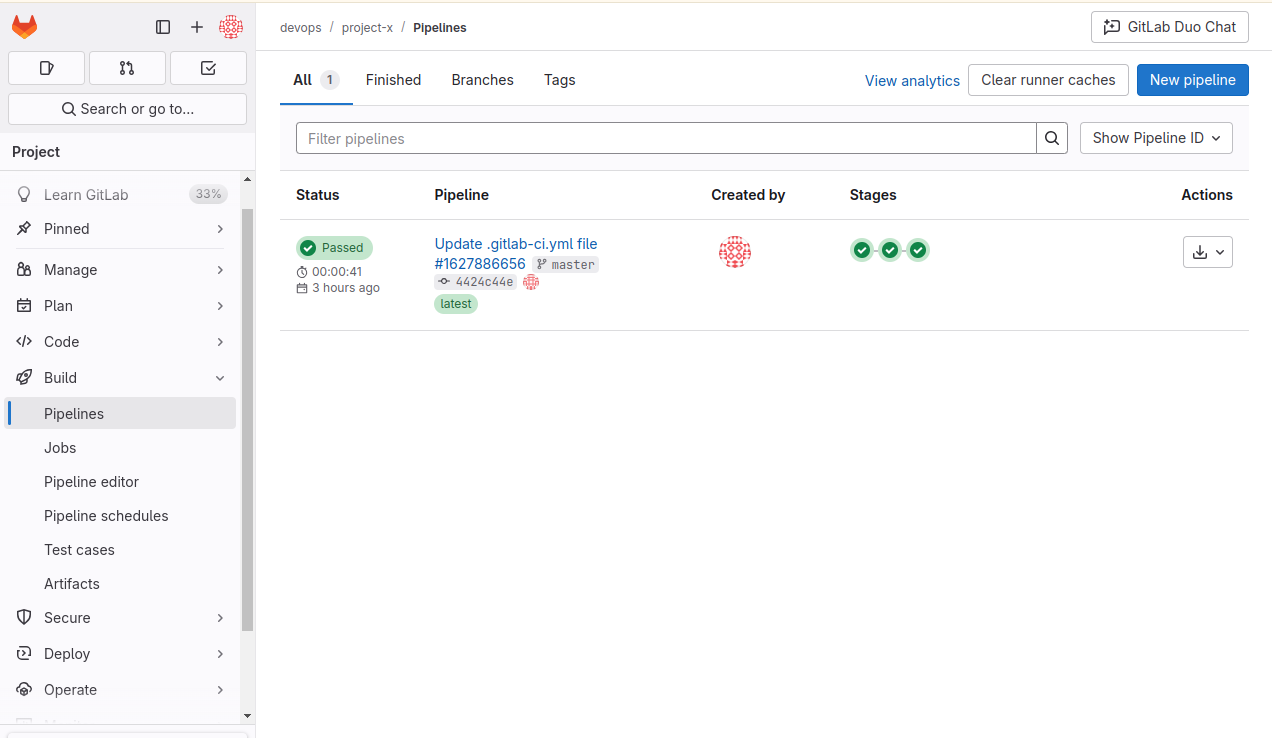
- Go to Build, then Pipelines in your project.
- View the pipeline stages and their status.
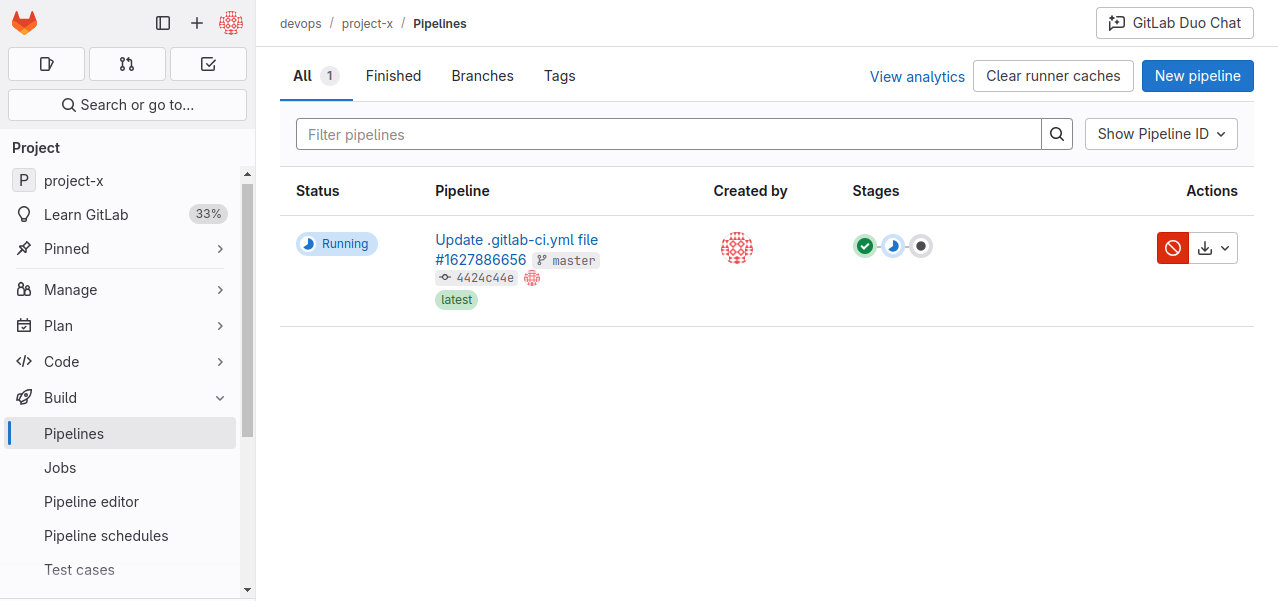
Example pipeline visualization:
- Build Stage: Includes
build-job. - Test Stage: Includes
test-job1andtest-job2. - Deploy Stage: Includes
deploy-prod.
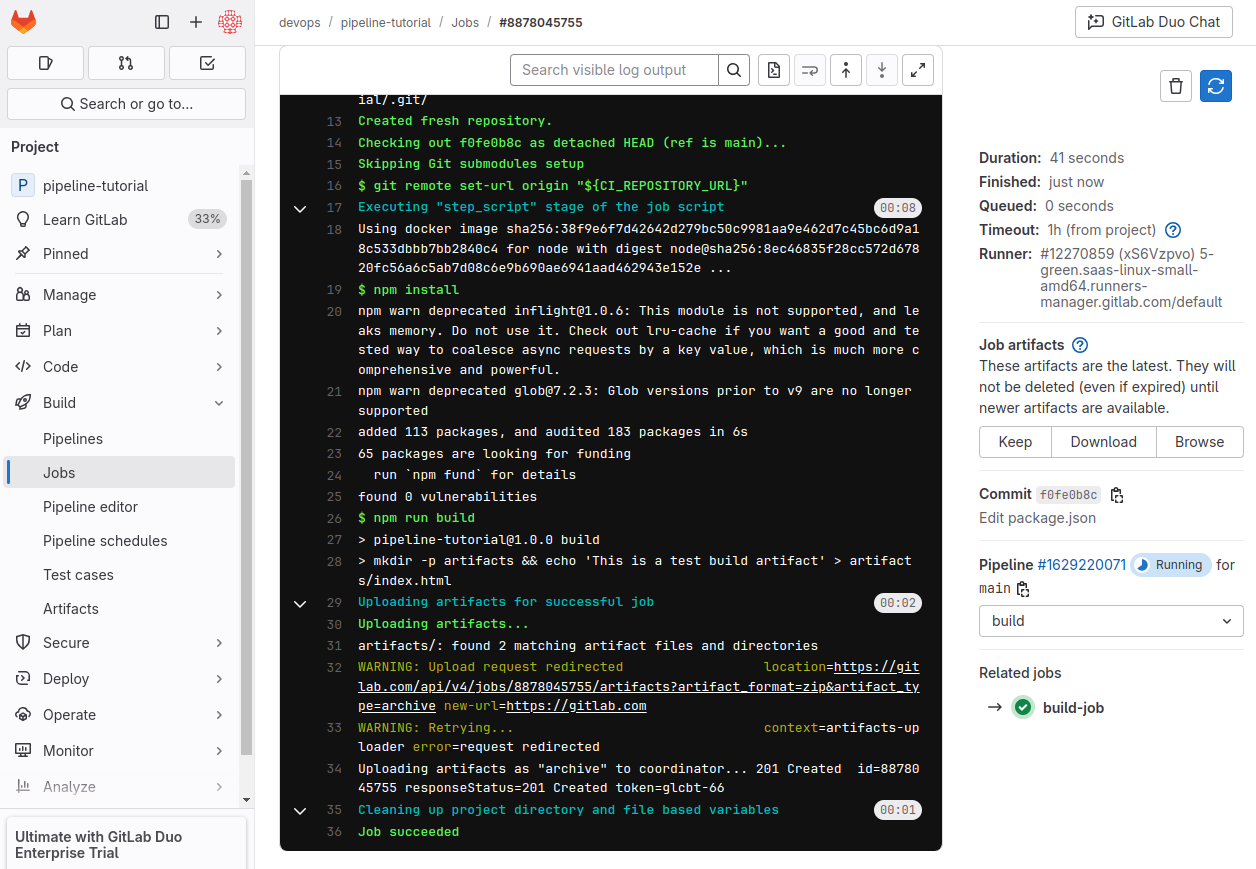
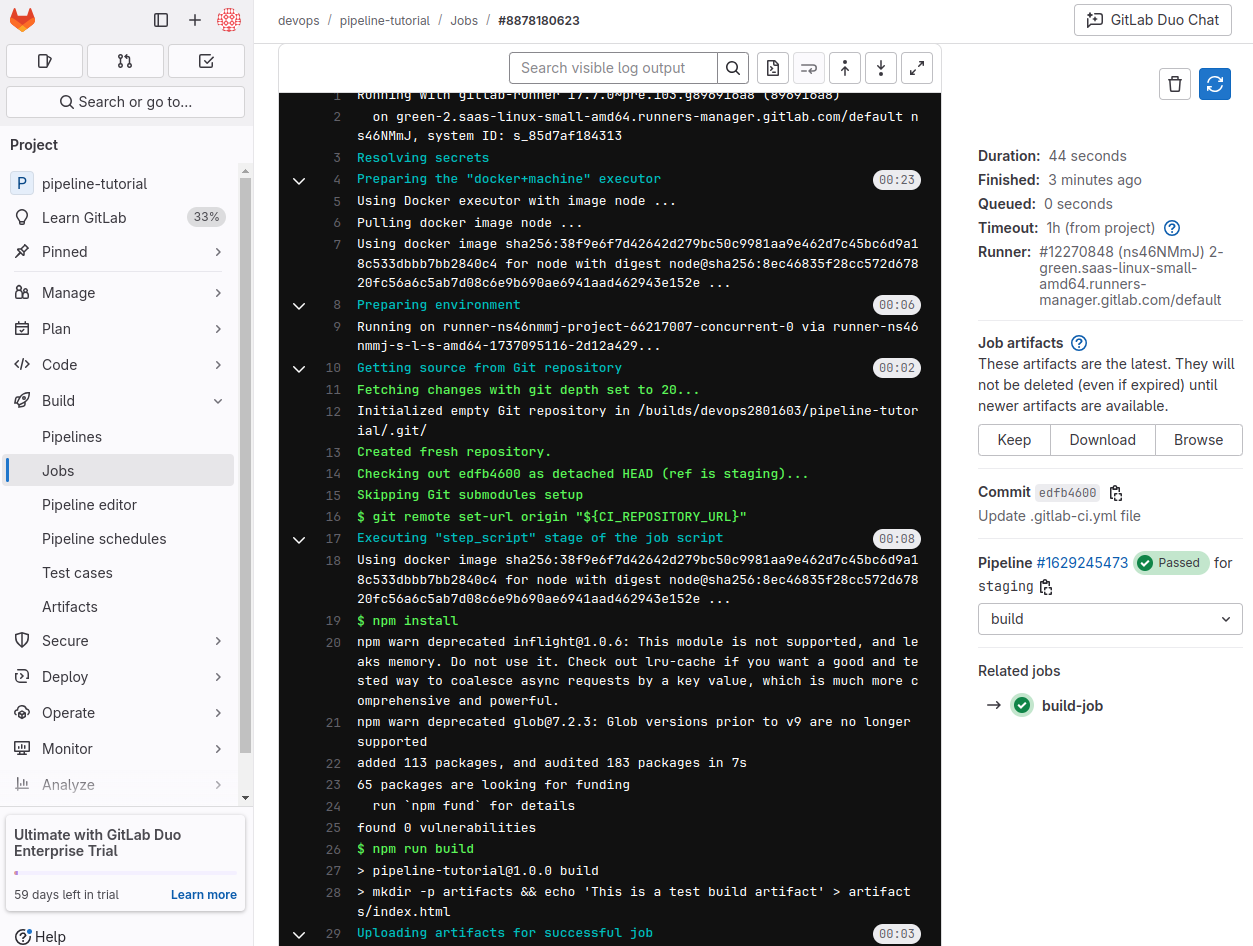
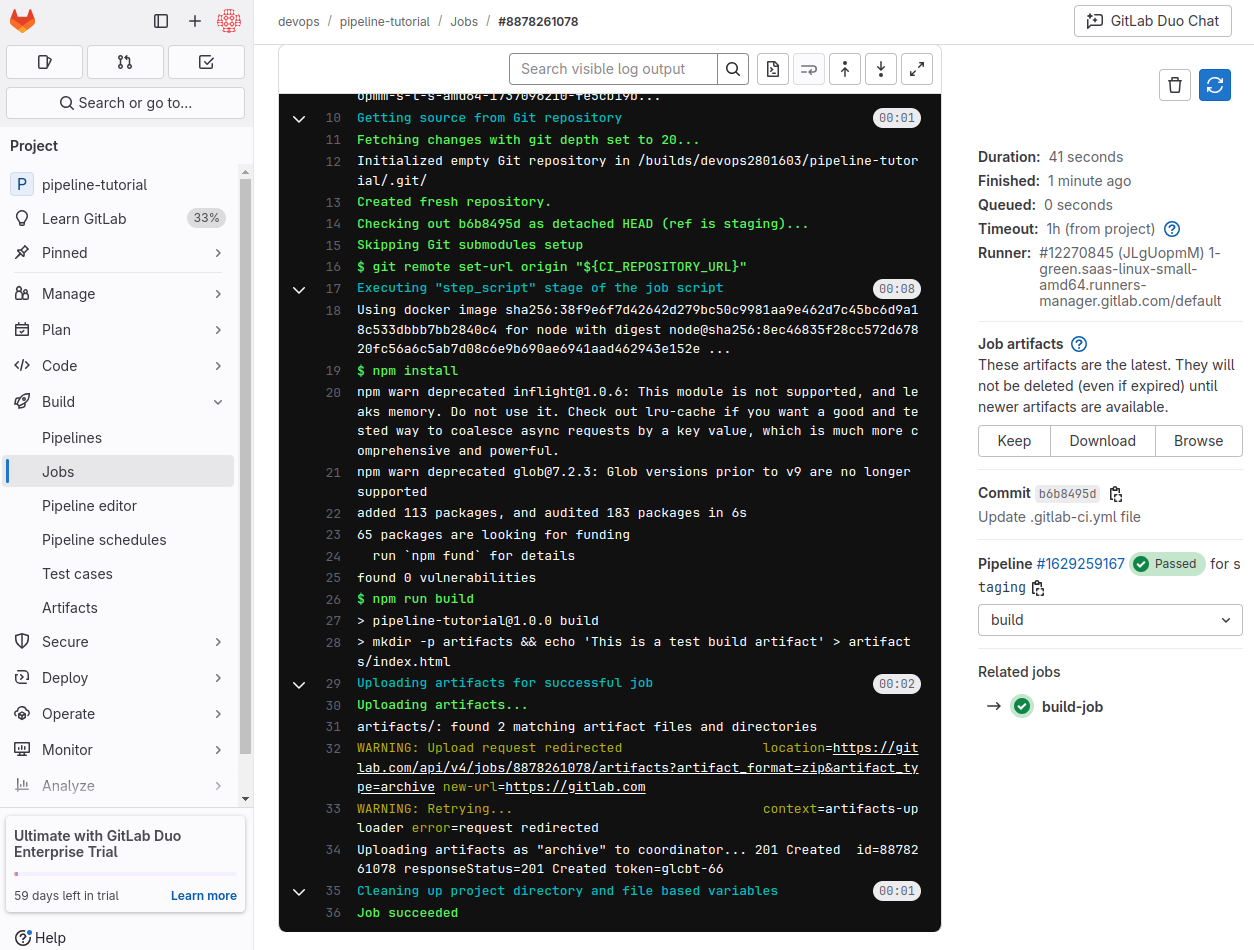
You can click on a job to view its details, including execution logs, timing information, and any errors.
Advanced tutorial: Create a complex pipeline
GitLab CI/CD supports creating complex pipelines to handle tasks like building, testing, and deploying applications. This tutorial walks you through progressively building such a pipeline for deploying a Docusaurus documentation site.
1. Prerequisites
Before starting:
- Ensure you have a GitLab.com account.
- Familiarity with Git is required.
Install Node.js on your machine. For macOS, use:
brew install node2. Create a project for Docusaurus
To create a new project on GitLab:
- Select Create new > New project/repository.
- Choose Create blank project, name your project (e.g.,
Example Pipeline Project), and initialize with a README. - Clone the repository:
git clone git@gitlab.com:<your-username>/<your-project>.git pipeline-tutorial
cd pipeline-tutorial
- Initialize an express web application:
npm init -y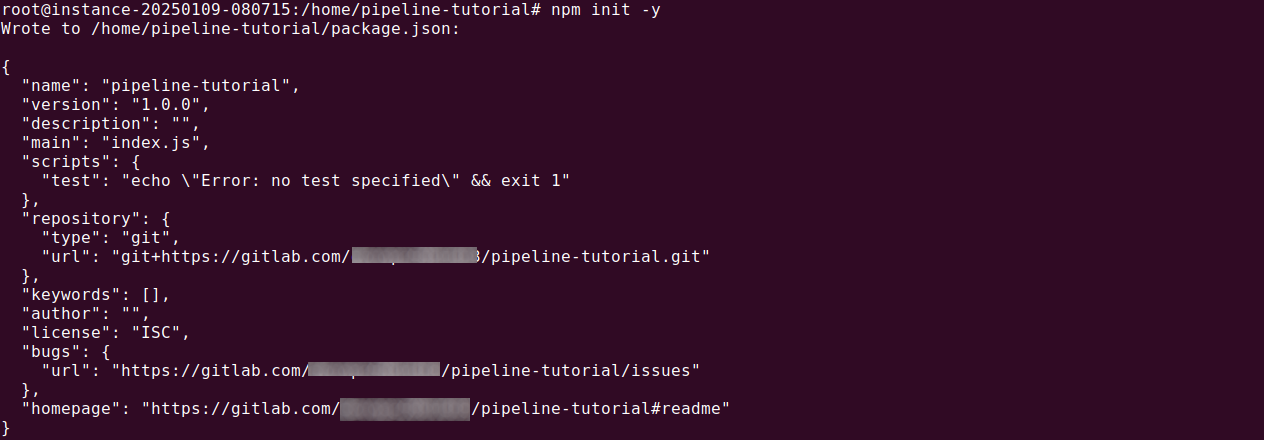
npm install express
- Commit and push the changes:
git add .

git commit -m "Initialize Express API site"

git push origin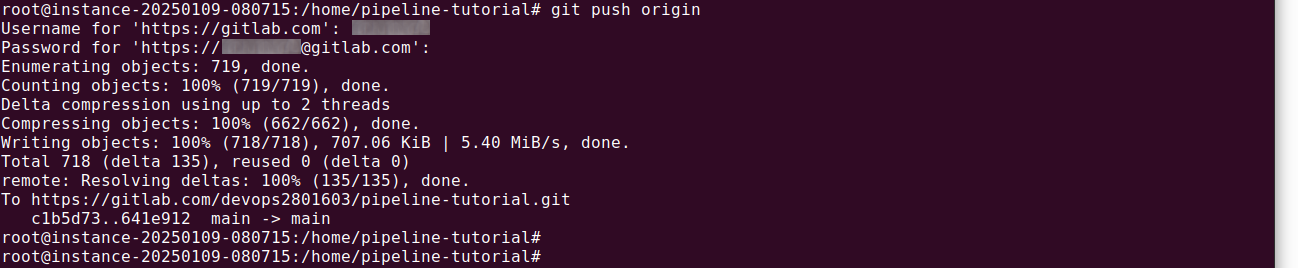
3. Configure the initial pipeline
Create a basic .gitlab-ci.yml file:
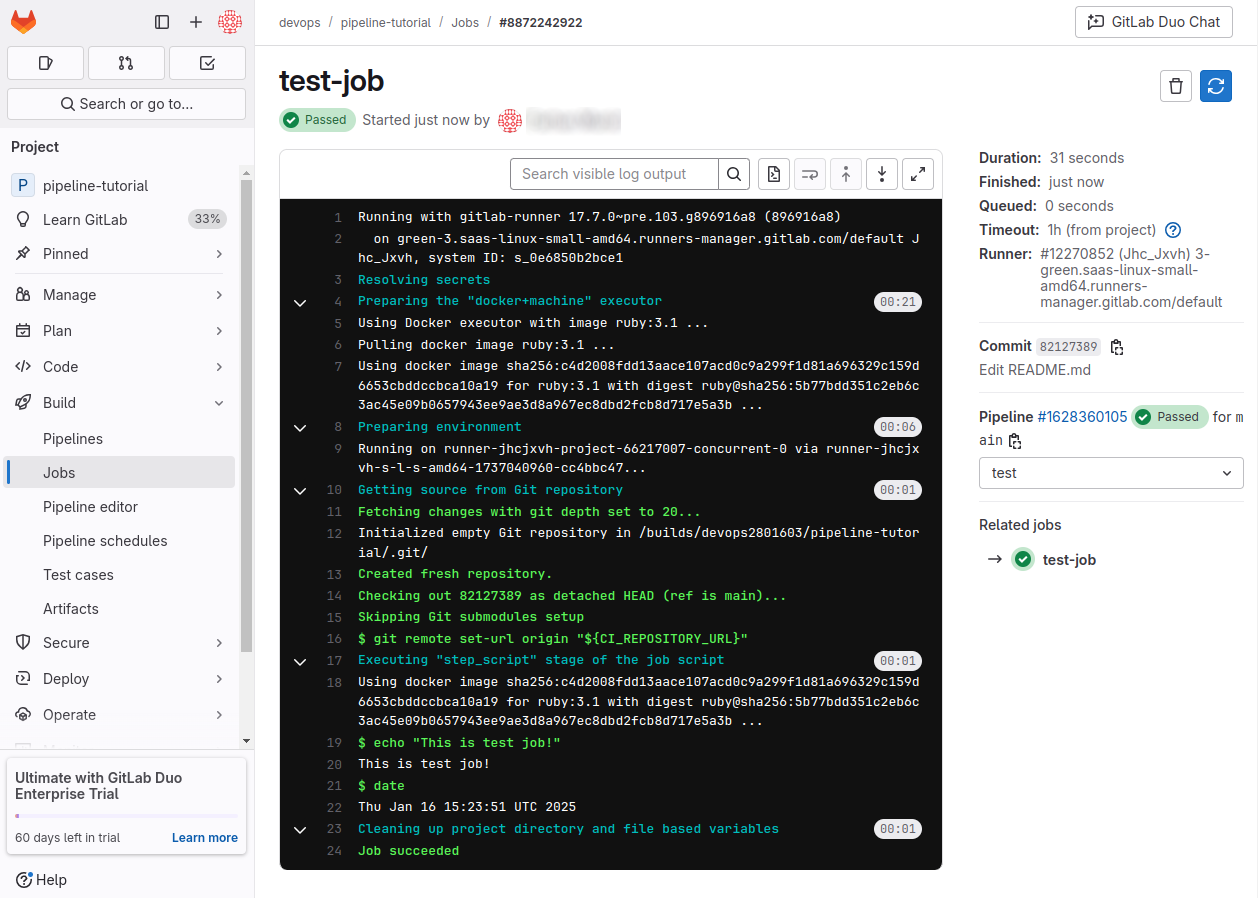
test-job:
  script:
    - echo "This is a test job!"
    - date
Commit and push this file, then verify the pipeline in Build > Pipelines. Ensure the log shows the output of the script.
4. Add a build job
Enhance the pipeline to build the site:
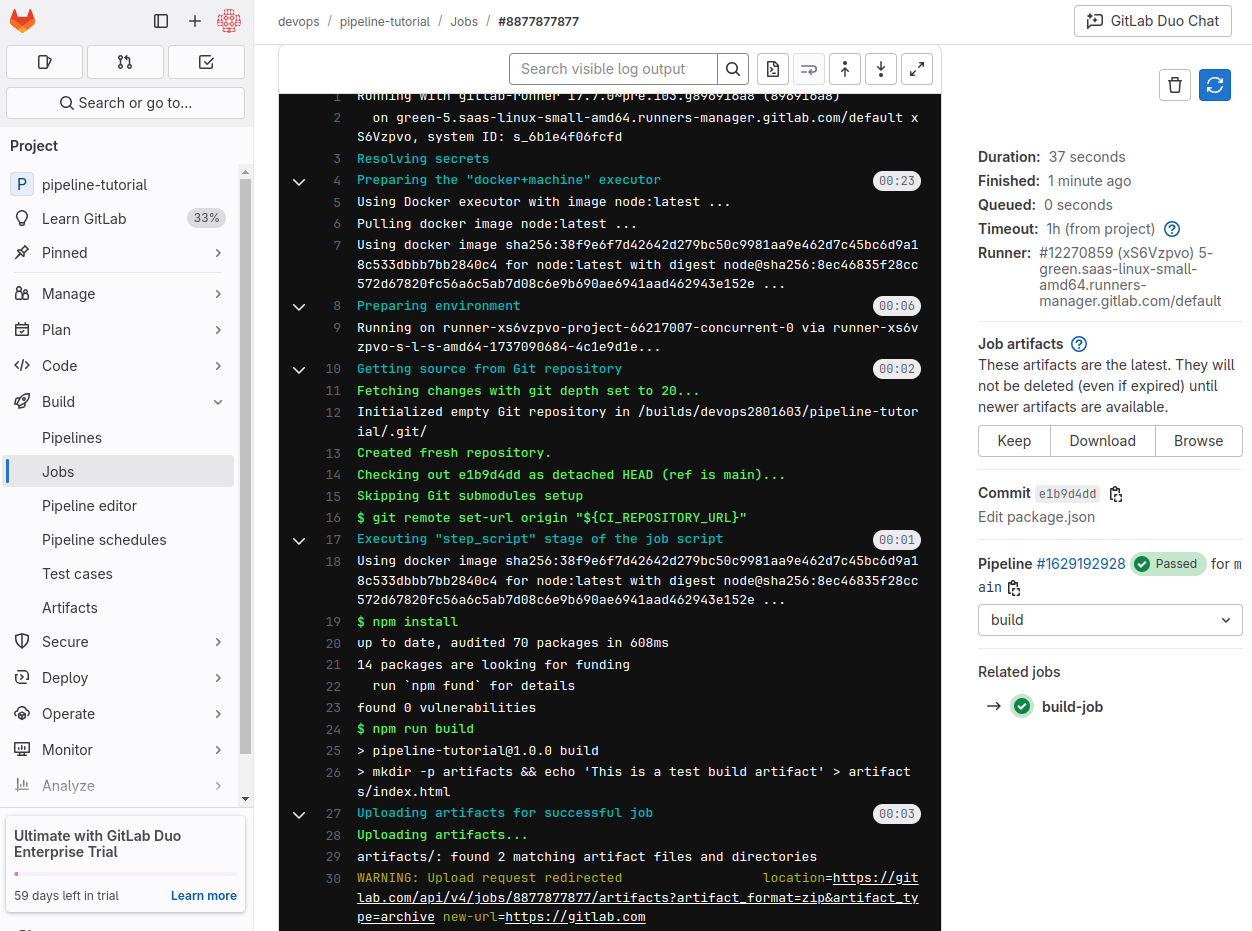
build-job:
  image: node
  script:
    - npm install
    - npm run build
  artifacts:
    paths:
      - "artifacts/"
This configuration:
- Uses a Node.js Docker image for the job.
- Installs dependencies and builds the Docusaurus site.
- Saves the generated files in
build/as artifacts for later jobs.
5. Add a deployment job
Add a deployment job to host the site with GitLab Pages:
stages:
  - build
  - deploy

build-job:
  stage: build
  image: node
  script:
    - npm install
    - npm run build
  artifacts:
    paths:
      - "artifacts/"

pages:
  stage: deploy
  script:
    - mv artifacts/ public/
  artifacts:
    paths:
      - "public/"
This configuration:
- Defines
buildanddeploystages. - Moves the build files to
public/for GitLab Pages.

Verify the pipeline runs successfully, and access your site at:
https://<your-username>.gitlab.io/<your-project>.
Alternatively, from the project’s sidebar, select Deploy > Pages. You will see the page deployed with our last deployment.
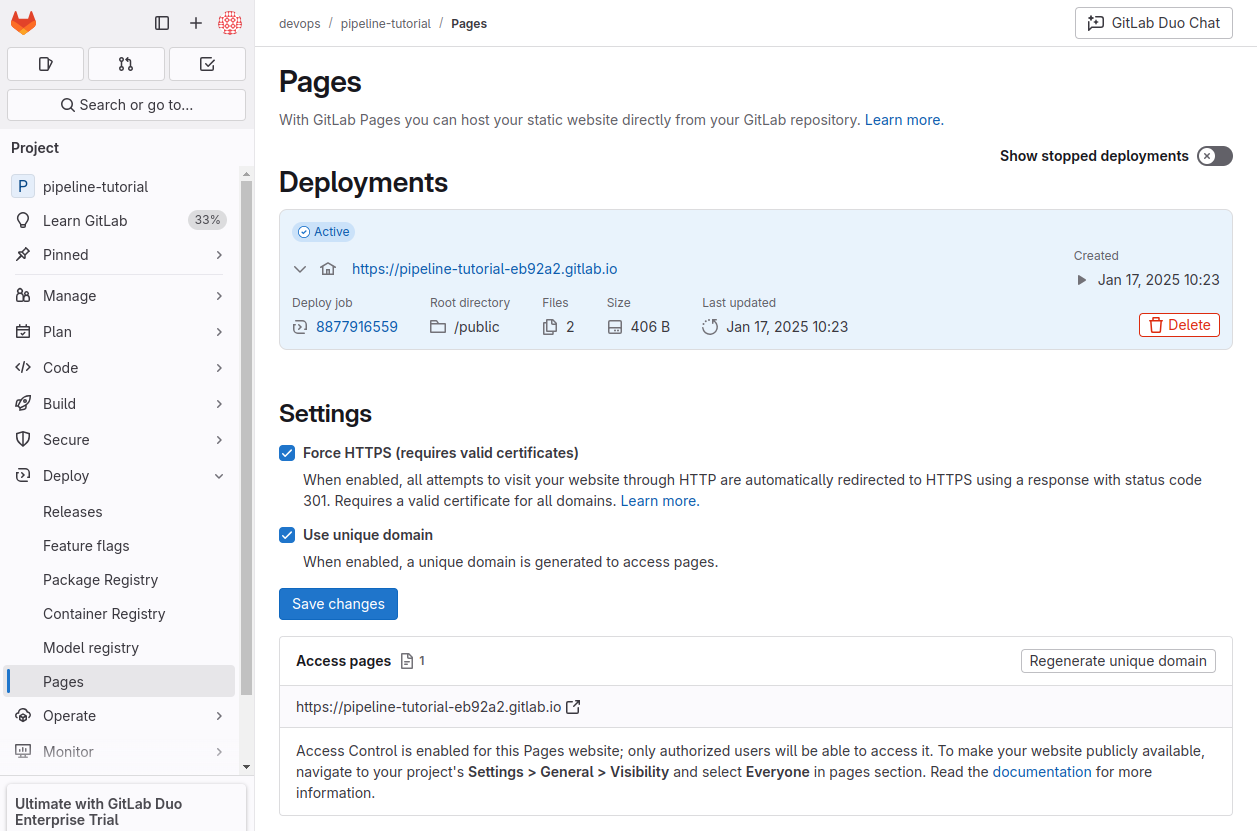
Click the link to view the deployed page.
6. Add test jobs
Include jobs to lint markdown and HTML:
stages:
  - build
  - test
  - deploy

build-job:
  stage: build
  image: node
  script:
    - npm install
    - npm run build
  artifacts:
    paths:
      - "artifacts/"


test-html:
  stage: test
  image: node
  dependencies:
    - build-job
  script:
    - npm install --save-dev htmlhint
    - npx htmlhint build/
pages:
 stage: deploy
 script:
   - mv artifacts/ public/
 artifacts:
   paths:
     - "public/"
This configuration:
- Adds a
teststage betweenbuildanddeploy. - Tests generated HTML with
htmlhint.
7. Optimize for merge requests
Modify the pipeline to run for feature branches and deploy only for the default branch:
stages:
  - build
  - test
  - deploy

build-job:
  stage: build
  image: node
  script:
    - npm install
    - npm run build
  artifacts:
    paths:
      - "artifacts/"
  rules:

    - if: $CI_PIPELINE_SOURCE == 'push'
    - if: $CI_COMMIT_BRANCH == 'staging'

test-html:
  stage: test
  image: node
  dependencies:
    - build-job
  script:
    - npm install --save-dev htmlhint
    - npx htmlhint build/
  rules:

    - if: $CI_PIPELINE_SOURCE == 'push'
    - if: $CI_COMMIT_BRANCH == 'staging'

pages:
  stage: deploy
  dependencies:
    - build-job
  script:
    - mv build/ public/
  artifacts:
    paths:
      - "public/"
  rules:

    - if: $CI_PIPELINE_SOURCE == 'push'
    - if: $CI_COMMIT_BRANCH == 'staging'
This ensures:
- Jobs run for merge requests and the default branch.
- Deployment occurs only on the default branch.
8. Reduce repetition
Simplify the pipeline using hidden jobs and default configurations:
stages:
  - build
  - test
  - deploy

default:
  image: node


.standard-rules:
  rules:
    - if: $CI_PIPELINE_SOURCE == 'push' && $CI_COMMIT_BRANCH == 'staging'

build-job:
  extends: .standard-rules
  stage: build
  script:
    - npm install
    - npm run build
  artifacts:
    paths:
      - "artifacts/"

test-html:
  extends: .standard-rules
  stage: test
  dependencies:
    - build-job
  script:
    - npm install --save-dev htmlhint
    - npx htmlhint artifacts/

pages:
  stage: deploy
  image: busybox
  dependencies:
    - build-job
  script:
    - mv artifacts/ public/
  artifacts:
    paths:
      - "public/"
  rules:
    - if: $CI_COMMIT_BRANCH == 'staging'
This setup:
- Uses .standard-rules to reuse job configurations.
- Specifies node as the default image.
With this pipeline, you have built, tested, deployed, and optimized your workflow. You can now expand it by adding features like scheduled pipelines, external integrations, or environment-specific jobs.
Octopus Deploy: Ultimate GitLab Alternative for CI/CD
Octopus Deploy elevates your deployment pipeline by handling the complex aspects of release, deployment, and CD operations that CI tools simply can’t match. By automating and streamlining these processes, we transform deployments from stress-inducing events to routine operations your team can confidently perform anytime—even on Fridays when traditional wisdom says not to deploy.
With features like tenant management, consistent deployment processes across environments, and flexible deployment strategies (rolling, blue/green, canary), Octopus enables teams to scale to thousands of locations without duplicating effort. Our platform dramatically reduces time between build and deployment through automatic release promotion, while providing a single dashboard view of all your deployments.
Developers love Octopus for its intuitive UI and extensive template library, freeing them to focus on building features rather than managing deployments. Meanwhile, IT leaders appreciate our comprehensive security features including role-based access controls, ITSM approval workflows, and OpenID Connect integration, along with built-in safeguards like step timeouts and guided failure mode that minimize risk and improve recovery time.
Get started with Octopus
Make complex deployments simple
Help us continuously improve
Please let us know if you have any feedback about this page.