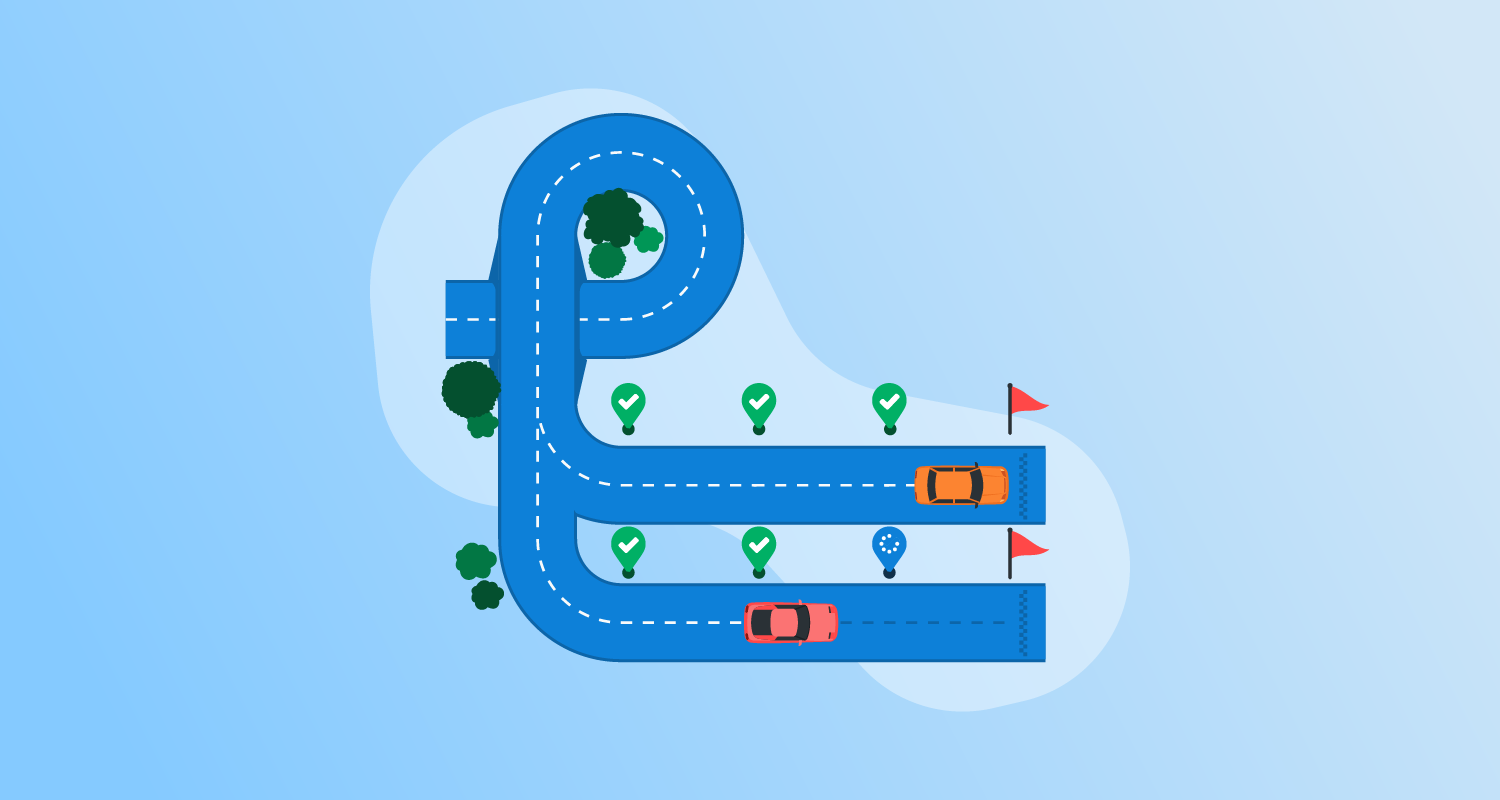
What is Jenkins Pipeline?
Jenkins Pipeline is a suite of plugins in Jenkins that supports creating and integrating Continuous Delivery (CD) pipelines. It automates the software delivery process from version control to deployment, covering the build, testing, and deployment phases to ensure a consistent workflow.
Pipelines are defined using code, typically written in a Jenkinsfile, stored in the project’s version control system. This pipeline-as-code approach provides advantages like versioning, code reviews, and an audit trail for the entire pipeline process. Jenkins Pipeline’s domain-specific language (DSL) allows users to model complex workflows, making it extensible for various software delivery needs.
Key aspects of Jenkins Pipelines
Pipeline
In Jenkins, a pipeline is a user-defined script that models the process of Continuous Delivery (CD) for a software project. It defines the lifecycle of the build process, which typically includes compiling the application, running tests, and deploying the software to production.
Pipelines are written using a domain-specific language (DSL), either in a declarative or scripted format. The pipeline’s code is usually stored in a Jenkinsfile committed to the project’s version control repository. This approach ensures that the pipeline is treated like any other piece of software, subject to version control, peer review, and collaboration.
Node
A node refers to a machine within the Jenkins environment that runs the pipeline’s tasks. This machine can be the master node (the Jenkins server itself) or an agent node (another machine configured as a worker to run jobs). The ability to use multiple nodes allows distributed builds across various environments.
In a scripted pipeline, the node block is essential. It specifies where the pipeline should run. By default, if no specific node is assigned, Jenkins will execute the pipeline on any available node. However, specifying nodes enables users to control where certain tasks are executed, such as running tests on a Linux node while building the software on a Windows node.
Stage
A stage in Jenkins Pipeline is used to define a distinct phase in the software development lifecycle, such as “build,” “test,” “deploy,” or “release.” Each stage encapsulates a group of logically related steps that are typically visualized in the Jenkins user interface, making it easy to track the pipeline’s progress. For example, a build stage may involve compiling code, while a test stage runs unit or integration tests.
Stages also help enforce structure in the pipeline. By breaking the process into stages, teams can ensure that each phase is completed successfully before moving on to the next. If one stage fails, the pipeline can be configured to stop, allowing developers to identify and fix issues earlier in the development cycle. Additionally, stages support parallel execution, enabling multiple tasks to be run concurrently.
Step
A step is the smallest unit of work in a Jenkins Pipeline. Each step represents a single action that Jenkins should perform at a given time. Examples of steps include running shell commands, invoking build tools, executing test suites, or interacting with external services. Steps are the building blocks of declarative and scripted pipelines, and can be combined.
Steps can also be extended by plugins, which allow Jenkins to integrate with a variety of tools and technologies. For example, if using Docker in the build process, developers might use a step to run a Docker container as part of the pipeline. Steps can execute almost any task within the Jenkins environment, defining the behavior of the pipeline at a granular level.
Types of Jenkins Pipelines
Declarative pipeline
The declarative pipeline is a simplified and structured way to define the build process. It’s user-friendly and opinionated, which makes it easier to use, especially for those new to Jenkins. A declarative pipeline syntax follows a predefined structure, making defining the workflow straightforward. This structure helps prevent errors by enforcing conventions and best practices.
Within a declarative pipeline, developers can clearly define stages and steps. For example, stages can represent different phases like “build,” “test,” and “deploy,” and each stage can contain multiple steps. This level of abstraction allows teams to modularize their build processes, making them easier to maintain and understand.
Scripted pipeline
Scripted pipelines offer more flexibility than declarative pipelines by allowing teams to write build scripts in Groovy. Unlike declarative pipelines, which are structured, scripted pipelines are more free-form and imperative, giving complete control over the build process. This is useful for complex builds that need custom behaviors or integrations.
However, the flexibility of scripted pipelines can make them harder to manage and understand, especially for new team members. Careful attention must be paid to coding standards and documentation. Scripted pipelines are important for advanced use cases and intricate build procedures beyond declarative pipelines’ capabilities.

Tony Kelly is a DevOps marketing leader who drives innovation and awareness of the latest trends in Continuous Delivery.
Tutorial: Building a Jenkins Pipeline
This tutorial provides an overview of how to define Jenkins pipelines using the UI, a Jenkinsfile, and Pipeline. These instructions are adapted from the Jenkins User Handbook.
Prerequisites
To use Jenkins Pipeline, you need to ensure the following prerequisites are met:
- Jenkins 2.x or later: While older versions back to 1.642.3 might work, they are not recommended for optimal performance and security.
- Pipeline plugin: This plugin is usually installed as part of the recommended plugins during the post-installation setup wizard after installing Jenkins. If not, you can install it manually via the Jenkins plugin manager.
- Groovy basics: Although an in-depth understanding of Groovy isn’t necessary, familiarity with basic Groovy syntax can be helpful since the scripted pipeline syntax is based on it.
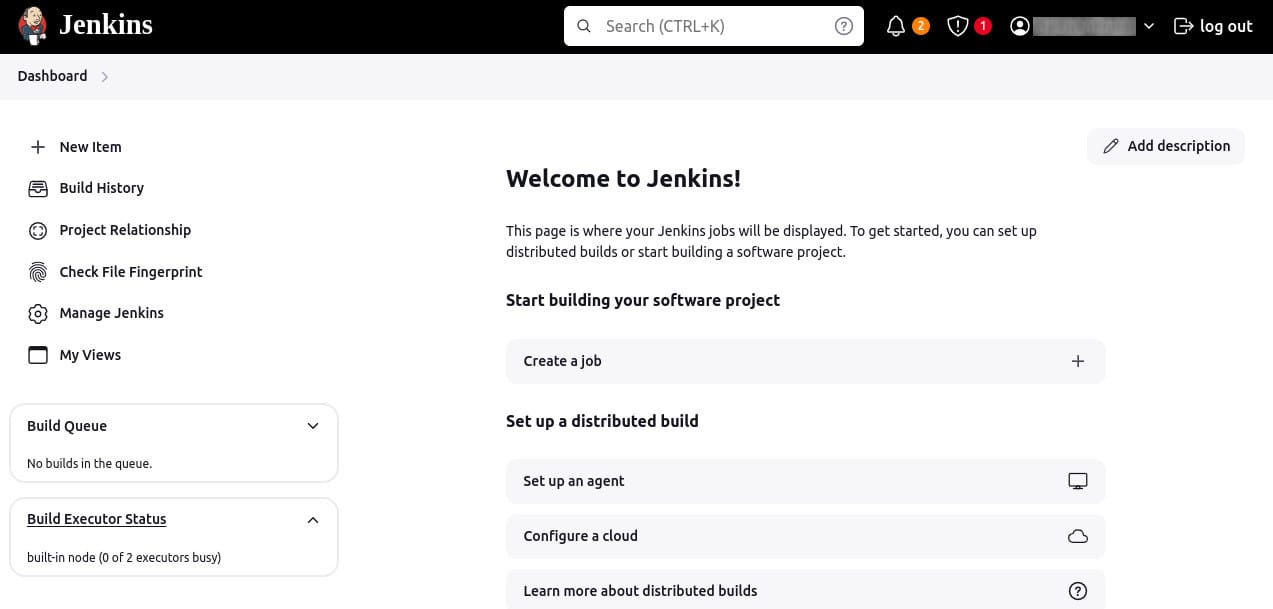
Defining a pipeline through the UI
To create a basic pipeline through the Jenkins classic UI, follow these steps:
Log in to Jenkins:
- Ensure you are logged in to your Jenkins instance.

Create a new pipeline project:
- From the Jenkins home page (Dashboard), click New Item at the top left.
- In the Enter an item name field, specify the name for your new pipeline project. Avoid using spaces in the item name to prevent potential issues with scripts handling spaces in directory paths.
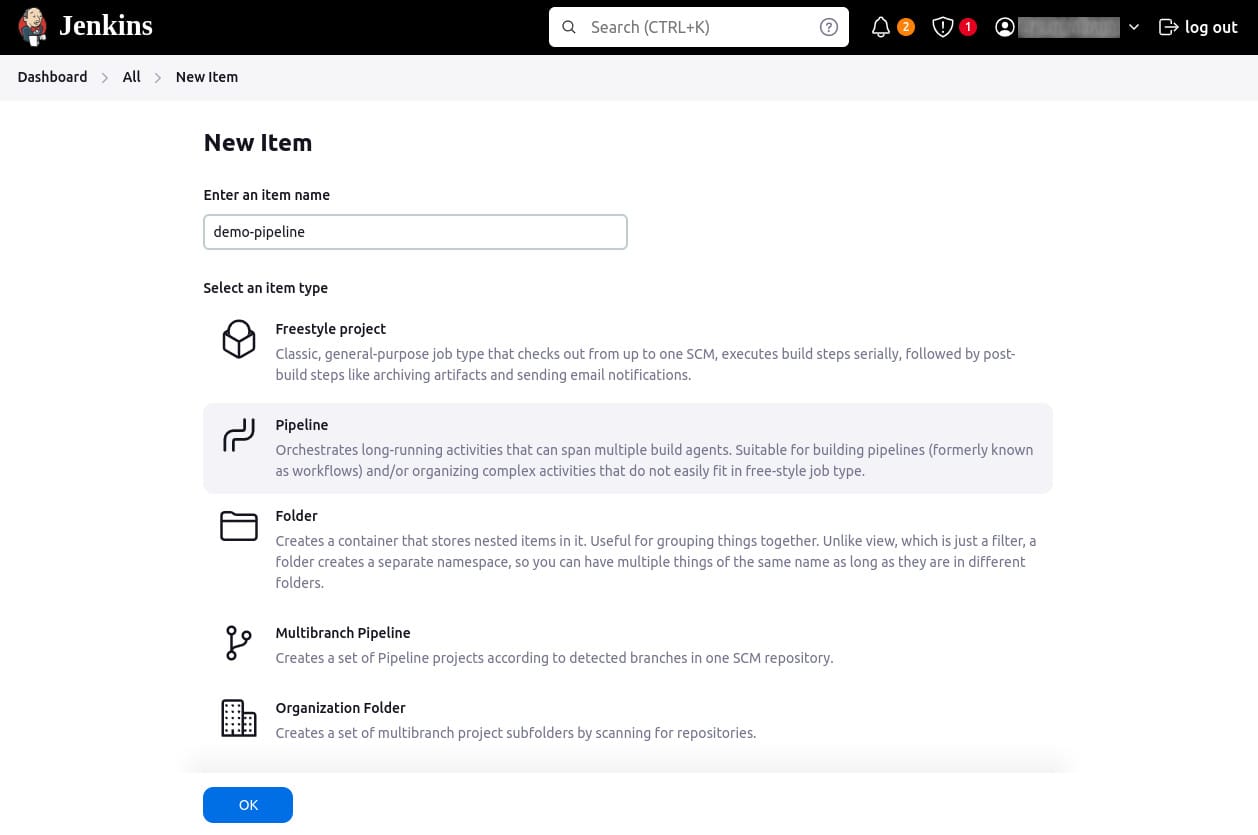
- Scroll down, select Pipeline, and click OK to open the pipeline configuration page.

Configure the pipeline:
- On the configuration page, click the Pipeline tab.
- Ensure the Definition field is set to Pipeline script.
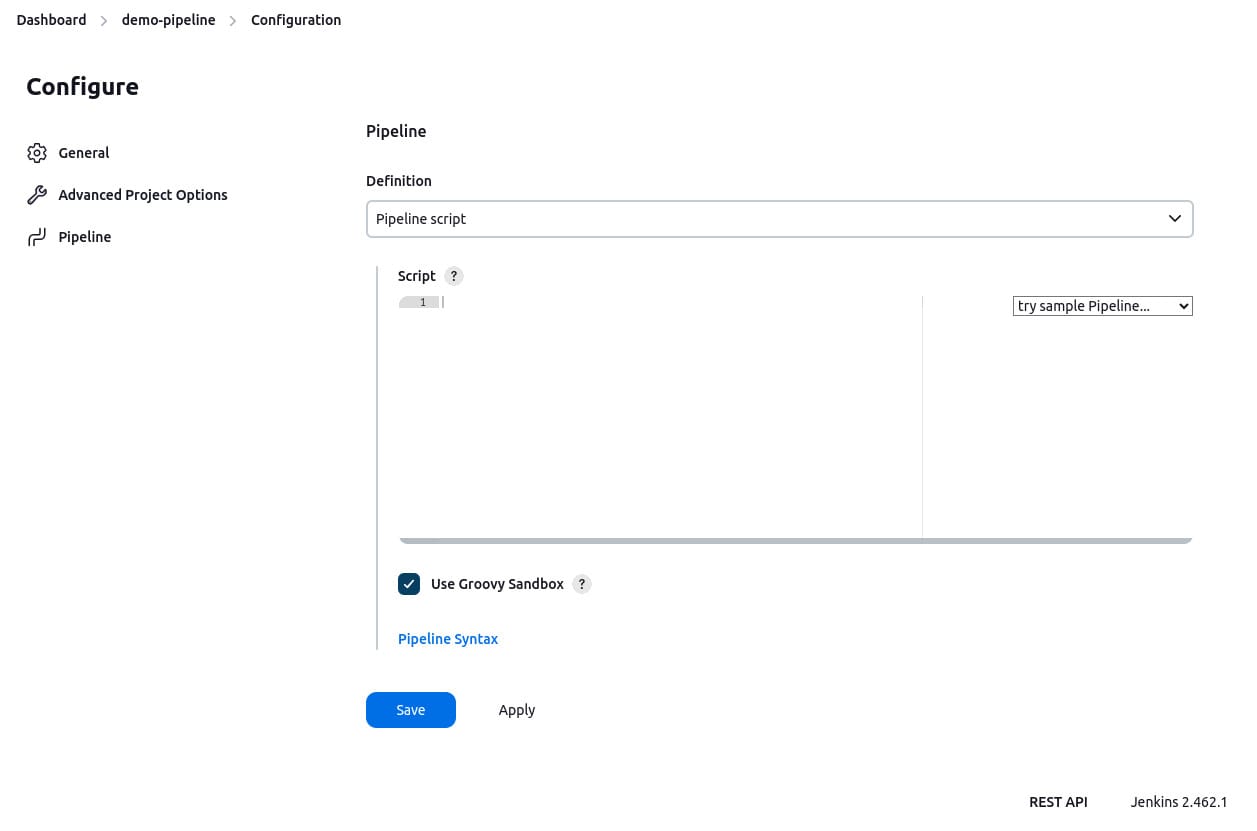
-
Enter your pipeline code into the Script text area. For example, you can use the following declarative pipeline code:
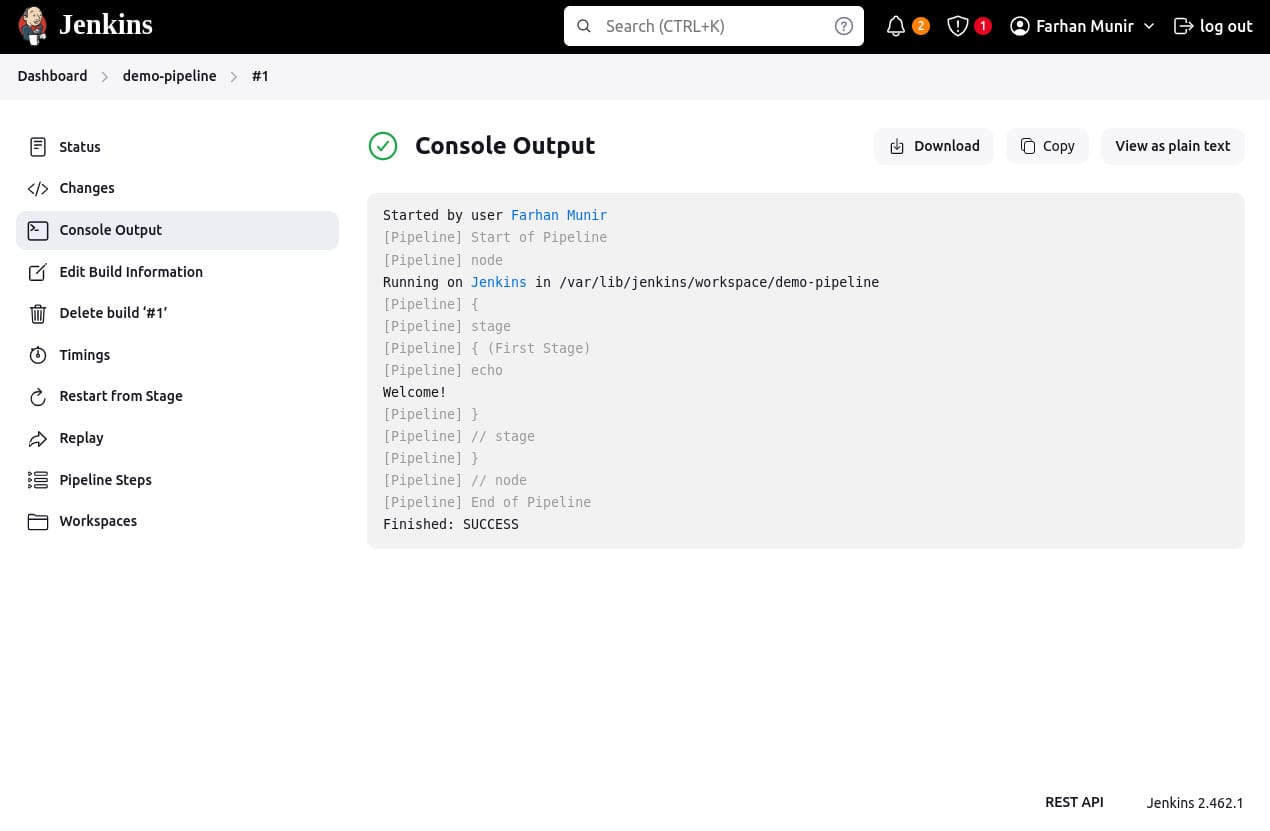
pipeline {
   agent any
   stages {
       stage('First Stage') {
           steps {
               echo 'Welcome!'
           }
       }
   }
}
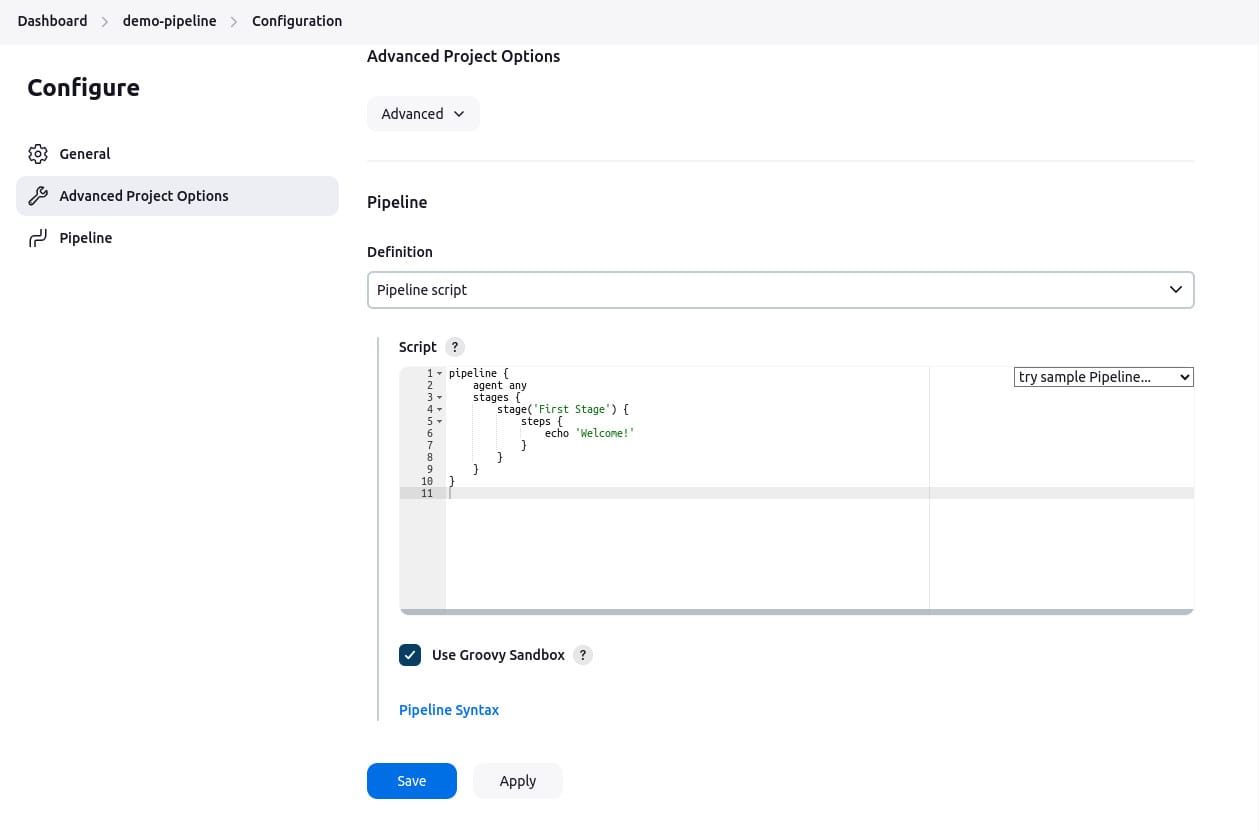
Save and build:
- Click Save to apply the configuration.
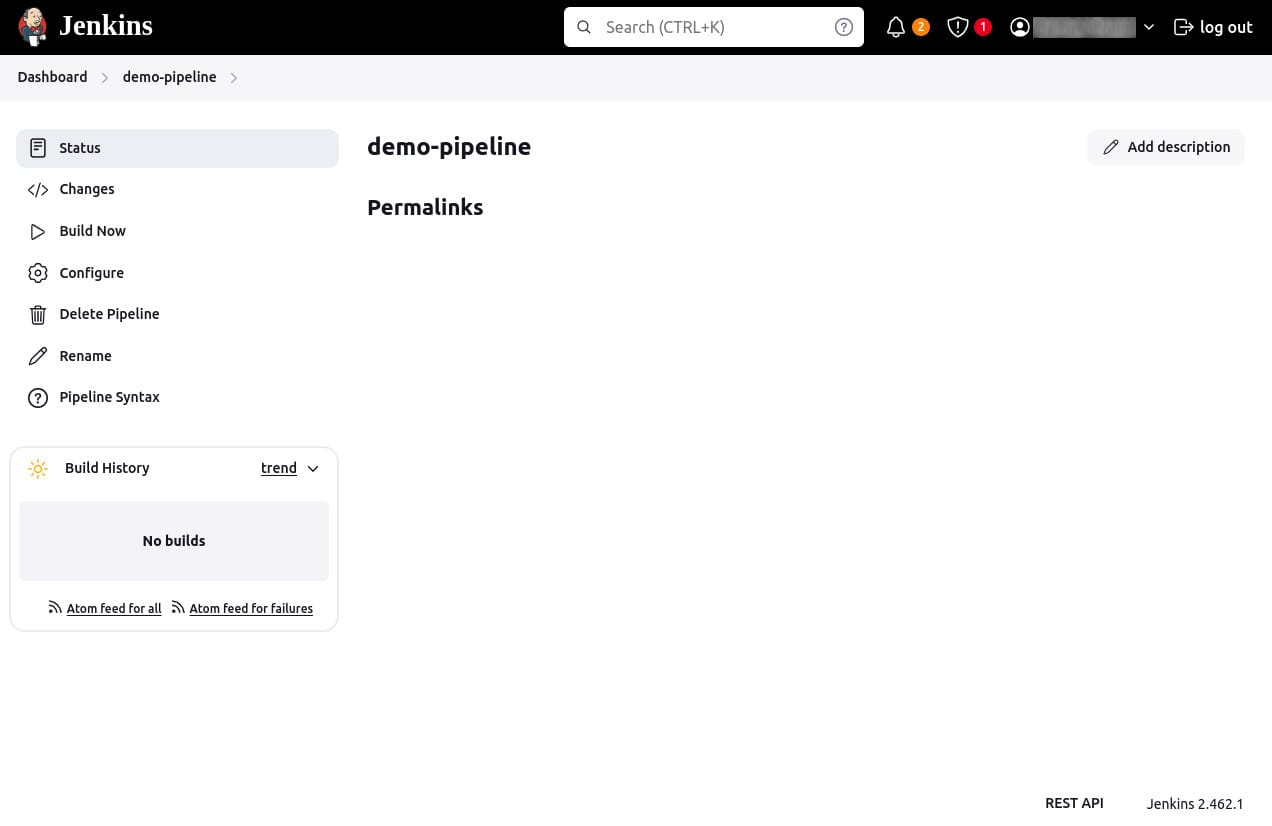
- On the project page, click Build Now on the left to run the pipeline.
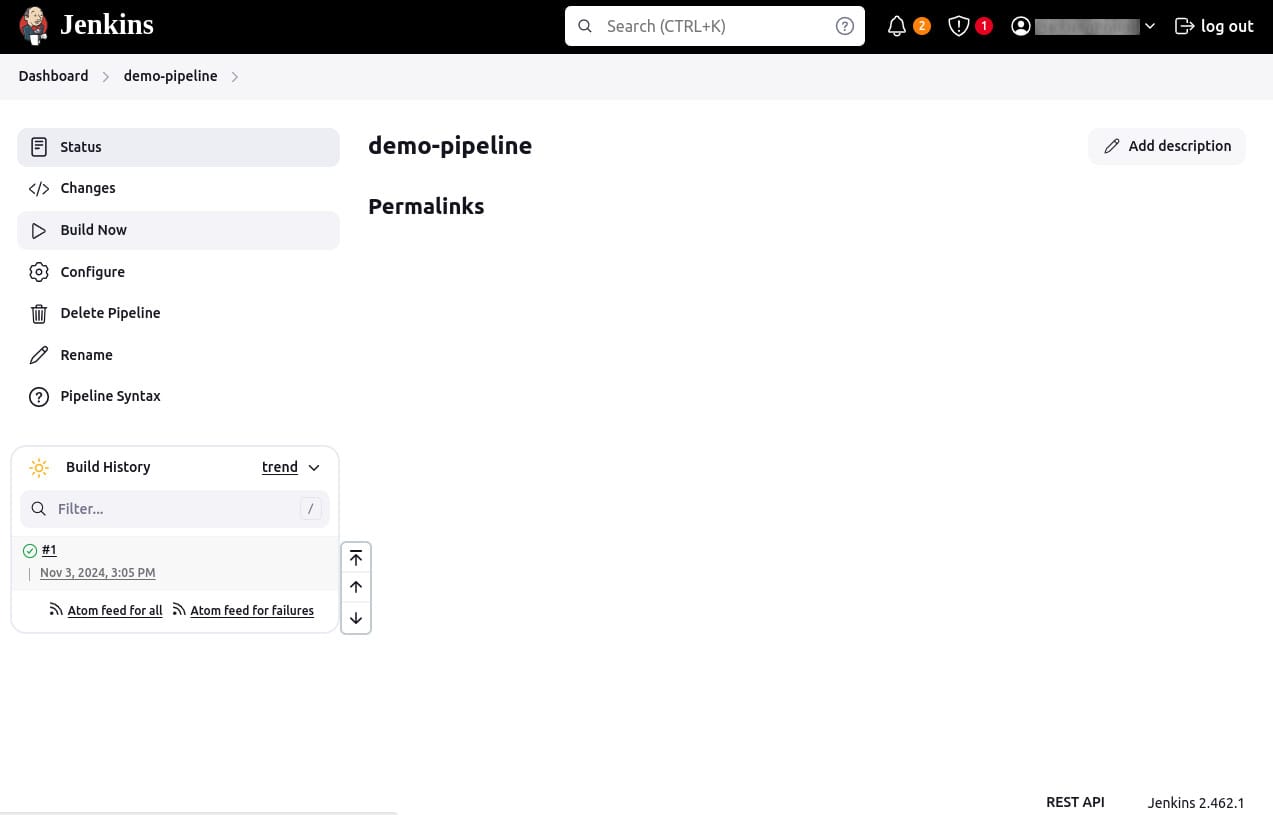
Review build output:
- Under Build History, click the build number (e.g., #1) to access details for that particular pipeline run.
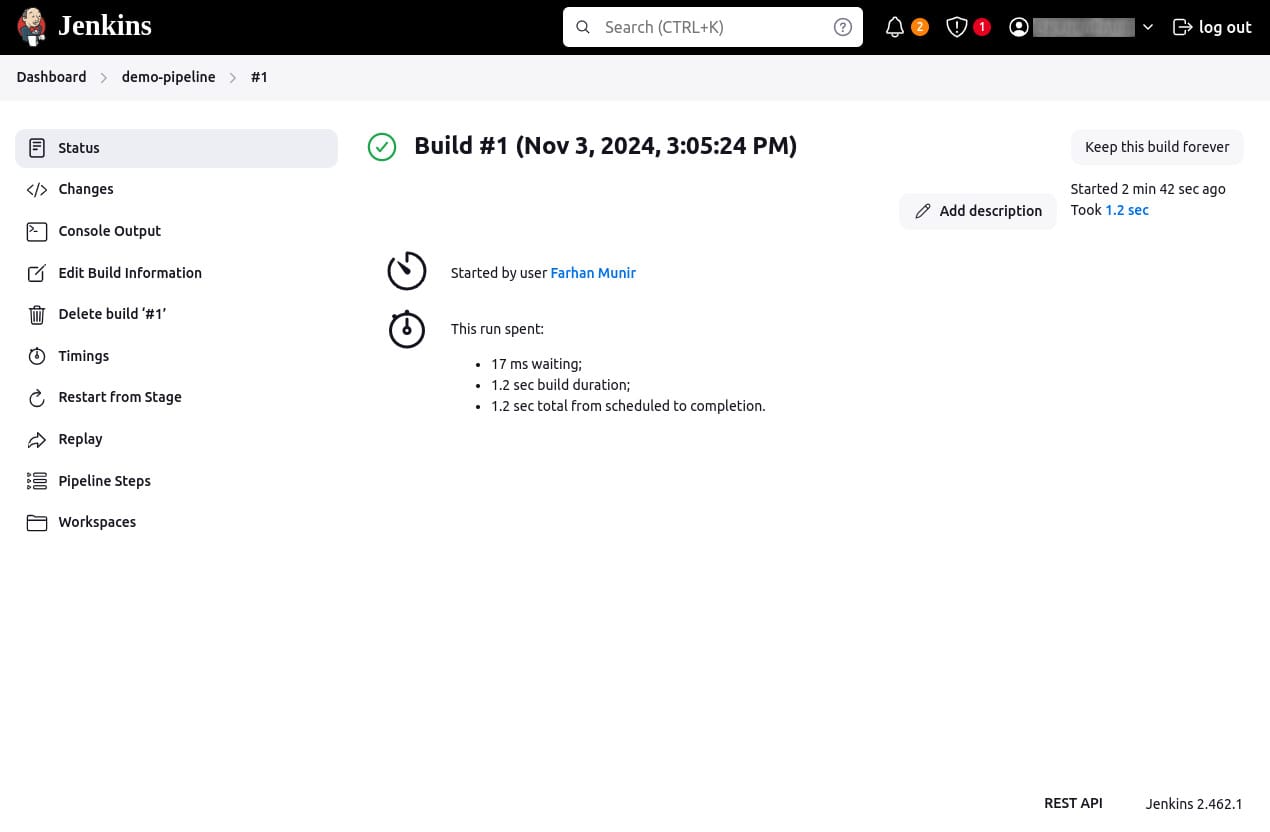
- Click Console Output to view the full output of the pipeline run. You should see a successful execution with the message “Welcome!” printed in the console.
Using a Jenkinsfile
For more complex or collaborative projects, it’s recommended to define the pipeline in a Jenkinsfile stored in source control. This enables code review and iteration on the pipeline, creates an audit trail, and establishes a single source of truth that can be viewed and edited by multiple team members.
Here’s an example of a basic three-stage Continuous Delivery pipeline using declarative pipeline syntax:
pipeline {
    agent any

    stages {
        stage('Build') {
            steps {
                echo 'Building..'
            }
        }
        stage('Test') {
            steps {
                echo 'Testing..'
            }
        }
        stage('Deploy') {
            steps {
                echo 'Deploying..'
            }
        }
    }
}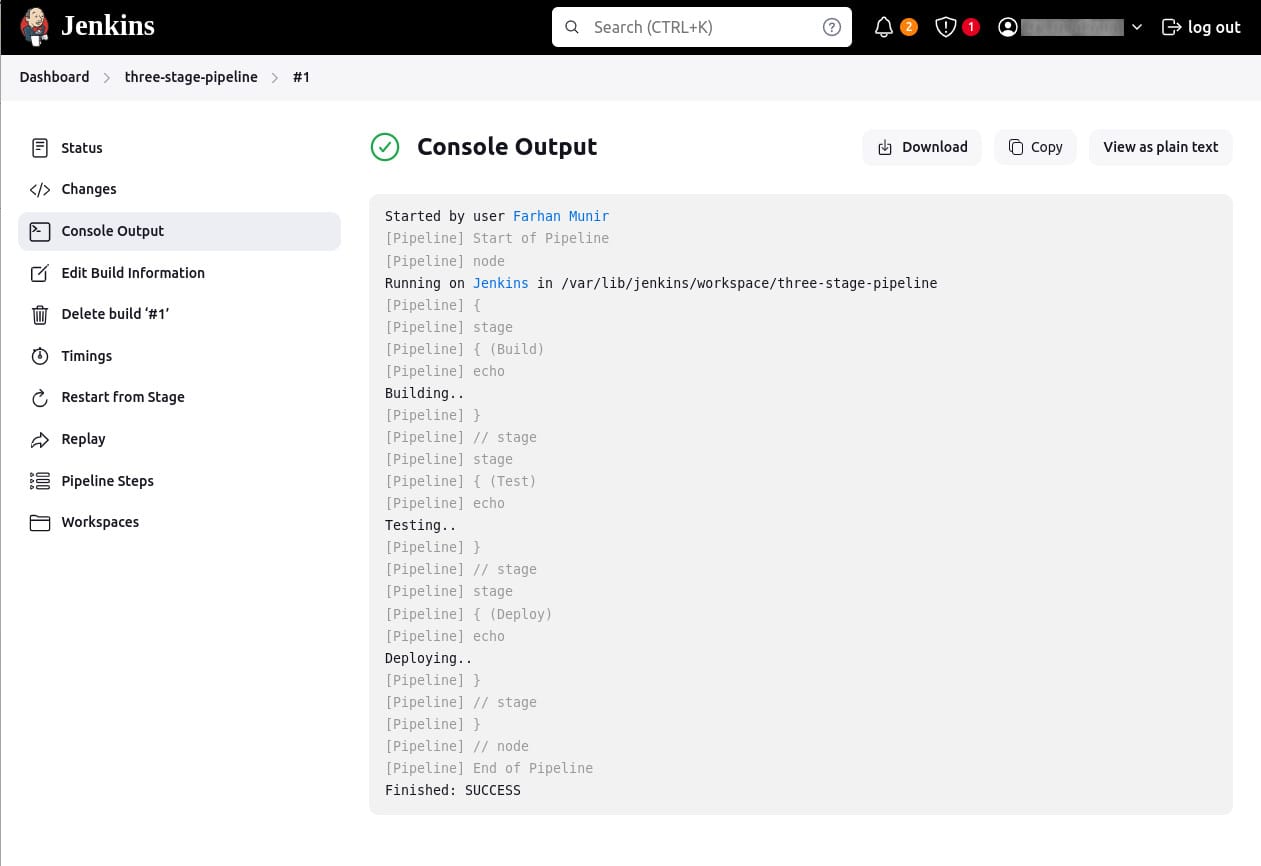
This pipeline defines three stages: Build, Test, and Deploy. Not all pipelines will have these exact stages, but this structure is a good starting point for most projects.
To create a Jenkinsfile:
- Using a text editor (preferably one with Groovy syntax highlighting), create a new file named
Jenkinsfilein the root directory of your project. - Copy the pipeline code above into the
Jenkinsfile. - Check this file into the source control repository.
Let’s break down the sections of the Jenkinsfile and add more details.
Build stage
In many projects, the build stage is where source code is assembled, compiled, or packaged. Here’s an enhanced example of a build stage that uses the make command and archives the built artifacts:
pipeline {
    agent any

    stages {
        stage('Build') {
            steps {
                sh 'make'
                archiveArtifacts artifacts: '**/target/*.jar', fingerprint: true
            }
        }
    }
}
The sh 'make' step runs the make command. If make returns a non-zero exit code, the pipeline will fail. The archiveArtifacts step captures the files built matching the pattern **/target/*.jar and saves them to the Jenkins controller for later retrieval.
Test stage
Running automated tests is crucial in Continuous Delivery. Here’s an example of a test stage that runs tests and processes the results using the JUnit plugin:
pipeline {
    agent any

    stages {
        stage('Test') {
            steps {
                sh 'make check || true'
                junit '**/target/*.xml'
            }
        }
    }
}
The sh 'make check || true' step ensures that the shell command always returns a zero exit code, allowing the pipeline to continue even if tests fail. The junit '**/target/*.xml' step processes the JUnit XML files matching the pattern and records the test results in Jenkins.
Deploy stage
Deployment steps vary based on project requirements. Here’s an example deploy stage that runs only if the previous stages were successful:
pipeline {
    agent any

    stages {
        stage('Deploy') {
            when {
                expression {
                    currentBuild.result == null || currentBuild.result == 'SUCCESS'
                }
            }
            steps {
                sh 'make publish'
            }
        }
    }
}
The when directive checks the build result and ensures that the deploy stage runs only if the build and test stages were successful. The sh 'make publish' step runs the make publish command to deploy the build artifacts.
Using Docker with Jenkins Pipeline
Organizations often use Docker to connect the build and test environments across different machines and to deploy applications more efficiently. Jenkins Pipeline versions 2.5 and up support interaction with Docker from within a Jenkinsfile. This integration allows for greater flexibility and consistency in the execution environment.
Customizing the execution environment
Pipeline can easily use Docker images as the execution environment for a single stage or the entire pipeline. This allows users to define the necessary tools for their pipeline without manually configuring agents. Any tool that can be packaged in a Docker container can be used with ease by making minor edits to a Jenkinsfile.
Here’s an example of a Jenkinsfile (declarative pipeline):
pipeline {
    agent {
        docker { image 'node:20.16.0-alpine3.20' }
    }
    stages {
        stage('Test') {
            steps {
                sh 'node --version'
            }
        }
    }
}
When the pipeline executes, Jenkins will automatically start the specified container and run the defined steps within it.
Workspace synchronization
If it is important to keep the workspace synchronized with other stages, you can use the reuseNode true directive. By default, for a containerized stage, Jenkins will:
- Pick an agent.
- Create a new empty workspace.
- Clone the pipeline code into it.
- Mount this new workspace into the container.
If reuseNode is set to true, no new workspace will be created. Instead, the current workspace from the current agent will be mounted into the container, and the container will be started on the same node, ensuring data synchronization.
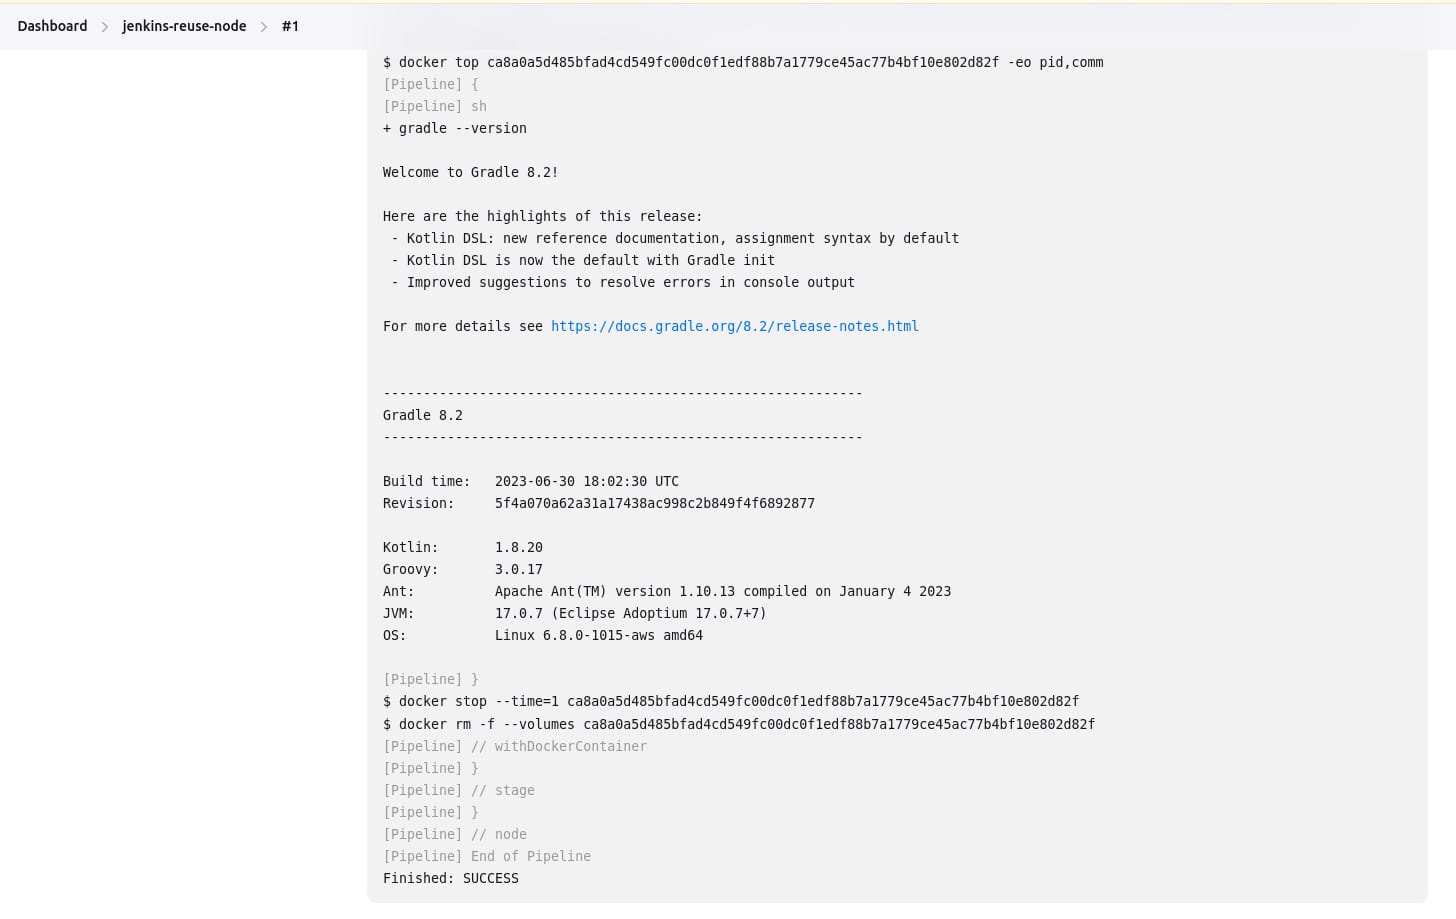
Here’s an example of a Jenkinsfile (declarative pipeline) with reuseNode:
pipeline {
    agent any
    stages {
        stage('Build') {
            agent {
                docker {
                    image 'gradle:8.2.0-jdk17-alpine'
                    reuseNode true
                }
            }
            steps {
                sh 'gradle --version'
            }
        }
    }
}
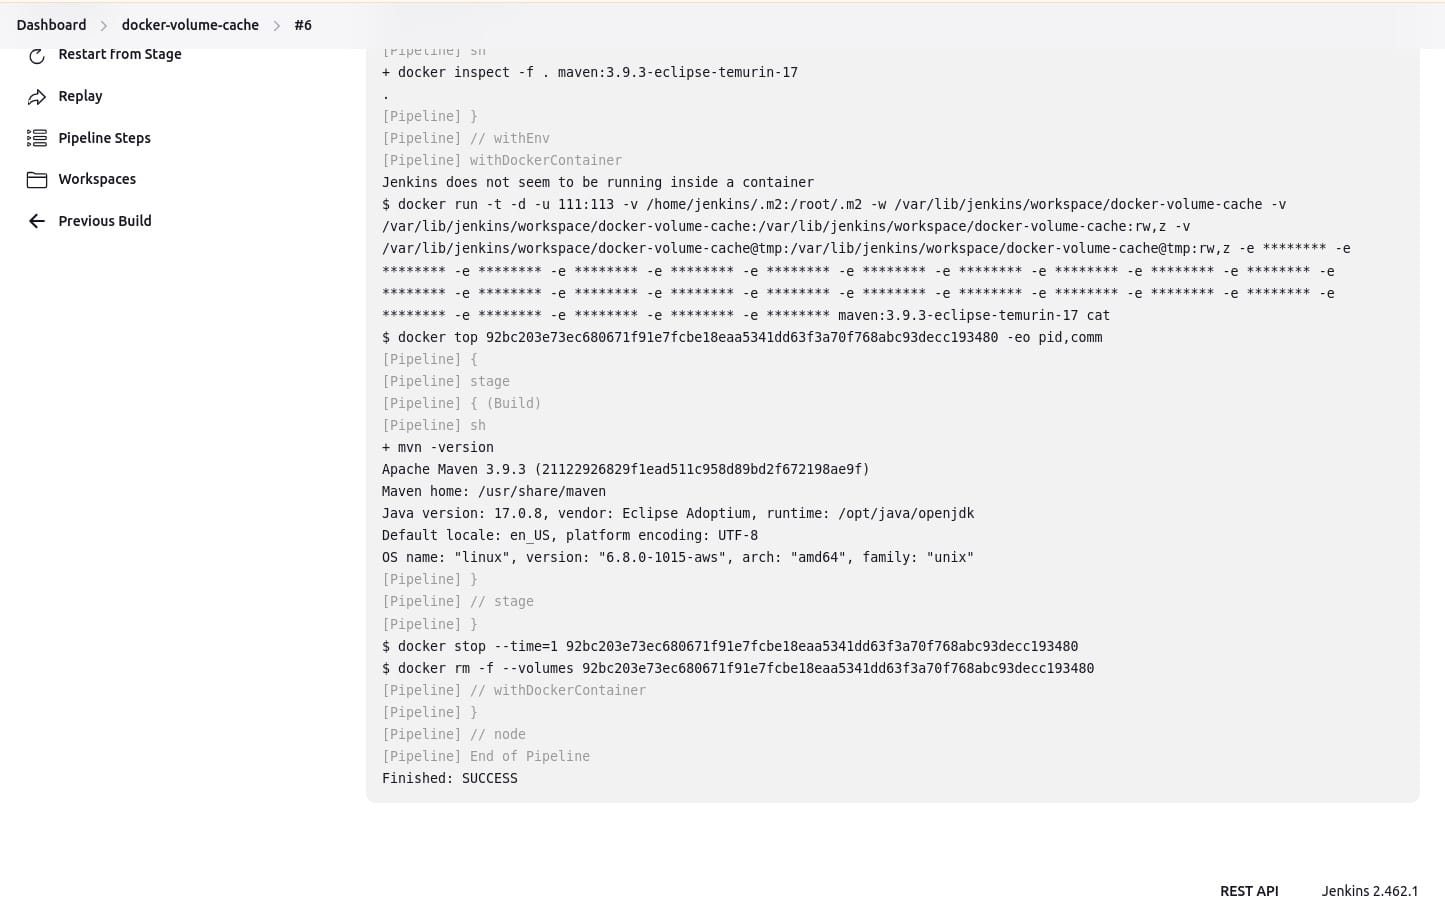
Caching data for containers
Many build tools download external dependencies and cache them locally for future re-use. Containers start with clean file systems, which can result in slower pipelines. Pipeline supports adding custom arguments to Docker, allowing users to specify custom Docker volumes to mount, which can be used for caching data between pipeline runs.
Here’s an example of a Jenkinsfile with Docker volume caching:
pipeline {
    agent {
        docker {
            image 'maven:3.9.3-eclipse-temurin-17'
            args '-v $HOME/.m2:/root/.m2'
        }
    }
    stages {
        stage('Build') {
            steps {
                sh 'mvn -version'
            }
        }
    }
}
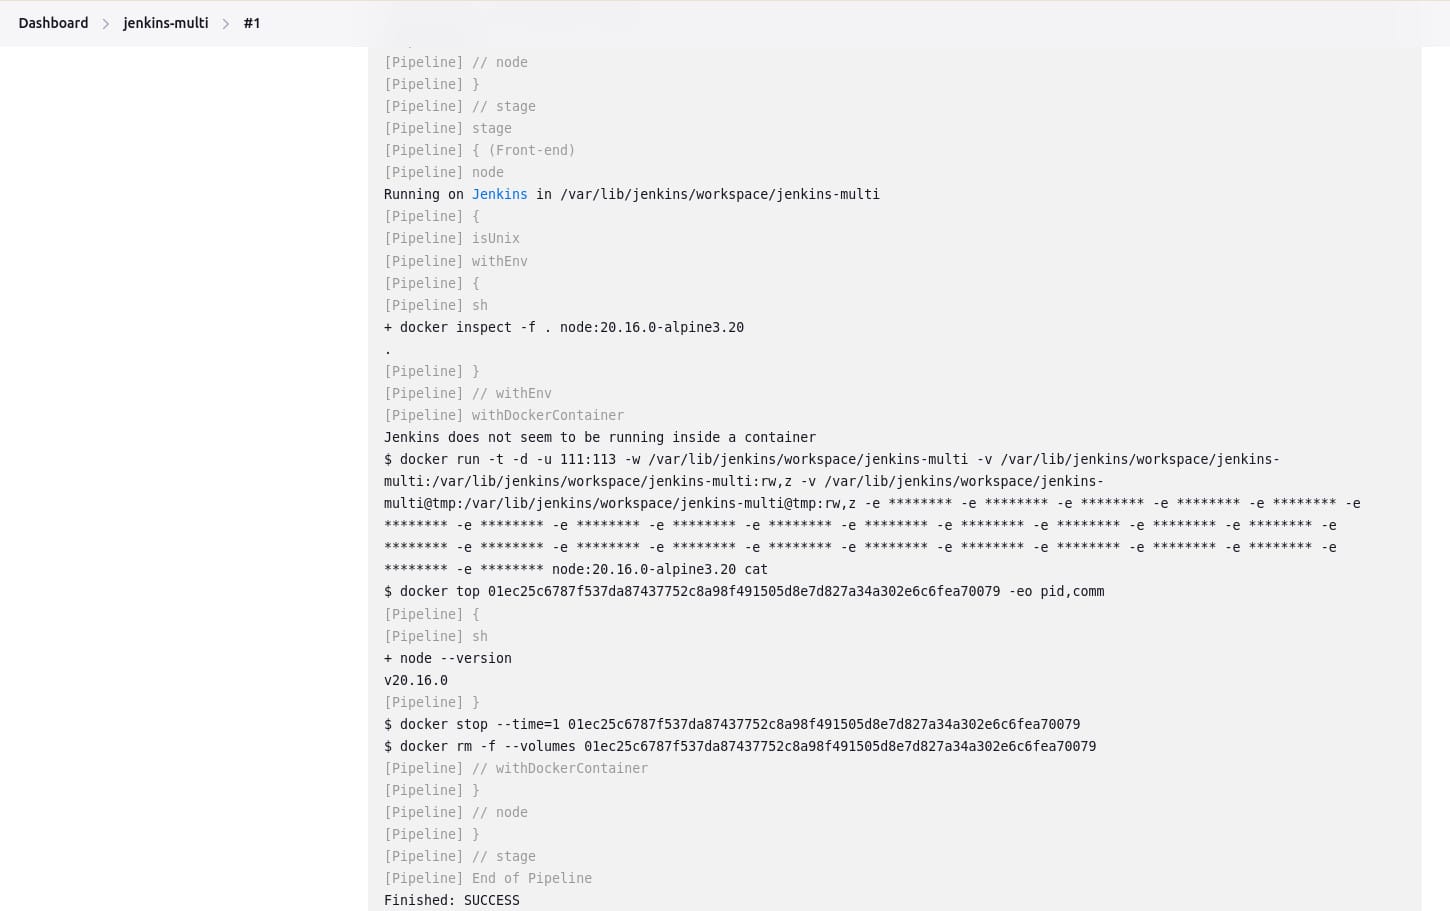
Using multiple containers
Combining Docker and Pipeline allows a Jenkinsfile to use multiple types of technologies by combining the agent directive with different stages. This is useful for repositories that have both backend and frontend implementations, for example:
pipeline {
    agent none
    stages {
        stage('Back-end') {
            agent {
                docker { image 'maven:3.9.8-eclipse-temurin-21-alpine' }
            }
            steps {
                sh 'mvn --version'
            }
        }
        stage('Front-end') {
            agent {
                docker { image 'node:20.16.0-alpine3.20' }
            }
            steps {
                sh 'node --version'
            }
        }
    }
}
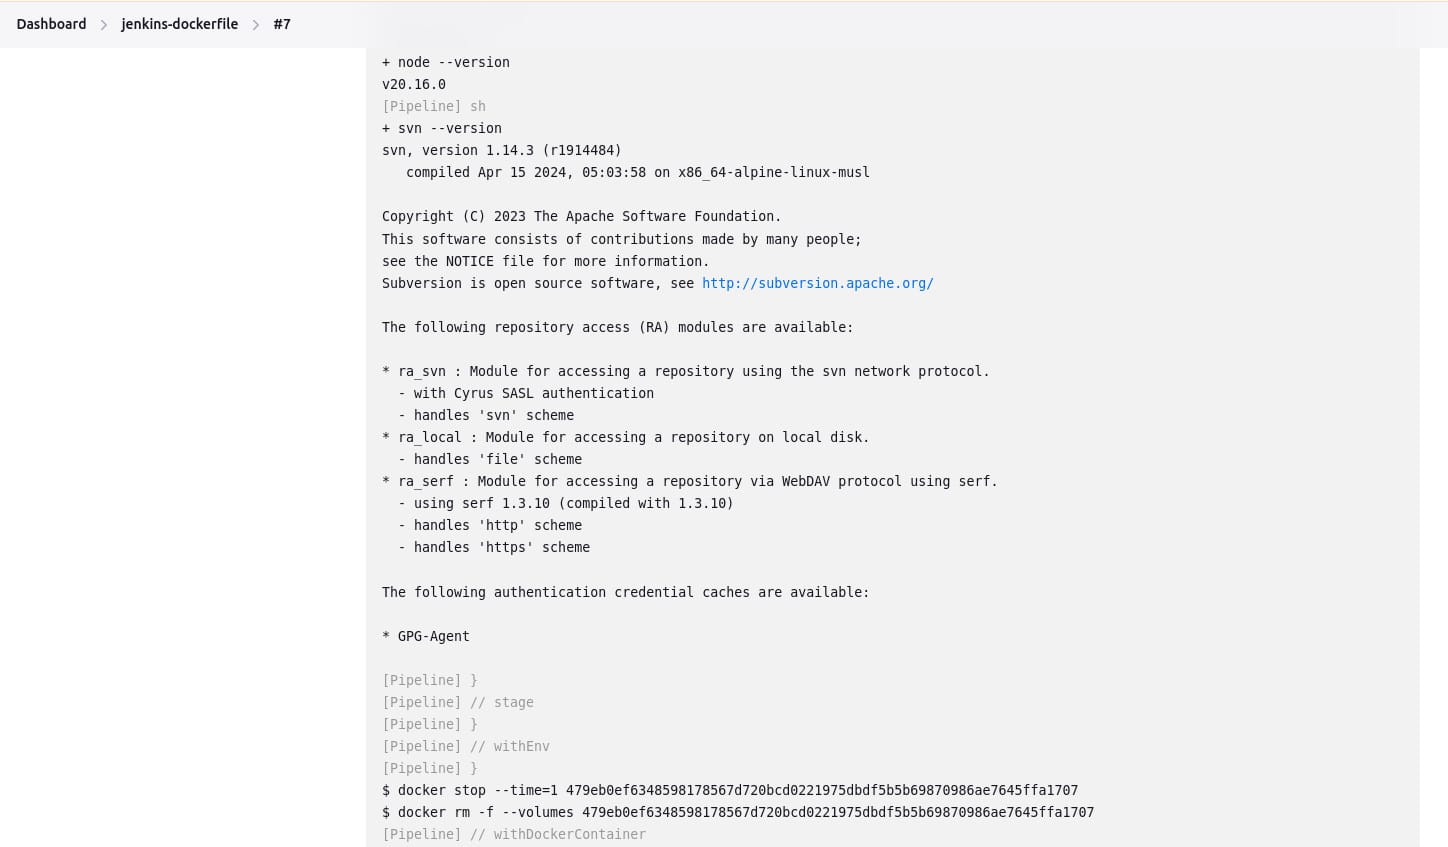
Using a Dockerfile
For projects requiring a more customized execution environment, Pipeline supports building and running a container from a Dockerfile in the source repository. This method builds a new image from the Dockerfile rather than pulling one from Docker Hub:
FROM node:20.16.0-alpine3.20
RUN apk add -U git subversion
Here’s an example of Jenkinsfile using Dockerfile:
pipeline {
    agent { dockerfile true }
    stages {
        stage('Test') {
            steps {
                sh 'node --version'
                sh 'svn --version'
            }
        }
    }
}
Related content: Read our guide to Jenkins tutorial (coming soon)
Considerations and limitations when using Jenkins for Continuous Delivery/Deployment
If your organization maintains a full Continuous Delivery or Continuous Deploymentpipeline, there are some important considerations and limitations you should be aware of when using Jenkins.
1. Scaling challenges
While Jenkins excels in various environments, scaling complex CI/CD pipelines presents challenges. As pipelines grow, managing multiple agents, nodes, and distributed builds becomes a heavy administrative burden, often requiring significant oversight and resource allocation.
Scaling horizontally requires additional server management, monitoring for node health, and ensuring communication aligns with Jenkins’ master-agent architecture. These scalability issues often require integrating third-party tools for job orchestration, load balancing, or distributed systems management.
2. Lack of built-in CD features
Although Jenkins supports Continuous Delivery, it lacks many out-of-the-box CD features. Advanced deployment strategies or complex environments often necessitate plugins or custom scripting to fill functionality gaps, increasing setup complexity and maintenance overhead.
The reliance on third-party plugins for capabilities such as blue-green deployments, canary releases, or automated rollback adds extra dependencies. Teams often need to integrate external tools to achieve mature CD pipelines, which can introduce compatibility issues and augment operational risks.
3. Plugin dependency
Jenkins’ extensive plugin ecosystem extends its functionality, but with it comes dependency challenges. Relying on multiple plugins increases complexity, as plugins may have compatibility issues, differ in release cycles, or even become abandoned by maintainers.
These dependencies also complicate the upgrade process, as careful testing is needed to ensure plugin updates don’t introduce breaking changes. Long-term maintenance often becomes cumbersome, requiring frequent validation of plugin health and compatibility with Jenkins core updates.
4. Slow feedback cycles
Jenkins can occasionally suffer from slower feedback cycles compared to modern CI/CD tools. Build queue delays, longer start times during high loads, and serialization of jobs contribute to this issue, directly impacting development and deployment timelines.
Addressing this requires tuning Jenkins configurations, managing load effectively, and possibly distributing workloads or leveraging cloud-based Jenkins. However, optimizing feedback cycles often results in extra infrastructure investments or adopting newer practices or technologies.
Octopus: The modern Jenkins alternative for CD
CI is not CD. Most all-in-one CI/CD tools weren’t designed to handle the complexities of CD at scale. Octopus was, and it makes it simple.
At the start, most CI/CD tools can handle the basics. But as your applications evolve and become more complex, your deployment scripts become thousands of lines of code you need to manage.All-in-one tools are still a box of parts that need building. They don’t ‘just work’.
Octopus takes over from your CI tool and handles the release, deployment, and operations of CD in advanced ways that no CI tool can. Teams using Octopus actually look forward to deployment time. We believe deploying to production should be a non-event that you can do anytime. Even on Friday.
Get started with Octopus
Make complex deployments simple
Help us continuously improve
Please let us know if you have any feedback about this page.