What is Ruby on Rails?
Ruby on Rails, often called Rails, is a popular open-source web application framework written in the Ruby programming language. It follows the model-view-controller (MVC) pattern, which separates concerns in the codebase, making large-scale web applications easier to maintain and extend. Rails provides a set of conventions and generators that speed up common development tasks, including database migrations, routing, asset management, and authentication.
The “convention over configuration” philosophy in Rails reduces the number of decisions developers need to make, streamlining the development workflow. Rails is used by startups and established companies for its productivity and tooling. It is in active development, with the latest major version, Rails 8.0, released in late 2024.
This is part of a series of articles about software deployment.
Benefits of deploying Ruby on Rails to AWS
Deploying Ruby on Rails on AWS provides a scalable and reliable infrastructure for running production applications. AWS offers a variety of managed services that align well with the architecture of a typical Rails app, from databases to caching to background job processing. Leveraging AWS can reduce operational overhead and improve performance, especially for applications expecting growth or variable traffic.
Benefits of deploying Ruby on Rails on AWS:
- Scalability: AWS enables horizontal and vertical scaling of Rails applications using services like EC2 Auto Scaling, Elastic Load Balancing, and managed RDS for databases.
- High availability: With AWS’s multi-AZ and regional infrastructure, applications can achieve greater fault tolerance and uptime.
- Managed services: Rails apps can benefit from AWS offerings such as RDS for PostgreSQL/MySQL, ElastiCache for Redis, and S3 for asset storage, all reducing the need for manual maintenance.
- Security: AWS provides integrated security tools like IAM, VPC, and security groups, making it easier to control access and secure applications and data.
- Infrastructure as code: With tools like CloudFormation and Terraform, developers can provision and manage AWS resources in a repeatable, version-controlled manner.
- Global reach: AWS has a global network of data centers, allowing Rails applications to serve users with low latency across different regions.
- Integration with CI/CD pipelines: AWS supports smooth integration with deployment workflows using services like CodeDeploy, CodePipeline, and third-party CI/CD tools.

Tony Kelly is a DevOps marketing leader who drives innovation and awareness of the latest trends in Continuous Delivery.
Tutorial: deploying a Rails application to AWS Elastic Beanstalk
This tutorial explains how to deploy a Ruby on Rails application to AWS Elastic Beanstalk using the Ruby platform. You’ll go through setting up dependencies, generating a Rails app, preparing it for deployment, configuring environment variables, and deploying it to a fully managed AWS environment. Instructions are adapted from the AWS documentation.
Prerequisites
Ensure the following components are installed:
- Ruby (2.5.0 or newer)
- Rails
- Node.js
- Yarn
To install Rails:
gem install rails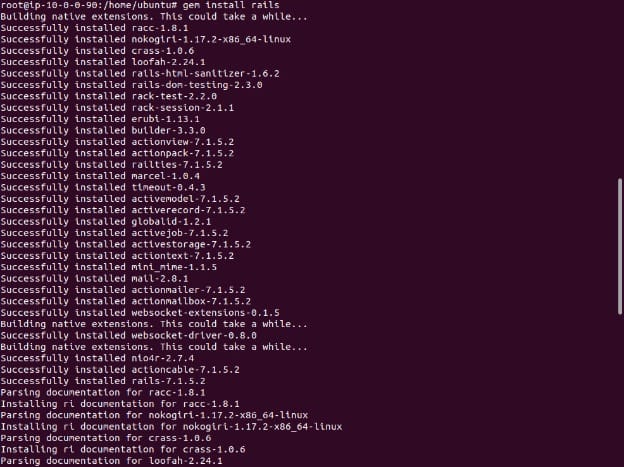
Verify the installation:
rails --version
# Rails 7.1.5.2![]()
Install Node.js and Yarn using your package manager or by following platform-specific instructions.
Step 1: create a new Rails project
Generate a new Rails application:
rails new ~/eb-railsThis will create a directory named eb-rails with a complete Rails app scaffold. Change into the new directory:
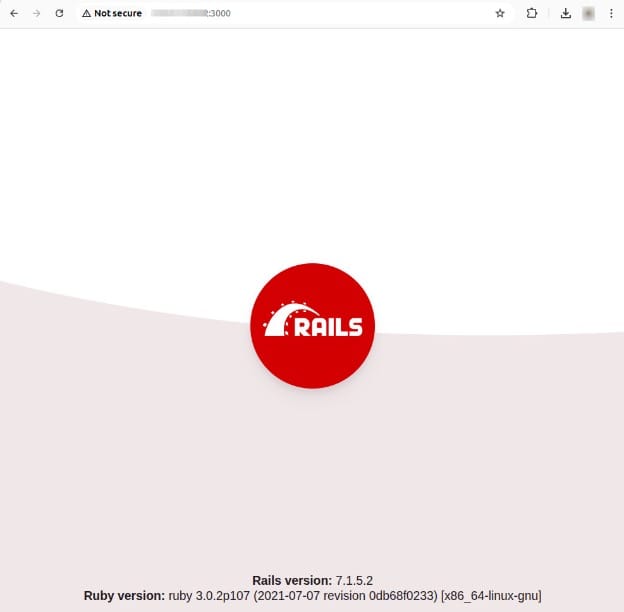
cd ~/eb-railsStart the server locally to test:
rails serverThen open http://localhost:3000 or http://<YOUR-SERVER-IP>:3000 in your browser. You should see the default Rails welcome page.
Step 2: create a homepage for production
Use Rails generators to create a welcome page:
rails generate controller WelcomePage welcome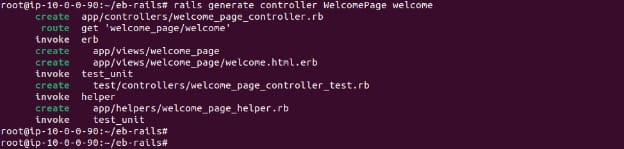
This creates a controller, view, route, helper, and associated assets. Now edit the generated view file app/views/welcome_page/welcome.html.erb:
<h1>Welcome!</h1>
<p>This is the front page of my first Rails application on Elastic Beanstalk.</p>
Make the new page the root of the app by updating your routes in config/routes.rb:
Rails.application.routes.draw do
  get 'welcome_page/welcome'
  root 'welcome_page#welcome'
end
Step 3: prepare for deployment
Update the lockfile to include the Ruby platform to avoid compatibility issues during deployment:
bundle lock --add-platform ruby
Prepare your application for deployment by zipping the project directory:
zip ../rails-default.zip -r * .[^.]*This creates a file named rails-default.zip in the parent directory, containing all your app files and configuration.
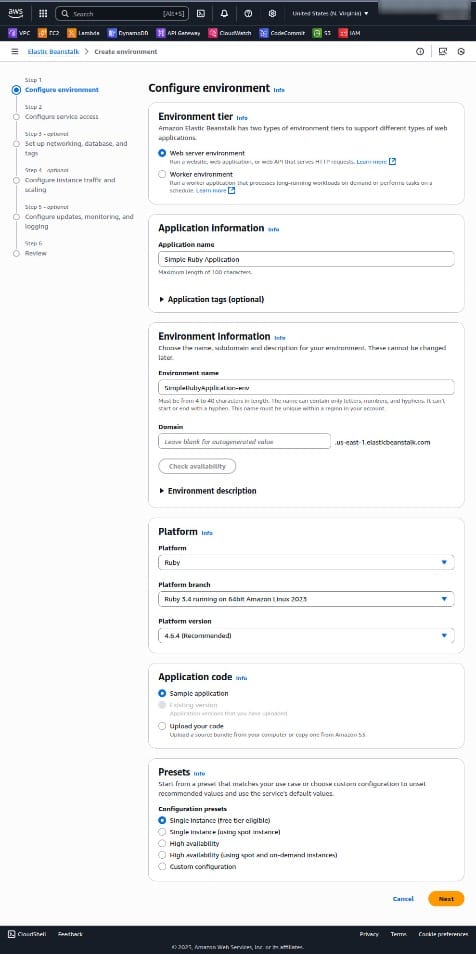
Step 4: launch an Elastic Beanstalk environment
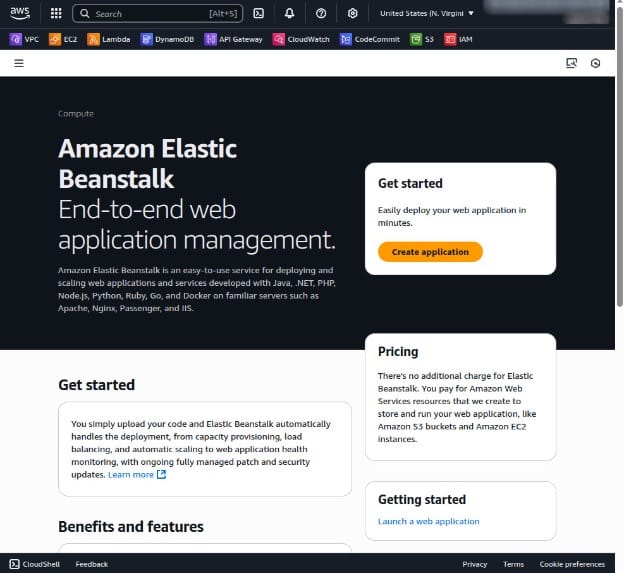
Use the AWS Management Console:
-
Go to the Elastic Beanstalk console.
-
Click Create Application.
-
Set Platform to Ruby and use the Load balanced environment type.
-
Select Sample Application for the initial deployment.
-
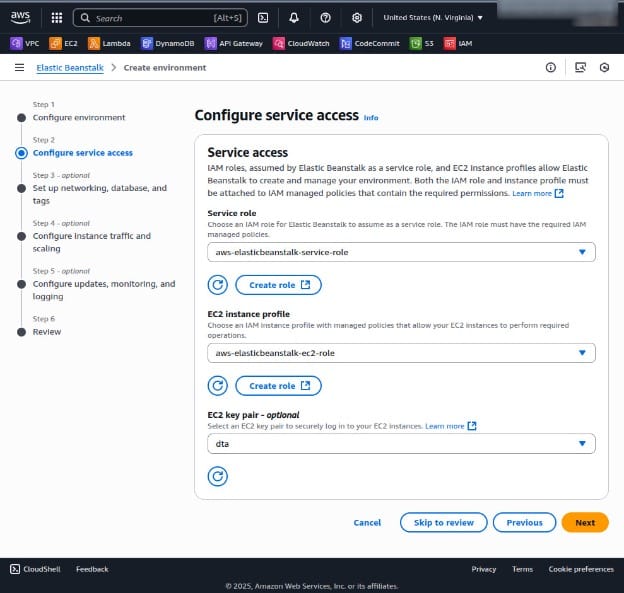
Click Next to configure relevant service access.
-
The rest of the steps are optional (unless you need a specific VPC or security group); click Skip to Review to continue to the summary page.
-
On the Summary page, click Create App.
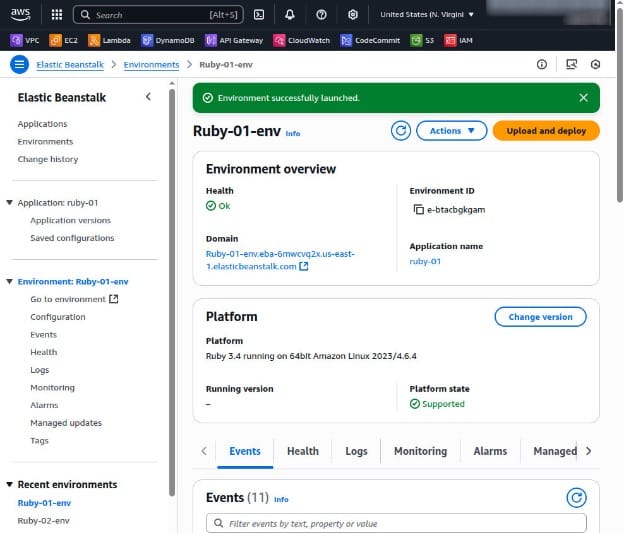
This takes about 5 minutes and provisions the following resources:
- EC2 instance with a pre-configured Ruby environment
- Security groups for instance and load balancer access
- Elastic load balancer to distribute traffic
- Amazon S3 bucket to store deployment artifacts
- Auto scaling group and CloudWatch alarms
- CloudFormation stack to manage resources
Step 5: set environment variables
Rails requires a SECRET_KEY_BASE environment variable in production. Set it in the Elastic Beanstalk console:
- Navigate to your environment.
- Go to Configuration > Software.
- Click Edit under Environment properties.
- Add a new variable with Name
SECRET_KEY_BASEand Value<your_secure_key>.
You can generate a secure key with:
rails secret![]()
Avoid storing this value in source control.
Step 6: deploy the application
In the Elastic Beanstalk console:
- Go to your environment.
- Click Upload and deploy.
- Choose the
rails-default.zipfile. - Click Deploy.
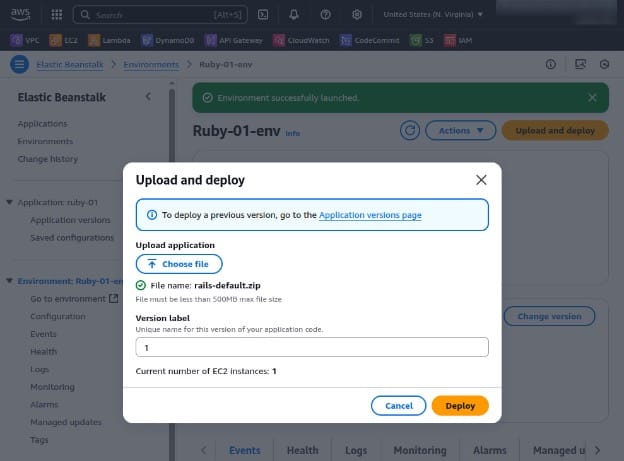
Once the deployment completes, you’ll see a URL in the environment overview. Click it to view your Rails app in the browser.

Best practices for deploying Rails on AWS
Store assets and uploads in S3 with CloudFront
Rails applications typically serve static assets (CSS, JS, images) and handle user uploads (e.g., avatars, documents). Hosting these on the app server increases memory usage and slows down response times.
Instead, configure Active Storage (built-in since Rails 5.2) or use CarrierWave to upload directly to Amazon S3. Update config/storage.yml for Active Storage or config/initializers/carrierwave.rb for CarrierWave to use the S3 service. Ensure credentials and bucket names are managed through environment variables.
For faster global delivery, use Amazon CloudFront with your S3 bucket. CloudFront caches content at edge locations, reducing load times and bandwidth costs. Configure long-lived cache headers on assets and enable HTTPS for secure transmission.
Example Active Storage config:
amazon:
  service: S3
  access_key_id: <%= ENV['AWS_ACCESS_KEY_ID'] %>
  secret_access_key: <%= ENV['AWS_SECRET_ACCESS_KEY'] %>
  region: us-east-1
  bucket: your-app-assets
Use RDS with high availability
Rails apps rely heavily on a relational database, and uptime is critical. Amazon RDS with Multi-AZ deployments ensures high availability by automatically replicating your database to a standby in another Availability Zone.
In production, choose a supported engine like PostgreSQL or MySQL. Enable Multi-AZ to get automatic failover and regular backups without manual intervention. Use RAILS_MAX_THREADS and database connection pool settings to match the instance size and concurrency level.
Monitor performance using Amazon CloudWatch metrics like read/write IOPS, CPU, and free memory. Use read replicas for scaling read queries, reporting, or background jobs.
Database settings in config/database.yml should reference environment variables for credentials and endpoint names to keep the codebase portable.
Add caching with ElastiCache
To reduce database load and speed up page rendering, use caching at various layers of your Rails app. Amazon ElastiCache supports Redis and Memcached, both of which can act as a centralized cache store.
Use Redis with redis-rails for session storage, fragment caching, and background job queues (e.g., Sidekiq). Configure your cache store in config/environments/production.rb:
config.cache_store = :redis_cache_store, {
  url: ENV['REDIS_URL'],
  namespace: 'my-app-cache'
}
ElastiCache clusters should be provisioned in the same VPC as your app for low-latency access. Use security groups to allow connections only from your application instances.
Regularly monitor cache hit/miss ratios and evictions in CloudWatch, and scale your cache nodes as needed to prevent performance bottlenecks.
Secure credentials with Secrets Manager or Parameter Store
Hardcoding sensitive information in source code or configuration files is a common security risk. AWS Secrets Manager and Systems Manager Parameter Store offer encrypted storage for secrets, along with IAM-based access control.
Secrets Manager is better suited for managing database passwords, API keys, and third-party credentials. Use the AWS SDK to fetch secrets dynamically at runtime or inject them as environment variables via Elastic Beanstalk configurations.
Parameter Store can be used for non-sensitive configuration values, organized hierarchically by environment and application.
To integrate with Rails, use gems like aws-sdk-ssm or dotenv to load secrets during boot. For example:
# Fetching a secret at runtime
client = Aws::SSM::Client.new
param = client.get_parameter(name: "/my-app/production/database_password", with_decryption: true)
ENV['DB_PASSWORD'] = param.parameter.value
Use IAM roles attached to your EC2 or Beanstalk instances to grant least-privilege access to specific parameters or secrets.
Implement auto scaling and load balancing
To handle changing traffic patterns without manual intervention, implement auto scaling and load balancing. Elastic Beanstalk makes this straightforward with load-balanced environments that include an ELB and an Auto Scaling group by default.
Configure instance scaling policies based on metrics like CPU usage (e.g., scale out at 70%, scale in at 30%). Use CloudWatch alarms to trigger these changes automatically.
Application load balancers (ALBs) support path-based routing, SSL termination, and health checks. Ensure your Rails app responds with a 200 status for health check endpoints to prevent unnecessary restarts.
You can also configure scheduled scaling (e.g., higher capacity during business hours) to reduce costs. Monitor scaling activity and instance health in the Beanstalk and EC2 dashboards to ensure reliable operation.
Help us continuously improve
Please let us know if you have any feedback about this page.