What is Argo CD?
Argo CD is an open-source Continuous Deployment (CD) tool built to automate the deployment of applications in a Kubernetes environment. It’s a product of the Argo project, a community-driven initiative backed by the Cloud Native Computing Foundation (CNCF). Argo CD employs a GitOps approach to deployment, ensuring that your Kubernetes clusters are in sync with your Git repositories. This means that any changes in your Git repository will automatically trigger a deployment in your Kubernetes cluster.
Argo CD’s architecture is designed to be highly flexible, allowing it to fit well into any software development lifecycle. It provides an intuitive, declarative interface for managing deployments, enabling you to define your deployment pipeline in code. It also supports a range of configuration management tools, such as Helm, Kustomize, Jsonnet, and more. This makes it an extremely versatile tool in the hands of a DevOps engineer.
However, despite its many benefits, Argo CD alone cannot handle all the complexities of modern infrastructure management. This is where Terraform comes in.
Argo CD and Terraform: Better together
Here are the key benefits of using Argo CD with Terraform.
1. Enhanced infrastructure management
Terraform is an open-source Infrastructure as Code (IaC) tool developed by HashiCorp. It allows you to define and provision your infrastructure using a simple, declarative language. With Terraform, you can manage a wide variety of service providers, including cloud platforms, on-premises servers, and even third-party APIs. It also provides a robust ‘plan and apply’ model, ensuring that your infrastructure changes are predictable and safe.
Pairing Argo CD with Terraform gives you the best of both worlds. While Argo CD manages your application deployments, Terraform handles your underlying infrastructure. This allows you to automate your entire deployment pipeline, from infrastructure provisioning to application deployment. Moreover, both tools use a declarative approach, ensuring that your entire pipeline is defined in code and versioned in Git.
2. Improved consistency and efficiency
Using Argo CD and Terraform together also improves the consistency and efficiency of your deployments. Terraform’s declarative language ensures that your infrastructure is consistently provisioned across all environments, eliminating the risk of configuration drift. On the other hand, Argo CD’s GitOps approach ensures that your applications are consistently deployed, providing a single source of truth for your deployments.
The integration of Argo CD and Terraform also streamlines your deployment pipeline. By managing both your infrastructure and applications in a single pipeline, you can reduce the time it takes to deploy changes. This not only speeds up your delivery cycle but also makes it easier to manage and track your deployments.
3. Reduced operational overhead
The combination of Argo CD and Terraform can significantly reduce your operational overhead. By automating your deployment pipeline, you can eliminate manual intervention, reducing the risk of human error. This not only ensures that your deployments are more reliable, but it also frees up your team to focus on more strategic tasks.
Terraform’s plan and apply model also provides a clear overview of your infrastructure changes, making it easier to review and approve changes. Argo CD likewise provides a comprehensive view of your application deployments, allowing you to track the status of your deployments in real time. This visibility greatly simplifies the task of managing your deployments.
4. Better version control
Argo CD and Terraform both support version control, allowing you to track changes to your deployment pipeline over time. This is crucial for maintaining the integrity of your deployments and for meeting compliance requirements.
With Terraform, you can version your infrastructure code, providing a historical record of your infrastructure changes. This makes it easier to identify and revert problematic changes, reducing the risk of downtime. Argo CD also supports versioning of your application deployment configuration, providing a similar capability for your application deployments.
Quick tutorial: Installing Argo CD with Terraform
Here is a simplified tutorial that shows the general steps to installing Argo CD with Terraform.
Important note: Do not use this procedure to install Argo CD in production. We suggest following this tutorial in a dev environment to better understand the process.
Prerequisites
Before we deploy Argo CD using Terraform, install Terraform, and deploy a Kubernetes cluster. You can automate this using Terraform with the Kind provider. Alternatively, you can create a cluster directly with the CLI.
Install Argo CD with Helm
To integrate Argo CD, we deploy it using its Helm chart. Add the argocd repo to helm using the command:
helm repo add argo https://argoproj.github.io/argo-helmTo integrate Argo CD, we deploy it using its Helm chart. Add the argocd repo to helm using the command:
helm search repo argo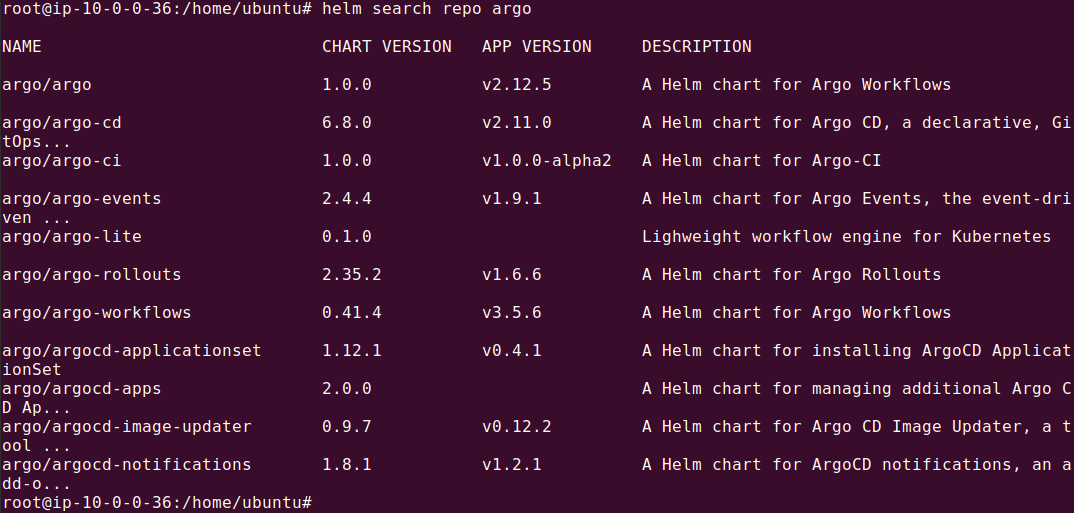
Configure Terraform
At this point, there should already be a Kubernetes cluster present, which will be used by Terraform automatically. Create a folder called ‘terraform’ and a nested folder called ‘values’. Within this folder, create the following files:
terraform/main.tf
resource "helm_release" "argocd" {
  name = "argocd"

  repository       = "https://argoproj.github.io/argo-helm"
  chart            = "argo-cd"
  namespace        = "argocd"
  create_namespace = true
  version          = "3.35.4"

  values = [file("values/argocd.yaml")]
}
terraform/provider.tf
provider "helm" {
  kubernetes {
    config_path = "~/.kube/config"
  }
}


Filename: terraform/values/argocd.yaml

global:
  image:
    tag: "v2.6.6"

server:
  extraArgs:
  - --insecure
Define application manifests
Next, we’ll define our three-tier web application using Kubernetes Deployment manifests. Each manifest should be stored in a separate YAML file in a Git repository.
Here’s an example Kubernetes manifest for the backend server:
apiVersion: apps/v1
kind: Deployment
metadata:
  name: backend-server
  namespace: web-app-namespace
spec:
  replicas: 3
  selector:
    matchLabels:
      app: backend
  template:
    metadata:
      labels:
        app: backend
    spec:
      containers:
        - name: server
          image: my-docker-repo/backend-server:latest
          ports:
            - containerPort: 8080
          volumeMounts:
            - name: server-storage
              mountPath: '/data'
      volumes:
        - name: server-storage
          persistentVolumeClaim:
            claimName: backend-pvc
Here is an example manifest for the client application:
apiVersion: apps/v1
kind: Deployment
metadata:
  name: frontend-client
  namespace: web-app-namespace
spec:
  replicas: 2
  selector:
    matchLabels:
      app: frontend
  template:
    metadata:
      labels:
        app: frontend
    spec:
      containers:
        - name: client
          image: my-docker-repo/frontend-client:latest
          ports:
            - containerPort: 80
And finally, here is a demo manifest for the database tier (this is a simplified example and not intended to show how to deploy databases in a production Kubernetes cluster):
apiVersion: apps/v1
kind: Deployment
metadata:
  name: database
  namespace: web-app-namespace
spec:
  replicas: 1
  selector:
    matchLabels:
      app: database
  template:
    metadata:
      labels:
        app: database
    spec:
      containers:
        - name: db
          image: my-docker-repo/database:latest
          ports:
            - containerPort: 5432
          volumeMounts:
            - name: db-storage
              mountPath: '/var/lib/postgresql/data'
      volumes:
        - name: db-storage
          persistentVolumeClaim:
            claimName: db-pvc
Configure Kubernetes cluster with Argo CD
Once Argo CD is installed, the next step is to configure the Kubernetes cluster to deploy the application. Here is an Argo CD application that defines a three-tier web application.
Note: Under repoURL, you should provide the Git repo you used to store the YAML files for the three-tier application from the previous step.
apiVersion: argoproj.io/v1alpha1
kind: Application
metadata:
  name: web-application
  namespace: argocd
spec:
  project: default
  source:
    repoURL: 'https://github.com/your-organization/your-repo'
    path: 'web-application'
    targetRevision: 'main'
  destination:
    server: 'https://kubernetes.default.svc'
    namespace: 'web-app-namespace'
  syncPolicy:
    automated:
      prune: true
      selfHeal: true
A few notes about this configuration:
- metadata: Identifies the application resource with a name and namespace.
- project: Specifies which Argo CD project this application belongs to.
- source: Defines the Git repository URL, path, and branch for the application manifests.
- destination: Specifies the target Kubernetes cluster and namespace where the application will be deployed.
- syncPolicy: Automates synchronization and handles self-healing for consistent deployment.
- path: The folder in repository that contains the Kubernetes manifest file(s). These files are described in the following section.
You can use the Argo CD Web UI interface to create the application, as shown later in the article. Note that you use Terraform again to apply the Application CRD, via the Kubernetes provider.
Execution on Kubernetes
With all configurations and manifests prepared and stored in the Git repository, the execution is straightforward. The commands to deploy using Terraform and then sync using Argo CD are:
terraform init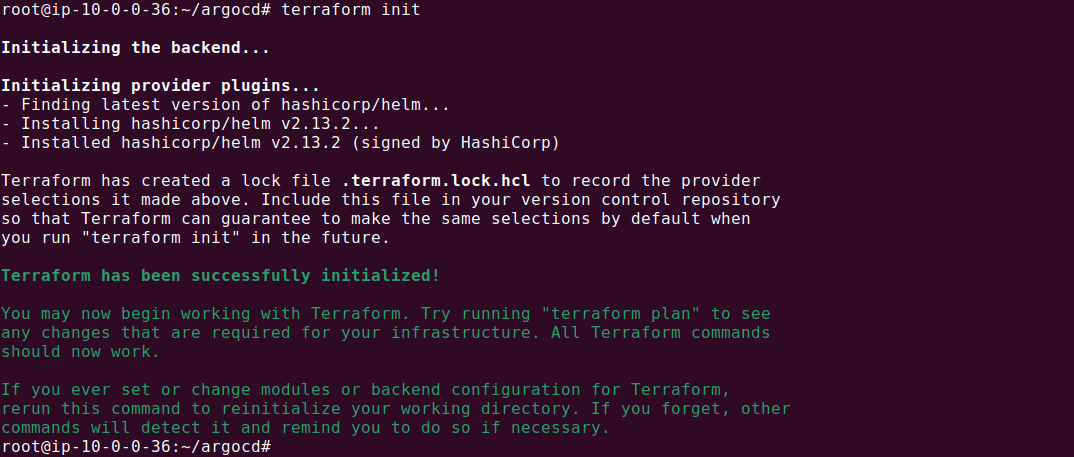
terraform plan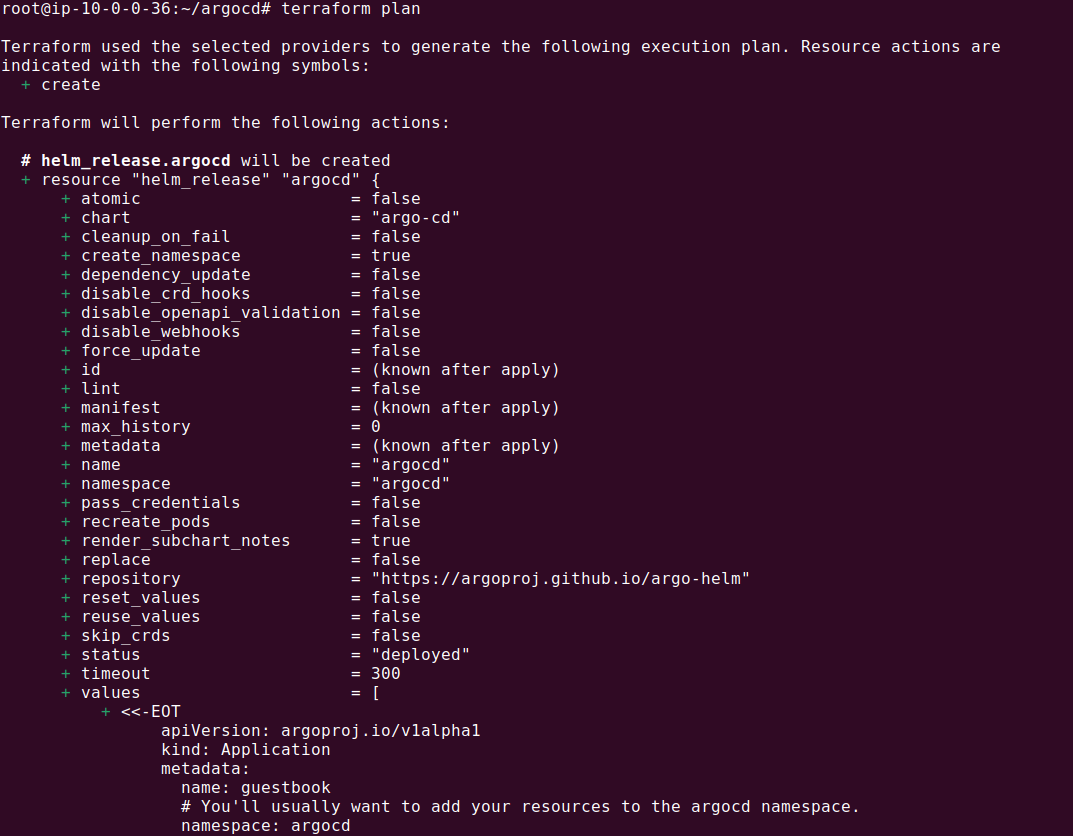
terraform apply --auto-approve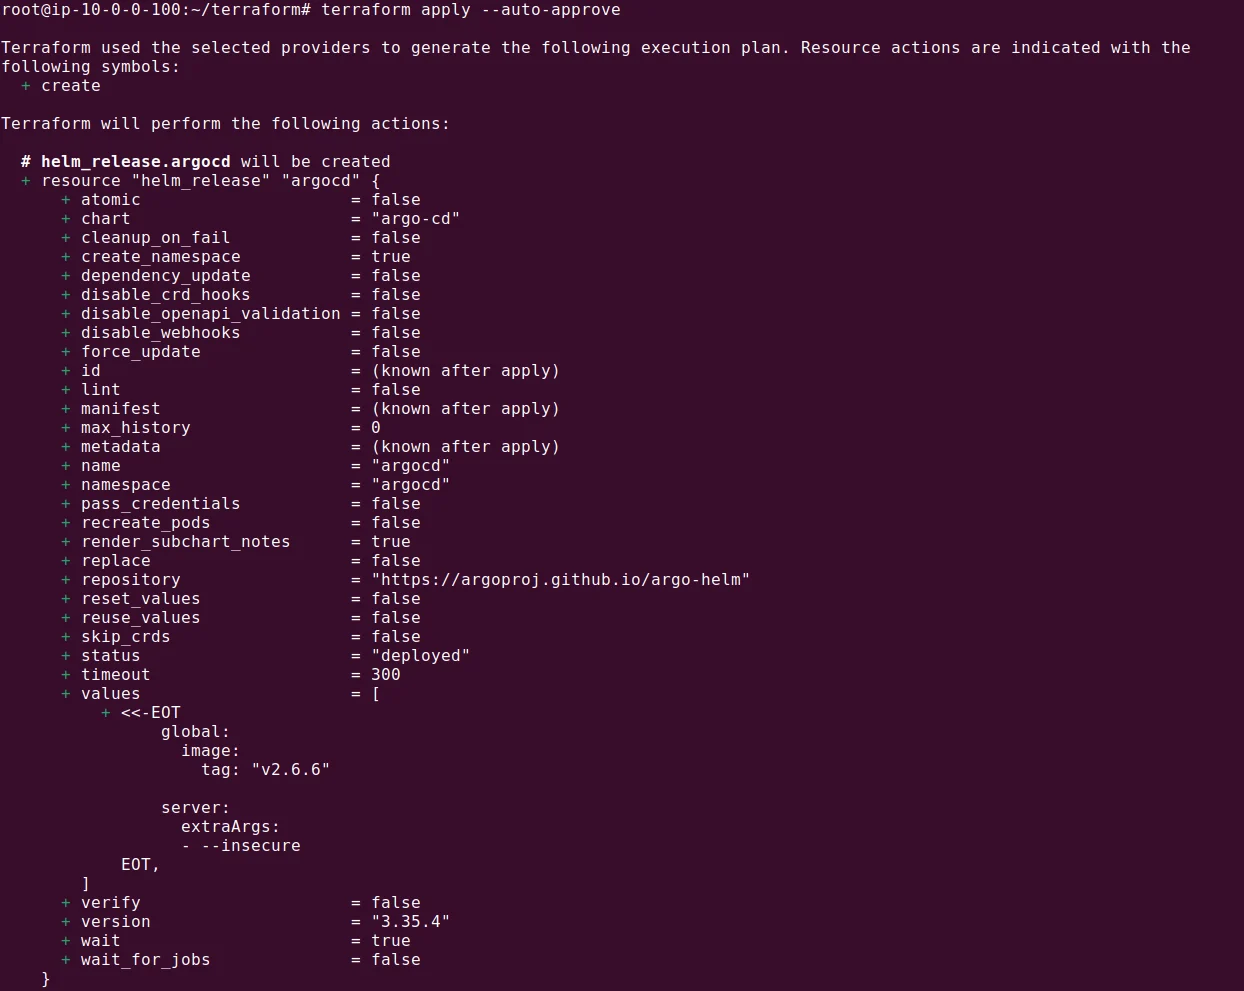
After the Terraform scripts have successfully executed, the next step is to sync the applications using Argo CD:
kubectl port-forward svc/argocd-server -n argocd 8443:443`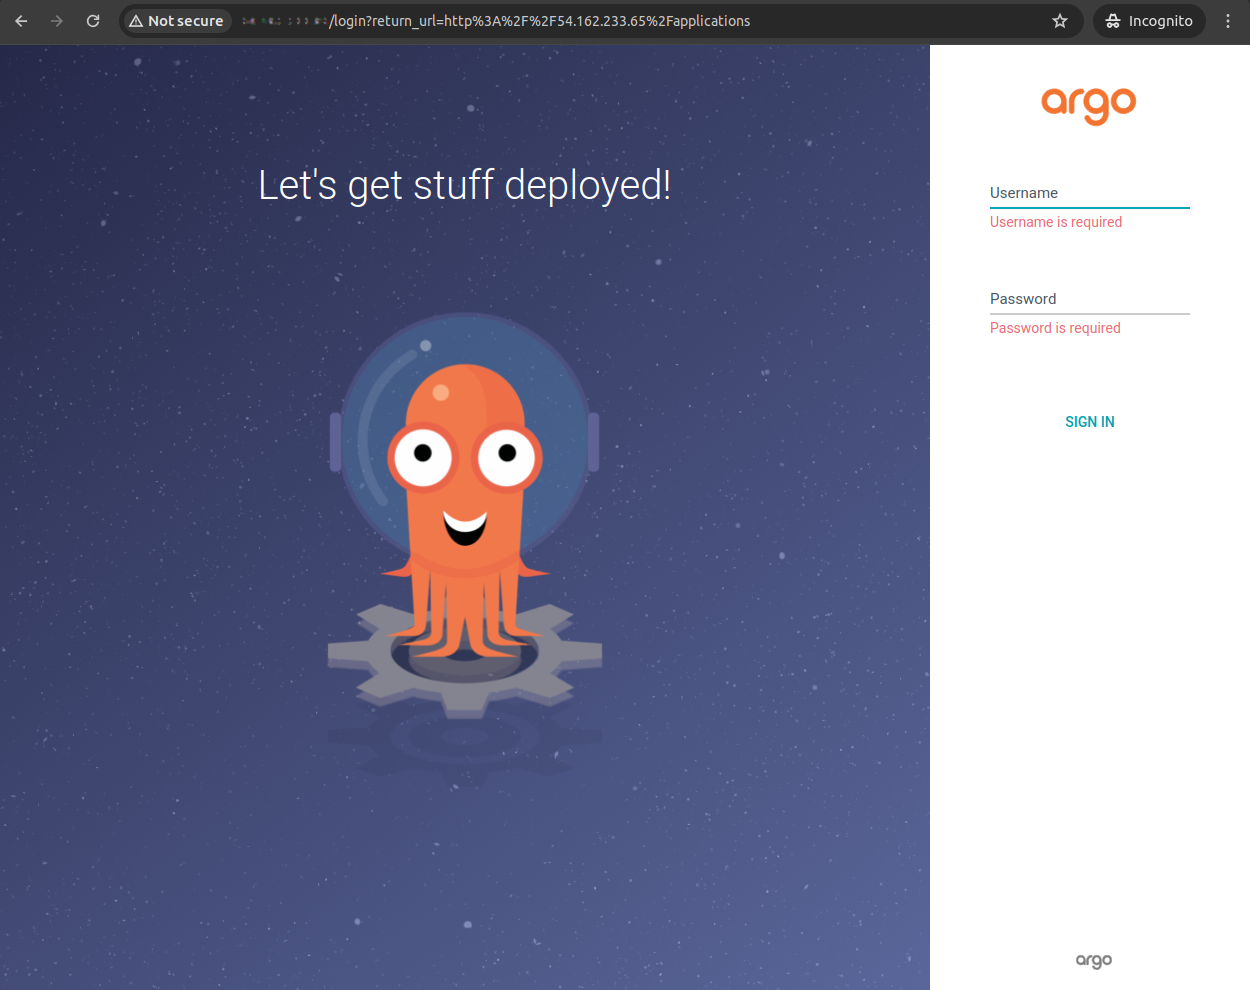
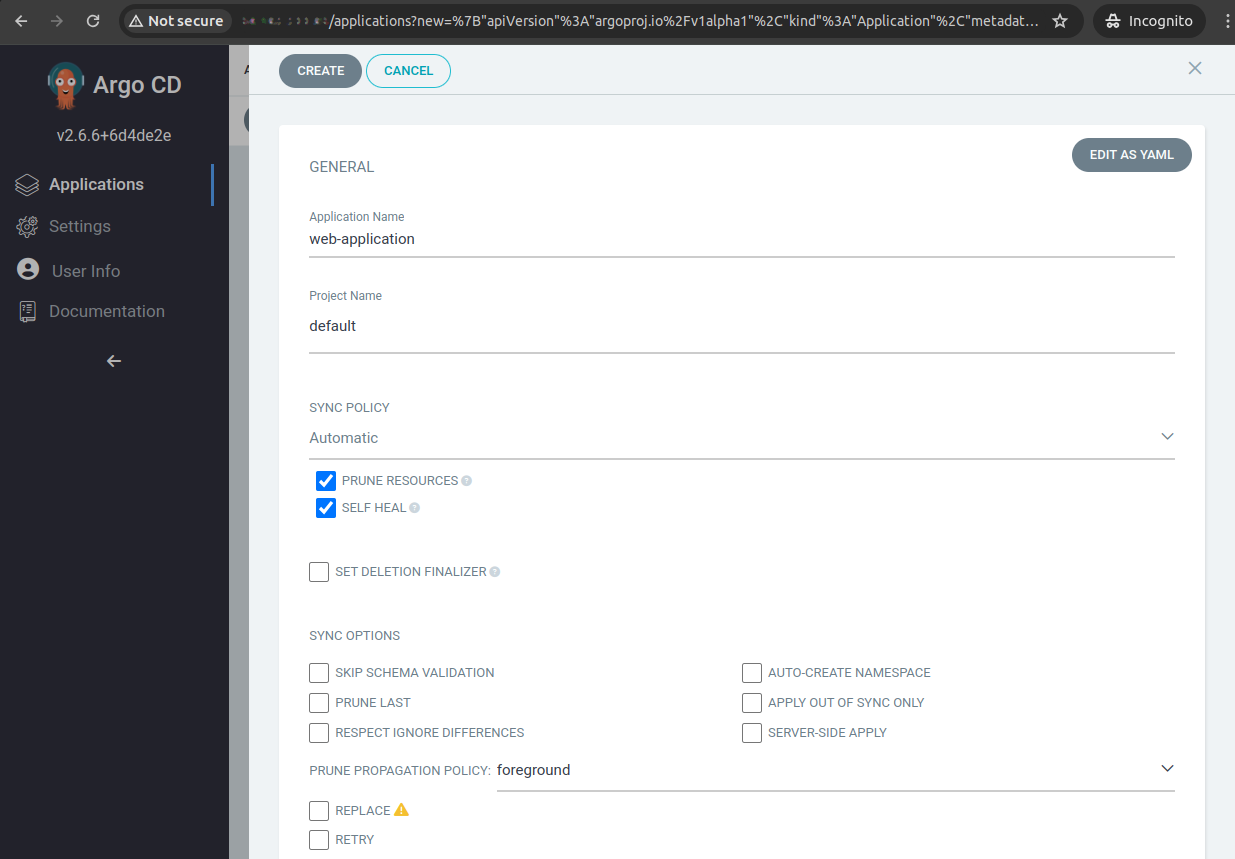
In the Argo CD UI, navigate to the web application and manually trigger a sync if auto-sync is not enabled. This action will deploy the web application across the Kubernetes nodes, completing the setup.
The process we showed above is a simplified demo. In reality, the application definition itself would also be installed with Terraform.
Related content: Read our detailed guide to Argo Kubernetes
Help us continuously improve
Please let us know if you have any feedback about this page.