What is the Jenkins JUnit plugin?
The Jenkins JUnit plugin integrates testing results from JUnit, a leading Java unit testing framework, with Jenkins, a widely used Continuous Integration (CI) tool. It allows Jenkins to interpret JUnit test reports, present detailed test results and trends, and integrate them into the build summaries.
When a build is executed, the plugin processes the JUnit test results, highlighting failing tests or skipped tests. This facilitates quick identification of issues, making it easier for developers to maintain code health and efficiency.
The Jenkins JUnit plugin improves development workflows by automatically tracking test outcomes over time. This tracking can uncover patterns such as frequently failing tests or fluctuating test stability. By providing this information directly within the Jenkins interface, developers can quickly discover issues and remediate them.
Understanding Jenkins JUnit plugin configurations
The Jenkins JUnit plugin offers configuration options that enable developers to customize how JUnit test results are processed and displayed. Here is an overview of the key configuration parameters:
Test report XMLs
This parameter specifies the path to JUnit XML files using the Ant glob syntax, such as **/build/test-reports/*.xml. Multiple patterns can be specified, separated by commas. It is essential to ensure that only valid test report files are included in these patterns to avoid processing errors.
Retain long standard output/error
When enabled, this option retains all standard output or error messages from the test suite in the test results, even if the test passes. By default, Jenkins truncates lengthy output from passing tests to save space. Retaining all output can be useful for debugging, but it can significantly increase Jenkins’ memory consumption.
Health report amplification factor
This factor adjusts the impact of test failures on the build’s health score. The default value is 1.0, but it can be customized. For instance, a factor of 0.5 means that if 10% of tests fail, the build health score would be 95%. Setting the factor to 0.0 disables the impact of test results on the build health score entirely.
Allow empty results
Enabling this option prevents the build from failing if test result files are missing or empty. This can be useful to avoid false negatives in cases where the test tool does not exit with an error code when it fails to produce report files. However, it may make it harder to detect misconfigured jobs.
Skip publishing checks
If unchecked, the plugin automatically publishes test results to corresponding SCM hosting platforms like GitHub using the Checks API. Disabling this feature can speed up the build process if publishing checks is unnecessary.
Checks name
When publishing checks is enabled, this option allows specifying a custom name for the checks. If not provided, the default name “Test” is used.
Skip marking build unstable
By default, the plugin marks the build as unstable if at least one test fails. Enabling this option allows the build to be marked as successful even if there are test failures, although the corresponding pipeline node and stage will still be marked as unstable. This can be controlled using the property: skipMarkingBuildUnstable: true.
These configurations provide a framework for integrating JUnit test results with Jenkins, enhancing the visibility and management of test outcomes within the CI/CD pipeline.

Dan is a seasoned leader in the tech industry with a strong focus on open source initiatives. Currently serving as VP of Open Source at Octopus Deploy, contributing as an Argo maintainer, co-creator of Open GitOps, and leveraging extensive experience as a co-founder of Codefresh, now part of Octopus Deploy.
Getting started with the Jenkins JUnit plugin
Installing the plugin
To leverage the Jenkins JUnit plugin for processing JUnit test results, you first need to install it. Follow these steps to install the JUnit plugin in Jenkins:
-
Access plugin management:
-
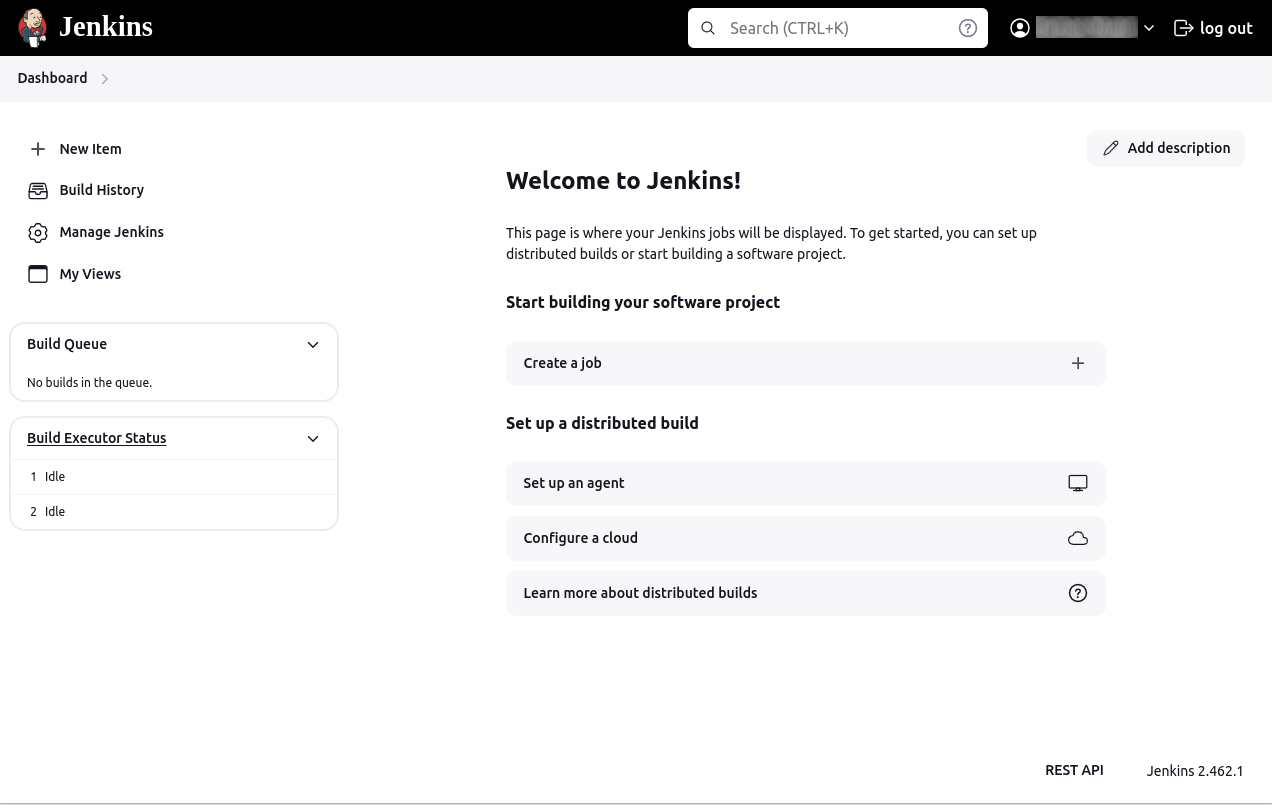
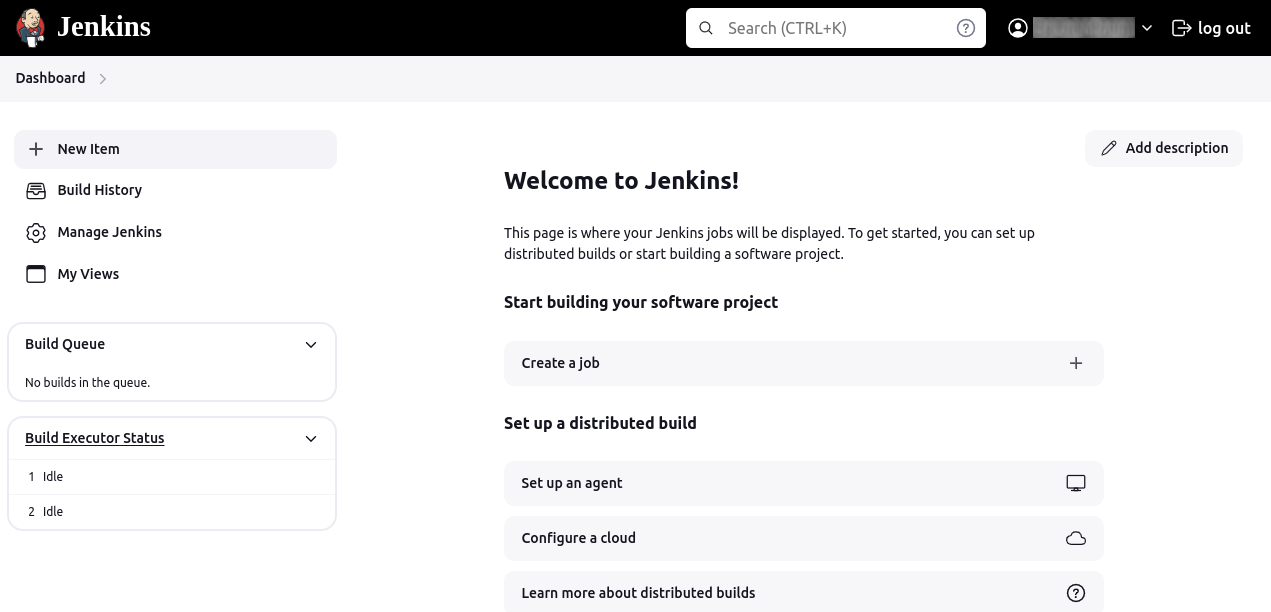
Navigate to your Jenkins dashboard.
-
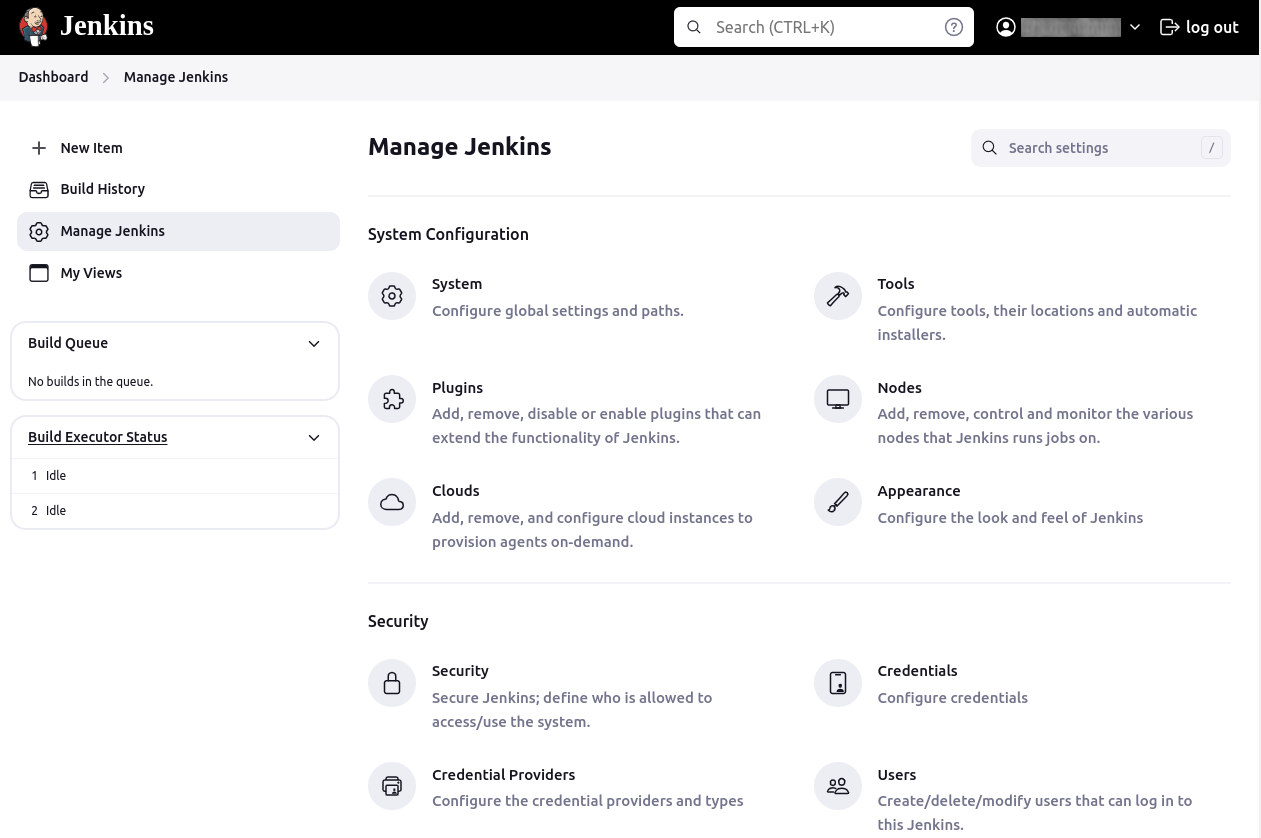
Click on Manage Jenkins in the sidebar.
-
Select Manage Plugins from the menu.
-
-
Search and install JUnit plugin:
-
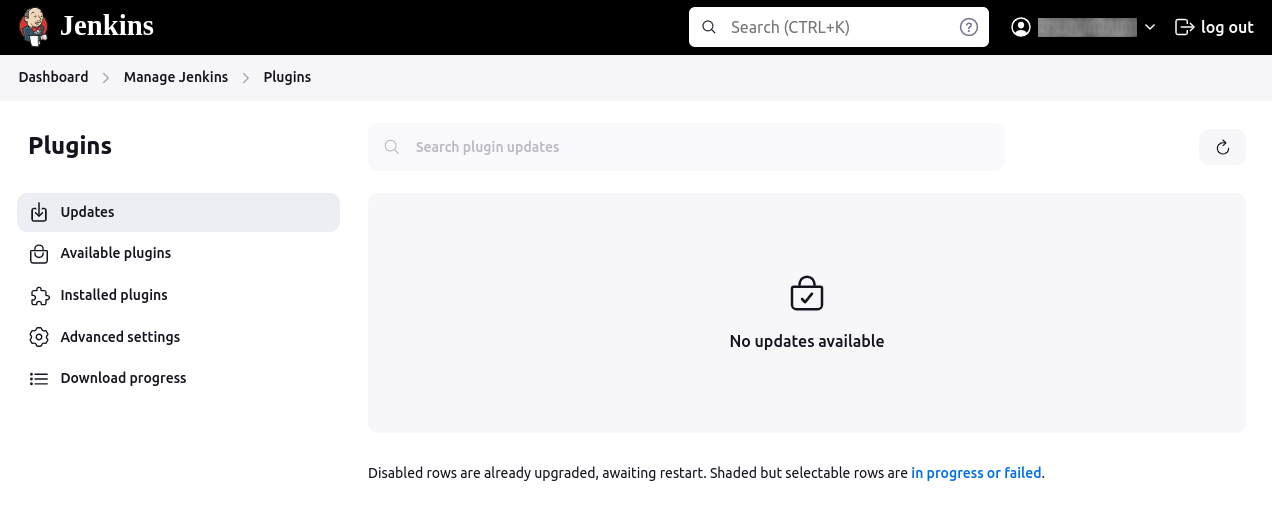
Click on the Available tab to see a list of plugins available for installation.
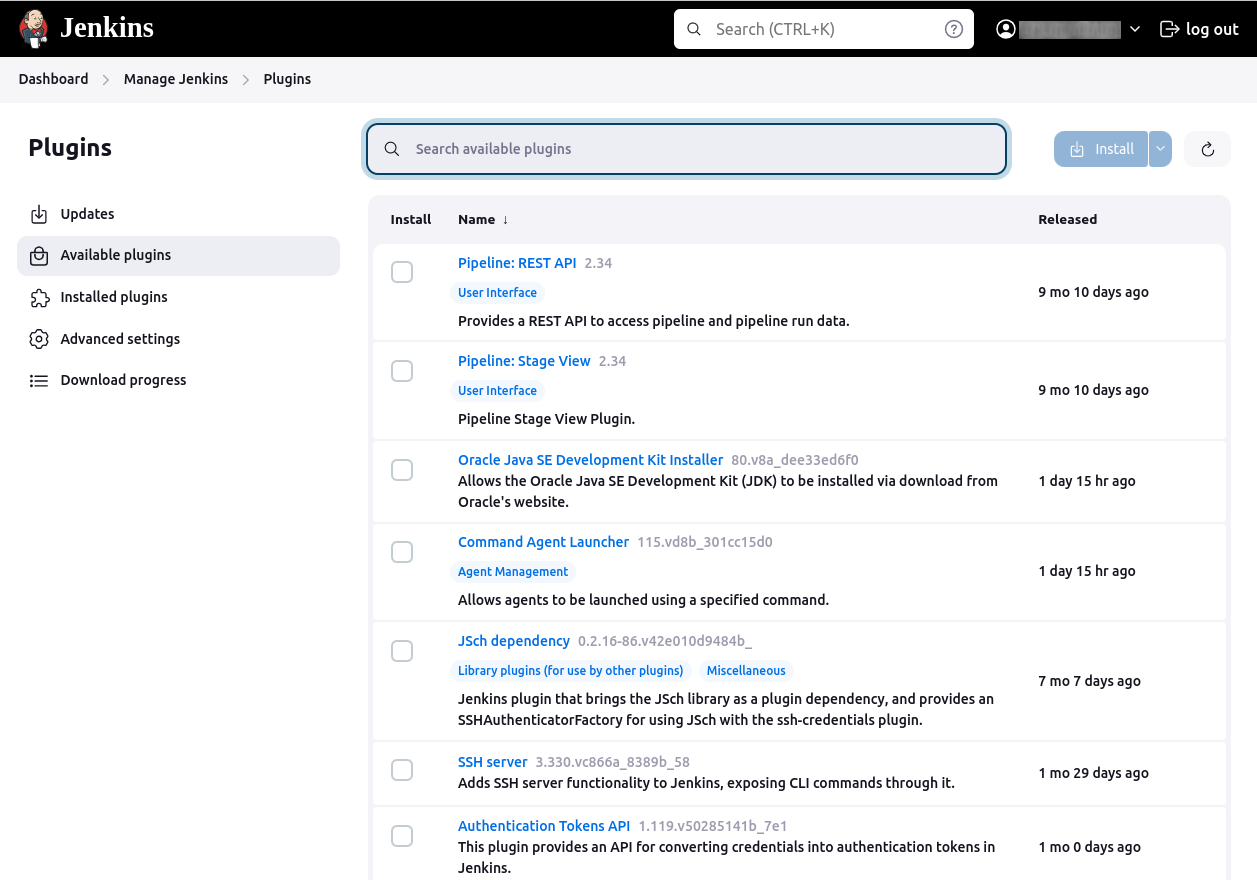
-
In the search box, type junit to find the JUnit plugin.
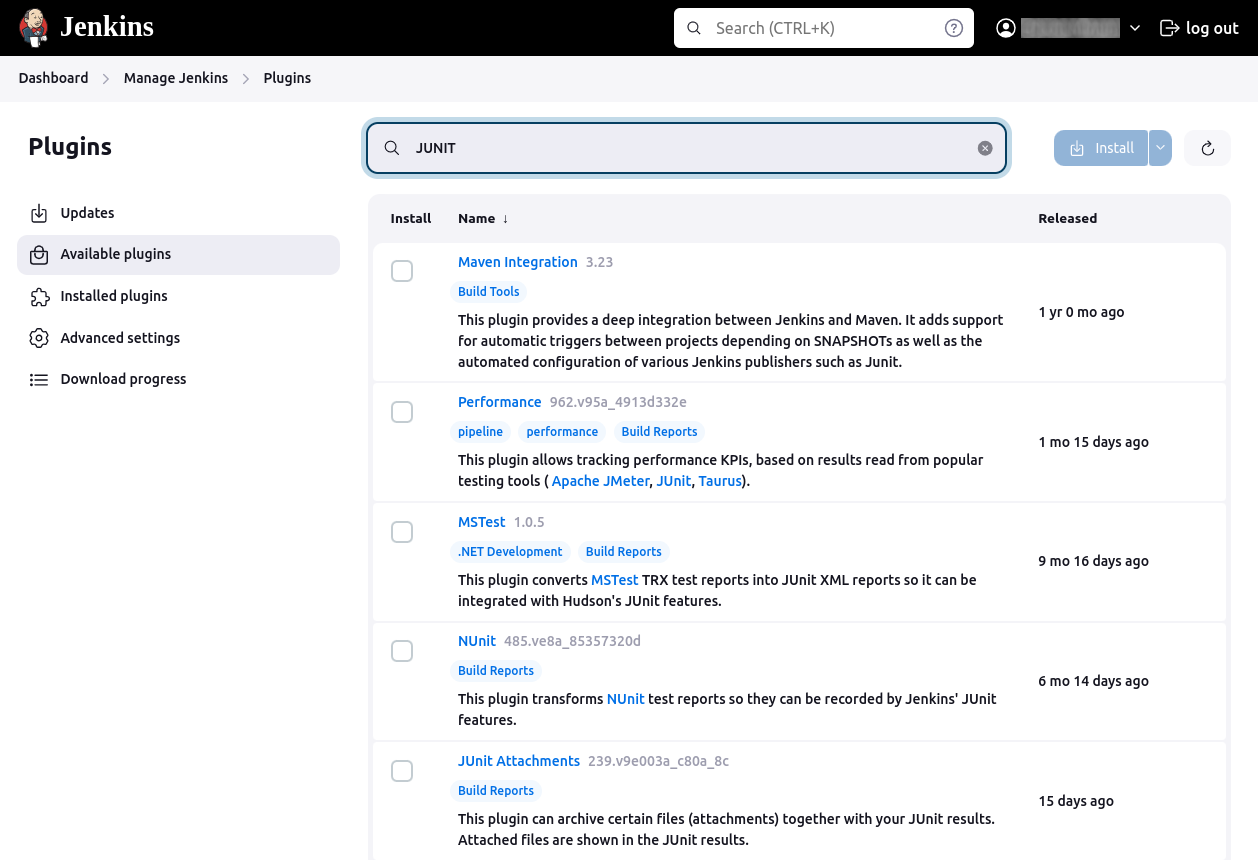
-
Once located, check the box next to the JUnit plugin option.
-
Click Install without restart to begin the installation process.
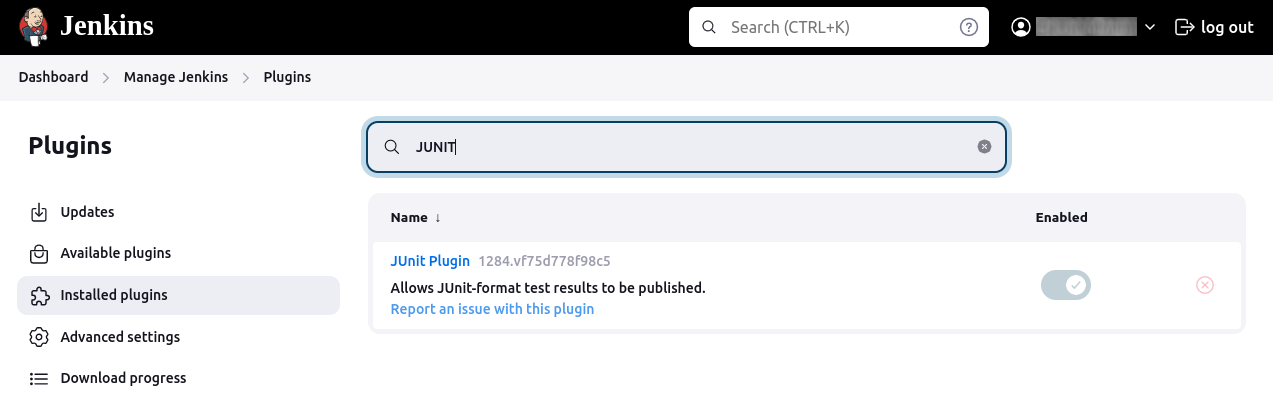
-
Note: In newer versions of Jenkins, the JUnit plugin is a default plugin that comes pre-installed.
Using the JUnit plugin in a new pipeline project
After installing the JUnit plugin, you can create a new pipeline project that incorporates the plugin. Here’s how to set up a pipeline project:
1. Create new item: From the Jenkins dashboard, click New Item. Enter a name for your project, for instance, MyProject. Select the Pipeline option and click the OK button.

2. Configure the pipeline script: In the project configuration page, scroll down to the Pipeline section.

Paste the following pipeline script into the script area:
pipeline {
    agent any

    stages {
        stage('Build') {
            steps {
                echo 'Building...'
                sh 'mvn clean compile'
            }
        }
        stage('Test') {
            steps {
                echo 'Running Tests...'
                sh 'mvn test'
            }
        }
        stage('Deploy') {
            steps {
                echo 'Deploying (using rsync)...'
                sh """
                rsync -avz --delete \\
                /usr/local/dev/ \\
                user@100.23.32.19:/usr/local/super_app/
                """
            }
        }
    }

    post {
        always {
            echo 'Cleaning up...'
            sh 'rm -f tmp/*.dmx'

            junit(testResults: 'target/surefire-reports/*.xml', allowEmptyResults: true)
        }
        success {
            echo 'Build succeeded!'
        }
        failure {
            echo 'Build failed!'
        }
    }
}
A few important details about the pipeline script:
- Build stage: Code is compiled on the local machine.
- Test stage: Runs the Maven test. The junit step publishes the test results to Jenkins.
- Deploy stage: Compiled solution is deployed on the remote server using Linux RSYNC command.
- Post actions: Uses the JUnit plugin to process the test results. The always block ensures that resources are cleaned up, test results are processed regardless of the build outcome, with allowEmptyResults set to true to prevent the build from failing if no test results are found.
3. Click the “Save” button to save your pipeline configuration.
Quick tutorial: Recording tests and artifacts in Jenkins with JUnit
Here’s how you can configure Jenkins to record and aggregate JUnit test results, as well as manage artifacts generated during the build process.
Configuring test result collection
To collect test results, ensure your test runner outputs JUnit-style XML reports. Jenkins typically includes the junit step, which processes these reports. If your test runner does not output JUnit-style reports, you can use additional plugins to process other formats.
Here’s an example of a Jenkinsfile using a declarative pipeline to collect test results:
pipeline {
    agent any
    stages {
        stage('Test') {
            steps {
                sh './gradlew check'
            }
        }
    }
    post {
        always {
            junit 'build/reports/**/*.xml'
        }
    }
}
In this configuration:
- The Test stage runs the tests using the
./gradlew checkcommand. - The post section, which runs after the Test stage, uses the junit step to process test results found in the
build/reportsdirectory.
This setup allows Jenkins to track test results, calculate trends, and report them. If tests fail, the pipeline will be marked as “UNSTABLE,” indicated by yellow in the Jenkins UI, distinct from a “FAILED” state shown in red. You can also configure the pipeline to skip deployment steps if the build is unstable by using the skipStagesAfterUnstable option.
Archiving build artifacts
When tests fail, it’s often necessary to analyze built artifacts locally. Jenkins supports storing these artifacts using the archiveArtifacts step. Here’s how you can configure this in your Jenkinsfile:
pipeline {
    agent any
    stages {
        stage('Build') {
            steps {
                sh 'rm -f ./temp/*.log && mvn clean install'
            }
        }
        stage('Test') {
            steps {
                sh 'mvn test'
            }
        }
    }
    post {
        always {
            archiveArtifacts artifacts: 'target/**/*.jar', fingerprint: true
            junit 'target/surefire-reports/**/*.xml'
        }
    }
}
In this configuration:
- The Build stage compiles the project.
- The Test stage runs the tests.
- The post section includes two steps:
archiveArtifactsstores the JAR files generated during the build, with the fingerprint option enabling tracking of these artifacts.junitprocesses the test results.
By configuring Jenkins to collect test results and archive artifacts, you streamline the process of diagnosing issues and improving code quality. This setup ensures that critical information is readily available to the development team, enhancing overall efficiency and reliability of the CI/CD pipeline.
Help us continuously improve
Please let us know if you have any feedback about this page.