👋 Welcome to Octopus Deploy!
This tutorial will help you complete your first deployment in Octopus Deploy. We’ll walk you through the steps to deploy a sample hello world package to one or more of your servers. All you’ll need is a running Octopus Deploy instance.
Other versions of this guide
- Octopus 2022.2 or earlier First deployment guide
- Octopus 2024.3 or newer First deployment guide
Before starting the tutorial, if you haven’t set up an Octopus Deploy instance, please do so by picking from one of the following options:
- Octopus Cloud -> we host the Octopus Deploy instance for you, it connects to your servers.
- Self-hosted on a Windows Server -> you host it on your infrastructure by downloading our MSI and installing it onto a Windows Server with a SQL Server backend. Learn more about our installation requirements.
- Self-hosted as a Docker container -> you run Octopus Deploy in a Docker container. You will still need a free license.
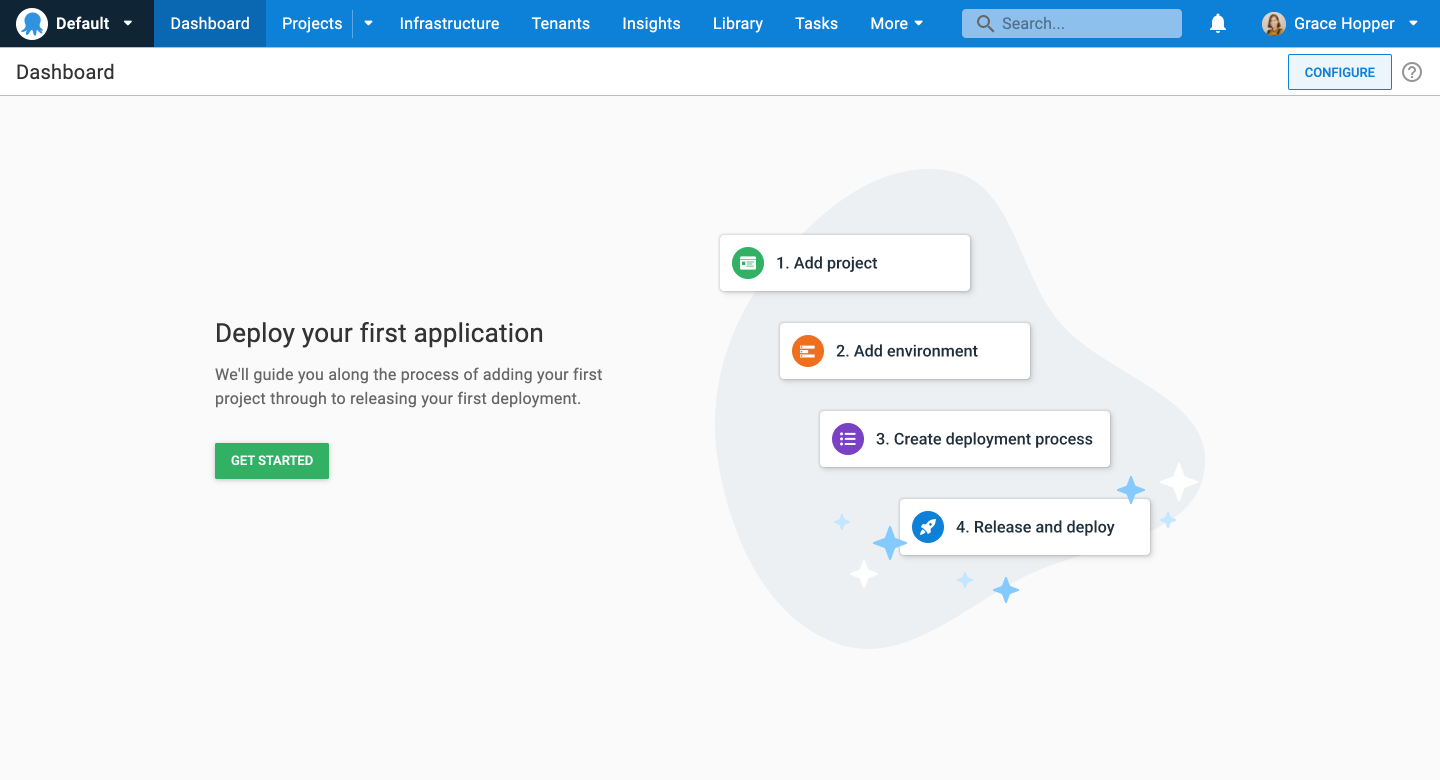
Log in to your Octopus instance to get started. You’ll be guided through the process of deploying your first application.
Click GET STARTED to begin your deployment journey.
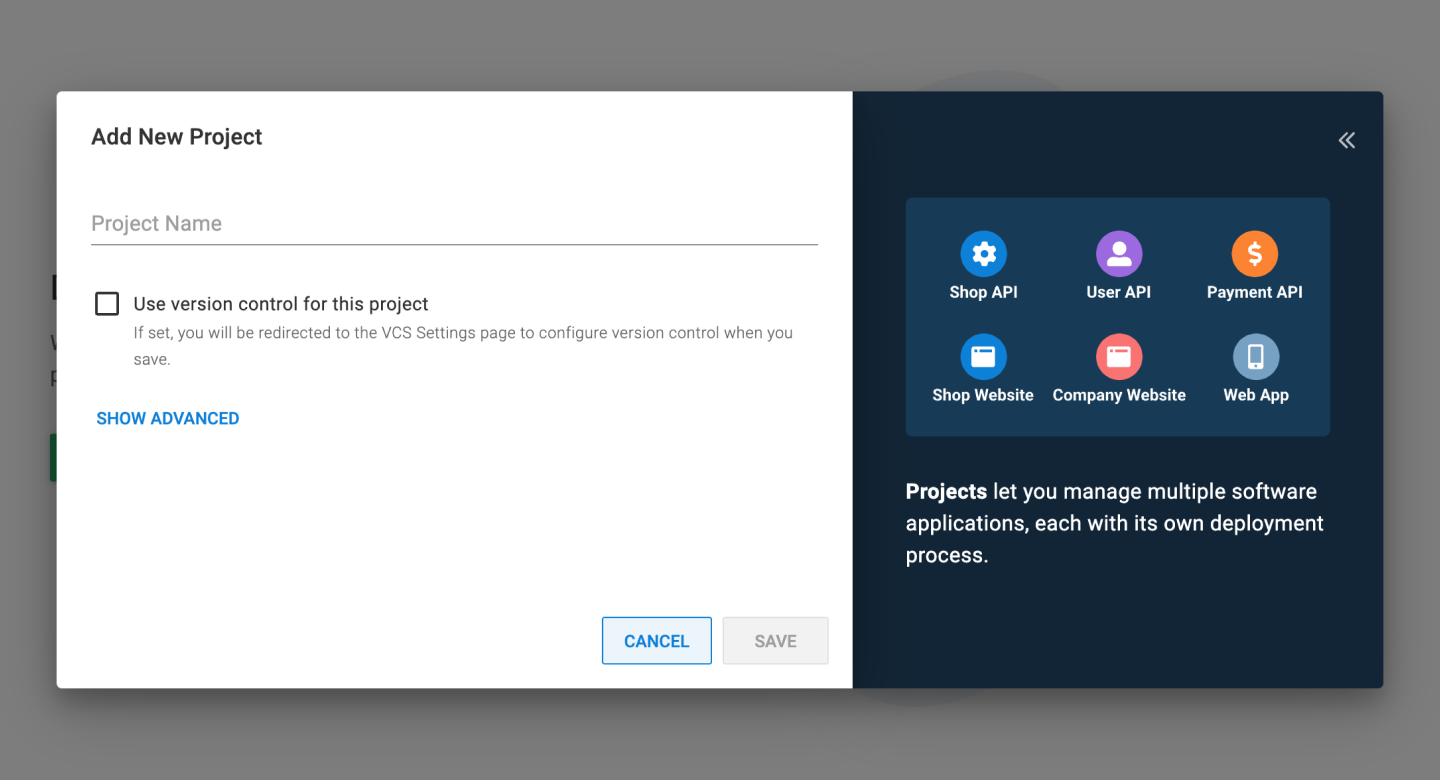
Add project
Projects let you manage software applications and services, each with its own deployment process.
Give your project a descriptive name and click SAVE.
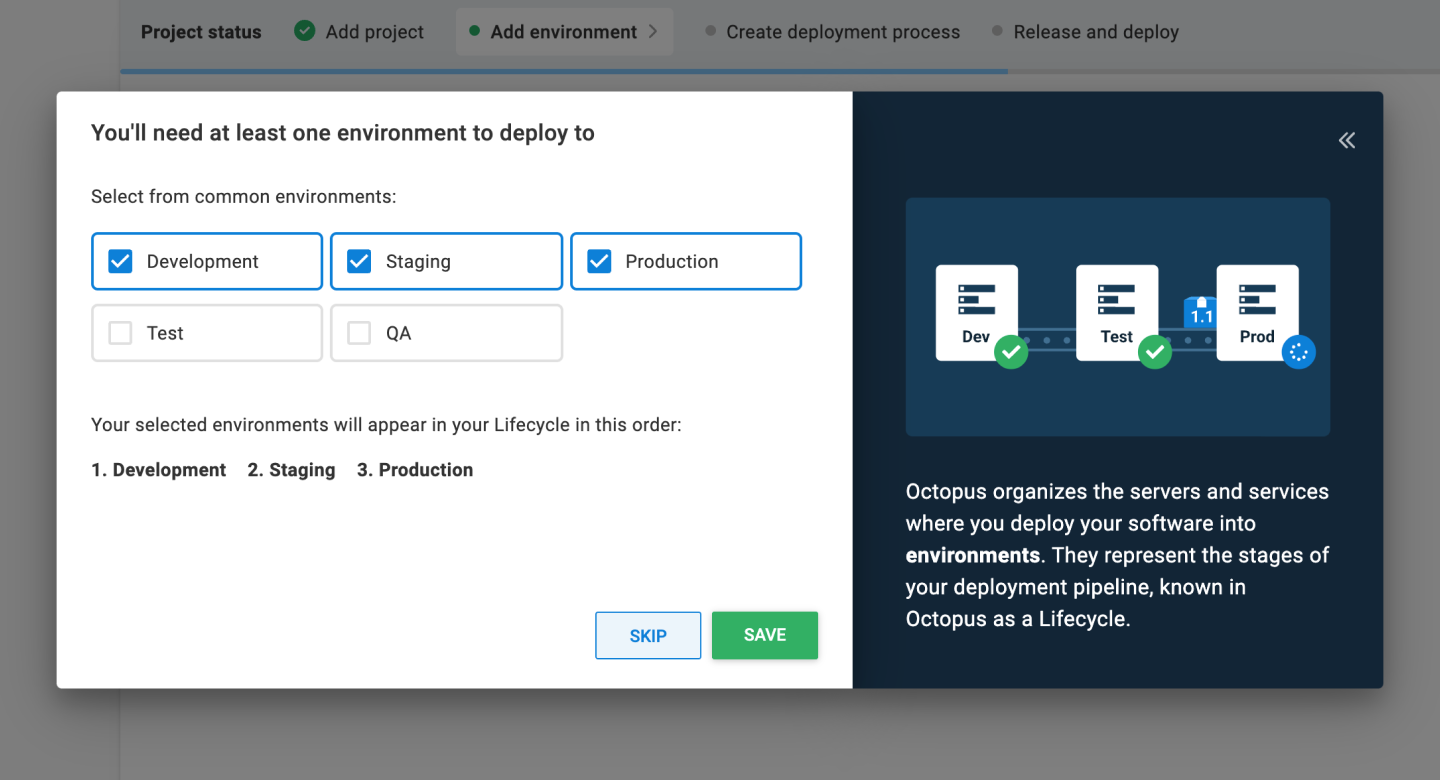
Add Environments
You will need an environment to deploy to.
Environments are how you organize your infrastructure, on prem or cloud, into groups that represent the different stages of your deployment pipeline, for instance, dev, test, and production.
Select the environments you’d like to create and click SAVE.
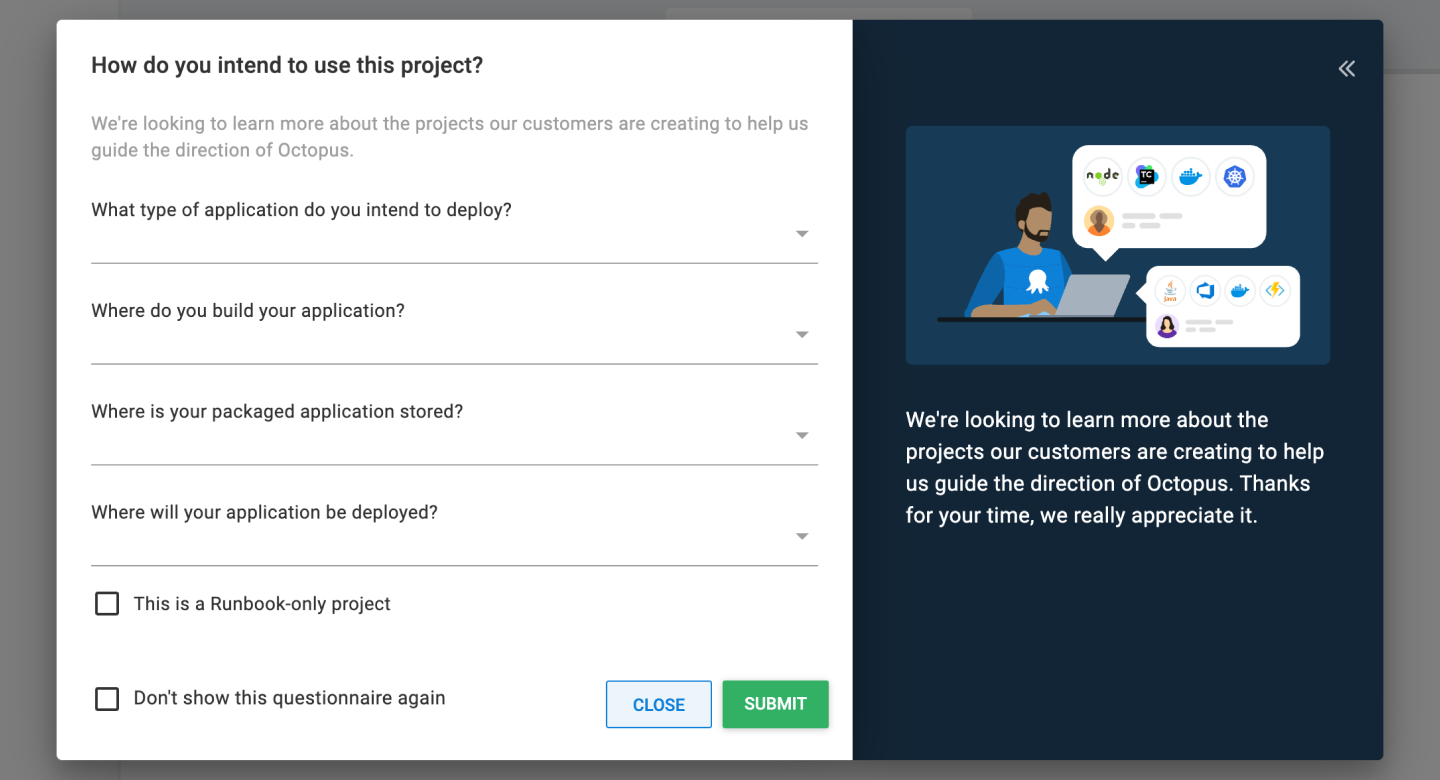
Project questionnaire
You have the option to fill out a short survey. This helps our team learn about the technologies our customers are using, which guides the future direction of Octopus. It should only take about 30 seconds to complete.
Click SUBMIT and you will be taken to your project.
Create deployment process
The next step in the journey is to create your deployment process. This is where you define the steps that Octopus uses to deploy your software. For our simple Hello World deployment, we will configure one step to print Hello World.
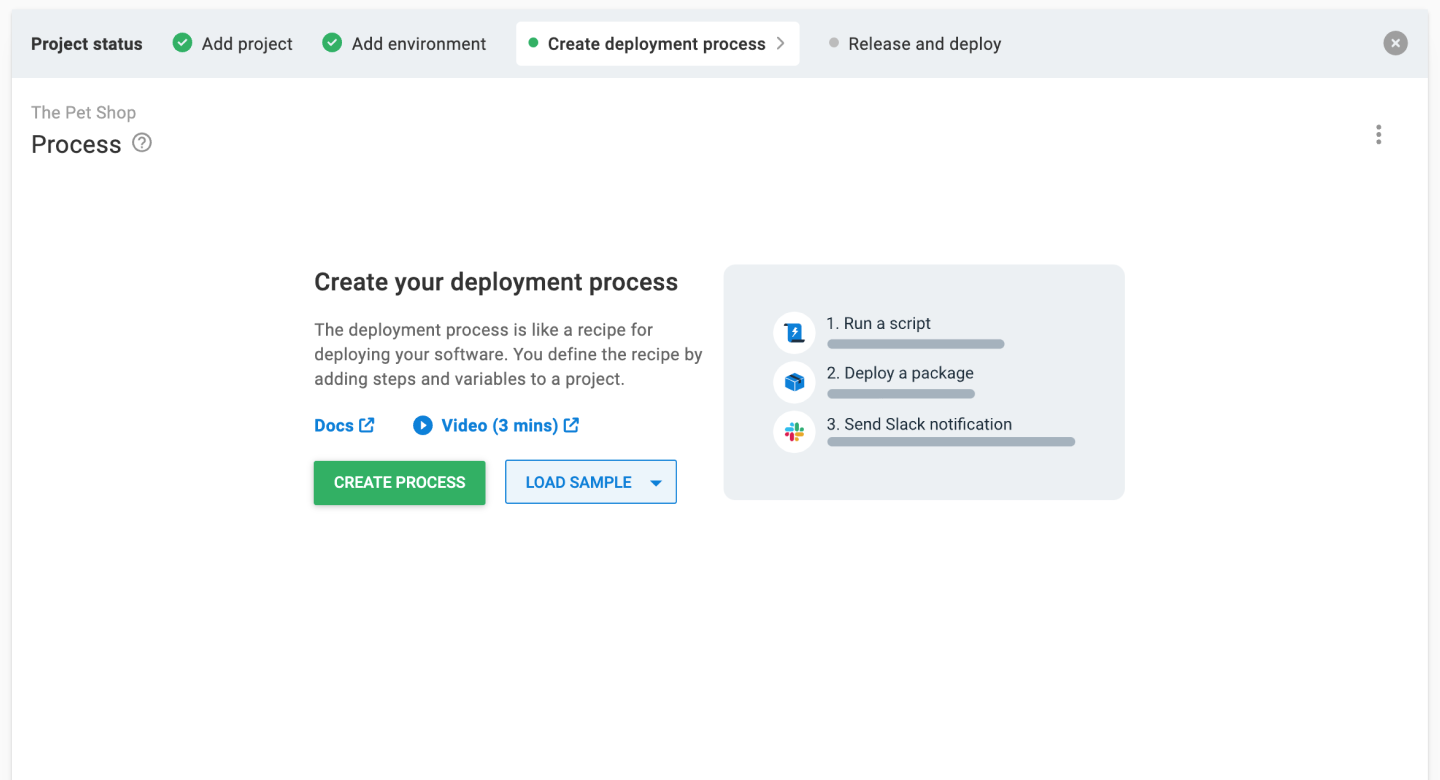
- Click CREATE PROCESS to see the available deployment steps.
- Select the Script tile to filter the types of steps.
- Scroll down and click ADD on the Run a Script tile.
- Accept the default name for the script.
- In the Execution Location section, select Run once on a worker if you’re using Octopus Cloud, or Run once on the Octopus Server if you’re using a self-hosted Octopus instance.
- Scroll down to the Script section, select your script language of choice, and enter the following script in the Inline Source Code section.
Write-Host "Hello, World!"If you are using Octopus Cloud, Bash scripts require you to select the Hosted Ubuntu worker pool. The Default Worker Pool is running Windows and doesn’t have Bash installed.
- Click SAVE to save the step.
Release and deploy
Next, we will create a release that we can deploy to our environments. A release is a snapshot of the deployment process and the associated assets (packages, scripts, variables) as they exist when the release is created.
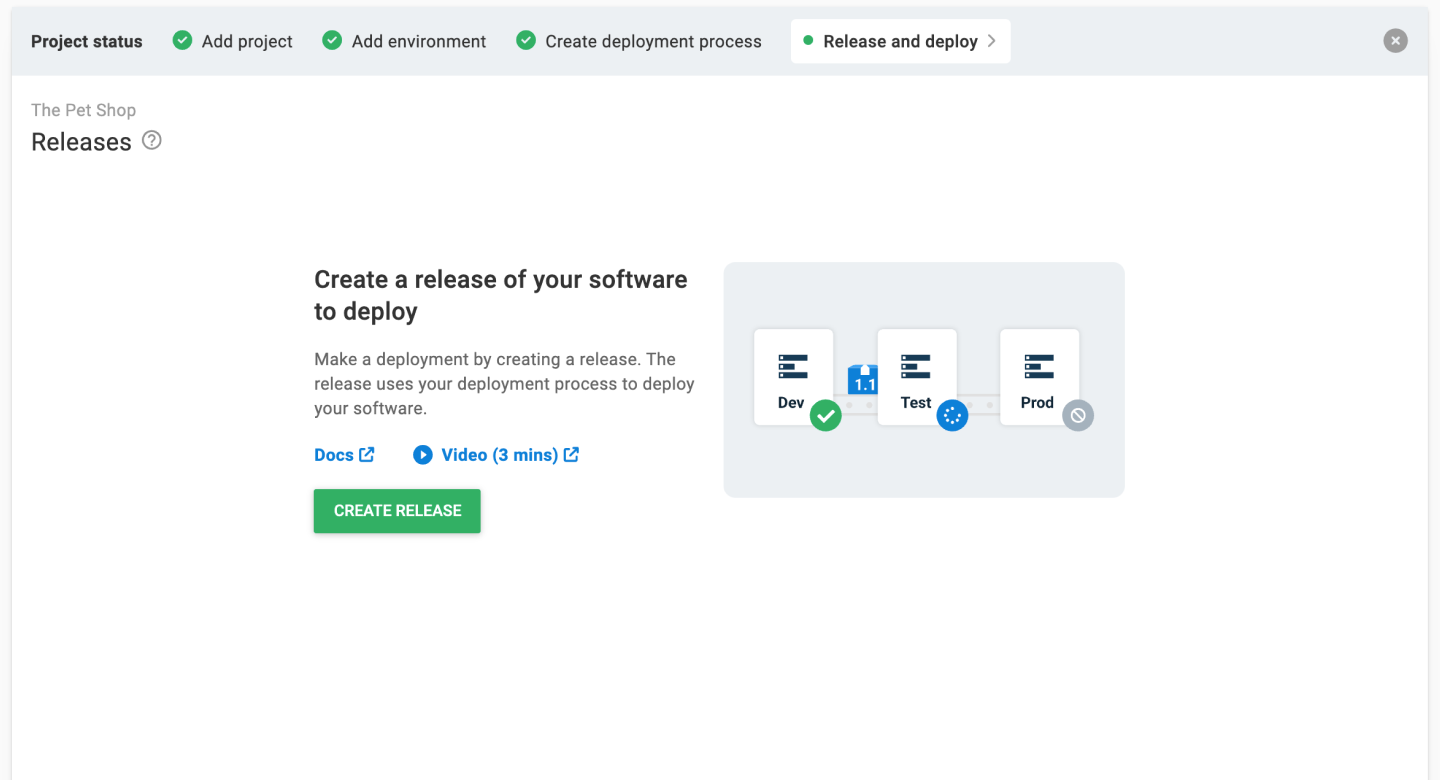
- Click CREATE RELEASE.
- Give the release a version number such as 0.0.1. You have the option to add release notes. Click SAVE.
- After reviewing the details, click DEPLOY TO DEVELOPMENT.
- This screen gives you the details of the release you are about to deploy. Click DEPLOY to start the deployment.
The deployment progress page displays a task summary. If you click TASK LOG, you’ll see the steps Octopus is taking to execute your hello world script.
Success, you have finished your first deployment! 🎉
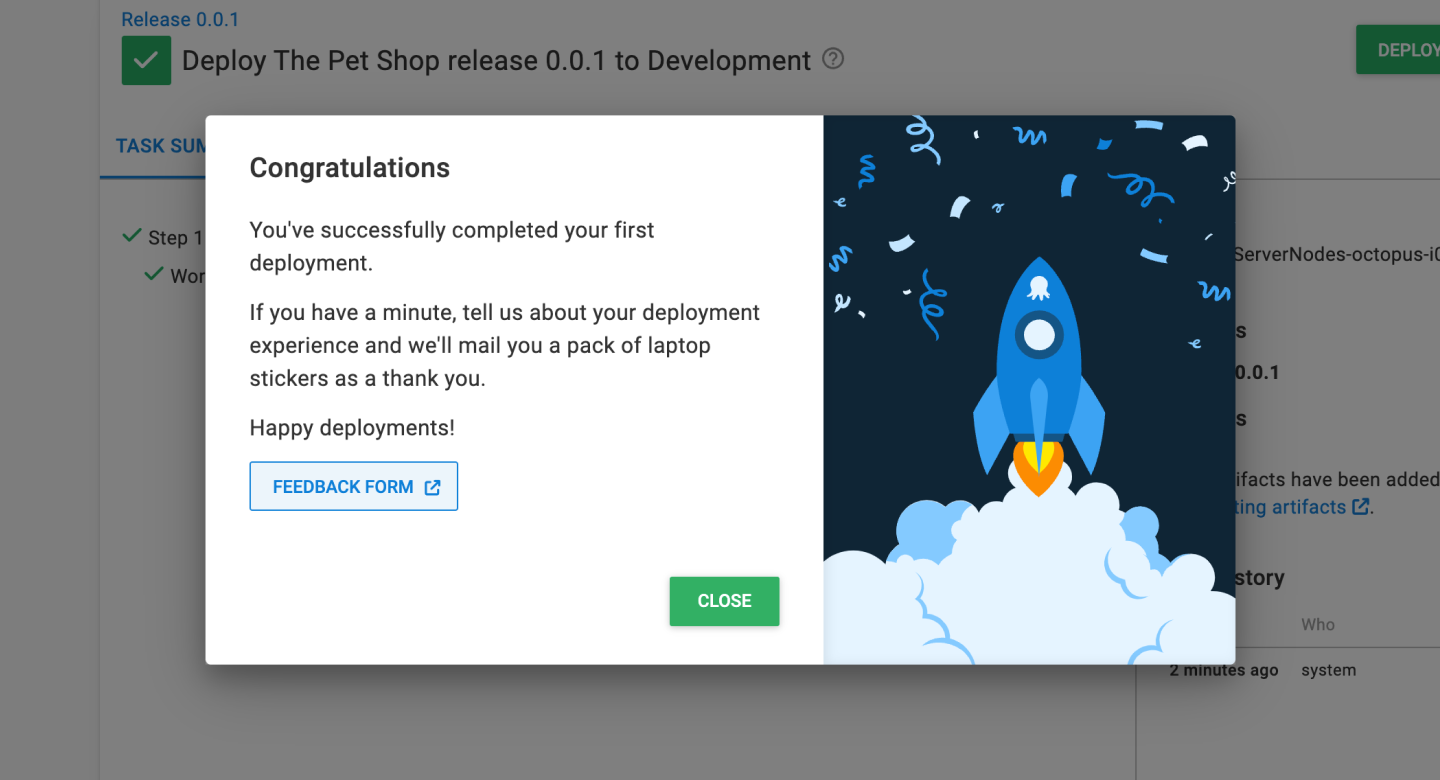
Take a moment to enjoy your first deployment! The next step will introduce you to the power of variables.
Subsequent pages in the guide:
- Define and use variables
- Approvals with manual interventions
- Add deployment targets
- Deploy a sample package
Further Reading
This tutorial will deploy a sample package to your servers. If you prefer to skip that and start configuring Octopus Deploy for your application right away, please see:
Help us continuously improve
Please let us know if you have any feedback about this page.
Page updated on Thursday, November 14, 2024