Overview
Process templates are reusable sets of deployment steps that can be shared across multiple spaces in Octopus Deploy. Instead of copying and pasting deployment processes across teams and applications, which often leads to configuration drift, unnecessary duplication, and operational debt, you create a single source of truth that any project can consume. By abstracting your best practices for deployments into Process Templates, you make it easy for teams to follow standards and accelerate delivery.
To create or manage your process templates, navigate to Platform Hub. If you haven’t set up your Git repository, you must do so first before creating a process template. Similarly, if you’ve already created templates or are joining an existing team, you’ll see the existing templates on the template overview.
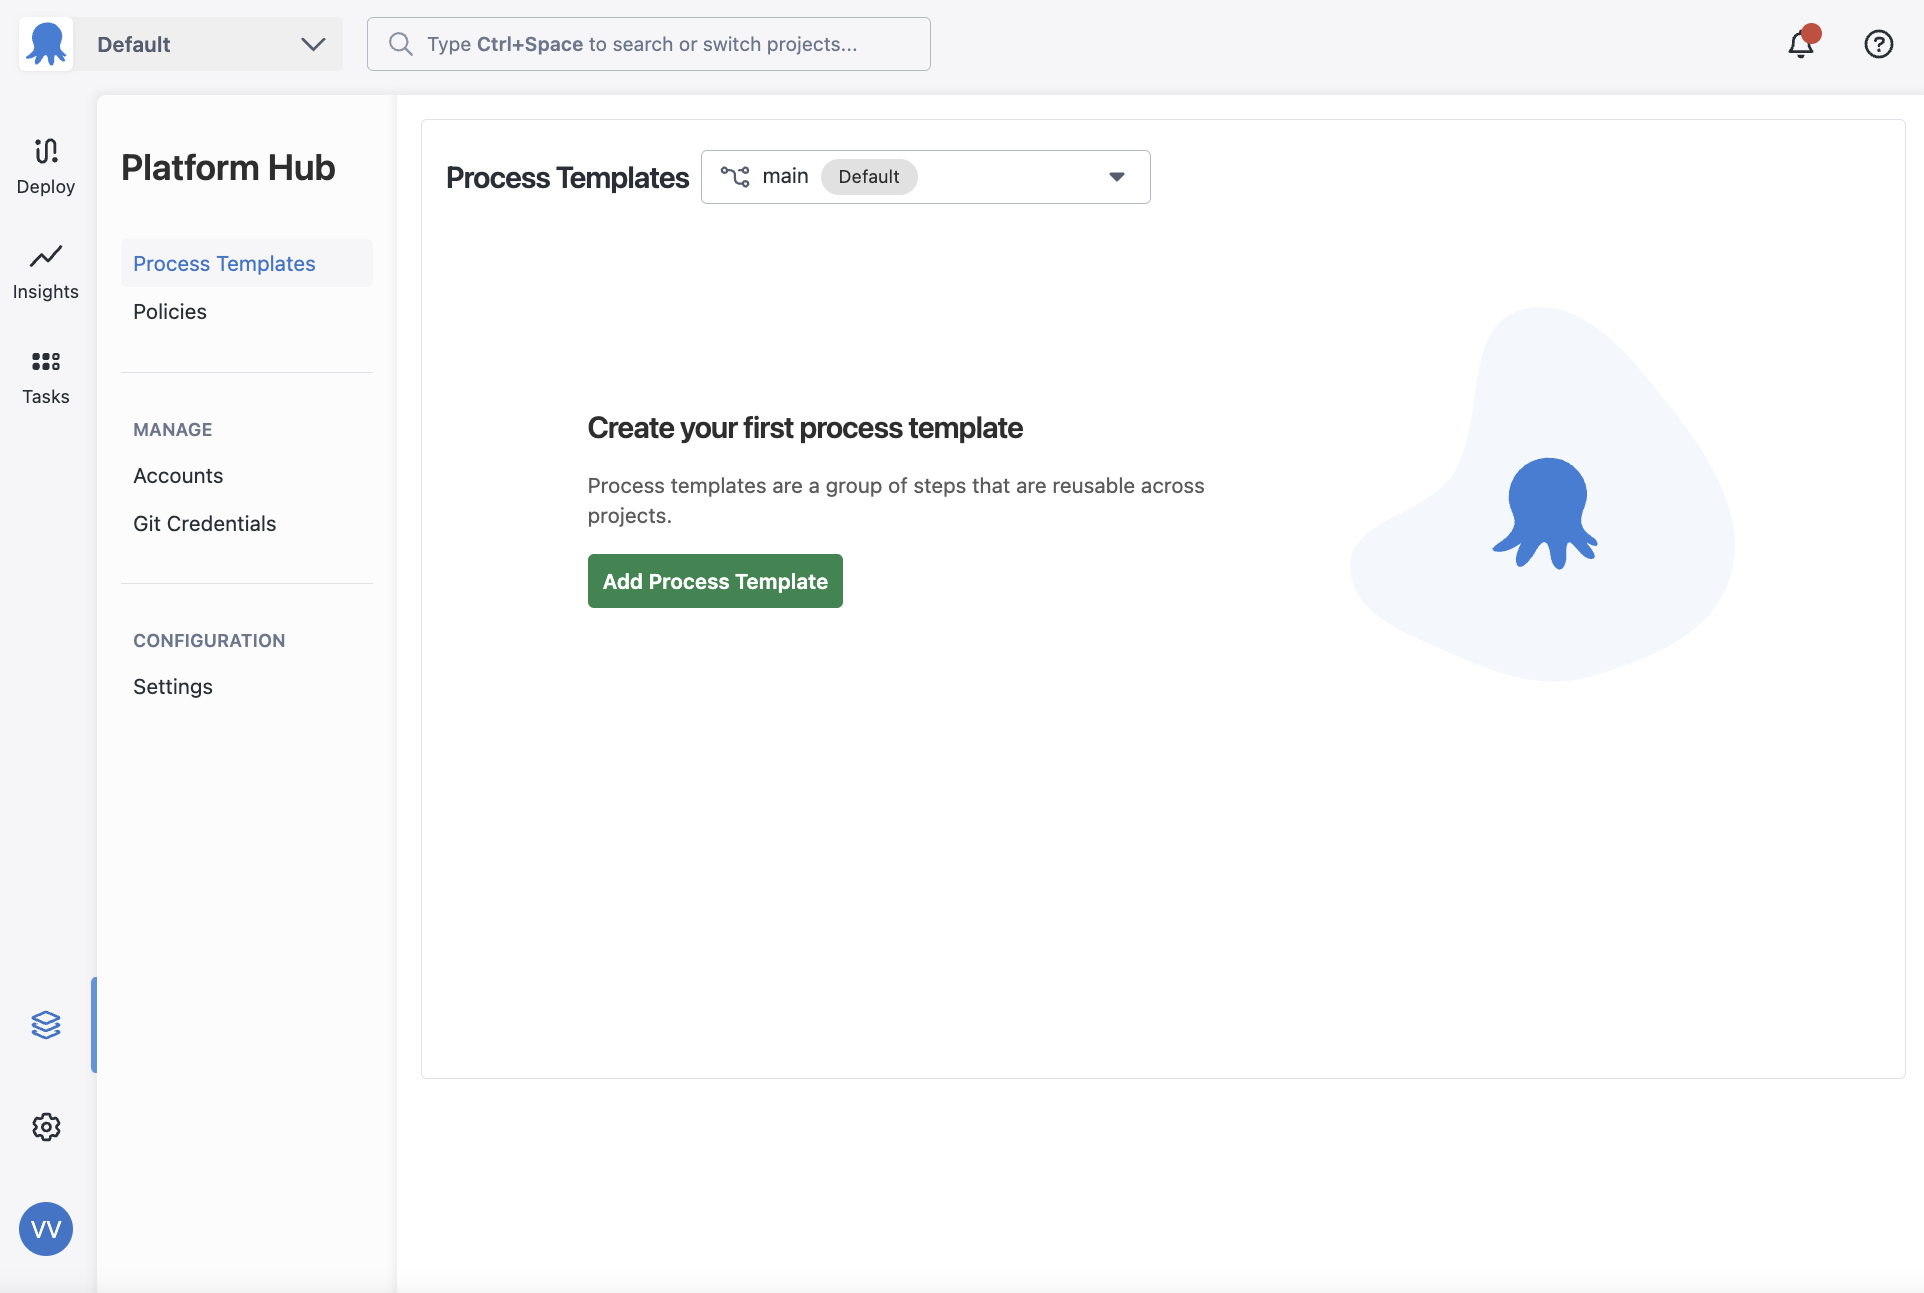
Before you can define the deployment process for your template, you must create the template first.
- Navigate to Process Templates in Platform Hub.
- Give the process template a Name and an optional Description.
- Create your process template.
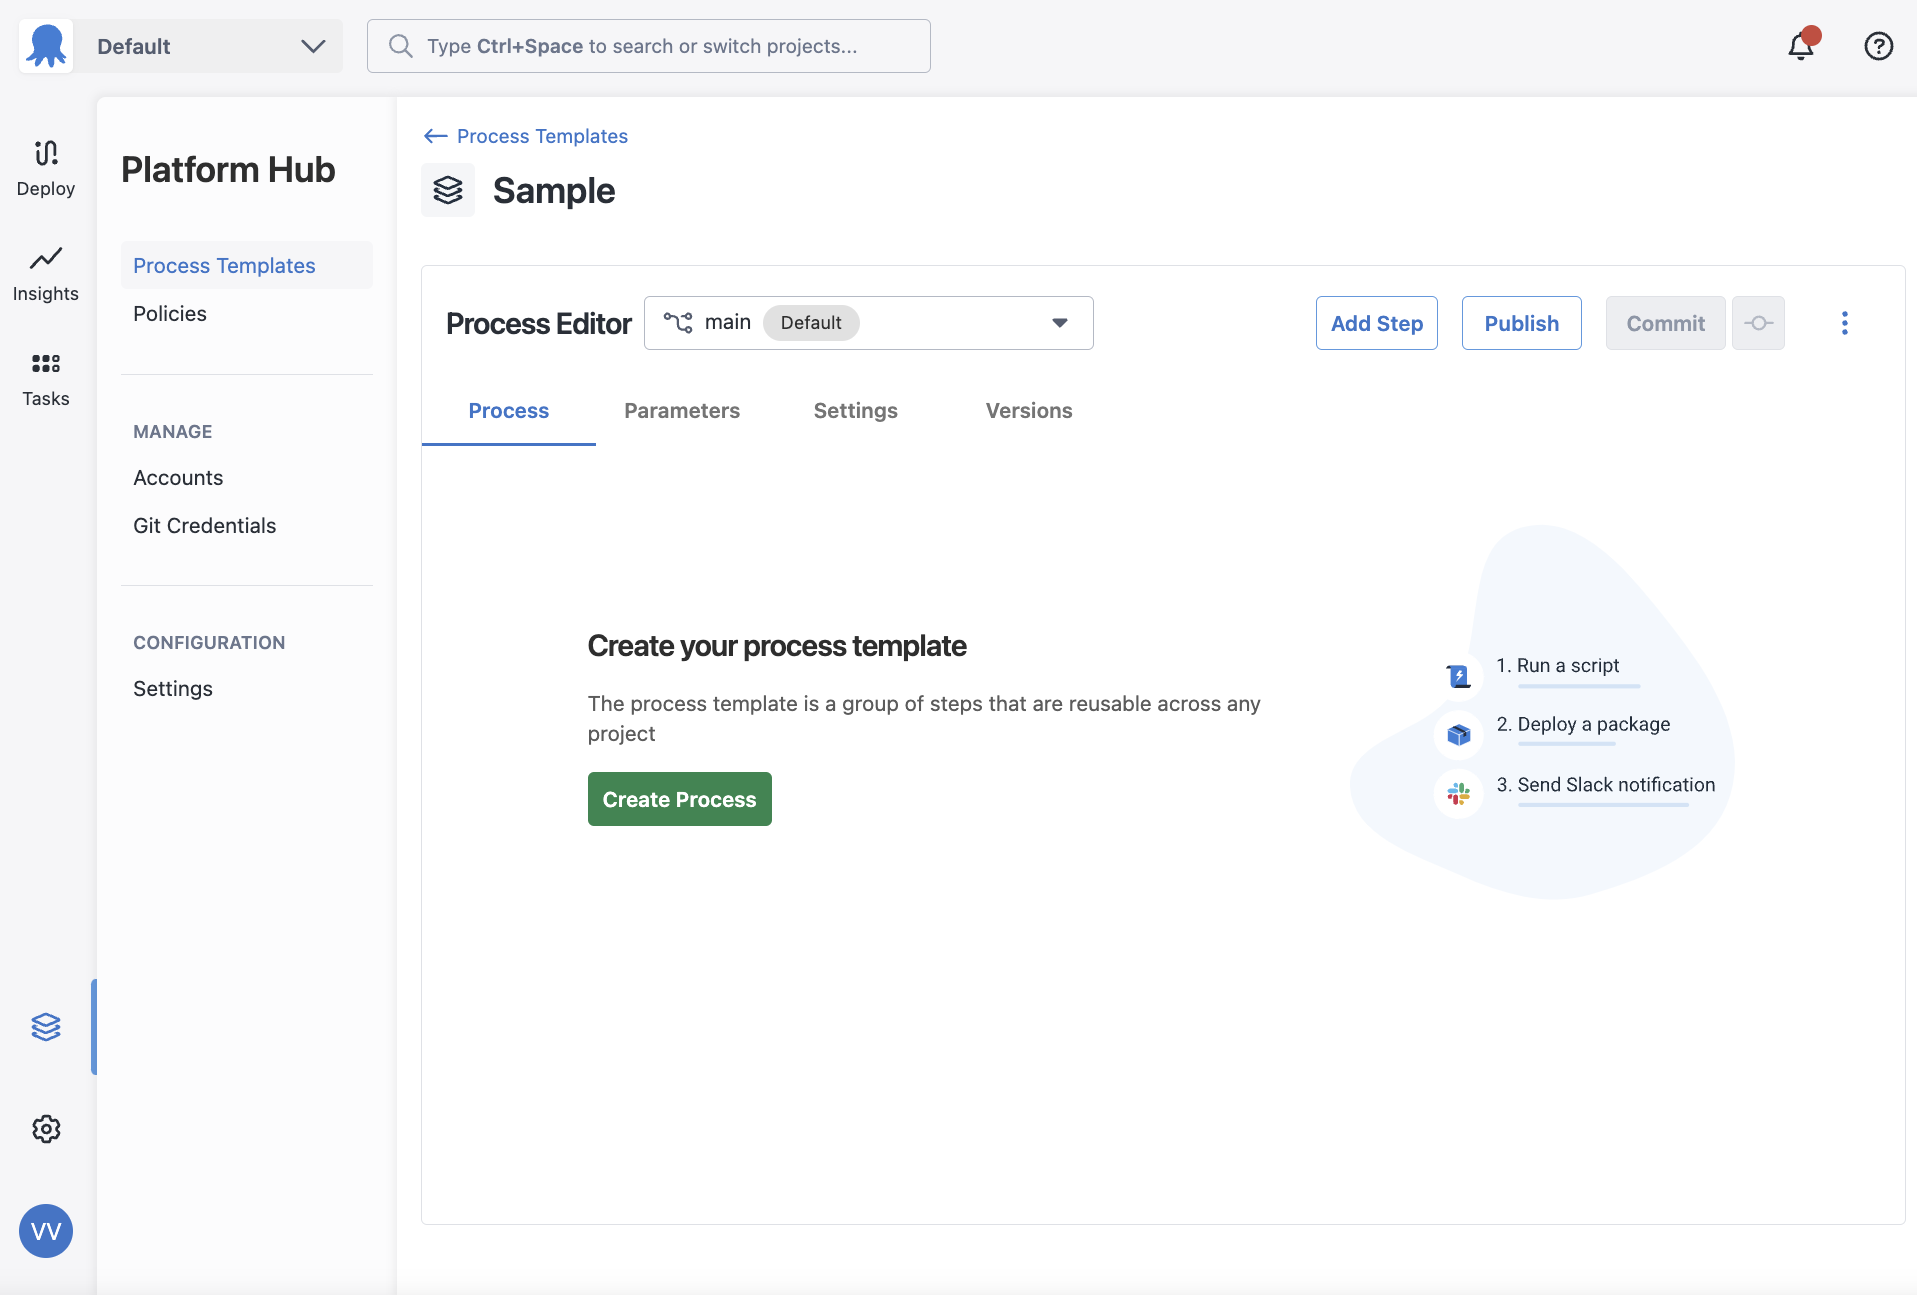
You’ve created your process template; now, define its deployment process.
A deployment process is a set of steps the Octopus Server orchestrates to deploy your software. Each process template has a single deployment process. You can use Octopus’s built-in steps to define this process for your process template.

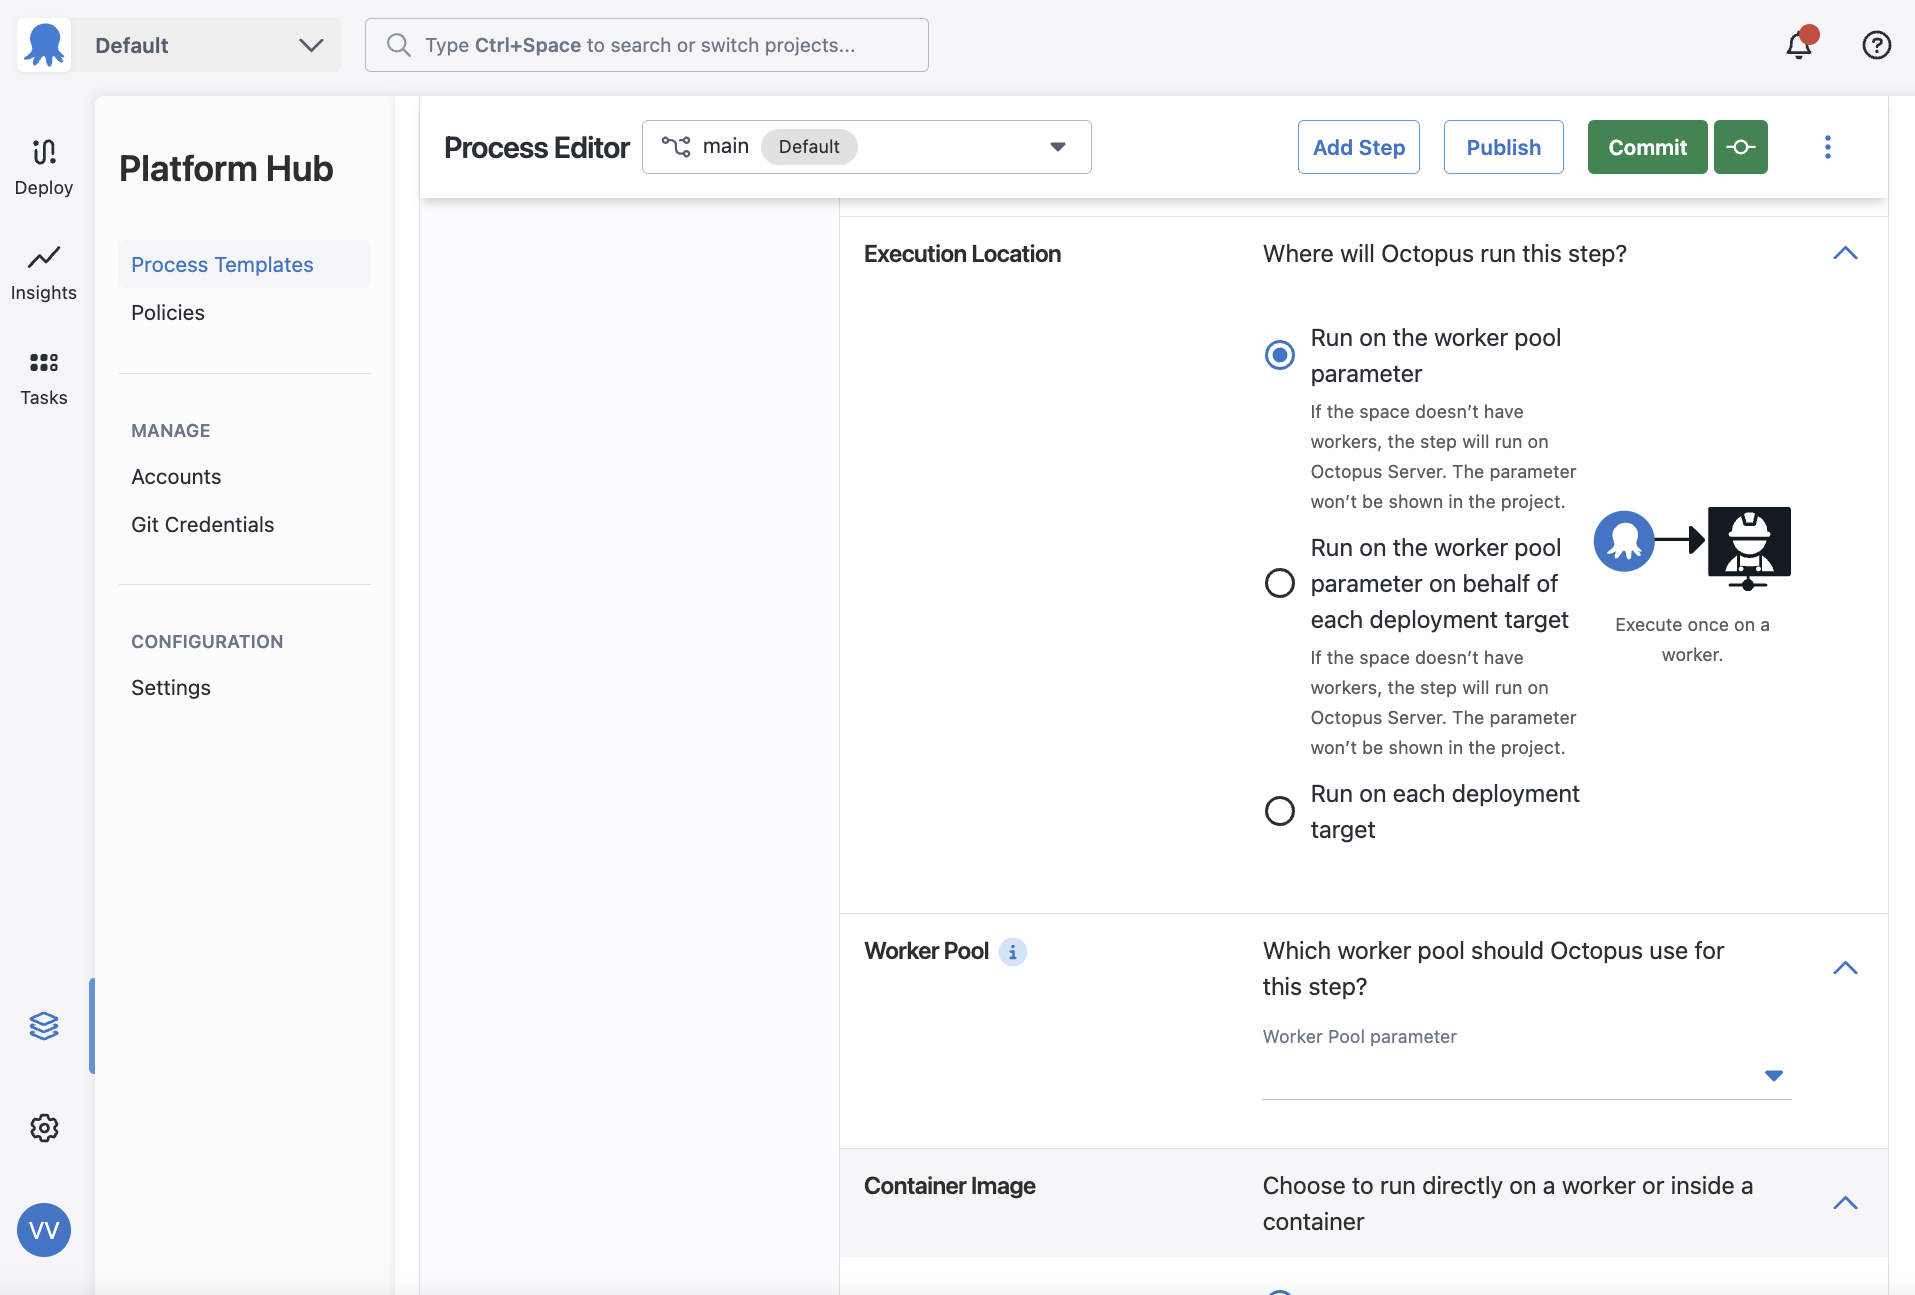
Some steps look different inside a process template. They ask for a parameter rather than allowing you to define a value. These steps ask for a resource that Platform Hub cannot define, such as Worker Pools, and you must define them inside a project. These fields accept parameters so you can define the values the process template needs inside a project.
Our initial release of Process Templates does not include support for a few built-in steps.
Once you have set up a deployment process, you can use it in any space for a deployment or runbook.
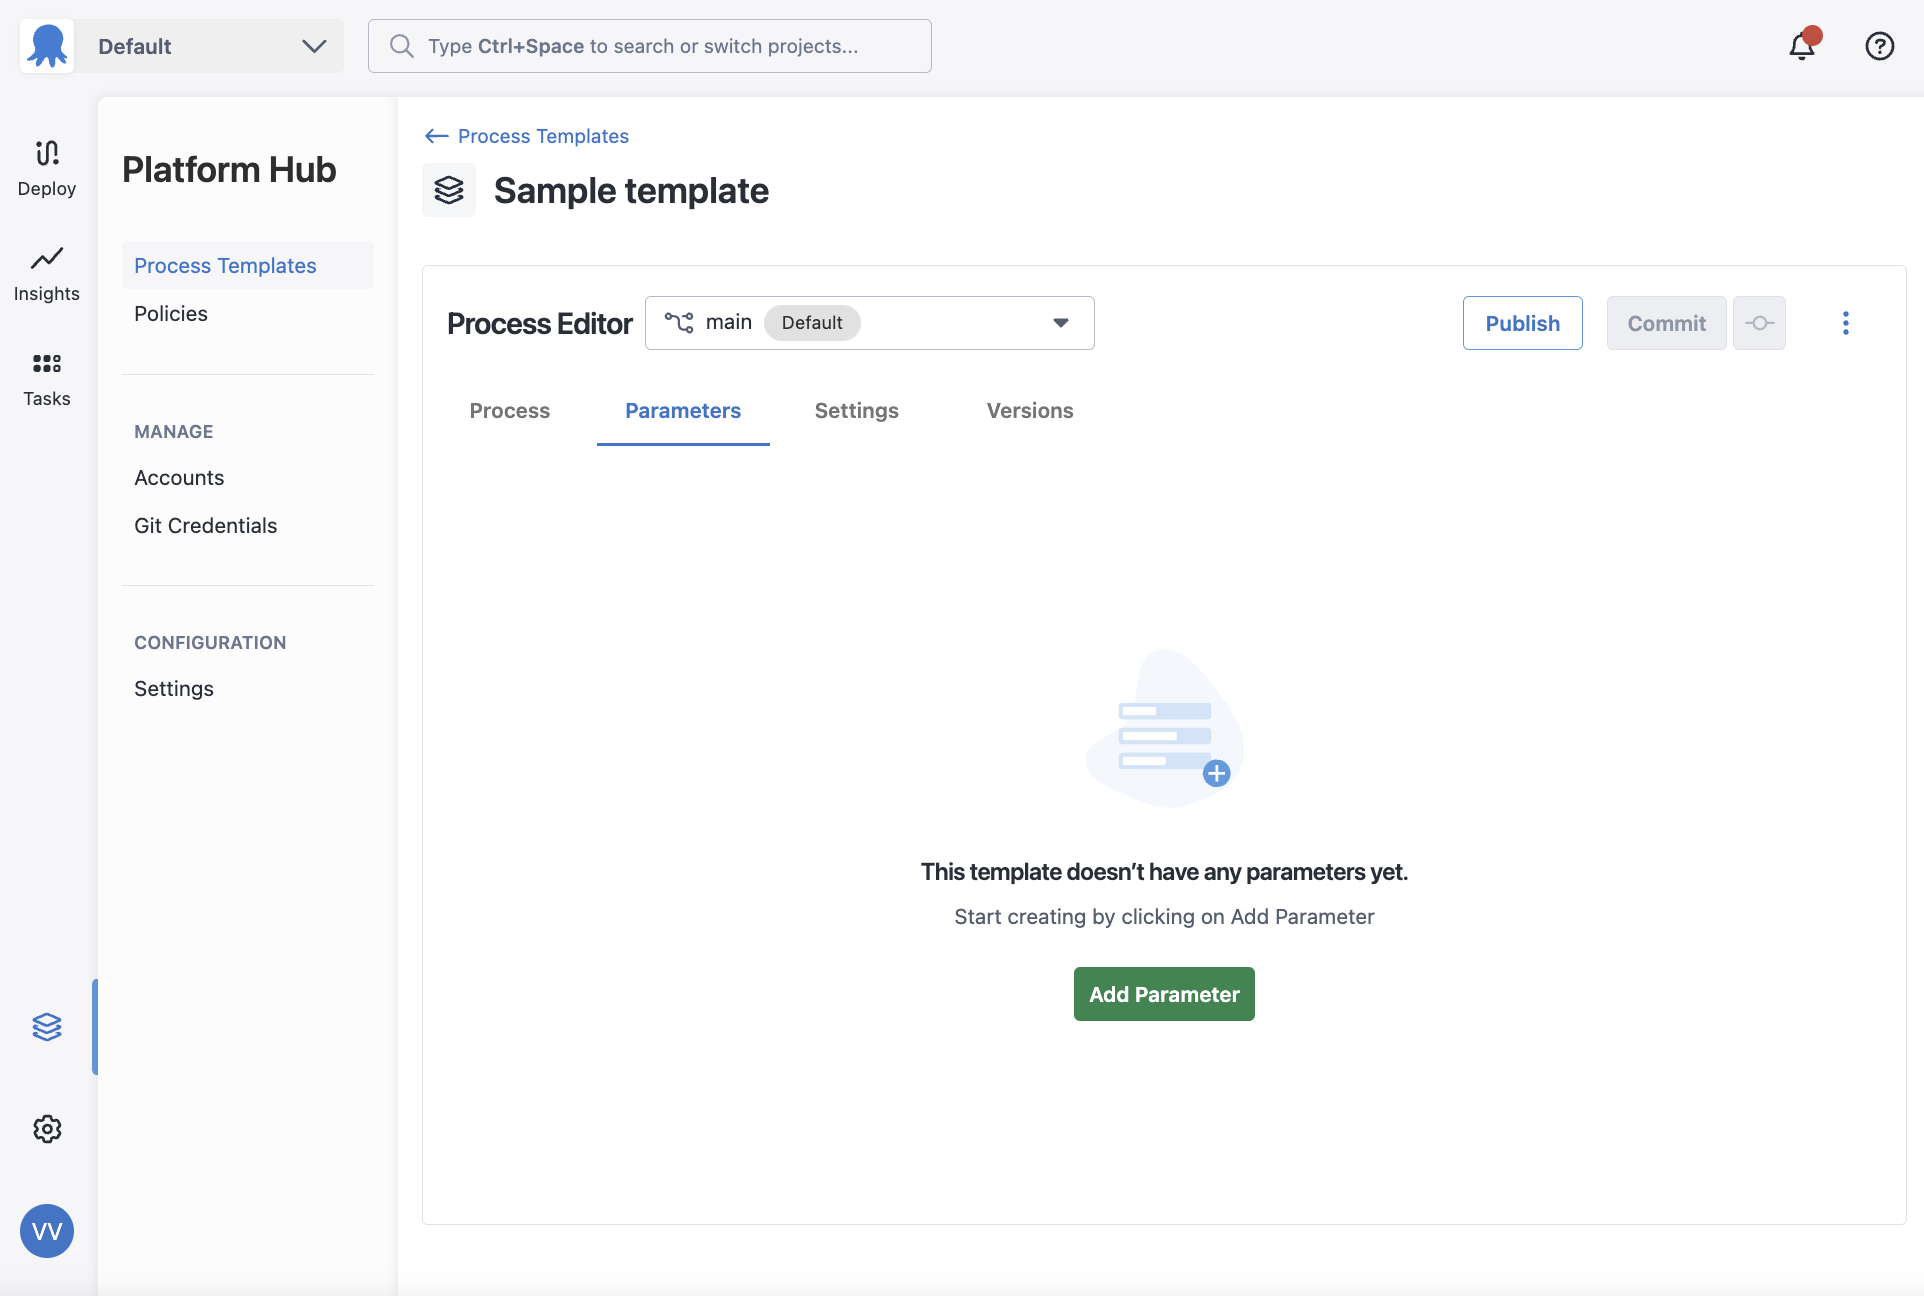
Parameters
Parameters help you easily manage and apply the correct values during a deployment or runbook run that uses a process template. Using parameters, you can use the same process template across your projects and tailor the inputs based on the project’s needs.
For a full reference of supported parameter types and default values, see Template parameters.
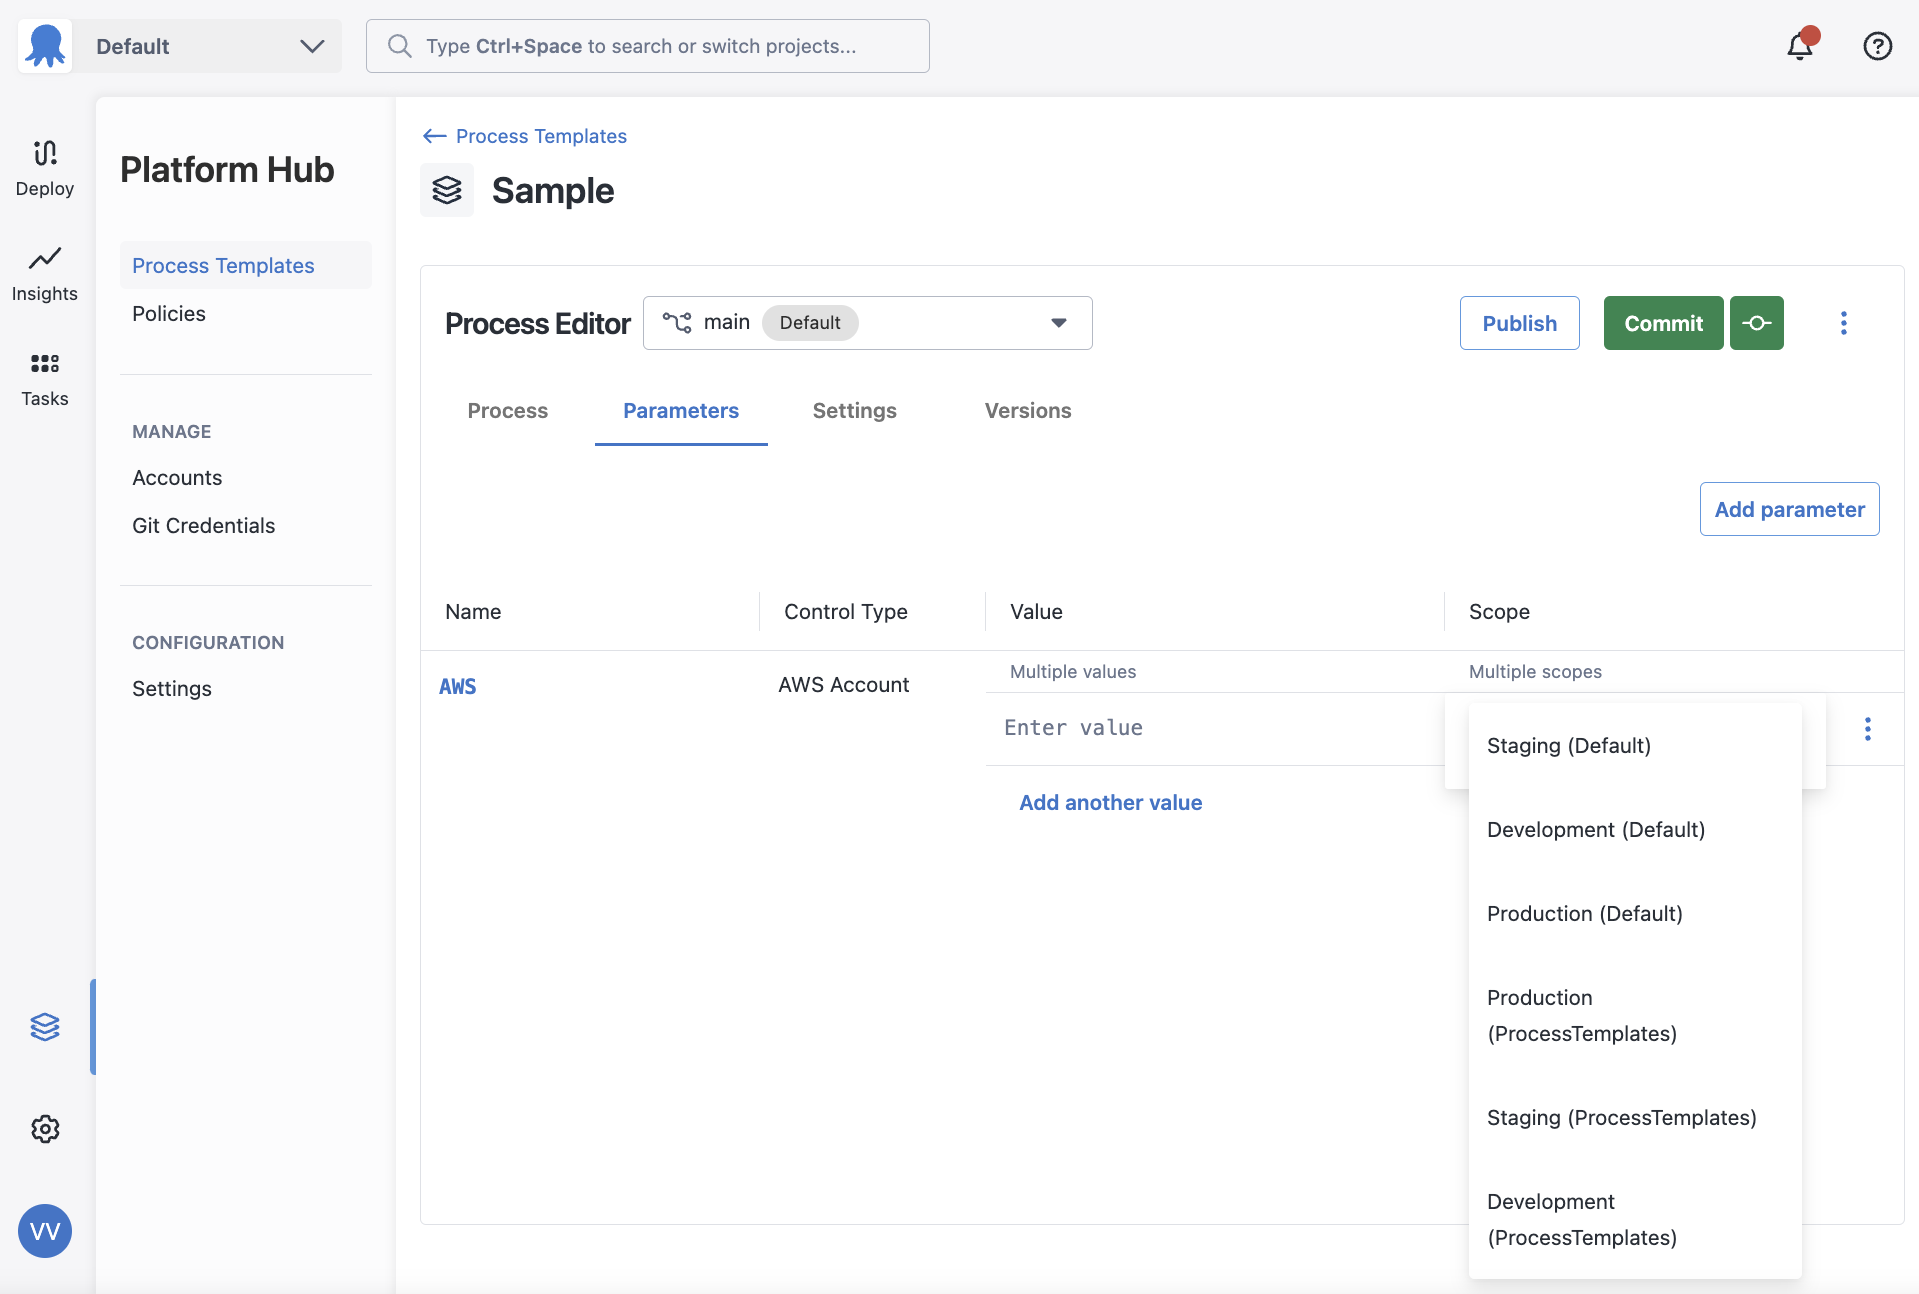
To create a parameter, navigate to the Parameters tab on a process template and add a new parameter.
Sensitive parameter defaults
The ability to add default values for Sensitive/password box parameters is available from Octopus 2026.1.
Unlike the other parameters, sensitive default values are stored securely in the database with a unique GUID identifier. This identifier is used in the process template to reference the default sensitive value in the database. Because of this approach, sensitive default values are supported in CaC workflows. Scoping for Sensitive/password box parameters is not currently supported.
You can set a default value for a sensitive parameter by navigating to the parameters tab of your process template and committing your changes. When the template is saved, sensitive default values are stored encrypted in the database with a unique identifier. In the OCL, the parameter block will look something like this:
parameter "Example Sensitive Parameter" {
    display_settings = {
        Octopus.ControlType = "Sensitive"
    }
    help_text = "An Example Sensitive Parameter"
    label = "An Example Sensitive Parameter"

    value "10d00c16-c905-43fa-90cd-088e22b31751" {}
}
The GUID value in the OCL is a reference to the database-stored sensitive value. When the process template is used in a project or runbook, it will retrieve the sensitive value from the database.
Parameter scoping
Only Account parameters will allow you to scope them by environments. You can choose to scope them by any environment across your Octopus instance.
When a process template is used inside a project, the project supplied values will take precedence over the process template provided ones for overlapping scopes. This includes unscoped project supplied values. For more information on how the precedence works, please visit the troubleshooting page.
Saving, publishing, and sharing
Once you’ve configured your process template, see Publishing and sharing templates for how to commit, publish, and share it.
A Hello world deployment process in a process template
To define a simple deployment process in Octopus that executes a hello world script on the Octopus Server, complete the following steps:
-
Navigate to Platform Hub
-
Add a process template
-
Name the template, for instance, “Hello World”, and add an optional description.
-
Add a deployment step.
-
Choose the type of step you’d like to add to filter the available steps.
-
Find the Run a Script step and add it to your deployment process.
-
In the Process Editor, give the step a name, for instance “Run a Hello World script”.
-
In the Execution Location section use the Run on the worker pool parameter option.
-
Create a Worker Pool parameter.
-
Add the Worker Pool parameter to the Worker Pool field.
-
Paste the following PowerShell script into the Inline Source Code editor:
Write-Host "Hello, World!" -
Commit your template.
-
Publish and Share your template.
-
Visit a project, and its deployment process
-
Choose the process template you just published
-
Choose the Worker Pool in the parameters tab
-
Add any steps before or after the process template
You can now deploy this process to say “Hello, World!”.
Help us continuously improve
Please let us know if you have any feedback about this page.
Page updated on Thursday, March 5, 2026